Introduction
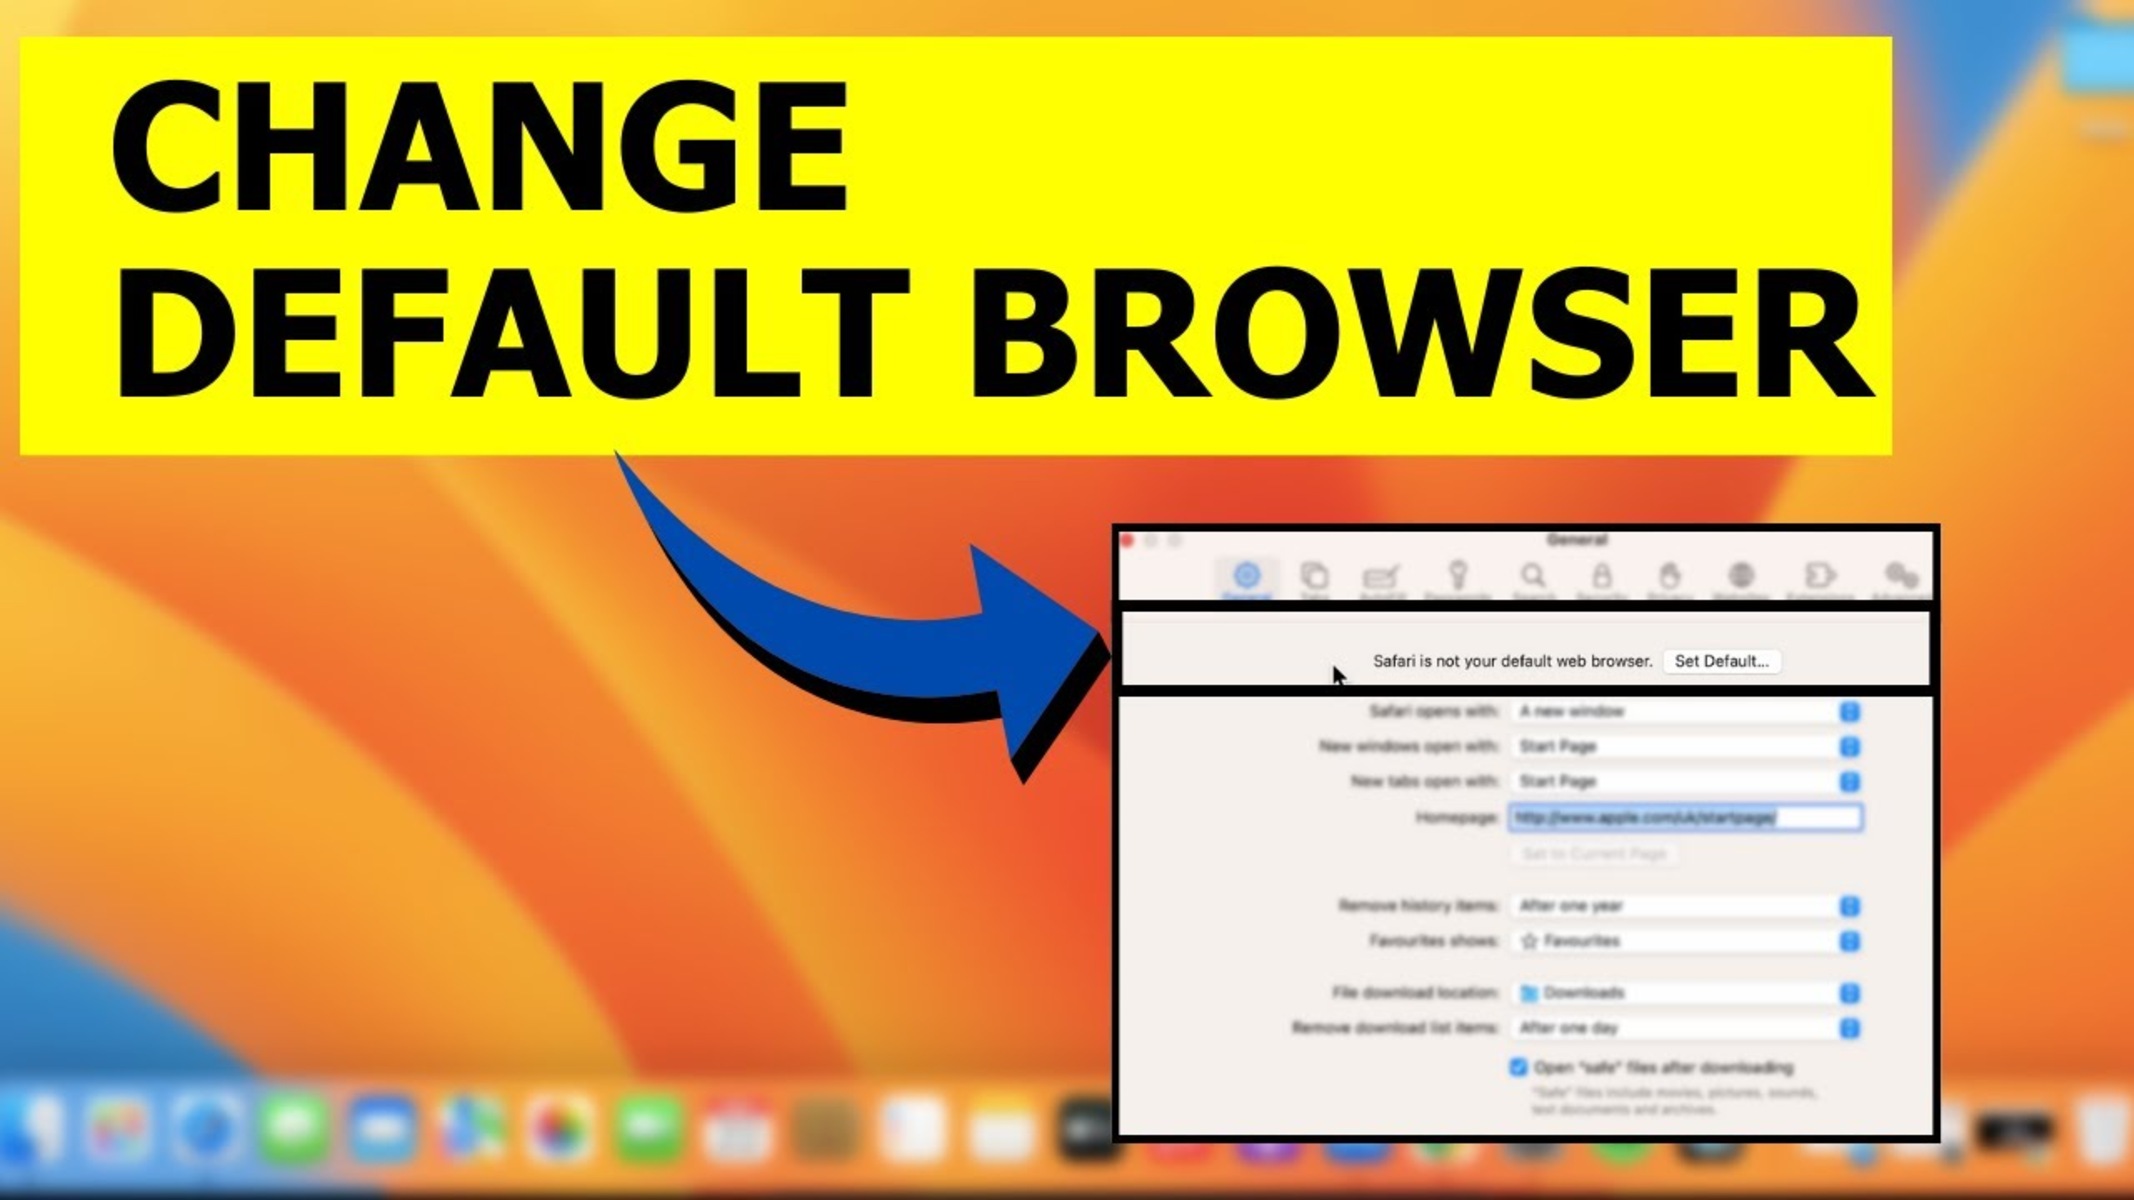
When using a Mac computer, the default web browser is set to Safari. However, many users have their own preferences and may prefer to use a different browser such as Chrome or Firefox. Fortunately, changing the default browser on a Mac is a quick and straightforward process. By selecting your preferred browser as the default, you can ensure that all web links open automatically in your desired browser without any extra steps.
In this guide, we will walk you through the steps to change the default web browser on your Mac. Whether you’re looking for a more feature-rich browser or simply want to try a different browsing experience, this tutorial will help you make the switch effortlessly. So, let’s dive in and learn how to customize your Mac’s default browser to suit your needs.
Note: The steps may vary slightly depending on the version of macOS you are using, but the overall process should remain similar.
Now that we have covered the introduction, let’s move on to the first step: Opening System Preferences.
Step 1: Opening System Preferences
To begin the process of changing the default web browser on your Mac, you’ll first need to open the System Preferences. This is where you can access various settings and customize your Mac’s preferences according to your needs. Here’s how you can open System Preferences:
- Click on the Apple menu located on the top-left corner of your screen.
- From the drop-down menu, select “System Preferences.”
Alternatively, you can also access System Preferences through the Dock. Look for the icon that resembles a gear or click on the Launchpad icon (a silver circle with a rocket ship inside), and then search for “System Preferences” to open it.
Once you’ve opened System Preferences, you’re ready to move on to the next step, which is accessing the General settings.
Now that we have covered the first step, let’s move on to Step 2: Accessing General Settings.
Step 2: Accessing General Settings
In this step, we will access the General settings in System Preferences, where you can find options to customize various aspects of your Mac’s user interface. Follow these steps to access the General settings:
- Within the System Preferences window, locate and click on the “General” icon. It is represented by a blue square icon with a lightbulb inside.
- The General settings will now be displayed, allowing you to modify several appearance and behavior options.
By default, the General settings are selected when you open System Preferences. However, if you don’t see it, you can always use the search bar at the top right corner of the System Preferences window and type in “General” to quickly locate and access the settings.
Now that we have accessed the General settings, we can proceed to the next step, which involves selecting the default web browser.
Keep reading to learn how to proceed with Step 3: Selecting Default Web Browser.
Step 3: Selecting Default Web Browser
Now that we have accessed the General settings, we can proceed to selecting the default web browser on your Mac. Follow these simple steps:
- In the General settings window, locate the “Default web browser” option.
- Click on the drop-down menu next to the “Default web browser” option. This will display a list of the web browsers installed on your Mac.
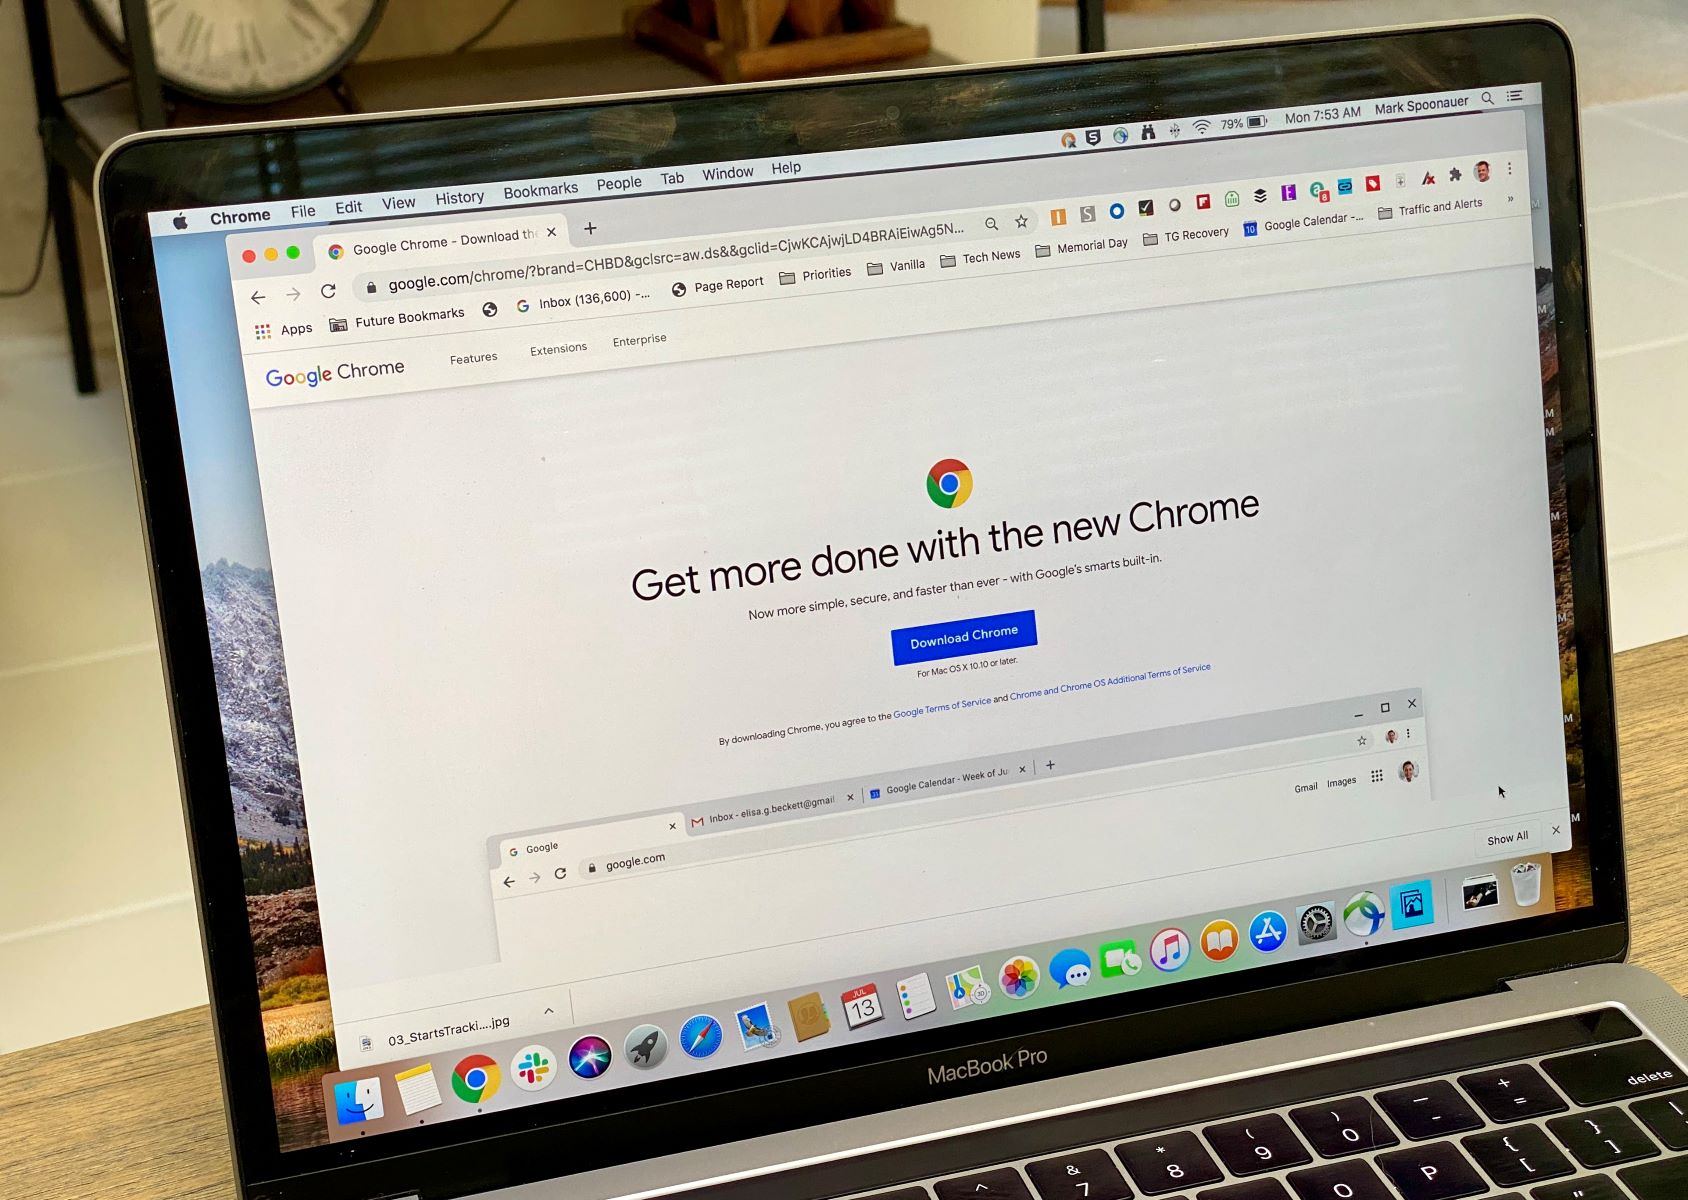
- From the list, select the web browser that you want to set as the default. For example, if you prefer to use Google Chrome, select Chrome from the list.
After selecting your preferred web browser, the changes will be saved automatically. You have now successfully set your desired browser as the default web browser on your Mac.
Now that you have selected the default web browser, let’s move on to the next step: choosing a new default browser.
Continue reading to learn how to proceed with Step 4: Choosing a New Default Browser.
Step 4: Choosing a New Default Browser
Now that you have accessed the General settings and selected the option to change the default web browser, it’s time to choose a new default browser for your Mac. Follow these steps:
- Open the drop-down menu next to the “Default web browser” option in the General settings.
- Review the list of web browsers installed on your Mac. This list will include browsers like Safari, Google Chrome, Mozilla Firefox, and more.
- Select the web browser that you want to set as the new default. Simply click on the browser’s name in the drop-down menu to make your selection.
By choosing a new default browser, any web links that you click on will automatically open in the selected browser. This allows for a seamless and convenient browsing experience with your preferred web browser.
After making your selection, the changes will be applied immediately, and your new default web browser will take effect.
Now that you have successfully chosen your new default browser, let’s move on to the final step: verifying the changes.
Keep reading to learn how to proceed with Step 5: Verifying the Changes.
Step 5: Verifying the Changes
After selecting and setting your new default web browser, it’s important to verify that the changes have been successfully applied to your Mac. This step allows you to ensure that any web links you click on will now open in your chosen browser. Follow these steps to verify the changes:
- Open any application or web page that contains a clickable link.
- Click on the link to open it. The selected web browser should now automatically launch and load the web page associated with the link.
If the link opens in your chosen browser, it means that the changes you made to the default web browser settings have been successfully applied. Congratulations!
However, if the link still opens in the previous default browser or a different browser, it might be necessary to repeat the steps and ensure that you have correctly selected and set the new default web browser in the General settings.
By verifying the changes, you can confirm that your preferred web browser is now the default option for opening web links on your Mac.
Now that you have verified the changes, you can enjoy a seamless browsing experience with your new default web browser.
Conclusion
Changing the default browser on your Mac is a simple process that allows you to personalize your browsing experience according to your preferences. By following the steps outlined in this guide, you can easily switch from Safari to your preferred web browser like Google Chrome, Mozilla Firefox, or any other browser of your choice.
We began by opening the System Preferences, where we accessed the General settings. From there, we selected the default web browser option and chose our desired browser from the list. Finally, we verified the changes by clicking on a web link and ensuring it opened in the newly selected default browser.
By changing the default browser on your Mac, you can enjoy a more comfortable and efficient browsing experience. Different browsers offer unique features, security options, and extensions to enhance your online activities, such as browsing the web, shopping, streaming, and more.
Remember, the steps provided in this guide may vary slightly depending on the version of macOS you are using. However, the overall process should remain similar, allowing you to customize your default browser quickly and easily.
Now that you have successfully changed the default browser on your Mac, you can explore all the features and benefits that your new browser has to offer. Enjoy your enhanced browsing experience!