Introduction
Welcome to our step-by-step guide on how to set Google Chrome as the default browser on your Mac. Chrome is a popular and feature-rich web browser that offers a seamless browsing experience with its fast performance and extensive range of extensions and plugins. By setting Chrome as your default browser, you can ensure that all web links you click on, whether from emails, documents, or other applications, will automatically open in Chrome.
Switching to Chrome as your default browser also allows you to take advantage of its personalized settings, bookmarks, and saved passwords, making your online activities more streamlined and efficient. Whether you’re tired of using Safari or looking for a change, setting Chrome as your default browser on your Mac is a straightforward process that we will guide you through.
It’s important to note that these instructions are specifically tailored for Mac users. If you’re using a different operating system, the steps for setting Chrome as your default browser may vary. So, let’s dive in and get started with the first step of the process: downloading and installing Google Chrome on your Mac.
Step 1: Download and install Google Chrome on your Mac
The first step in setting Chrome as your default browser on your Mac is to download and install the Chrome browser itself. Here’s how you can do it:
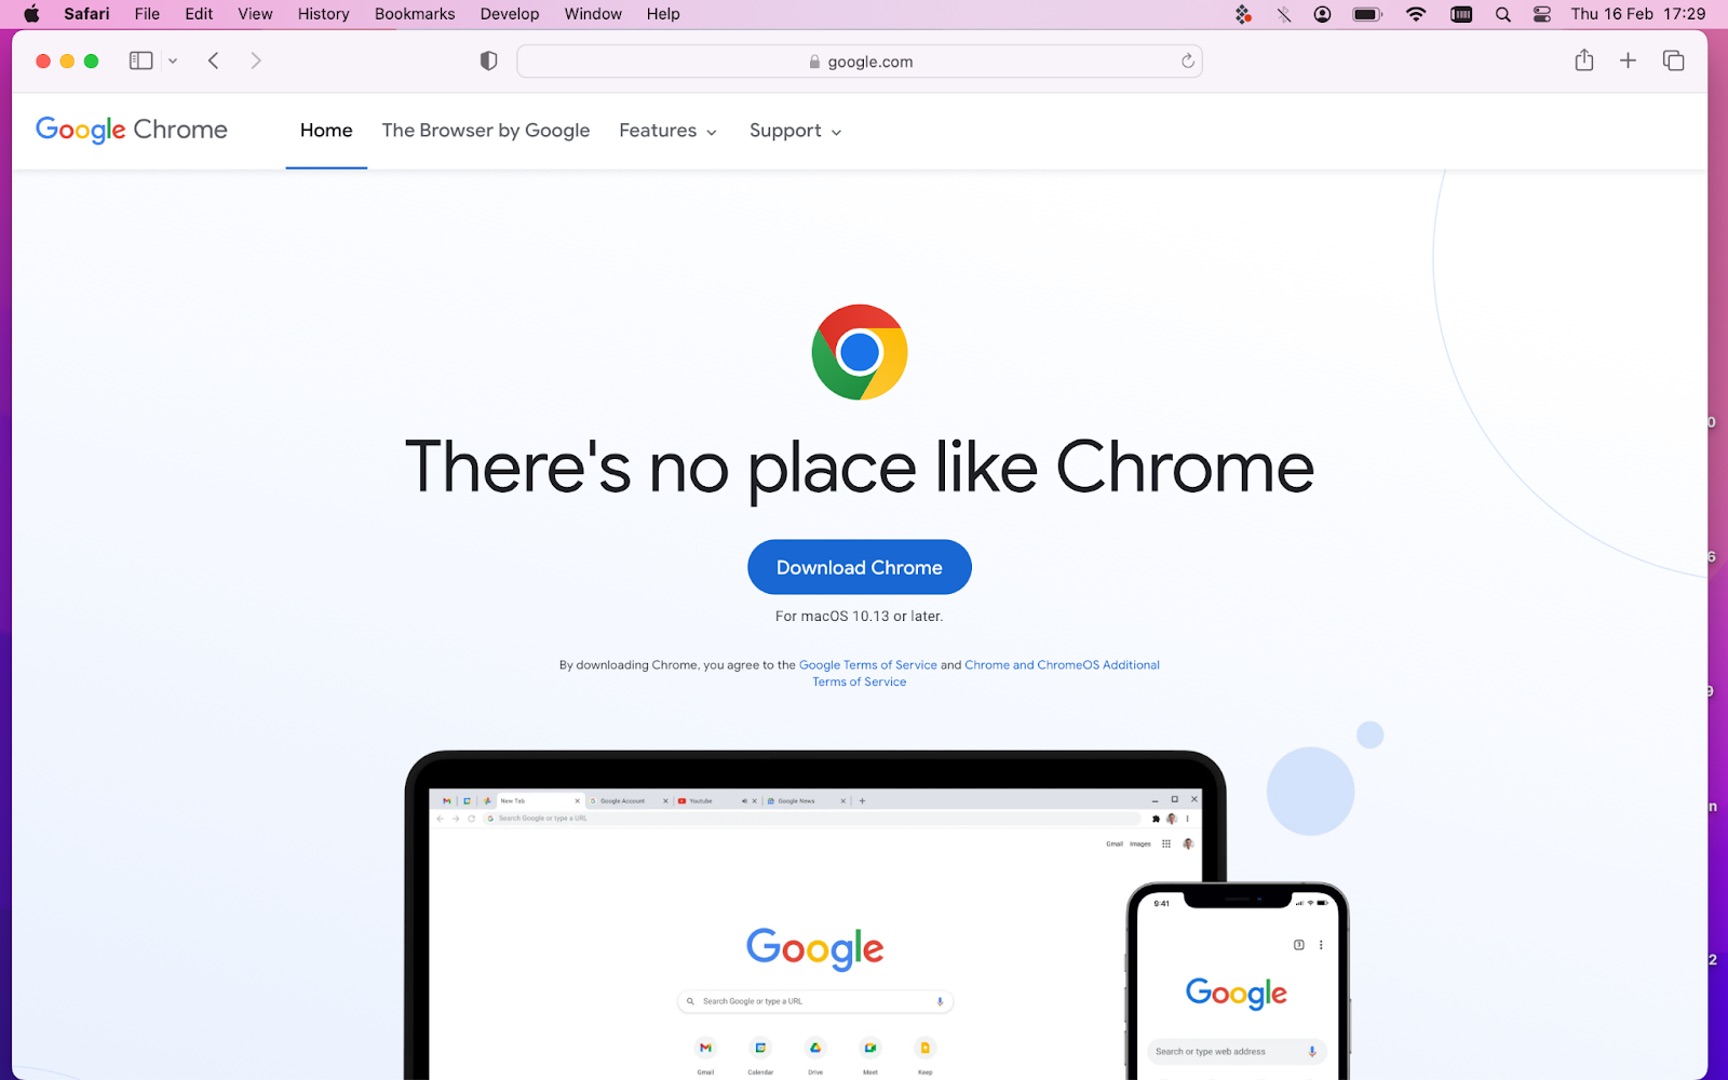
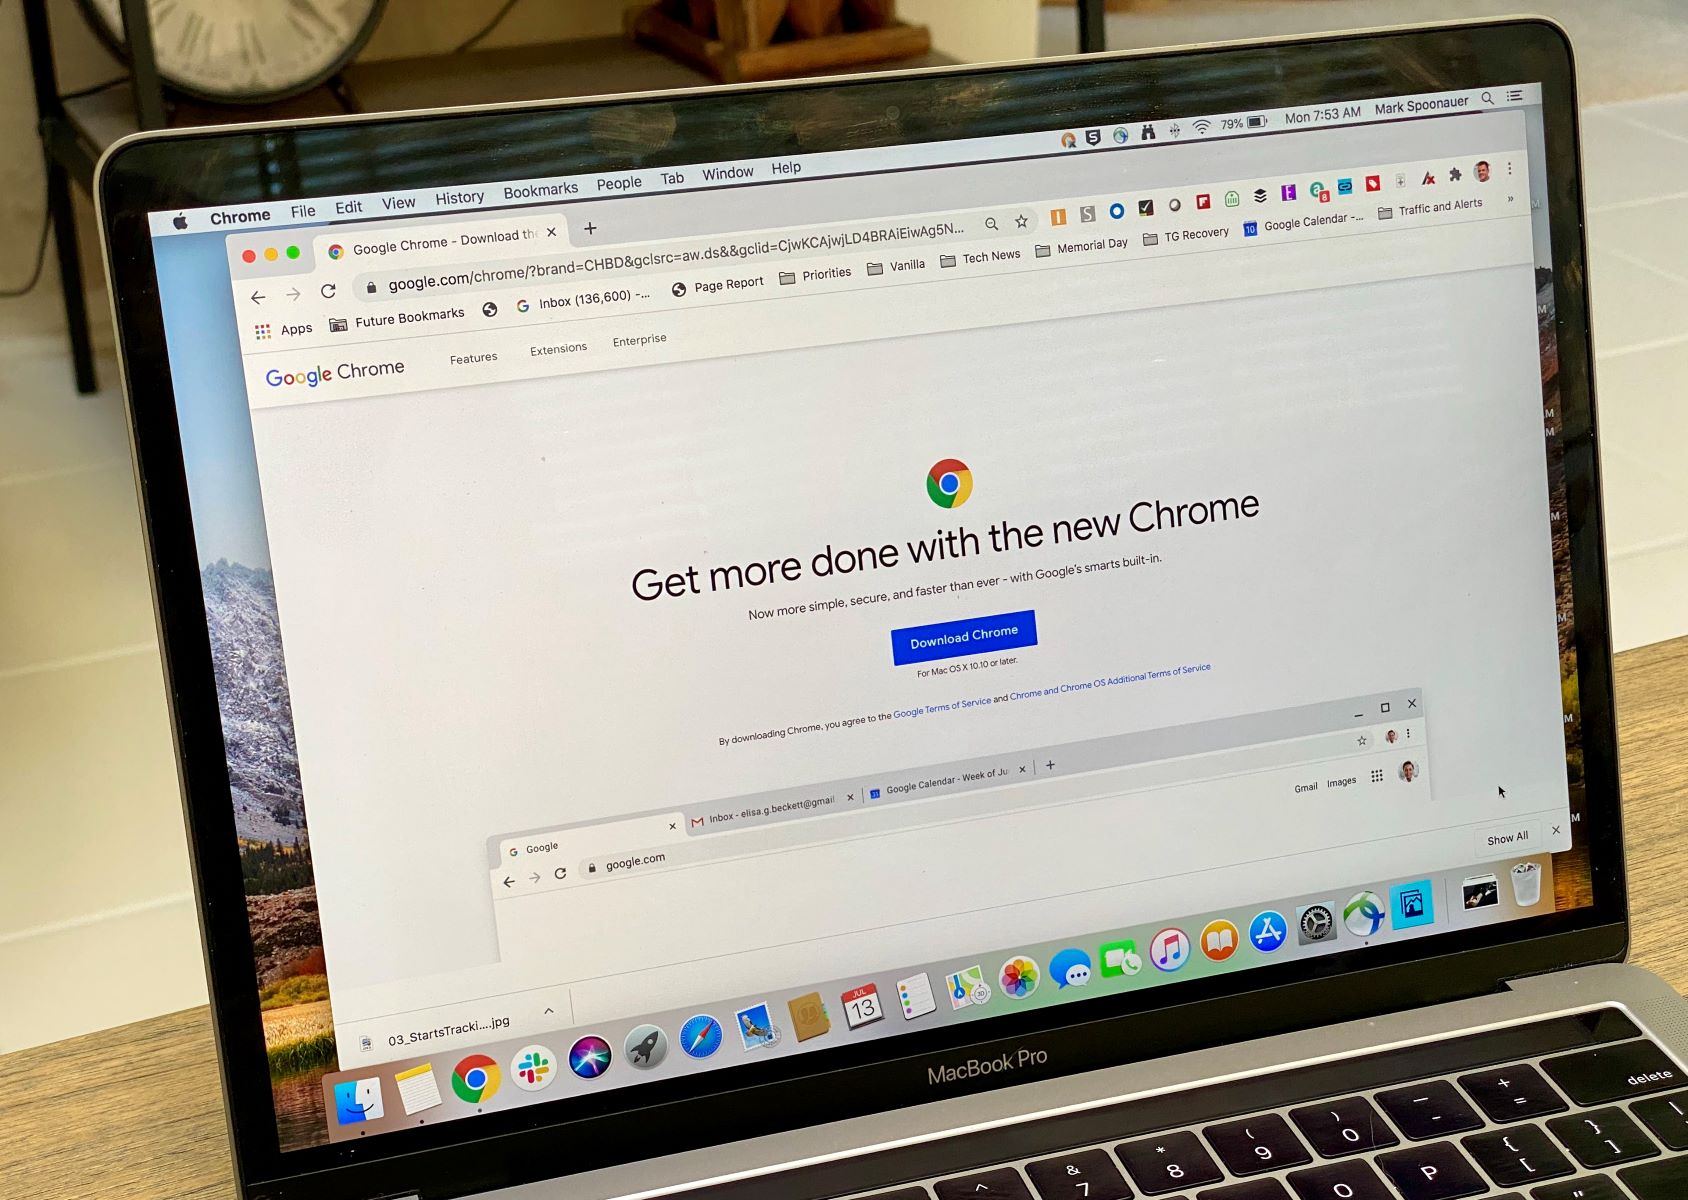
- Open your current web browser, such as Safari or Firefox, and visit the official Google Chrome website at https://www.google.com/chrome/.
- Once on the website, click on the “Download Chrome” button. Your browser will automatically recognize that you’re using a Mac and present you with the correct download file.
- Click on the downloaded file in your Downloads folder or in the browser’s download manager to initiate the installation process.
- During the installation, you may be asked to enter your Mac’s administrator password. This is normal and necessary to grant the installation permission. Enter the required password and click “Install.”
- Wait for the installation to complete. Once finished, you will see a confirmation message, and the Chrome browser will be added to your Applications folder.
Congratulations, you have successfully downloaded and installed Google Chrome on your Mac! Now, let’s move on to the next step, where we will guide you on how to open the System Preferences and access the default browser settings.
Step 2: Open the System Preferences
After successfully installing Google Chrome, it’s time to move on to the next step: opening the System Preferences on your Mac. The System Preferences is where you can customize various settings on your Mac, including the default browser. Here’s how you can access it:
- Click on the Apple logo in the top-left corner of your screen. A drop-down menu will appear.
- From the drop-down menu, select “System Preferences.” The System Preferences window will open, displaying a range of icons representing different settings.
- Look for the icon labeled “General” and click on it. The General preferences pane will appear, allowing you to modify various general settings on your Mac.
- In the General preferences pane, you will find an option labeled “Default web browser.” This is where you can select the browser you want to set as the default.
Great! You’ve successfully accessed the System Preferences on your Mac. In the next step, we’ll guide you on how to set Google Chrome as the default browser in the System Preferences settings.
Step 3: Set Chrome as the default browser
Now that you’ve opened the System Preferences on your Mac, it’s time to set Google Chrome as your default browser. Follow the steps below to make the necessary changes:
- In the General preferences pane, you will see a dropdown menu next to the “Default web browser” option. Click on this dropdown menu to view the available browser options.
- From the dropdown menu, select “Google Chrome” to set it as the default browser. As soon as you select Chrome, the changes will take effect immediately.
That’s it! You have successfully set Google Chrome as your default browser on your Mac. All web links you click on from now on will automatically open in Chrome. However, we recommend that you continue reading to the next step to confirm the change and ensure that Chrome is indeed the default browser.
Step 4: Confirm the change
It’s always a good idea to double-check and confirm that the changes you made have been applied correctly. In this step, we will show you how to confirm that Google Chrome has been set as the default browser on your Mac. Here’s what you need to do:
- Open any application or document that contains a web link. For example, you can open an email or a text document.
- Click on a web link within the application or document. The link should automatically open in Google Chrome.
- If Chrome opens and displays the web page, it means that the changes have been successfully applied, and Chrome is now your default browser.
By confirming this change, you can trust that every time you click on a web link, it will seamlessly open in Google Chrome, ensuring a consistent and hassle-free browsing experience.
Congratulations! You have successfully confirmed that Google Chrome is now your default browser. In the next step, we will guide you on how to test Chrome as the default browser by opening web links from various sources.
Step 5: Test Chrome as the default browser
Now that you’ve set Google Chrome as your default browser on your Mac, it’s time to test it out and ensure that it opens web links from various sources. Follow these steps to put Chrome to the test:
- Open a web link from your email client: Open your email application and click on any web link in an email. The link should automatically open in Google Chrome.
- Open a web link from a document: Open a document, such as a Word file or a PDF, that contains a web link. Click on the link, and it should open in Google Chrome.
- Open a web link from another application: Open other applications on your Mac, such as a messaging app or a note-taking app, that may have web links embedded. Click on a web link within the application, and it should open in Google Chrome.
- Open a web link from a website: Visit any website and click on its internal links. The links should open in Google Chrome by default.
By testing Chrome as the default browser with different sources, you can ensure that all web links you encounter in your day-to-day activities will open in Chrome automatically.
Fantastic! You have successfully tested Google Chrome as your default browser. From now on, you can enjoy the speed, features, and personalized settings of Chrome whenever you browse the internet on your Mac. If you ever decide to change the default browser again, you can follow this guide to make the necessary adjustments.
Conclusion
Congratulations on successfully setting Google Chrome as your default browser on your Mac! By following the steps outlined in this guide, you have ensured that all web links you click on, whether from emails, documents, or other applications, will automatically open in Chrome.
By making Chrome your default browser, you can enjoy its fast performance, extensive range of extensions, and personalized settings. It allows for a seamless and efficient browsing experience, making your online activities more streamlined.
Remember, if you ever want to change your default browser again, you can revisit the System Preferences and modify the default web browser settings. It’s a straightforward process that can be done anytime.
We hope this guide has been helpful in assisting you with setting Chrome as your default browser on your Mac. If you have any questions or run into any issues, feel free to refer back to this guide or seek assistance from the Google Chrome support team.
Happy browsing!