Introduction
With the rapid advancement of technology, web browsers have become an essential part of our daily lives. Whether you’re surfing the internet, checking emails, or streaming your favorite shows, a reliable and user-friendly browser is necessary for a seamless online experience.
While operating systems typically come with a default browser pre-installed, many users prefer to change their default browser to one that better suits their needs. Whether it’s for improved speed, enhanced security features, or a more intuitive user interface, changing the default browser can significantly enhance your online activities.
In this article, we will walk you through the process of changing the default browser on different platforms, including Windows, macOS, Linux, Android, and iOS. By following these steps, you’ll be able to set your preferred browser as your default choice and enjoy a more personalized browsing experience.
Before we dive into the steps, let’s take a look at why you might want to change your default browser in the first place.
Why Change the Default Browser
The default browser that comes with your operating system may not always be the best fit for your personal preferences and browsing habits. Changing the default browser allows you to harness the power and versatility of different browsers available in the market, offering features and functionalities that can greatly enhance your internet experience. Here are some reasons why you might consider changing your default browser:
- Improved Performance: One of the main reasons to switch to a different browser is to experience better performance. Some browsers are known for their speed and efficiency, allowing web pages to load quickly and smoothly.
- Enhanced Security Features: Cybersecurity is a major concern in today’s digital landscape. Certain browsers prioritize security and are equipped with advanced features, such as built-in ad-blockers, anti-phishing tools, and secure browsing options, to protect you from online threats.
- Customizable User Interface: Different browsers offer varying degrees of customization options, allowing you to personalize your browsing experience. From themes and extensions to customizable toolbars and layouts, you can tailor the browser to suit your preferences and needs.
- Compatibility: Certain browsers may work better with specific websites and web applications. Switching to a browser that is more compatible with the sites you frequently visit can ensure a seamless browsing experience without encountering compatibility issues.
- Additional Features and Tools: Many browsers come with additional features and tools that can enhance productivity and convenience. Examples include integrated note-taking capabilities, cross-device syncing, password managers, and built-in developer tools for web development enthusiasts.
By changing your default browser, you have the freedom to explore different options and find the one that aligns with your preferences and needs. Whether you’re looking for speed, security, customization, or unique features, switching to a different browser opens up a world of possibilities and allows you to optimize your online activities.
Step 1: Choosing a New Browser
Before you can change your default browser, you’ll need to choose a new browser that suits your needs and preferences. With a wide range of options available, it’s important to consider factors such as performance, security, user interface, and compatibility.
Here are a few popular browsers to consider:
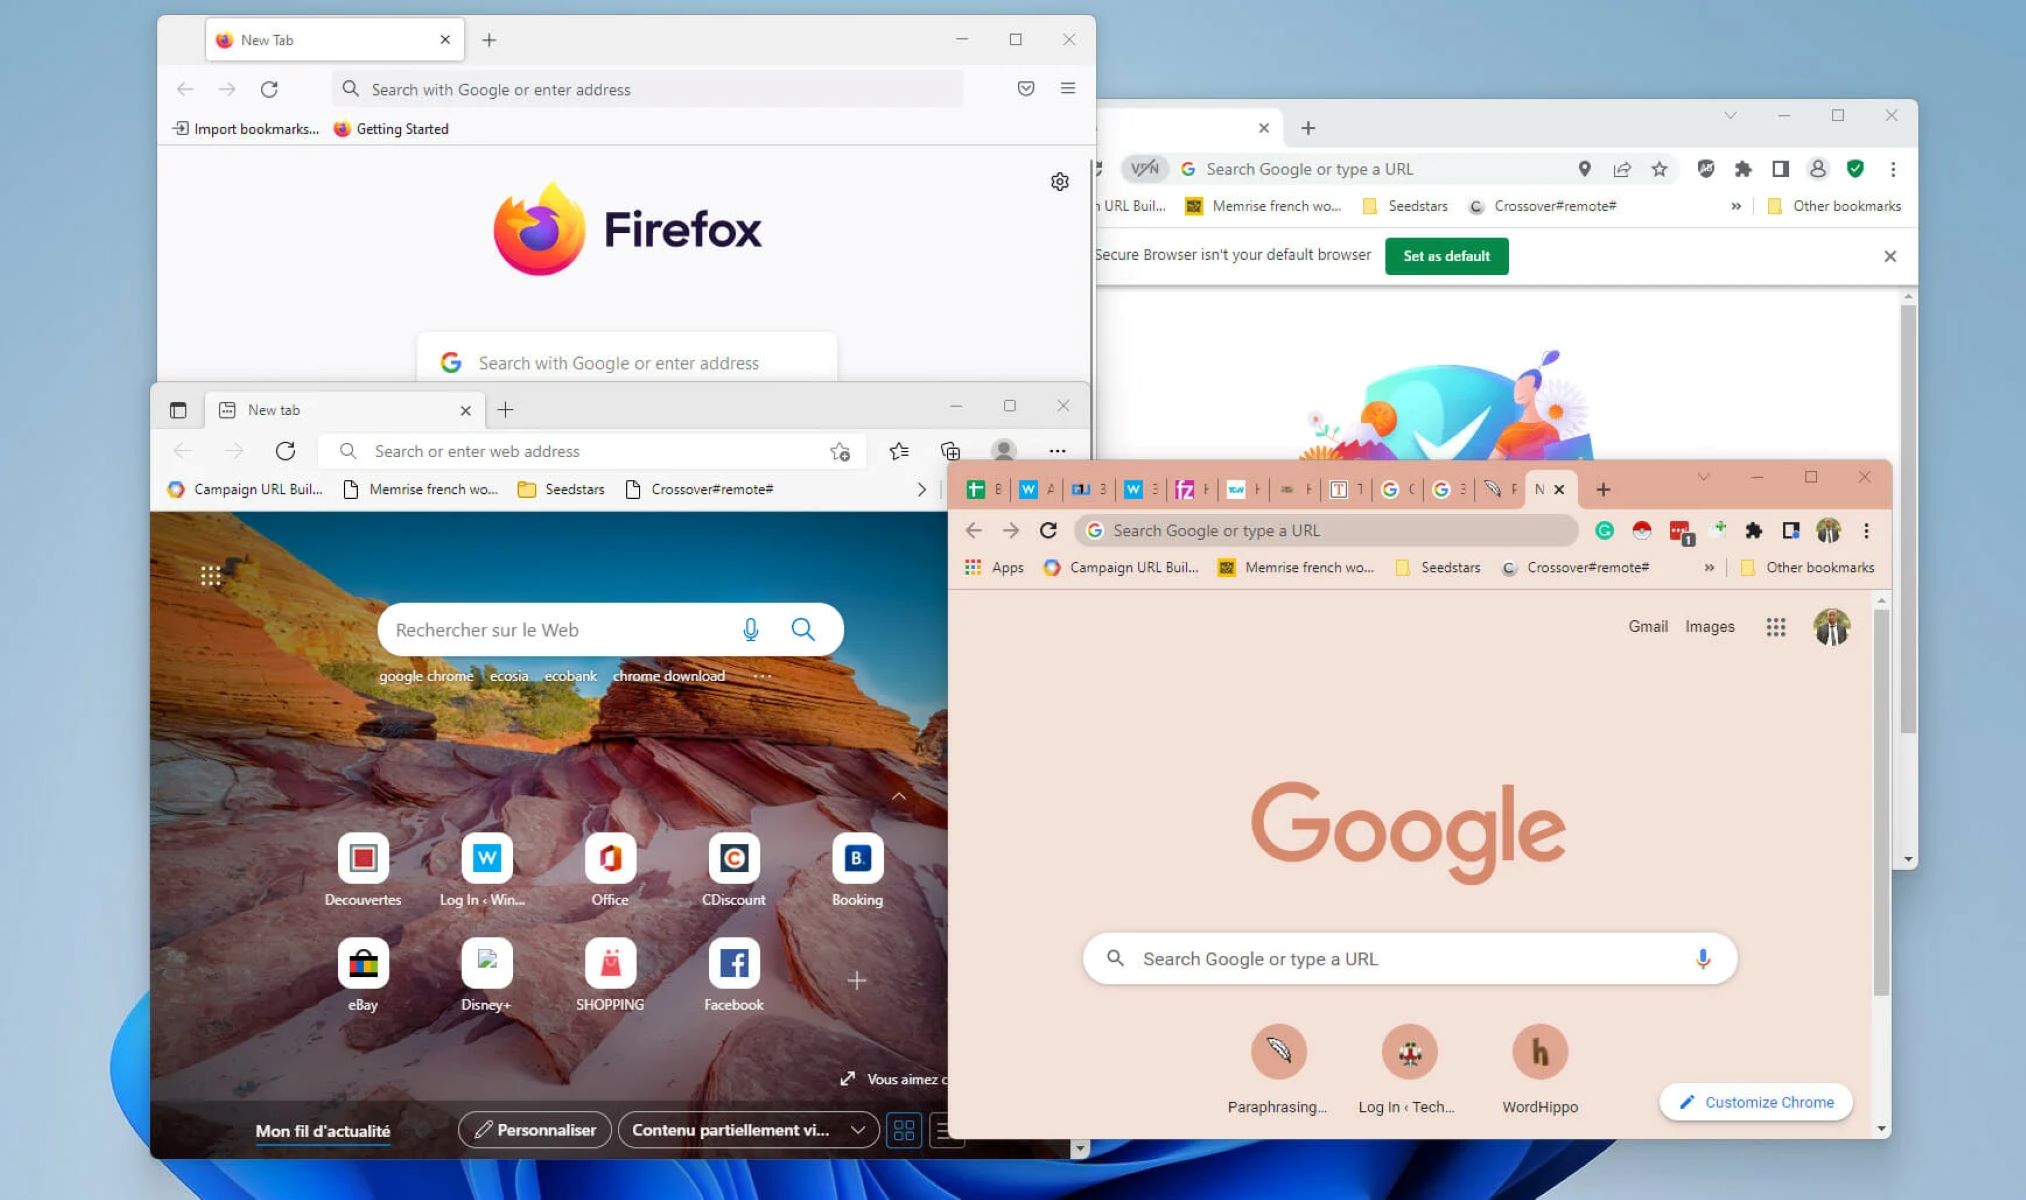
- Google Chrome: Known for its speed and intuitive user interface, Google Chrome is one of the most widely used browsers. It offers a vast collection of extensions and provides seamless integration with various Google services.
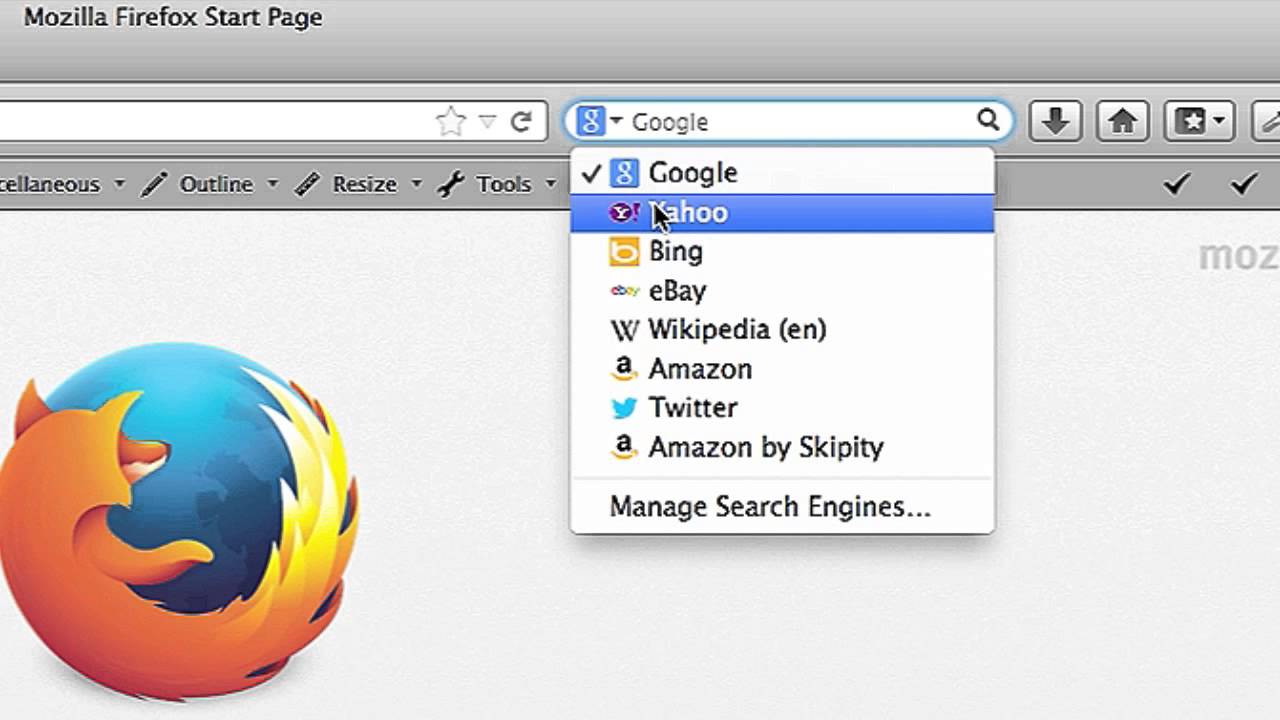
- Mozilla Firefox: Firefox is an open-source browser that focuses on user privacy and security. It offers a range of customizable options, including themes, extensions, and advanced privacy settings.
- Microsoft Edge: Formerly known as Internet Explorer, Microsoft Edge has undergone a major overhaul to become a modern and efficient browser. It offers a seamless browsing experience and integrates well with Windows operating systems.
- Safari: Safari is the default browser for macOS and offers a clean and intuitive user interface. It is known for its fast performance and is optimized for Apple devices.
- Opera: Opera is a feature-rich browser that boasts excellent speed and security. It offers a unique set of features such as a built-in VPN, ad-blocker, and a customizable sidebar for quick access to tools and bookmarks.
These are just a few examples, and there are many other browsers available in the market. Take some time to research and compare the features and benefits of each browser to determine which one aligns with your needs and preferences.
Consider factors such as browsing speed, security features, user interface, customization options, and compatibility with your operating system and preferred websites. Reading user reviews and exploring browser guides can also provide valuable insights to help you make an informed decision.
Once you’ve chosen a new browser, you’re ready to move on to the next step: installing the browser on your device.
Step 2: Installing the New Browser
After selecting the browser that best fits your needs, the next step is to install it on your device. The installation process may vary slightly depending on the operating system you’re using, but the general steps remain the same.
Here’s a step-by-step guide on how to install the new browser:
- Visit the Browser’s Website: Go to the official website of the browser you’ve chosen. You can easily find the website by searching for the browser’s name in your preferred search engine.
- Look for the Download Button: On the browser’s website, look for a prominent download button or link. Click on it to start the download process.
- Choose the Correct Version: Make sure to download the version of the browser that is compatible with your operating system. Most browser websites automatically detect your operating system and provide the appropriate download option.
- Start the Download: Once you’ve selected the correct version, click on the download button to start the downloading process. The browser’s installer file will be saved to your computer or mobile device.
- Run the Installer: Locate the installer file on your device and double-click it to run the installation process. Follow the on-screen prompts and instructions to complete the installation.
- Finish the Installation: Once the installation is complete, you will usually see a confirmation message or window indicating that the browser has been successfully installed on your device.
It’s important to note that some browsers may require additional setup steps or offer optional features during the installation process. Take the time to review these options and customize the browser to your liking.
After installing the new browser, you can proceed to the next step: setting it as the default browser on your respective operating system.
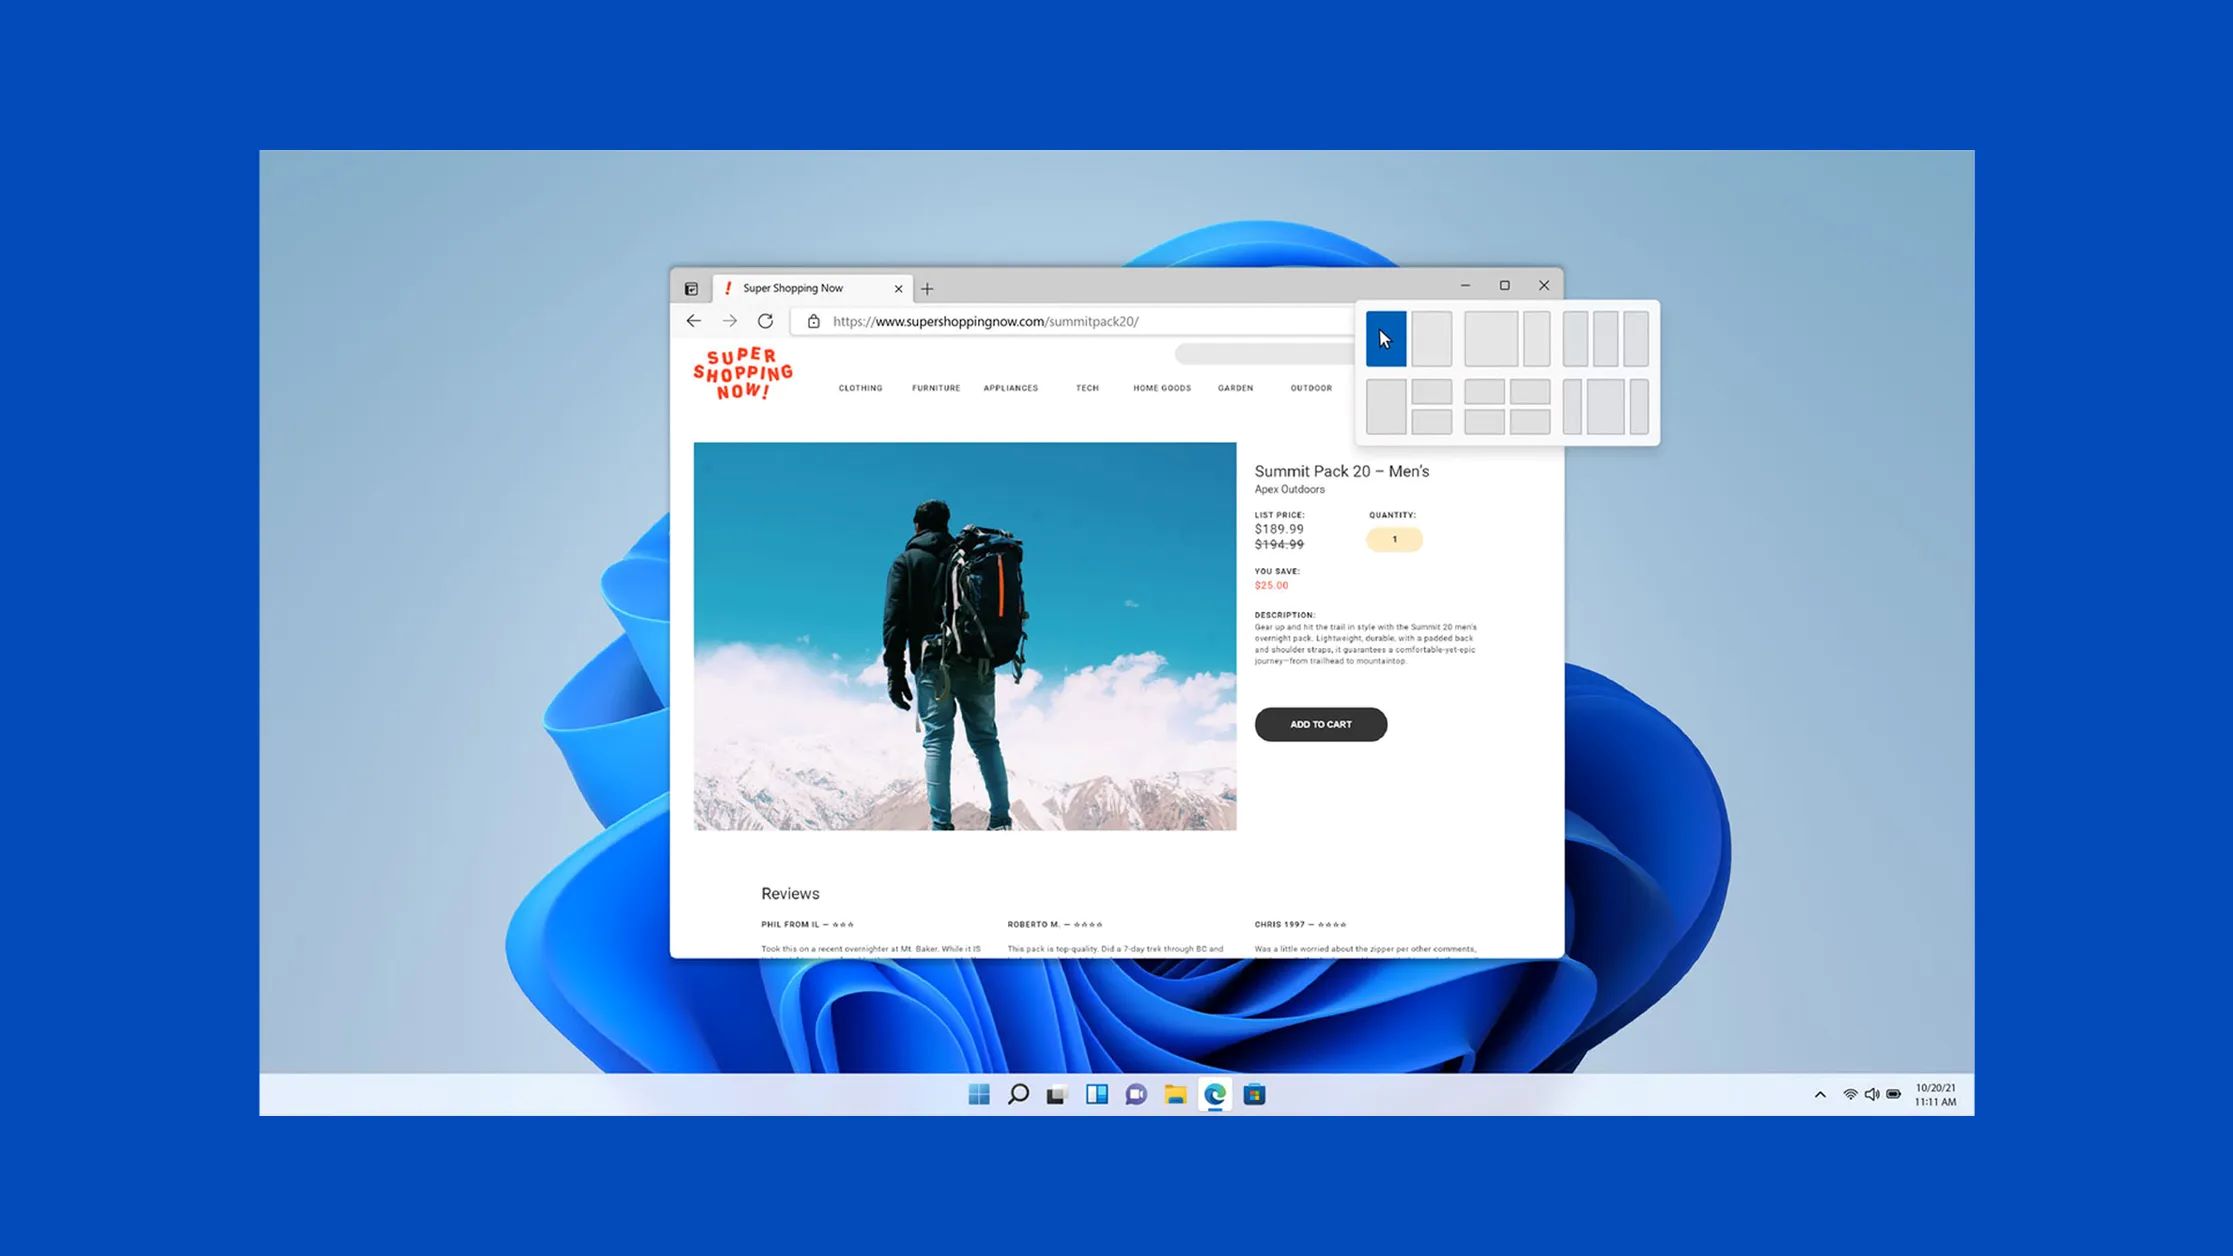
Step 3: Setting the New Browser as Default on Windows
Setting the new browser as the default on Windows is a straightforward process that can be done through the settings of your operating system. Here’s a step-by-step guide:
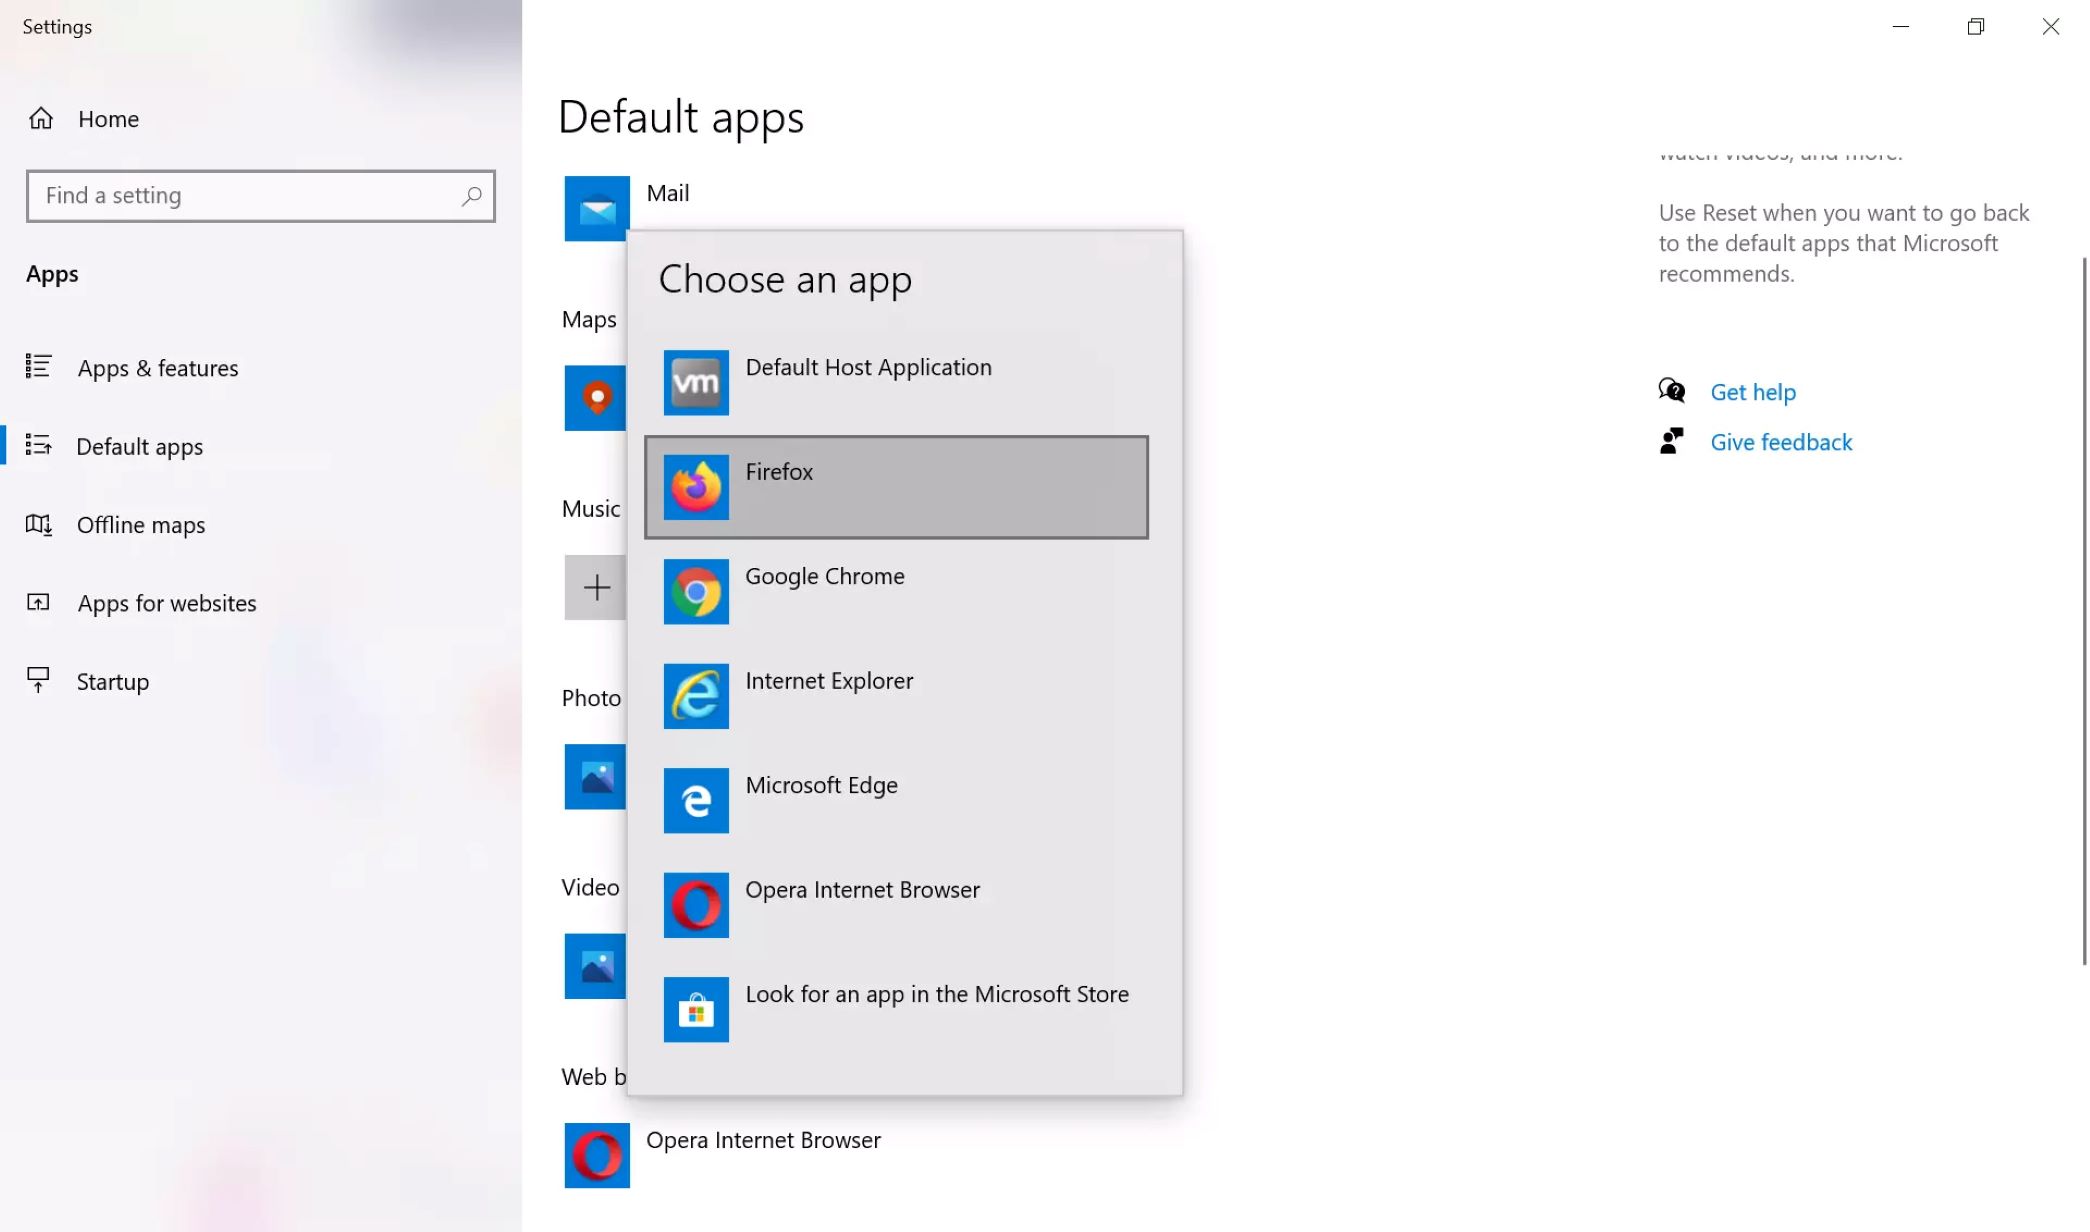
- Locate the Settings: Click on the “Start” menu and select the “Settings” icon (typically represented by a gear icon).
- Open the Default Apps: In the Settings window, click on the “Apps” option.
- Select Default Apps: On the left sidebar of the Apps settings, click on the “Default apps” option.
- Change the Web Browser: Scroll down to the “Web browser” section and click on the currently assigned browser. A list of installed browsers will appear.
- Choose the New Browser: From the list, locate the newly installed browser and click on it to set it as the default browser.
- Confirmation: Once selected, the new browser will be set as the default option and any links or web-related files will open in this browser by default.
After following these steps, you have successfully set the new browser as the default on your Windows device.
It’s worth mentioning that Windows may prompt you to confirm or update the default browser when you open the new browser for the first time. Simply follow the on-screen instructions to confirm your selection and make the new browser your default option.
Now that you have set the new browser as the default on Windows, you can enjoy the enhanced browsing experience and take advantage of the features and capabilities of your preferred browser.
Step 4: Setting the New Browser as Default on macOS
Changing the default browser on macOS is a simple process that allows you to set your preferred browser as the default option for opening web links and pages. Here’s how to do it:
- Open System Preferences: Click on the Apple menu at the top left corner of your screen and select “System Preferences” from the dropdown menu.
- Select General: Within the System Preferences window, click on the “General” icon.
- Choose Default Web Browser: Towards the bottom of the General settings, you will see a dropdown menu next to “Default web browser”. Click on it to reveal the list of available web browsers.
- Select New Browser: From the list, find and select the newly installed browser that you want to set as the default.
- Confirmation: Once you have selected the new browser, close the System Preferences window.
Following these steps will ensure that the newly installed browser is set as the default option for browsing on your macOS device.
After setting the new browser as the default, macOS will now open any web links or pages in the selected browser by default. You can now enjoy a seamless browsing experience with your preferred browser on macOS.
It’s important to note that upon opening the new browser for the first time, macOS may prompt you to confirm the default browser change. Follow the on-screen instructions to verify your choice and complete the process.
Now that you have successfully set the new browser as the default on macOS, you can explore its features and take advantage of a more personalized browsing experience.
Step 5: Setting the New Browser as Default on Linux
Changing the default browser on Linux allows you to set your preferred browser as the default option for browsing the internet. The process may vary slightly depending on the Linux distribution you’re using, but the general steps remain the same. Here’s a guide to help you set the new browser as the default on Linux:
- Open the Default Applications Settings: Depending on your Linux distribution, you can usually find the Default Applications settings under the “Settings” or “System Settings” menu.
- Locate the Web Browser Setting: Within the Default Applications settings, look for the section or tab related to web browsers or web applications.
- Choose the New Browser: In the web browser settings, you will see a list of installed browsers. Select the newly installed browser that you want to set as the default.
- Apply the Changes: Once you have chosen the new browser, save or apply the changes in the Default Applications settings.
By following these steps, you have successfully set the new browser as the default option for browsing the internet on Linux.
It’s important to note that Linux distributions may have different graphical interfaces and settings menus, so the exact location and wording of the Default Applications settings may vary. However, most Linux distributions provide a simple way to change the default browser through their settings menus.
After setting the new browser as the default, any web links or pages you open on Linux will now automatically launch in the selected browser. You can now enjoy a seamless browsing experience with your preferred browser on your Linux device.
Now that you have successfully set the new browser as the default on Linux, you can explore its features and enjoy a more personalized browsing experience tailored to your preferences.
Step 6: Setting the New Browser as Default on Android
Changing the default browser on an Android device allows you to set your preferred browser as the default option for browsing the internet, opening links, and handling web-related activities. The process may vary slightly depending on the version of Android and the device manufacturer, but the general steps remain consistent. Here’s a guide to help you set the new browser as the default on Android:
- Open Settings: Tap on the Settings icon on your Android device to access the system settings.
- Select Apps & Notifications: Scroll down and find the “Apps & Notifications” or “Apps” option in the Settings menu and tap on it.
- Choose Default Apps: Within the Apps & Notifications settings, look for an option that says “Default Apps” or “Default” and tap on it.
- Find and Select Browser App: Locate the category related to web browsers or web links. Tap on the currently selected browser app.
- Choose the New Browser: From the list of available browsers, select the newly installed browser that you want to set as the default option.
- Confirm the Change: Depending on your Android device, you may be prompted to confirm the change. If so, follow the on-screen instructions to complete the process.
Following these steps will ensure that the newly installed browser is set as the default option for browsing the internet and opening links on your Android device.
Please note that the options and menu names may vary slightly depending on your device’s version of Android and manufacturer’s interface. However, most Android devices provide a straightforward way to change the default browser through the settings menu.
Once you have set the new browser as the default on Android, you can enjoy a seamless browsing experience tailored to your preferences. Any links you open will automatically launch in your selected browser.
Now that you have successfully set the new browser as the default on Android, you can explore its features and enjoy a more personalized browsing experience on your mobile device.
Step 7: Setting the New Browser as Default on iOS
Setting the new browser as the default option on iOS devices allows you to customize your web browsing experience and open links directly in your preferred browser. The process may vary slightly depending on the version of iOS you’re using, but the general steps remain consistent. Here’s a guide to help you set the new browser as the default on iOS:
- Open Settings: Tap on the Settings icon on your iOS device to access the settings menu.
- Scroll and Find the Browser App: Scroll down the settings menu and look for the browser app you want to set as the default. Depending on your device, it may be listed under “Settings” or have a separate category.
- Tap on the Browser App: Once you have located the browser app, tap on it to access its specific settings.
- Look for “Default Browser App”: Within the browser app settings, look for an option that says “Default Browser App” or something similar. Tap on it to proceed.
- Select the New Browser: From the list of available browsers, select the newly installed browser that you want to set as the default.
- Confirm the Selection: Depending on your iOS version, you may be prompted to confirm the selection. Follow the on-screen instructions to complete the process.
By following these steps, you have successfully set the new browser as the default option for browsing the internet and opening links on your iOS device.
Please note that the exact menu names and options may vary depending on your device’s version of iOS. However, most iOS devices provide a straightforward way to change the default browser through the settings menu.
Once you have set the new browser as the default on iOS, any links you open will automatically launch in your selected browser. You can now enjoy a seamless and personalized browsing experience on your iOS device.
Now that you have successfully set the new browser as the default on iOS, you can explore its features and enjoy a more personalized web browsing experience tailored to your preferences.
Conclusion
Changing the default browser on your device can significantly enhance your web browsing experience. By selecting a browser that aligns with your preferences and needs, you can enjoy improved performance, enhanced security features, customizable user interfaces, and compatibility with specific websites or applications.
In this article, we have provided a step-by-step guide to help you change the default browser on various platforms, including Windows, macOS, Linux, Android, and iOS. We explored the importance of selecting the right browser and highlighted popular options like Google Chrome, Mozilla Firefox, Microsoft Edge, Safari, and Opera.
We discussed the installation process for the new browser and walked you through the steps of setting it as the default option on each platform. From accessing the settings menu to selecting the new browser and confirming the changes, we covered the necessary steps to ensure a seamless transition.
Remember, the process may slightly vary depending on your specific operating system and device. It’s always a good idea to consult the official documentation or support resources provided by the browser and your operating system to ensure you have the most up-to-date and accurate instructions.
By following the steps outlined in this article, you can customize your web browsing experience and enjoy a more personalized and efficient online journey. Whether it’s for improved speed, enhanced security, or a user-friendly interface, changing the default browser allows you to optimize your web activities and make the most of your internet browsing sessions.
Now, it’s time to explore the features and capabilities of your newly set default browser and embark on a seamless browsing experience tailored to your preferences.