Introduction
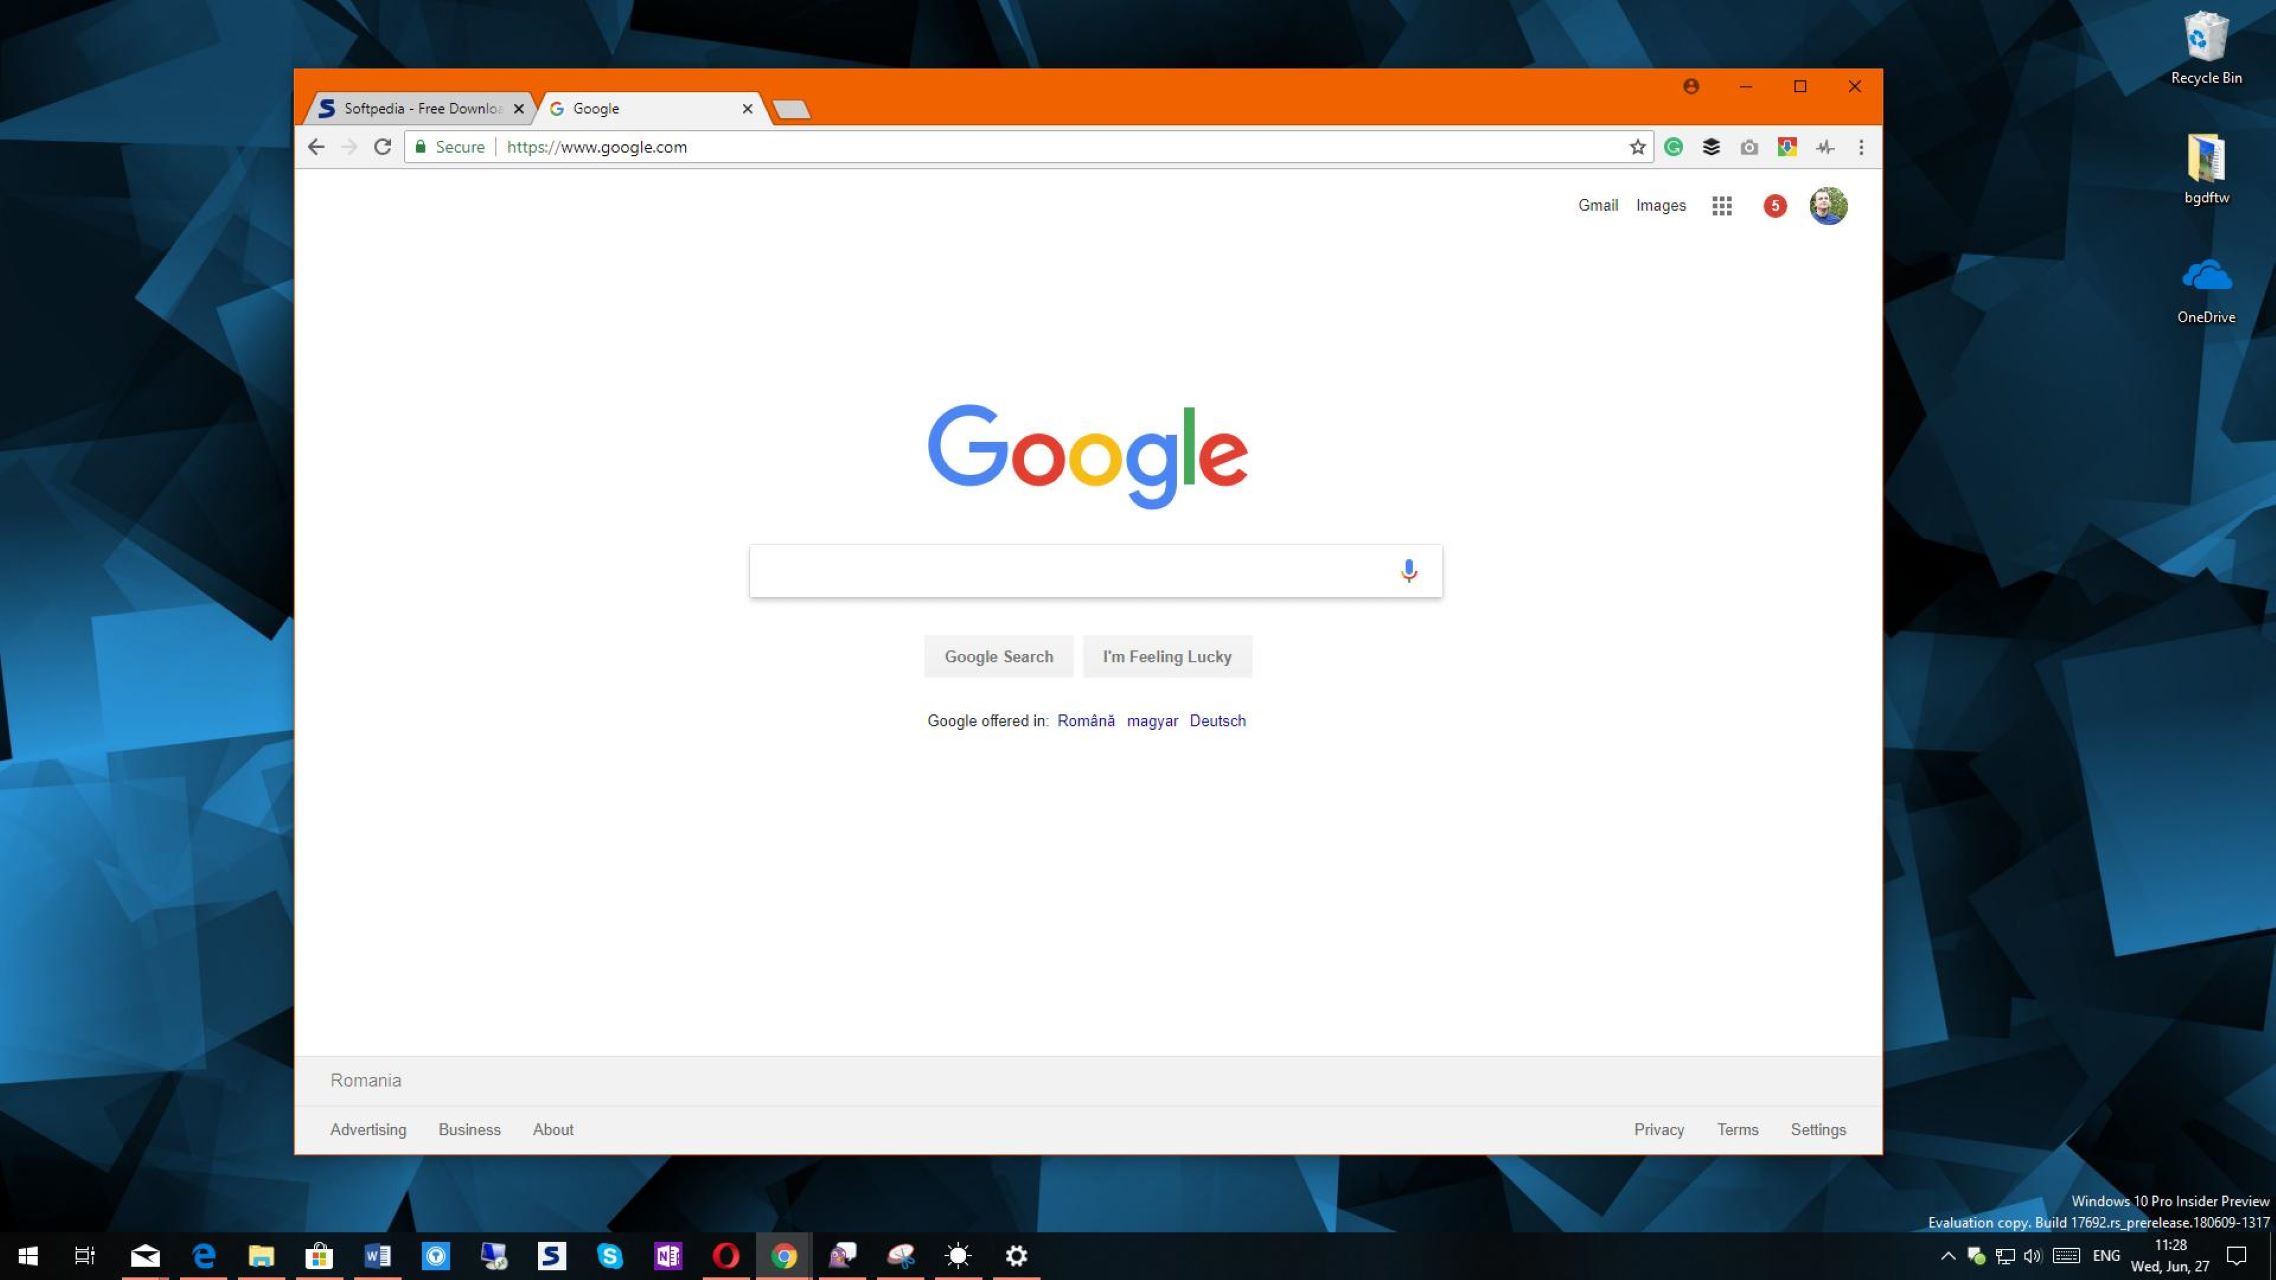
Choosing a default web browser is a personal preference and an essential customization option for Windows 10 users. While Microsoft Edge comes pre-installed as the default browser, many people prefer to use alternative browsers like Google Chrome, Mozilla Firefox, or Opera due to their specific features or personal preferences.
In this article, we will guide you through the process of changing your default web browser on Windows 10. Whether you want to switch to a browser you are more familiar with or want to explore the benefits of another browser, this step-by-step guide will help you make the change.
By changing your default browser, you can ensure that all web links, HTML files, and other web-related activities open in the browser of your choice, providing a more seamless and personalized online experience.
We will walk you through the process using the Windows 10 Settings app, which provides an easy and straightforward way to customize the default apps on your computer. No technical expertise is required, so let’s get started and make the switch to your preferred web browser on Windows 10!
Step 1: Open Settings
To change the default browser on your Windows 10 computer, the first step is to open the Settings app. Here’s how you can do it:
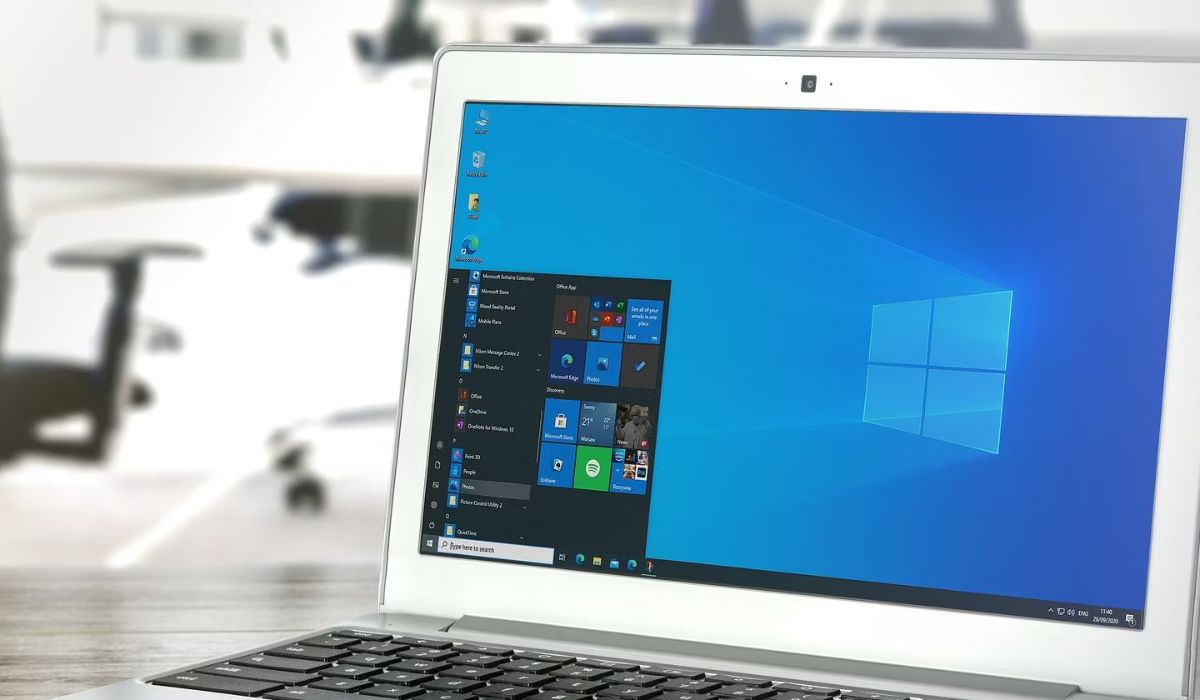
- Click on the “Start” button located at the bottom left corner of your desktop screen. You can also press the Windows key on your keyboard.
- In the Start menu, click on the “Settings” icon. It resembles a gear and is usually located above the power button.
- The Settings app will open, displaying various categories and options for customization.
Alternatively, you can use the keyboard shortcut by pressing the Windows key + I to directly open the Settings app.
Once you have successfully opened the Settings app, you are ready to proceed to the next step and change your default browser.
Note: In some cases, if you have a specific browser installed, you may see a prompt or a notification from that browser asking if you want to set it as your default browser. You can follow the browser’s prompt to change the default browser, but if you want to explore other options or change the default browser later, it’s recommended to follow the step-by-step process outlined in this article.
Step 2: Click on “Apps”
Once you have the Settings app open, the next step is to navigate to the “Apps” section where you can manage and customize various applications on your Windows 10 computer. Follow these steps:
- In the Settings app, you will find a list of categories. Look for and click on the “Apps” category.
- The “Apps & features” page will open, displaying a list of installed applications on your computer.
On this page, you can not only change your default browser but also manage other applications installed on your computer, such as modifying installed apps, uninstalling unwanted apps, or managing default programs for specific file types.
Now that you have successfully reached the “Apps” section, let’s move on to the next step and find the option to customize your default web browser.
Note: If you have the latest version of Windows 10, you may see a slightly different layout or wording in the Settings app. However, the overall process of changing the default browser remains the same. Feel free to adapt the steps accordingly if you encounter any variations in your Windows 10 version.
Step 3: Select “Default apps”
After you have entered the “Apps & features” section, it’s time to proceed to the next step of changing your default browser. Follow these instructions:
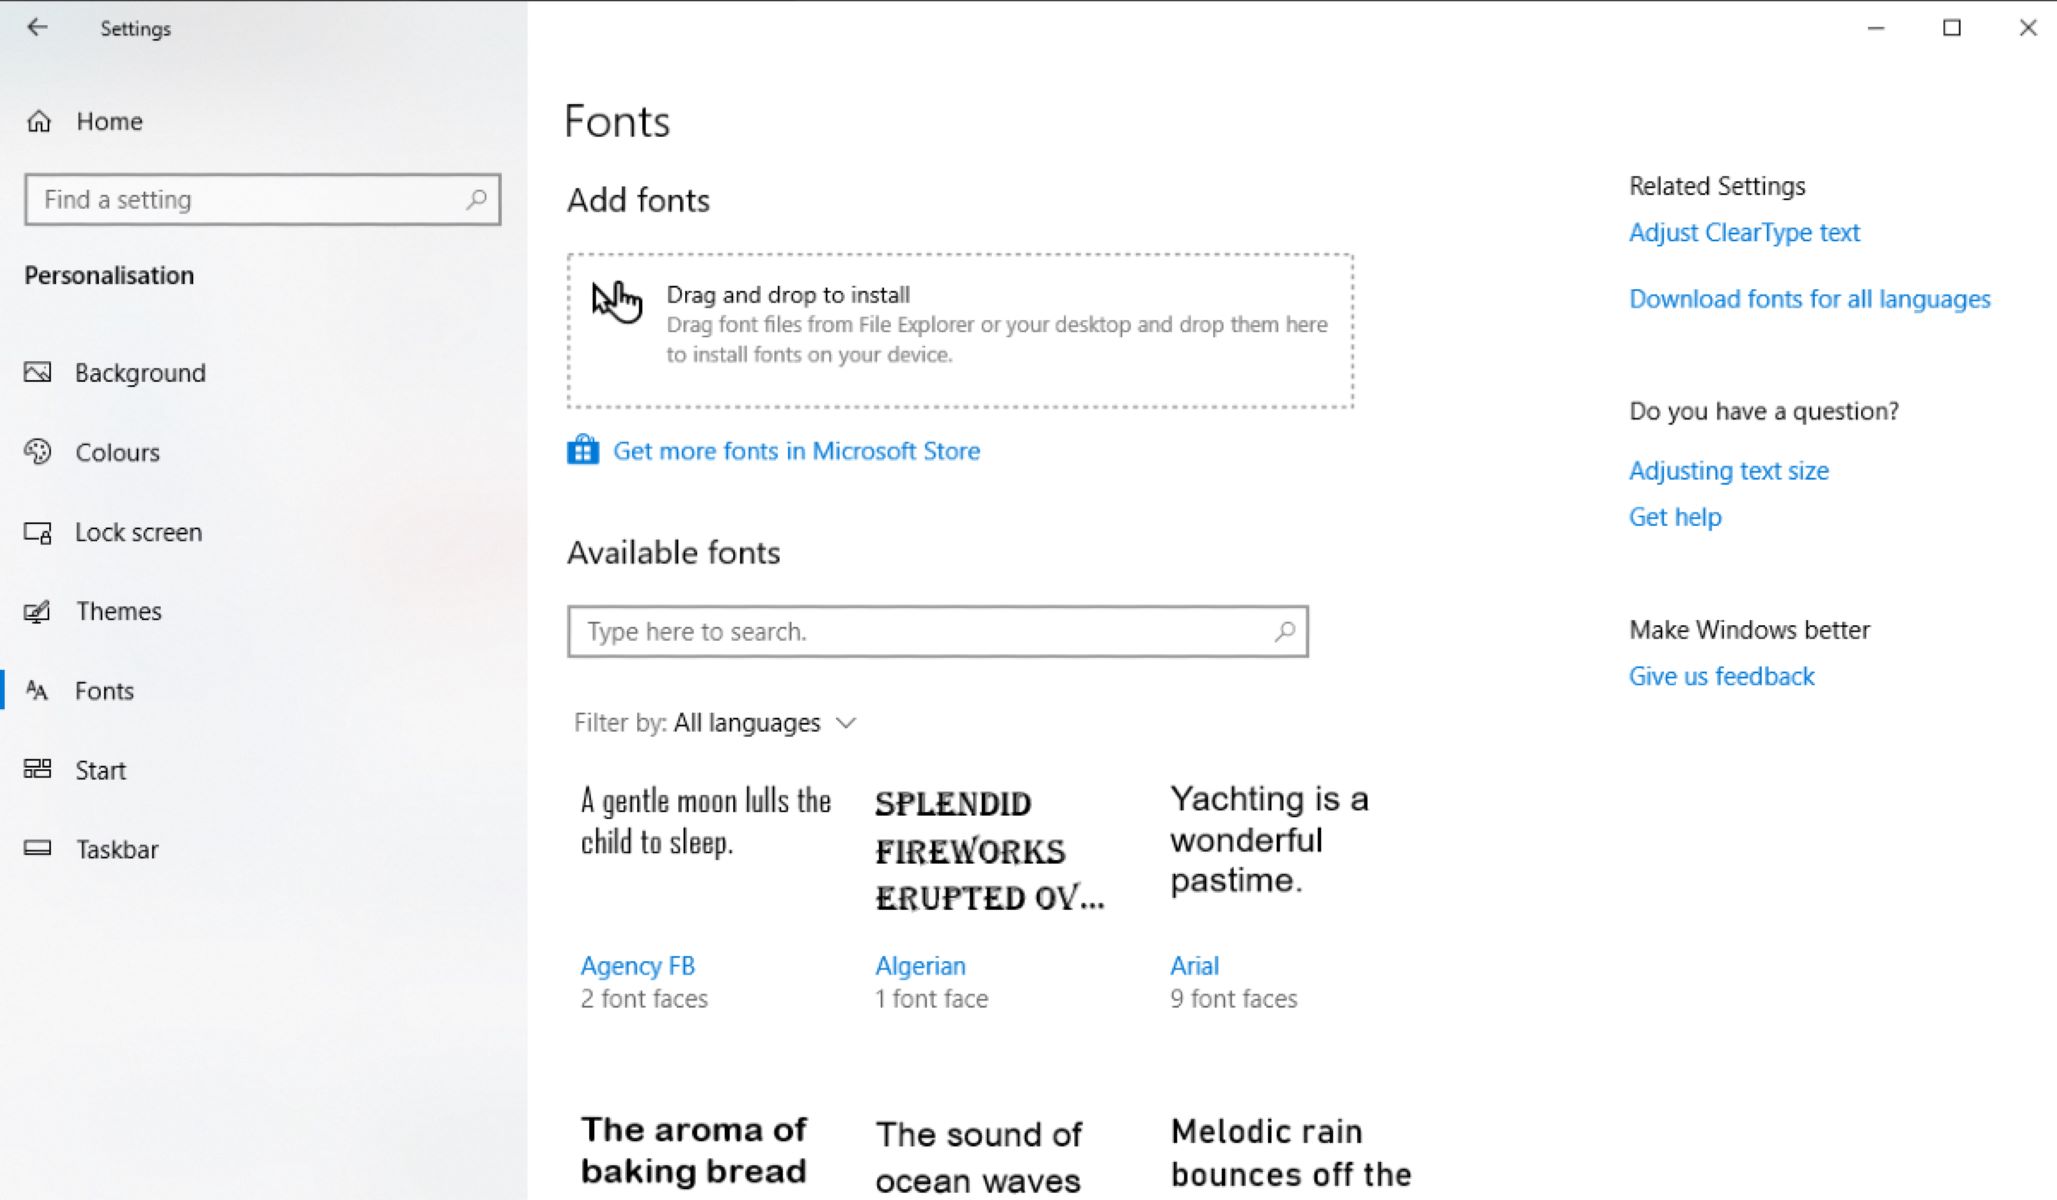
- Within the “Apps & features” page, locate and click on the “Default apps” option on the left-hand side menu.
- By selecting “Default apps,” you will be taken to a new page where you can personalize your computer’s default settings for various applications.
On the “Default apps” page, you can not only change your default browser but also adjust other default settings for programs like email clients, media players, or photo viewers.
Now that you have reached the “Default apps” page, you are one step closer to customizing your default web browser. Let’s move on to the next step and locate the option to change the default browser on your Windows 10 computer.
Step 4: Click on “Web browser”
On the “Default apps” page, you will find a list of default applications for various tasks. To change your default web browser, follow these steps:
- Scroll down the “Default apps” page until you find the section labeled “Web browser.”
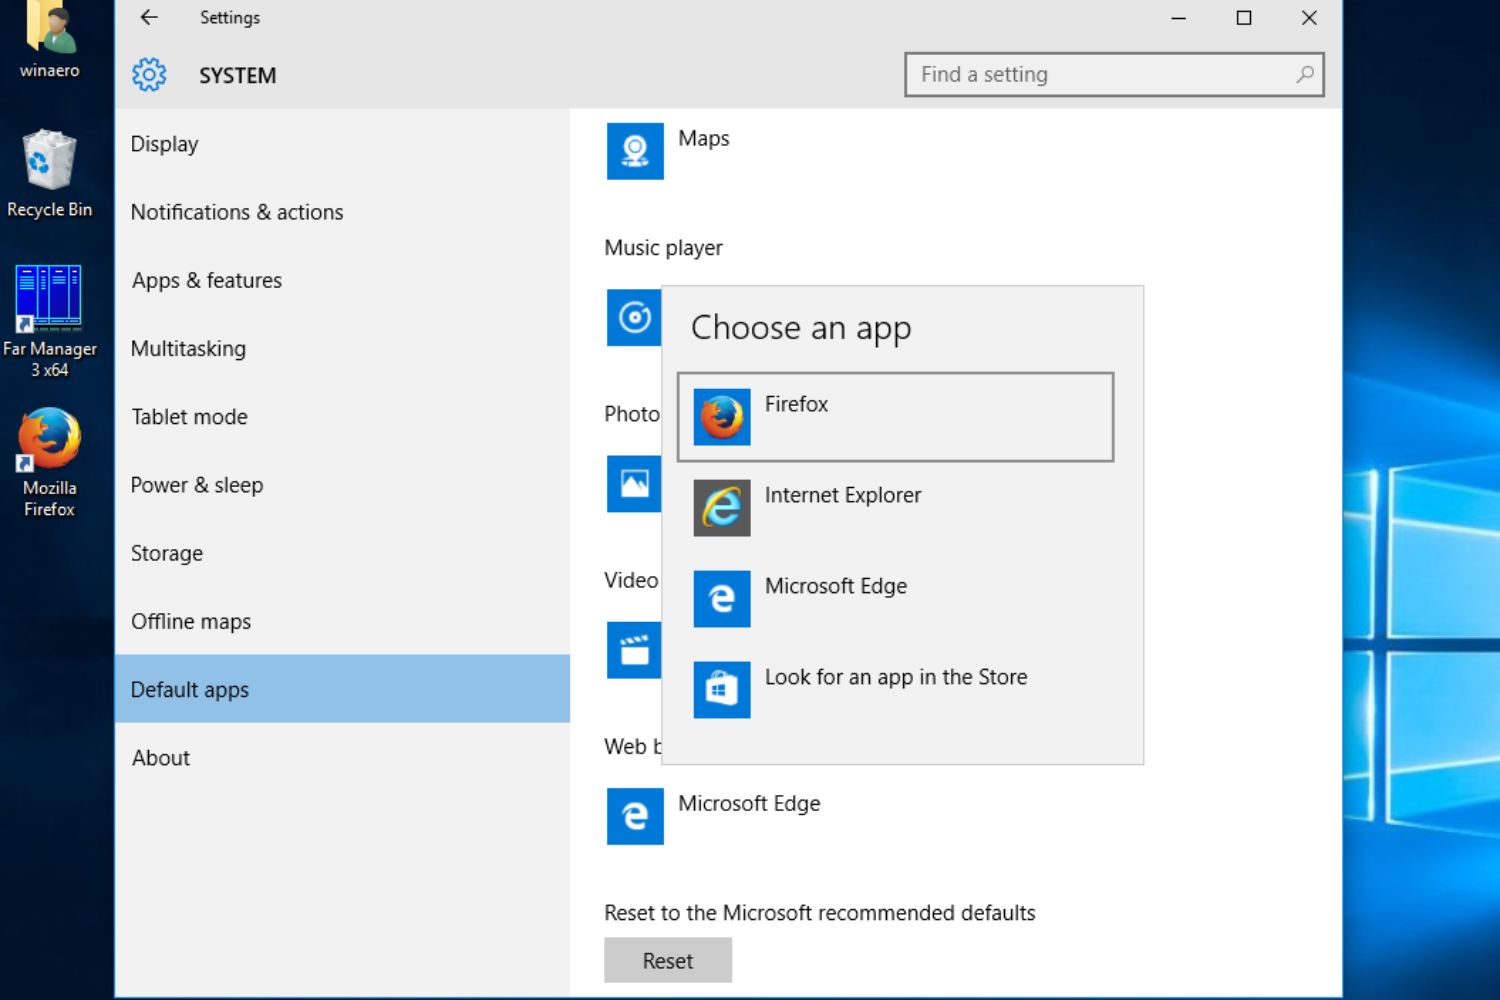
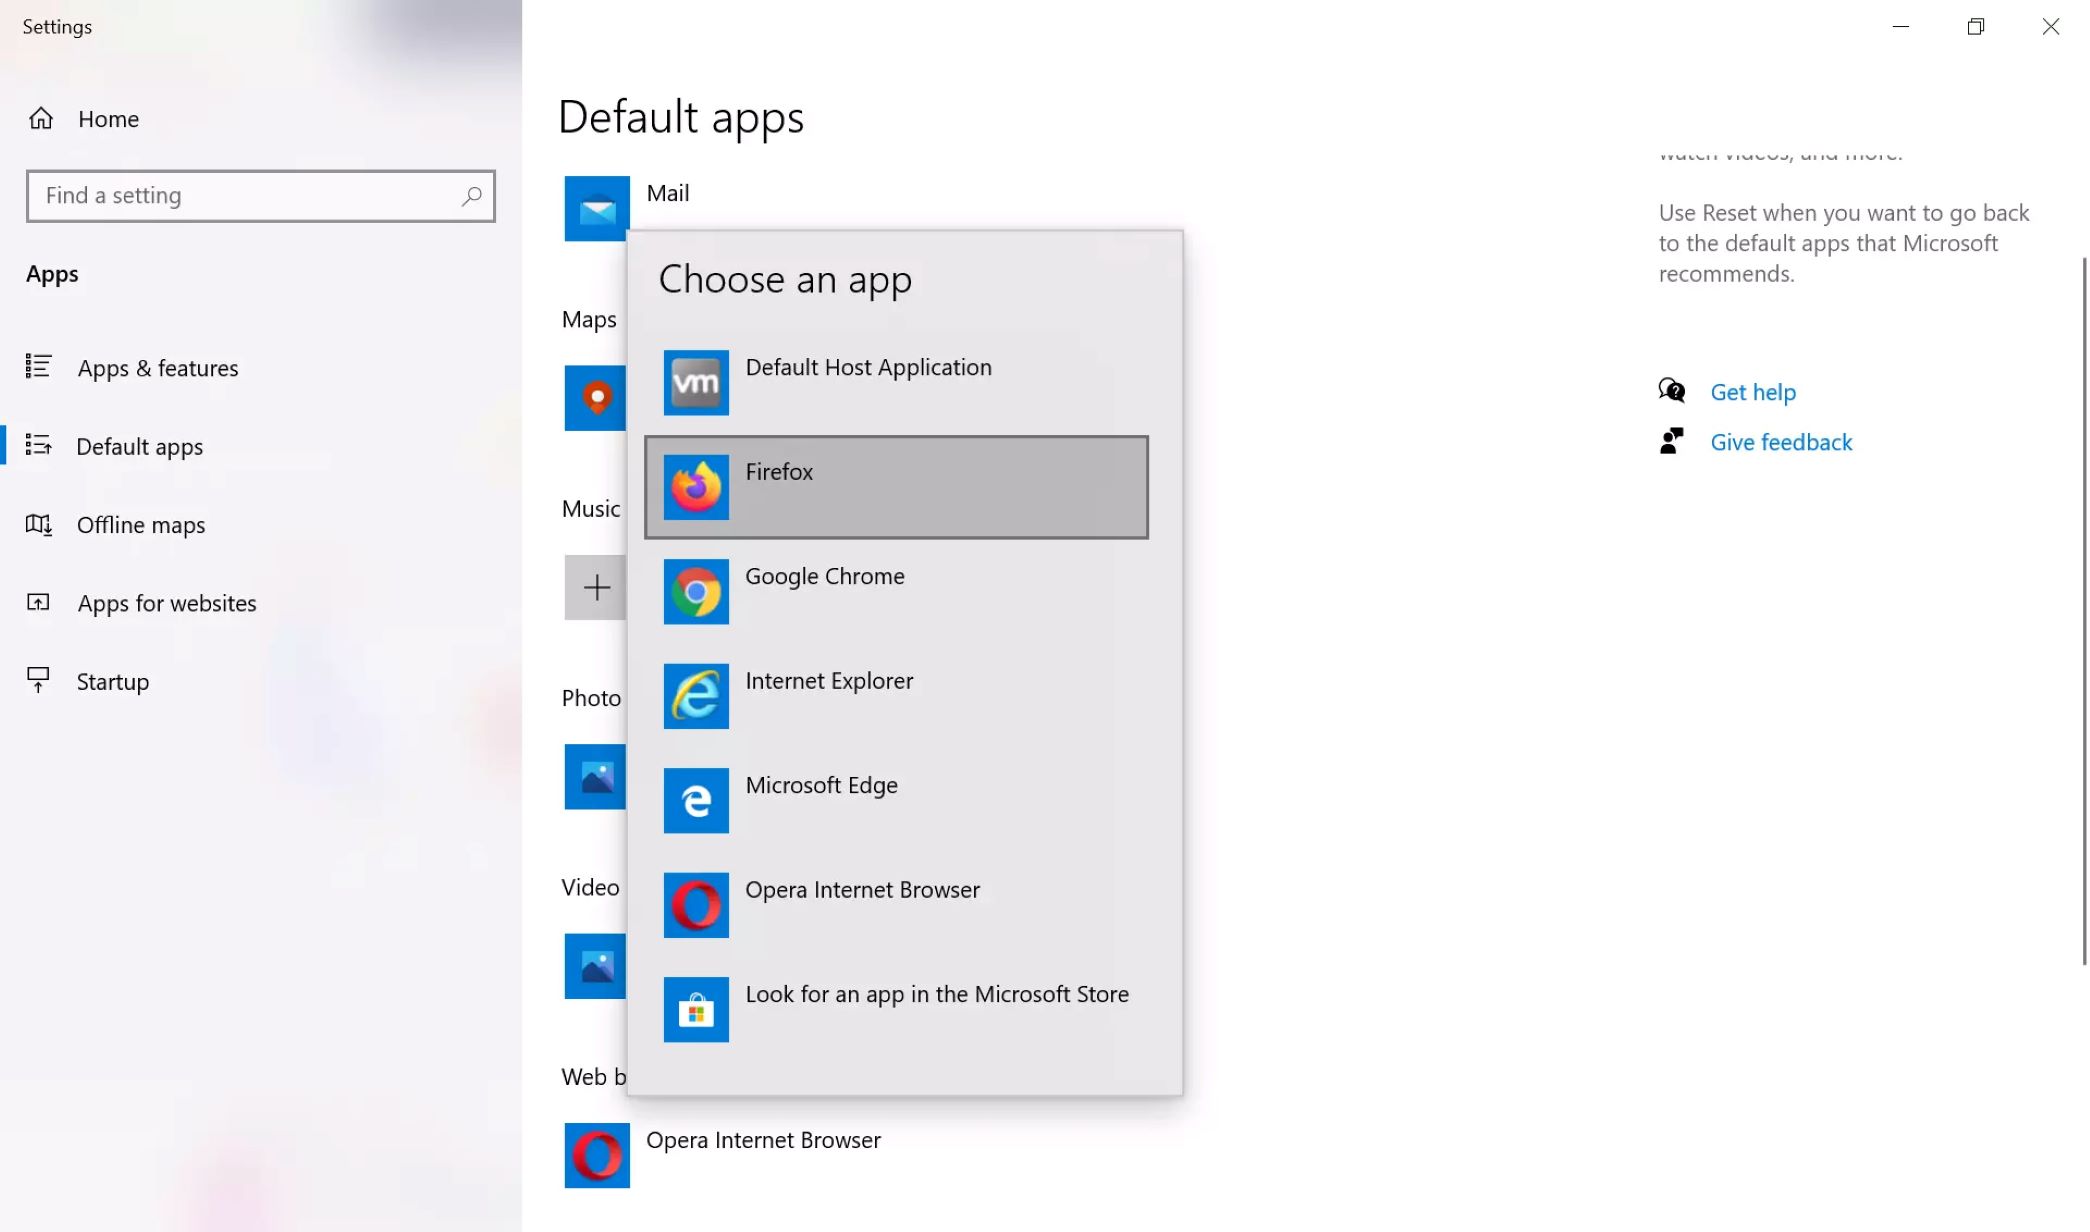
- Click on the current default browser listed under the “Web browser” section. This will open a menu with a list of available web browsers installed on your Windows 10 computer.
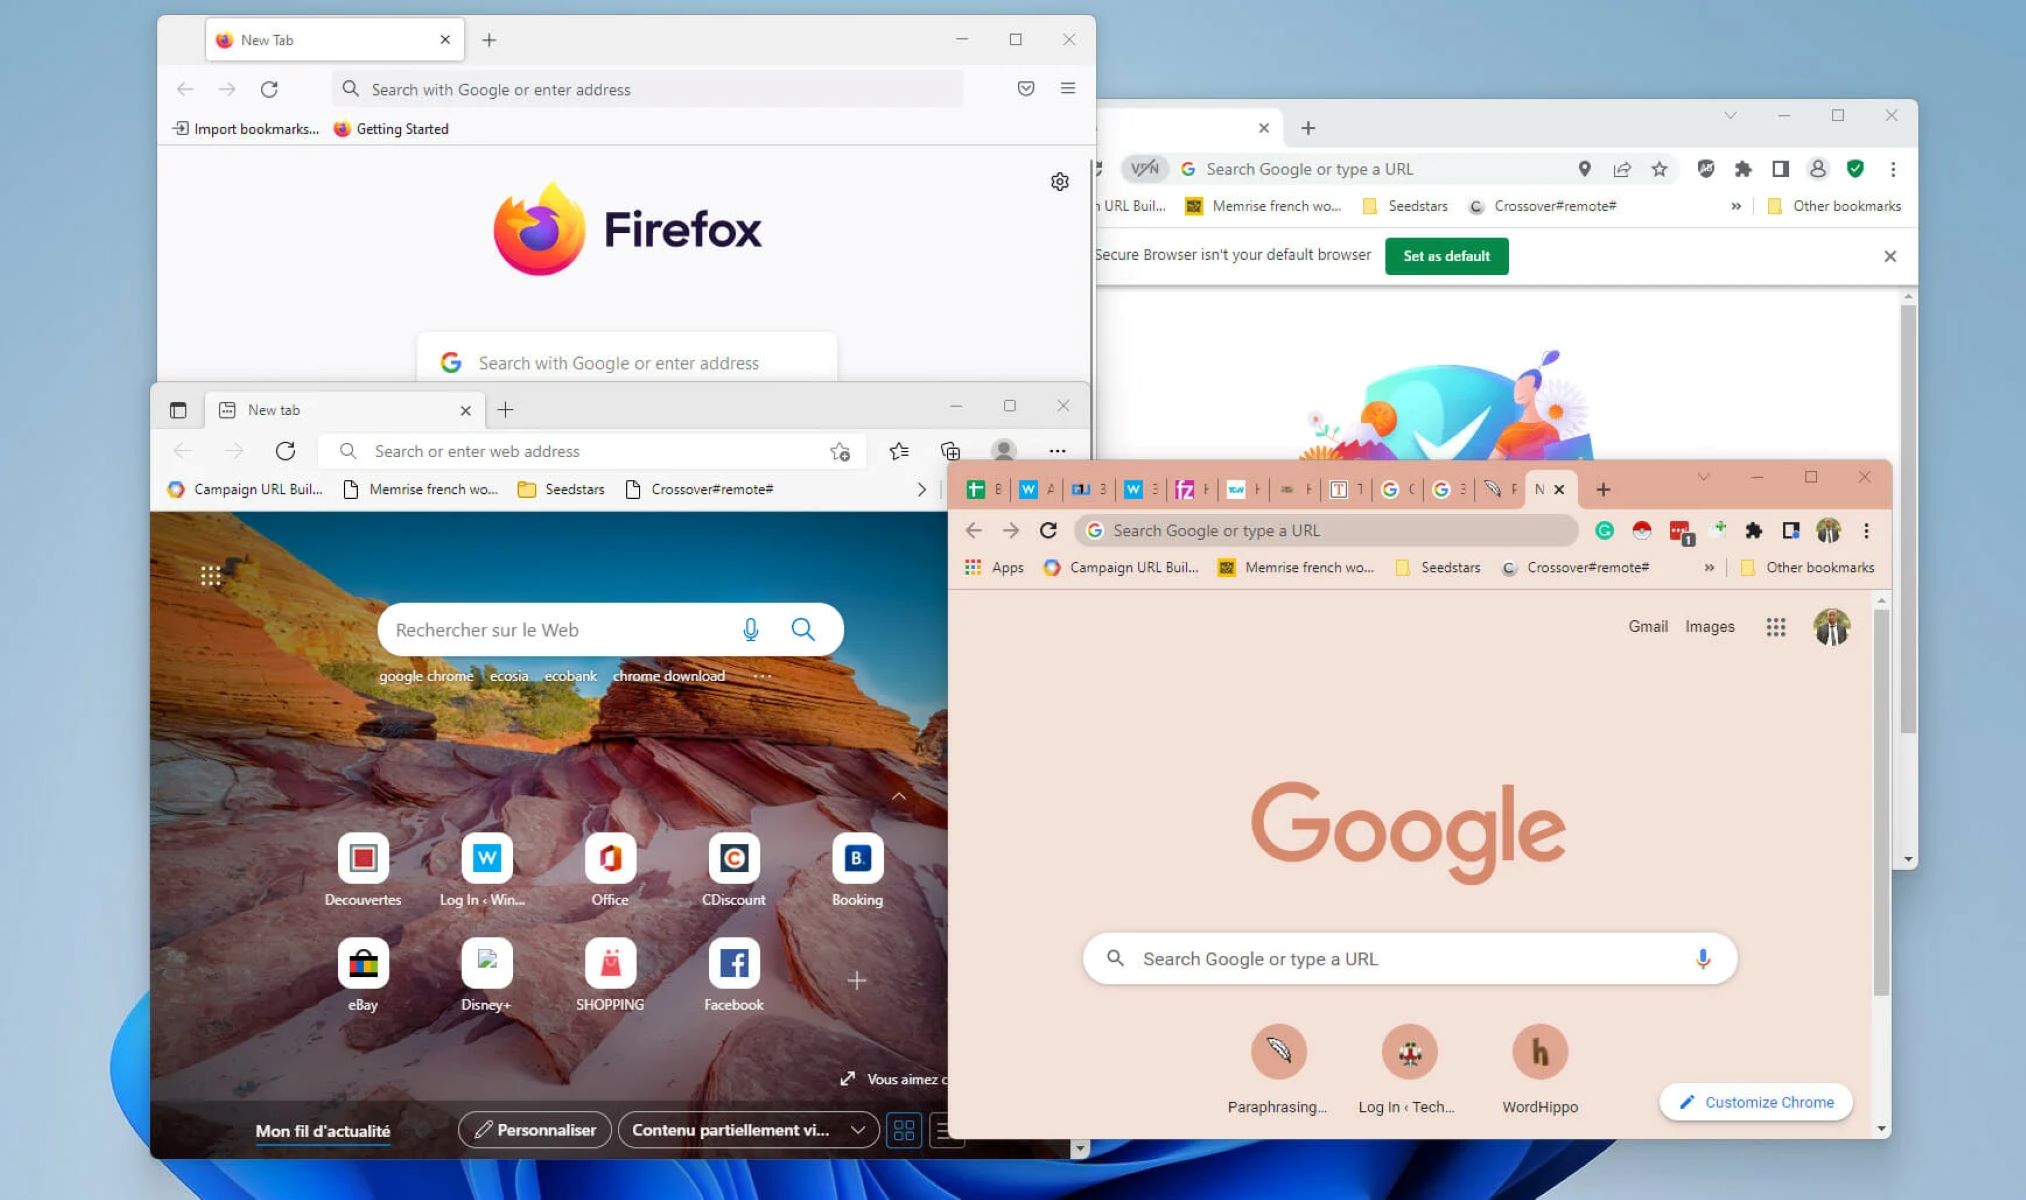
The list of available web browsers may include popular options such as Google Chrome, Mozilla Firefox, Microsoft Edge, Opera, or others if you have installed additional browsers.
If you have already installed the browser you want to set as the default, it should be listed in this menu. If you don’t see your preferred browser in the list, make sure it is properly installed on your computer.
Now that you have accessed the “Web browser” menu, let’s move on to the next step and choose your preferred browser as the new default on your Windows 10 system.
Step 5: Choose your preferred browser
After clicking on the current default browser in the “Web browser” section, a menu will appear, displaying the available web browsers installed on your Windows 10 computer. Now it’s time to select your preferred browser as the new default. Follow these steps:
- From the list of available web browsers, click on the browser you want to set as the default.
- Once you have selected your preferred browser, Windows will close the menu, and the chosen browser will be set as the new default for web-related activities on your computer.
You can now enjoy a more personalized experience with your chosen web browser, as it will be the one that opens when you click on web links or open HTML files.
It’s important to note that if you ever decide to change your default browser again, you can simply revisit the “Default apps” page and follow these steps to select a different web browser as the new default.
Now that you have chosen your preferred browser as the new default, let’s move on to the next step to ensure that the change has been successfully applied to your Windows 10 system.
Step 6: Set your new default browser
Once you have selected your preferred web browser as the new default, it’s important to ensure that the change has been properly applied to your Windows 10 system. Follow these steps to confirm the setting:
- Close the Settings app by clicking on the “X” button in the top-right corner of the window or by pressing the “Alt + F4” keys on your keyboard.
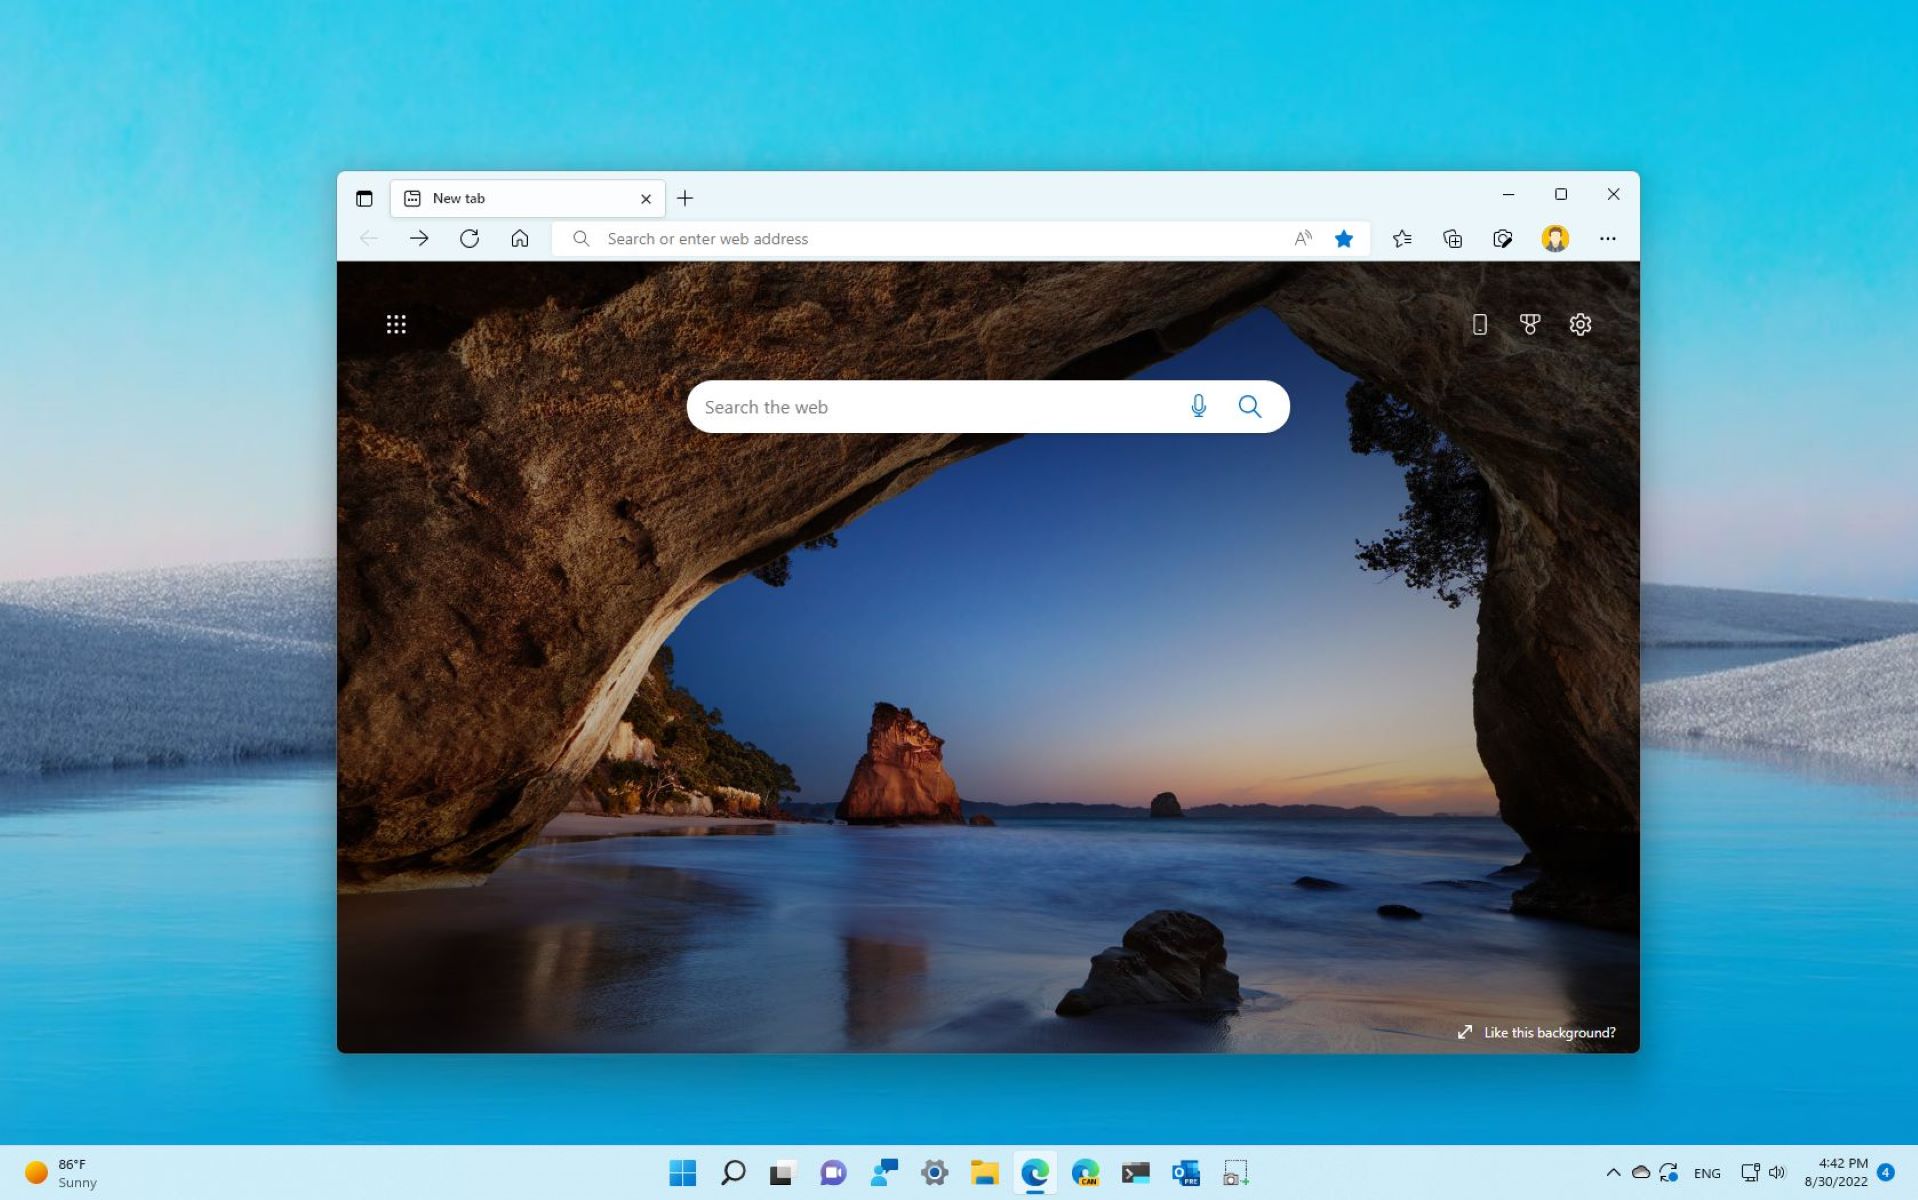
- Open any web link or HTML file on your computer. The newly selected default browser should now be the one that opens the link or file automatically.
If your chosen browser opens the link or file as expected, then congratulations! You have successfully set your new default browser on your Windows 10 system.
However, if the previous default browser or a different browser still opens the link or file, you may need to go back to the “Default apps” page in the Settings app and repeat the steps to select your preferred browser again. Double-check that you have followed the steps correctly, and try setting the default browser once more.
If the issue persists and you are unable to set your preferred browser as the default, you may need to consult the support resources provided by the browser’s manufacturer or seek assistance from Windows 10 support channels for further troubleshooting.
Now that you have confirmed the settings, let’s proceed to the final step to conclude the process of changing your default browser on Windows 10.
Step 7: Verify the change
After setting your new default browser, it’s important to verify that the change has taken effect and that your preferred browser is now opening web links and HTML files. Follow these steps to ensure the change is successfully applied:
- Open any web link from an email, a webpage, or a document on your Windows 10 computer.
- Verify that your chosen browser is now opening the link. You should see the interface of your preferred browser instead of the previously set default browser.
If your new default browser successfully opens the link, then congratulations! You have successfully changed the default browser on your Windows 10 system.
However, if the previous default browser still opens the link or if a different browser opens, follow the steps outlined in previous sections to ensure that your preferred browser is selected as the default.
Remember that once you have successfully changed the default browser, all web-related activities on your computer, such as opening links or HTML files, will now be handled by your chosen browser.
By verifying the change, you can ensure that your browsing experience aligns with your preferences and that you can fully enjoy the features and functionalities offered by your newly set default browser.
If you encounter any issues or have any further questions, consider consulting the support resources provided by your chosen browser’s manufacturer or seeking assistance from Windows 10 support channels.
With the change verified, you can now enjoy a more personalized and seamless browsing experience on your Windows 10 system.
Conclusion
Changing the default browser on your Windows 10 computer is a simple and straightforward process that allows you to personalize your web browsing experience. By following the steps outlined in this guide, you can easily switch to your preferred browser and ensure that it opens all web links and HTML files.
Starting with opening the Settings app and navigating to the “Apps” section, you can then select “Default apps” and locate the “Web browser” option. From there, choose your preferred browser from the list of available options and set it as the default.
Remember to verify the change by opening a web link or HTML file to ensure that your chosen browser is now handling these activities. If any issues occur, you can revisit the “Default apps” page and repeat the steps or seek assistance from the browser’s manufacturer or Windows 10 support channels.
Whether you choose Google Chrome, Mozilla Firefox, Microsoft Edge, or any other browser, customizing your default browser is a great way to enhance your browsing experience and take advantage of the features and functionalities offered by your preferred browser.
Now that you have successfully changed your default browser, enjoy exploring the web, discovering new websites, and experiencing the internet in a way that aligns with your preferences and priorities.
Remember, if your preferences change in the future or you want to explore other browsers, you can always come back to these steps and modify your default browser accordingly.
With your new default browser, get ready to surf the web with ease, speed, and the features that matter most to you!