Introduction
Welcome to the world of web browsing! As you embark on your online adventures, you may encounter the need to change your browser settings to enhance your browsing experience or address specific requirements. Whether you’re a novice or a seasoned internet user, this guide will walk you through the process of changing various browser settings.
Web browsers, such as Chrome, Firefox, Safari, and Internet Explorer, come with a plethora of customizable options. With a few simple steps, you can clear your cache, change your default search engine, block pop-up windows, manage cookies, enable or disable JavaScript, adjust font size and page zoom, modify auto-fill settings, tweak privacy and security configurations, customize your home page, change proxy settings, or even set your preferred browser language.
Understanding how to change these settings not only allows you to personalize your browsing experience, but it can also help optimize performance, improve privacy and security, and enable you to efficiently manage your online activities.
In this comprehensive guide, we will cover each of these settings in detail, providing step-by-step instructions for some of the most popular web browsers. While the exact steps may vary slightly depending on the browser you are using, the concepts and principles discussed here are applicable to most modern web browsers.
So, get ready to take control of your browsing experience as we dive into the wonderful world of browser settings. Whether you want to clear your cache, customize your home page, or fine-tune your security settings, we’ve got you covered.
Let’s get started!
Clearing Browser Cache
Over time, your web browser accumulates temporary files, known as the cache, which help in speeding up page loading times. However, a filled-up cache can sometimes lead to issues such as slow browsing or outdated content displaying incorrectly. Clearing your browser cache can resolve these problems and ensure you’re viewing the most up-to-date version of websites. Here’s how you can clear your cache on popular web browsers:
Google Chrome:
- Click on the three-dotted menu icon in the top-right corner of the browser window.
- Select “More tools” and then “Clear browsing data”.
- In the pop-up window, select the time range for which you want to clear the cache.
- Check the “Cached images and files” box.
- Click on “Clear data” to clear your cache.
Mozilla Firefox:
- Click on the three-lined menu icon in the top-right corner of the browser window.
- Select “Options” and then “Privacy & Security”.
- In the “Cookies and Site Data” section, click on “Clear Data”.
- Make sure the “Cached Web Content” box is checked.
- Click on “Clear” to clear your cache.
Apple Safari:
- Click on “Safari” in the top menu and select “Preferences”.
- Go to the “Privacy” tab.
- Click on “Manage Website Data” and then “Remove All”.
- Confirm the action by clicking “Remove Now”.
Microsoft Edge:
- Click on the three-dotted menu icon in the top-right corner of the browser window.
- Select “Settings” and then “Privacy, search, and services”.
- Under the “Clear browsing data” section, click on “Choose what to clear”.
- Ensure the “Cached images and files” option is selected.
- Click on “Clear” to clear your cache.
By regularly clearing your browser cache, you can improve browsing speed and ensure you’re always seeing the most recent content on web pages. This simple task can help troubleshoot issues and enhance your overall browsing experience.
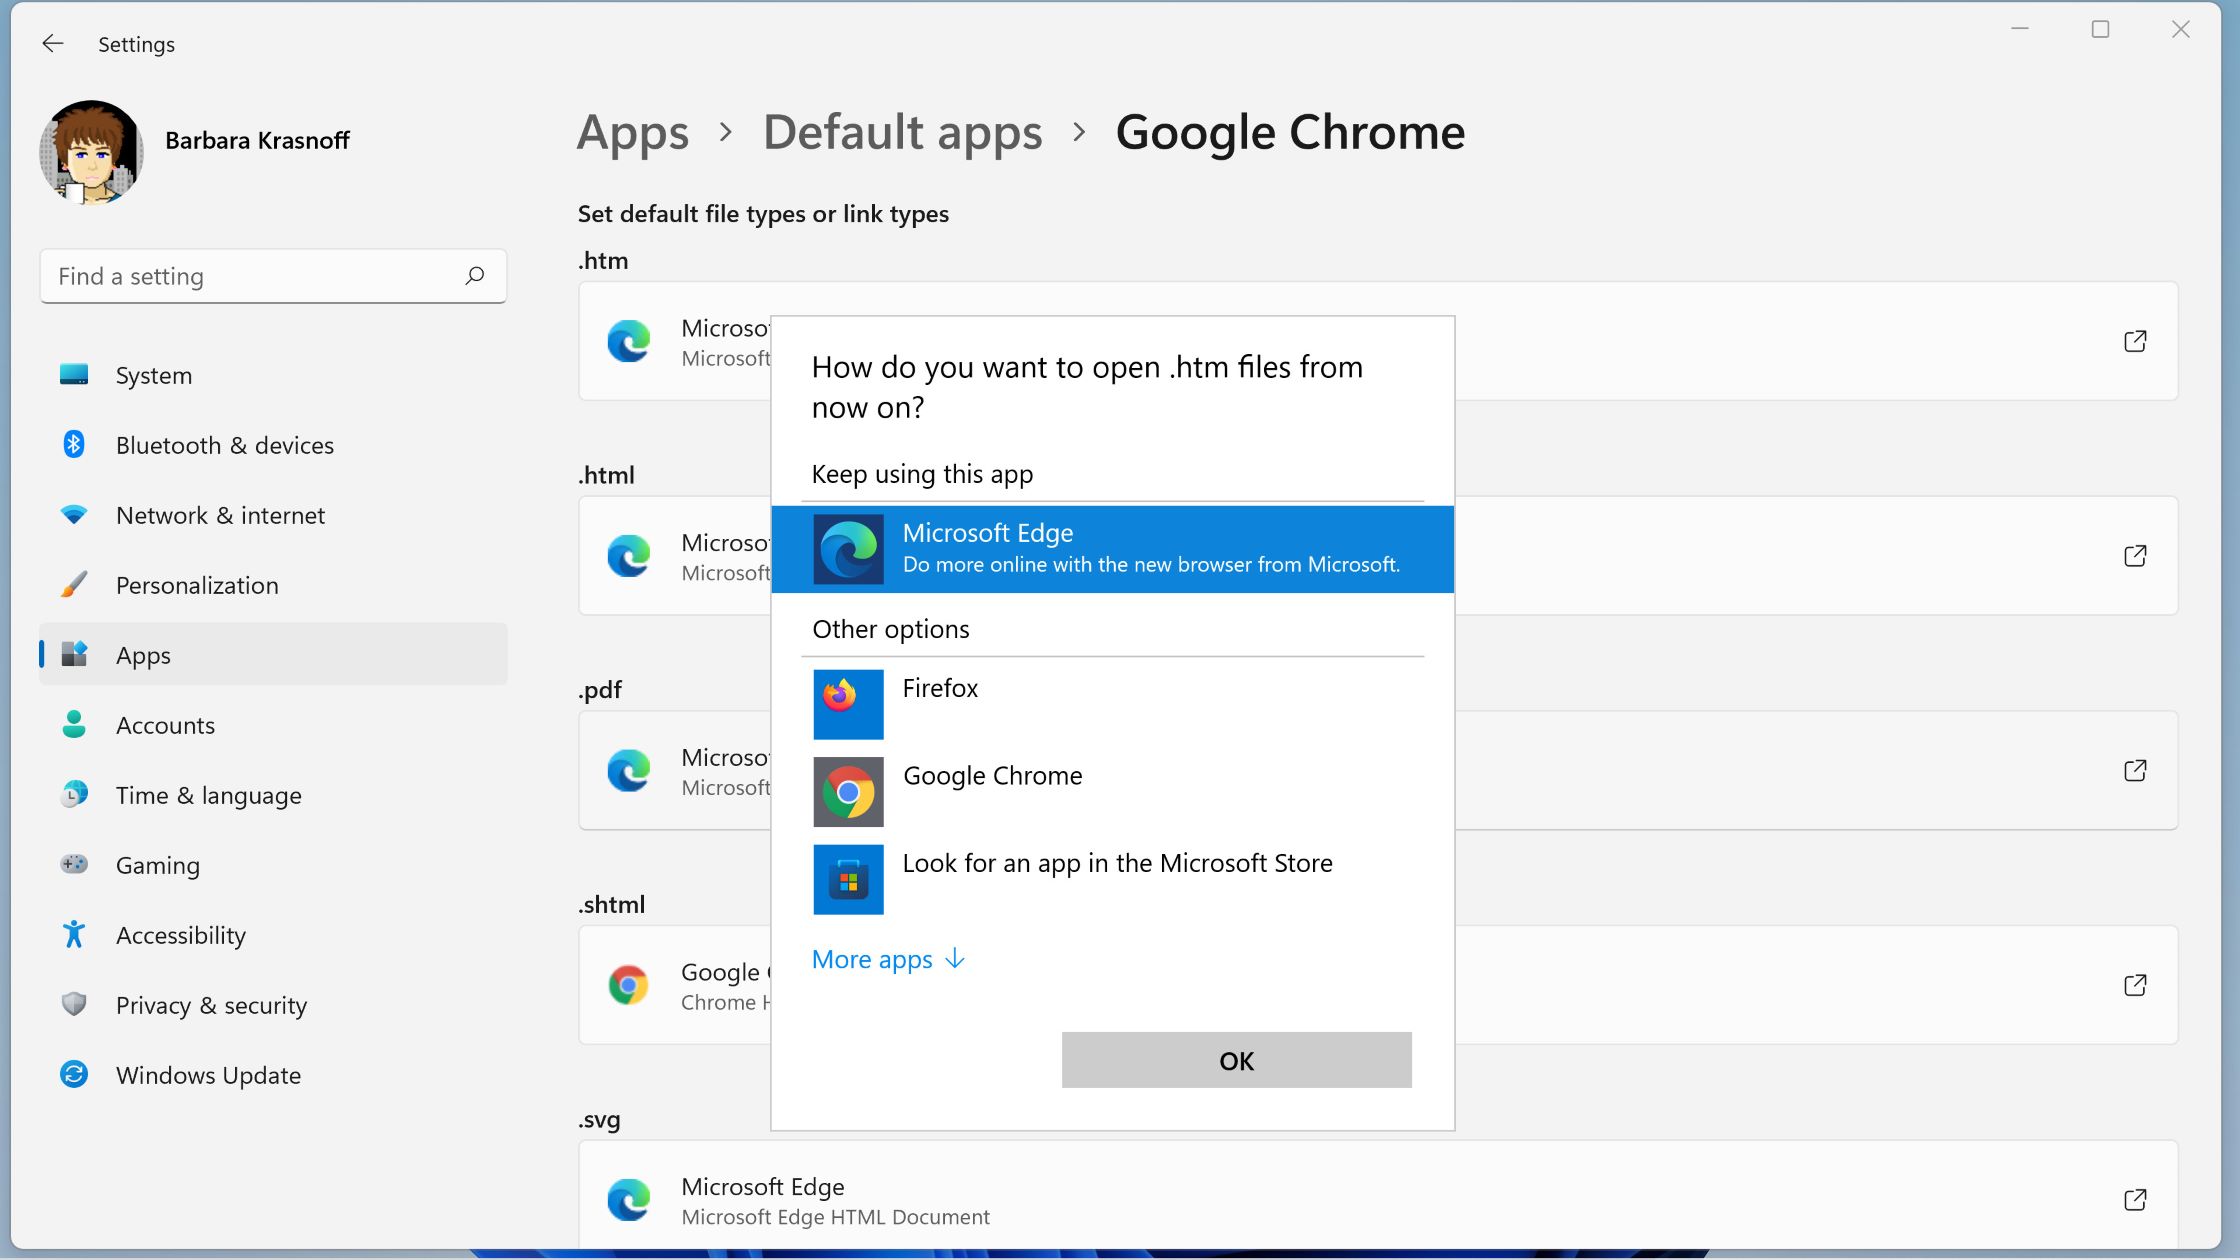
Changing Default Search Engine
Your web browser comes pre-configured with a default search engine. This search engine is used whenever you type a query into the browser’s search bar or address bar. While the default search engine may work fine for most users, you might prefer a different search engine that better suits your needs. Here’s how you can change the default search engine on popular web browsers:
Google Chrome:
- Click on the three-dotted menu icon in the top-right corner of the browser window.
- Select “Settings” and then scroll down to the “Search engine” section.
- Click on “Search engine used in the address bar” and choose your desired search engine from the list.
Mozilla Firefox:
- Click on the three-lined menu icon in the top-right corner of the browser window.
- Select “Options” and go to the “Search” tab.
- Under the “Default Search Engine” section, choose your preferred search engine from the drop-down menu.
Apple Safari:
- Click on “Safari” in the top menu and select “Preferences”.
- Go to the “Search” tab.
- From the “Search engine” drop-down menu, select your desired search engine.
Microsoft Edge:
- Click on the three-dotted menu icon in the top-right corner of the browser window.
- Select “Settings” and then “Privacy, search, and services”.
- Scroll down to the “Services” section and click on “Address bar”.
- Choose your preferred search engine from the list.
By changing the default search engine to your preferred choice, you can streamline your browsing experience and obtain search results from a search engine that aligns with your preferences. Whether you prefer the accuracy of Google, the privacy of DuckDuckGo, or the customization options of Bing, selecting the right search engine can significantly enhance your online searches.
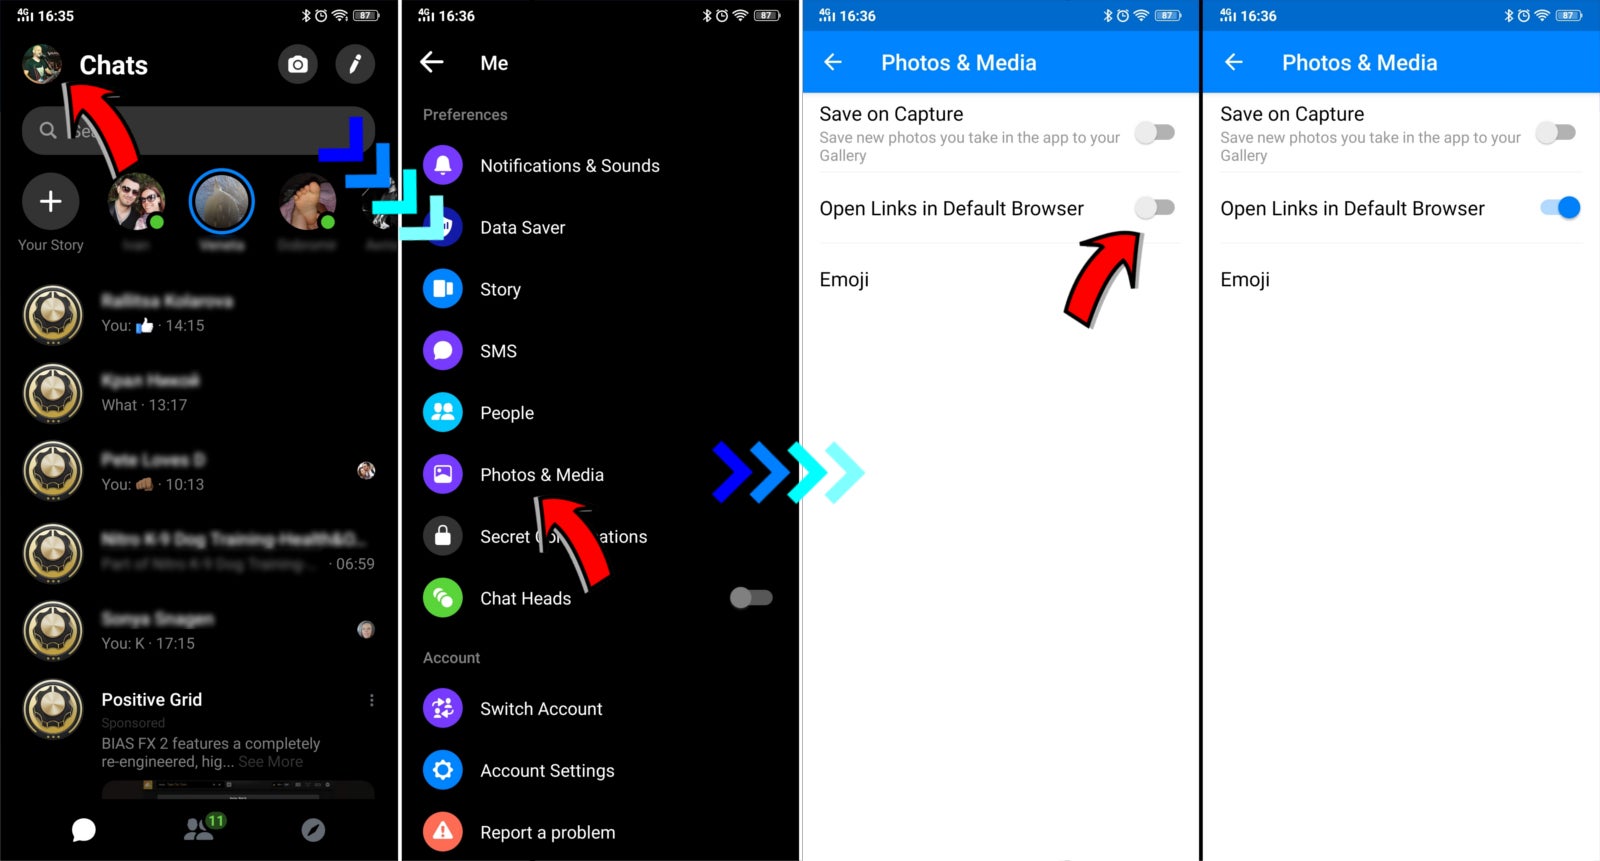
Blocking Pop-up Windows
Pop-up windows are a common annoyance while browsing the web. They often disrupt your browsing experience with intrusive advertisements or unwanted content. Luckily, modern web browsers provide built-in capabilities to block pop-up windows. Here’s how you can block pop-up windows on popular web browsers:
Google Chrome:
- Click on the three-dotted menu icon in the top-right corner of the browser window.
- Select “Settings” and then scroll down to the “Privacy and security” section.
- Click on “Site settings” and then “Pop-ups and redirects”.
- Toggle the switch to block pop-ups. You can also add exceptions for specific websites if necessary.
Mozilla Firefox:
- Click on the three-lined menu icon in the top-right corner of the browser window.
- Select “Options” and go to the “Privacy & Security” tab.
- Scroll down to the “Permissions” section and click on “Settings” next to “Block pop-up windows”.
- Check the box to block pop-up windows and click “Save Changes”.
Apple Safari:
- Click on “Safari” in the top menu and select “Preferences”.
- Go to the “Websites” tab.
- On the left sidebar, click on “Pop-up Windows”.
- Enable the option to block pop-up windows.
Microsoft Edge:
- Click on the three-dotted menu icon in the top-right corner of the browser window.
- Select “Settings” and then “Privacy, search, and services”.
- Scroll down to the “Services” section and click on “Pop-ups and redirects”.
- Toggle the switch to block pop-ups.
By blocking pop-up windows, you can have a smoother browsing experience without unnecessary interruptions. It’s worth noting that some websites may require the use of pop-ups for legitimate purposes, such as login authentication or displaying additional content. In such cases, you can consider adding exceptions for those websites in your browser’s settings.
Managing Cookies
Cookies are small text files that websites store on your computer to remember information about your preferences and activities. While cookies can improve your browsing experience by allowing websites to remember your login credentials or customize content, they can also raise privacy concerns. Managing cookies gives you control over which websites can store and access these files. Here’s how you can manage cookies on popular web browsers:
Google Chrome:
- Click on the three-dotted menu icon in the top-right corner of the browser window.
- Select “Settings” and then scroll down to the “Privacy and security” section.
- Click on “Cookies and other site data”.
- Toggle the switch to block all cookies or customize settings by clicking on “See all cookies and site data”.
Mozilla Firefox:
- Click on the three-lined menu icon in the top-right corner of the browser window.
- Select “Options” and go to the “Privacy & Security” tab.
- Under the “Cookies and Site Data” section, choose your preferred cookie settings.
Apple Safari:
- Click on “Safari” in the top menu and select “Preferences”.
- Go to the “Privacy” tab.
- Choose your preferred cookie settings, such as blocking all cookies or accepting cookies only from the current website you’re visiting.
Microsoft Edge:
- Click on the three-dotted menu icon in the top-right corner of the browser window.
- Select “Settings” and then “Privacy, search, and services”.
- Scroll down to the “Services” section and click on “Cookies and site permissions”.
- Customize your cookie settings as per your preference.
By managing cookies, you can strike a balance between convenience and privacy. Blocking all cookies may affect website functionality, while allowing all cookies might compromise your privacy. Opting for a middle ground or selectively managing cookies can help protect your sensitive information while still enjoying a personalized browsing experience.
Enabling or Disabling JavaScript
JavaScript is a scripting language that adds interactivity and dynamic content to websites. While JavaScript is an integral part of modern web browsing, there may be instances where you need to enable or disable it. Disabling JavaScript can enhance security by reducing the risk of executing malicious scripts, while enabling it ensures full functionality and an interactive browsing experience. Here’s how you can enable or disable JavaScript on popular web browsers:
Google Chrome:
- Click on the three-dotted menu icon in the top-right corner of the browser window.
- Select “Settings” and then scroll down to the “Privacy and security” section.
- Click on “Site settings” and then “JavaScript”.
- Toggle the switch to enable or disable JavaScript.
Mozilla Firefox:
- Click on the three-lined menu icon in the top-right corner of the browser window.
- Select “Options” and go to the “Privacy & Security” tab.
- Under the “Permissions” section, click on “Settings” next to “JavaScript”.
- Check or uncheck the box to enable or disable JavaScript.
Apple Safari:
- Click on “Safari” in the top menu and select “Preferences”.
- Go to the “Security” tab.
- Check or uncheck the box next to “Enable JavaScript” to enable or disable it.
Microsoft Edge:
- Click on the three-dotted menu icon in the top-right corner of the browser window.
- Select “Settings” and then “Site permissions”.
- Click on “JavaScript” and toggle the switch to enable or disable it.
Enabling or disabling JavaScript can have a significant impact on your browsing experience. Many websites rely on JavaScript for essential features, such as forms, navigation, and interactive content. Disabling JavaScript may cause certain websites to function improperly or render incorrectly. Ensure you consider the implications before enabling or disabling JavaScript in your browser settings.
Changing Font Size and Page Zoom
Adjusting the font size and page zoom can greatly enhance the readability and visual experience while browsing the web. Whether you prefer larger text for better legibility or need to zoom in to view content more comfortably, web browsers provide convenient options to customize the appearance of web pages. Here’s how you can change the font size and page zoom on popular web browsers:
Google Chrome:
- Click on the three-dotted menu icon in the top-right corner of the browser window.
- Under the “Zoom” section, click on the “+” or “-” buttons to adjust the page zoom.
- To change the font size, click on “Settings” and then “Appearance”. Under the “Font size” section, adjust the slider to your preferred font size.
Mozilla Firefox:
- Click on the three-lined menu icon in the top-right corner of the browser window.
- Under the “Zoom” section, click on the “+” or “-” buttons to adjust the page zoom.
- To change the font size, press the “Alt” key (Windows) or the “Option” key (Mac) on your keyboard and simultaneously scroll up or down using the mouse wheel.
Apple Safari:
- Click on “Safari” in the top menu and select “Preferences”.
- Go to the “Advanced” tab.
- Enable the “Show Develop menu in menu bar” option.
- Click on “Develop” in the top menu and select “Zoom” to adjust the page zoom.
- To change the font size, click on “Safari” in the top menu and select “Preferences”. Go to the “Advanced” tab, and under “Accessibility”, click on the “Never use font sizes smaller than” checkbox and adjust the slider to your preferred font size.
Microsoft Edge:
- Click on the three-dotted menu icon in the top-right corner of the browser window.
- Under the “Zoom” section, click on the “+” or “-” buttons to adjust the page zoom.
- To change the font size, click on “Settings” and then “Appearance”. Under the “Font size” section, adjust the slider to your preferred font size.
By changing the font size and page zoom, you can customize the appearance of web pages based on your preferences and needs. This ensures optimal readability and a more comfortable browsing experience, especially when viewing content on high-resolution screens or for individuals with visual impairments.
Managing Auto-fill Settings
Auto-fill is a convenient feature offered by web browsers that automatically fills in forms with saved information, such as usernames, passwords, addresses, and credit card details. While auto-fill can save time and streamline your online activities, it’s essential to manage these settings carefully to maintain privacy and security. Here’s how you can manage auto-fill settings on popular web browsers:
Google Chrome:
- Click on the three-dotted menu icon in the top-right corner of the browser window.
- Select “Settings” and then scroll down to the “Autofill” section.
- Click on “Addresses and more” or “Payment methods” to manage your saved information.
- You can add, edit, or remove auto-fill entries as needed.
Mozilla Firefox:
- Click on the three-lined menu icon in the top-right corner of the browser window.
- Select “Options” and go to the “Privacy & Security” tab.
- Under the “Forms & Passwords” section, click on “Saved Logins” to manage your auto-fill information.
- You can view, edit, or remove saved logins and other auto-fill data.
Apple Safari:
- Click on “Safari” in the top menu and select “Preferences”.
- Go to the “Passwords” tab.
- You can manage your saved passwords and other auto-fill information from this section.
Microsoft Edge:
- Click on the three-dotted menu icon in the top-right corner of the browser window.
- Select “Settings” and then “Profiles”.
- Under the “Payment and more” section, click on “Addresses and more”.
- You can manage your auto-fill information, including addresses, payment methods, and passwords.
Regularly reviewing and managing your auto-fill settings ensures accuracy, security, and privacy. Remove outdated or unnecessary entries, update any changes to your personal or payment information, and consider adding an additional layer of security, such as using a secure password manager, for managing sensitive data.
Adjusting Privacy and Security Settings
Privacy and security are paramount when browsing the web. Web browsers provide various privacy and security settings that allow you to customize your online experience and protect your sensitive information. By adjusting these settings, you can safeguard your privacy, block intrusive trackers, and defend against malicious activities. Here’s how you can adjust privacy and security settings on popular web browsers:
Google Chrome:
- Click on the three-dotted menu icon in the top-right corner of the browser window.
- Select “Settings” and then scroll down to the “Privacy and security” section.
- Adjust settings such as blocking third-party cookies, enabling the “Do Not Track” feature, or managing website permissions.
- You can also explore additional privacy and security options available in the “Advanced” section.
Mozilla Firefox:
- Click on the three-lined menu icon in the top-right corner of the browser window.
- Select “Options” and go to the “Privacy & Security” tab.
- Customize settings such as blocking trackers, preventing website tracking, or clearing browsing history on exit.
- Further privacy and security options can be accessed under the “Security” section.
Apple Safari:
- Click on “Safari” in the top menu and select “Preferences”.
- Go to the “Privacy” and “Security” tabs to adjust various settings.
- Manage options such as blocking cross-site tracking, preventing website tracking, and managing website settings.
- You can also enable the “Fraudulent Website Warning” and other security features available in the “Security” tab.
Microsoft Edge:
- Click on the three-dotted menu icon in the top-right corner of the browser window.
- Select “Settings” and then “Privacy, search, and services”.
- Customize privacy settings, including options to block trackers, clear browsing data, and manage permissions.
- Under the “Security” section, you can enable features like SmartScreen and Windows Defender SmartScreen to enhance security.
Adjusting privacy and security settings provides you with greater control over your online privacy and helps protect your personal information. It is recommended to review and customize these settings according to your preferences and needs to ensure a safer and more private browsing experience.
Customizing Home Page
The home page of your web browser is the first page that loads when you open the browser or click on the home button. Customizing the home page allows you to set your preferred webpage as the starting point for your browsing sessions, whether it’s a search engine, a news website, or any other site that you frequently visit. Here’s how you can customize the home page on popular web browsers:
Google Chrome:
- Click on the three-dotted menu icon in the top-right corner of the browser window.
- Select “Settings” and go to the “Appearance” section.
- Toggle the switch next to “Show home button” to enable the home button if it’s not already enabled.
- Click on “Change” to set your desired webpage as the home page.
Mozilla Firefox:
- Click on the three-lined menu icon in the top-right corner of the browser window.
- Select “Options” and go to the “Home” tab.
- Choose the “Custom URLs” option and enter the URL of the webpage you want as your home page.
Apple Safari:
- Click on “Safari” in the top menu and select “Preferences”.
- Go to the “General” tab.
- Enter the URL of the webpage you want as your home page in the “Homepage” field.
Microsoft Edge:
- Click on the three-dotted menu icon in the top-right corner of the browser window.
- Select “Settings” and go to the “Appearance” section.
- Toggle the switch next to “Show home button” to enable the home button if it’s not already enabled.
- Click on “Custom” to set a custom webpage as your home page.
By customizing your home page, you can streamline your browsing experience by having quick access to your favorite website whenever you start your browser. Whether it’s a news portal, a productivity app, or an inspirational webpage, setting a customized home page helps personalize your online journey.
Modifying Proxy Settings
Proxy settings allow you to route your internet traffic through a proxy server, which acts as an intermediary between your device and the websites you visit. Modifying proxy settings can be useful in a variety of scenarios, such as accessing blocked content, improving security and privacy, or optimizing network performance. Here’s how you can modify proxy settings on popular web browsers:
Google Chrome:
- Click on the three-dotted menu icon in the top-right corner of the browser window.
- Select “Settings” and scroll down to the “System” section.
- Click on “Open proxy settings” to open the system proxy settings window.
- In the “Connections” tab, click on “LAN settings”.
- Check the box for “Use a proxy server for your LAN” and enter the relevant address and port.
Mozilla Firefox:
- Click on the three-lined menu icon in the top-right corner of the browser window.
- Select “Options” and go to the “General” tab.
- Scroll down to the “Network Settings” section and click on “Settings”.
- In the “Connection Settings” window, choose the appropriate proxy configuration, such as manual proxy configuration or using system proxy settings.
Apple Safari:
- Click on “Safari” in the top menu and select “Preferences”.
- Go to the “Advanced” tab.
- Click on “Change Settings” next to “Proxies”.
- In the “Network” window, select the proxy configuration you prefer and enter the required details.
Microsoft Edge:
- Click on the three-dotted menu icon in the top-right corner of the browser window.
- Select “Settings” and go to the “Privacy, search, and services” section.
- Scroll down to the “Services” section and click on “Address bar”.
- Choose the appropriate proxy settings, such as “Automatically detect settings” or “Use a proxy server”.
Modifying proxy settings can open up new possibilities for accessing region-restricted content, enhancing privacy, or customizing network configurations. It’s important to note that using a proxy server may affect browsing speed, so it’s advisable to choose a reliable and fast proxy server to ensure optimal performance.
Changing Browser Language
The language settings of your web browser determine the language in which websites and browser interfaces are displayed. By changing the browser language, you can adapt the browsing experience to your preferred language or switch to a different language for localization purposes. Here’s how you can change the browser language on popular web browsers:
Google Chrome:
- Click on the three-dotted menu icon in the top-right corner of the browser window.
- Select “Settings” and scroll down to the “Languages” section.
- Click on “Language” and then “Add languages” to add your desired language(s).
- Choose your preferred language from the list and click on the three-dotted icon next to it to set it as the display language.
Mozilla Firefox:
- Click on the three-lined menu icon in the top-right corner of the browser window.
- Select “Options” and go to the “General” tab.
- Scroll down to the “Language and Appearance” section and click on “Choose” next to “Languages”.
- Add your desired language(s) using the “Add” button and set your preferred language as the primary language.
Apple Safari:
- Click on “Safari” in the top menu and select “Preferences”.
- Go to the “General” tab.
- Click on “Language” and choose your preferred language from the list.
Microsoft Edge:
- Click on the three-dotted menu icon in the top-right corner of the browser window.
- Select “Settings” and go to the “Profiles” section.
- Click on “Language” and then “Add languages” to add your desired language(s).
- Choose your preferred language from the list and set it as the default language.
Changing the browser language enhances accessibility and ensures a more comfortable browsing experience by displaying websites and browser interfaces in your preferred language. It’s worth noting that changing the browser language does not translate web content; it only affects the language in which the browser and some browser-related messages are displayed.