Introduction
Changing a hard disk drive to removable storage can be a practical solution for those who need the flexibility of easily transferring data between different devices. Whether you want to use a removable storage device for transporting important files, sharing data with colleagues, or simply as a backup solution, this guide will take you through the necessary steps to make it happen.
Upgrading your computer’s storage options does not have to be a complicated process. With some basic tools and a little bit of technical know-how, you can transform your existing hard disk drive into a convenient removable storage device. By following the steps outlined in this guide, you’ll be able to replace the fixed storage with a removable device that can be easily disconnected and used on other systems.
It’s important to note that this guide assumes a basic understanding of computer hardware and general troubleshooting. If you’re not confident in your abilities, I highly recommend seeking the assistance of a professional or someone with experience in computer repairs. Additionally, always take proper precautions when working with sensitive equipment, such as grounding yourself to avoid static electricity discharge.
Now, let’s dive into the step-by-step process of changing a hard disk drive to removable storage. By the end of this guide, you’ll have a functional removable storage setup that can improve your efficiency and data mobility.
Step 1: Gather the necessary tools and equipment
Before diving into the process of changing a hard disk drive to removable storage, it’s essential to ensure you have the right tools and equipment on hand. Here is a list of items you will need:
- Screwdriver: Depending on your computer case, you may need a Phillips or flat-head screwdriver to open it.
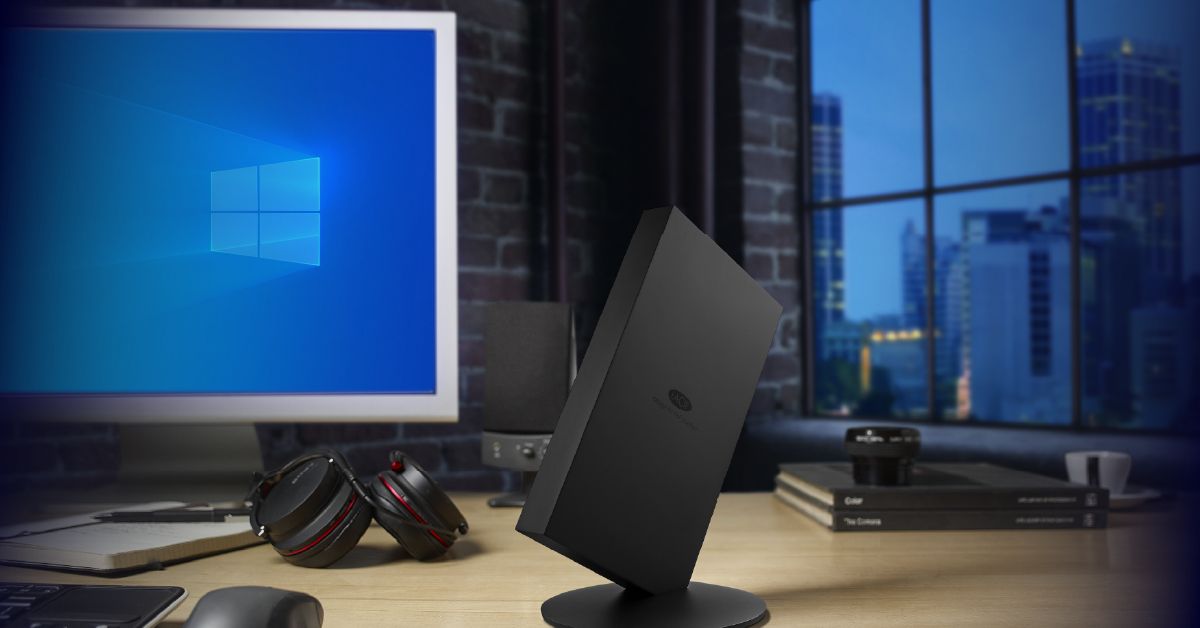
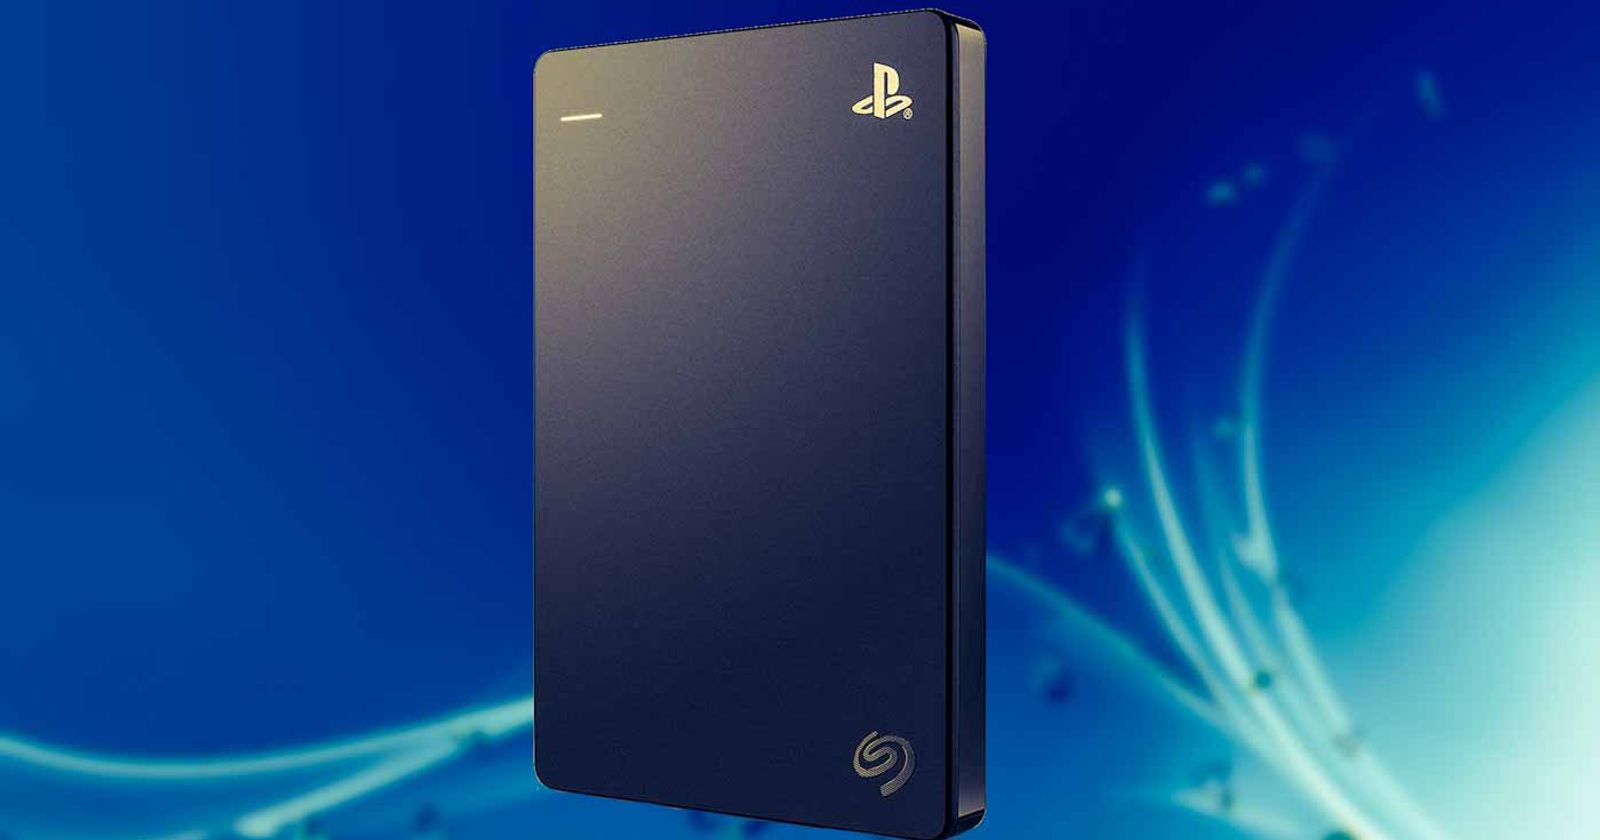
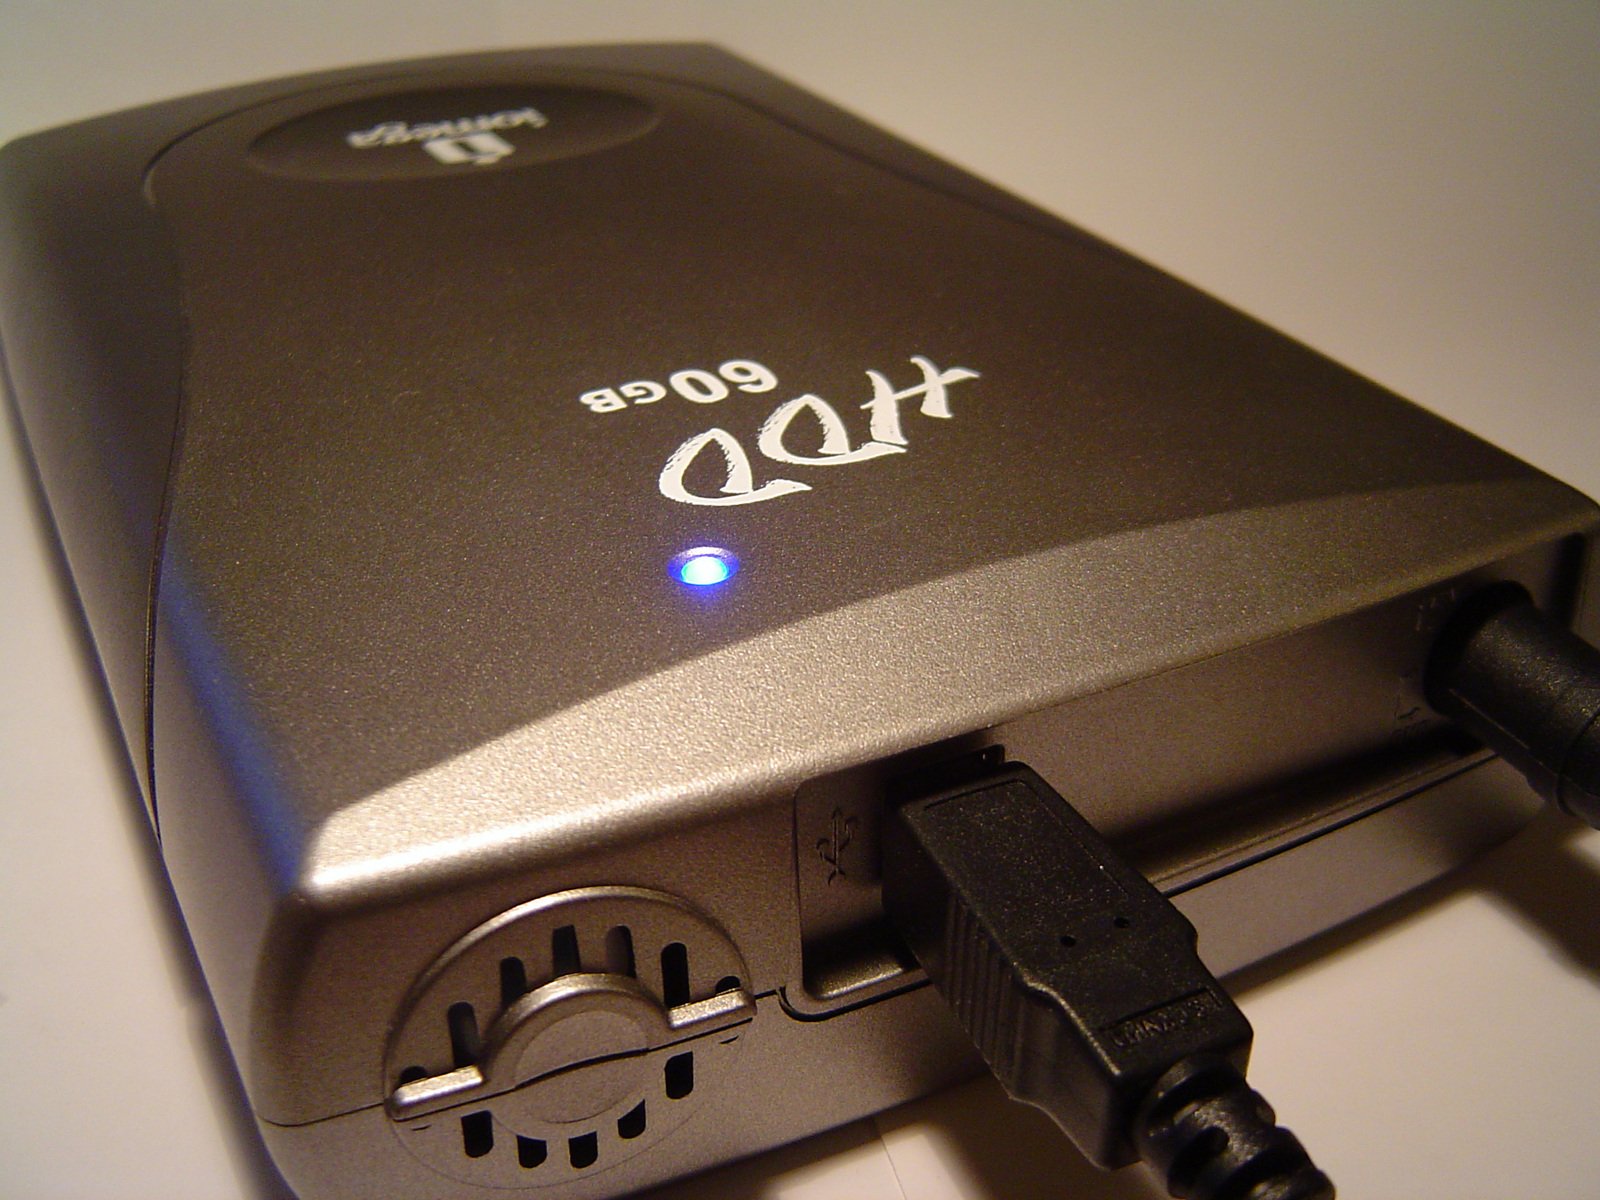
- Replacement storage device: Determine the type of removable storage you want to use, such as an external hard drive, USB flash drive, or SSD. Make sure it is compatible with your computer.
- Anti-static wrist strap: This device protects sensitive computer components from electrostatic discharge, reducing the risk of damaging the hardware.
- External enclosure (optional): If you wish to repurpose your existing hard disk drive as an external storage device, you will need an external enclosure to house it.
- Data transfer cable (optional): If you plan to transfer data from your existing hard disk drive to the new removable storage, you may need a data transfer cable compatible with both devices.
Make sure you have all the tools and equipment mentioned above before proceeding to the next step. This will help streamline the process and prevent delays. If you already have these items, you’re ready to move on to the next step.
Step 2: Back up your data
Before making any changes to your hard disk drive, it’s crucial to back up your important data. This ensures that you won’t lose any files or documents during the process. Here are the essential steps to follow:
- Identify important files: Take some time to identify the files and folders that you want to back up. These may include documents, photos, videos, music, and any other data you don’t want to lose.
- Select a backup method: Depending on the amount and sensitivity of your data, choose an appropriate backup method. You can use an external hard drive, cloud storage services, or a combination of both.
- Transfer files to backup location: Start transferring your important files to the designated backup location. If you are using an external hard drive, connect it to your computer and copy the files directly. If you’re utilizing cloud storage, ensure you have a secure internet connection and upload the files accordingly.
- Verify the backup: Once the backup process is complete, double-check that all the files have been successfully copied. Take the time to review the contents of your backup and ensure no important data has been overlooked.
By following these steps, you can safeguard your valuable data and have peace of mind throughout the process. Remember to regularly back up your files to avoid the risk of permanent data loss in the future.
Step 3: Open your computer case
Now that you have backed up your data, it’s time to open your computer case. Opening the case will give you access to the internal components, including the hard disk drive that you want to replace. Follow these steps to safely open your computer case:
- Power down your computer: Before proceeding, ensure that your computer is powered off. This step is crucial to avoid any electrical accidents during the process.
- Disconnect all cables: Unplug all the cables connected to your computer, including the power cable, monitor cable, and any peripheral cables such as keyboard or mouse.
- Ground yourself: To prevent any static electricity discharge that could damage sensitive components, use an anti-static wrist strap and attach it to a grounded object. Alternatively, you can touch a metal surface on the computer case.
- Place your computer on a stable surface: Find a clean and stable surface to work on, preferably a table or desk. Make sure there is enough space to maneuver and access the computer case.
- Identify the case screws: Examine the exterior of your computer case to locate the screws holding the side panel in place. In most cases, you’ll find either thumbscrews or Phillips screws.
- Remove the case screws: Using a screwdriver, gently remove the screws securing the side panel of the computer case. Set the screws aside in a safe place as you will need them later to reattach the panel.
- Slide off the side panel: Once the screws are removed, carefully slide off the side panel. Some cases may have panels that swing open or lift off entirely, so be sure to observe the proper method for your specific case.
Opening your computer case can vary depending on the manufacturer and model, so consult your computer’s manual if you encounter any difficulties. Now that you have successfully opened your computer case, you’re ready to proceed to the next step.
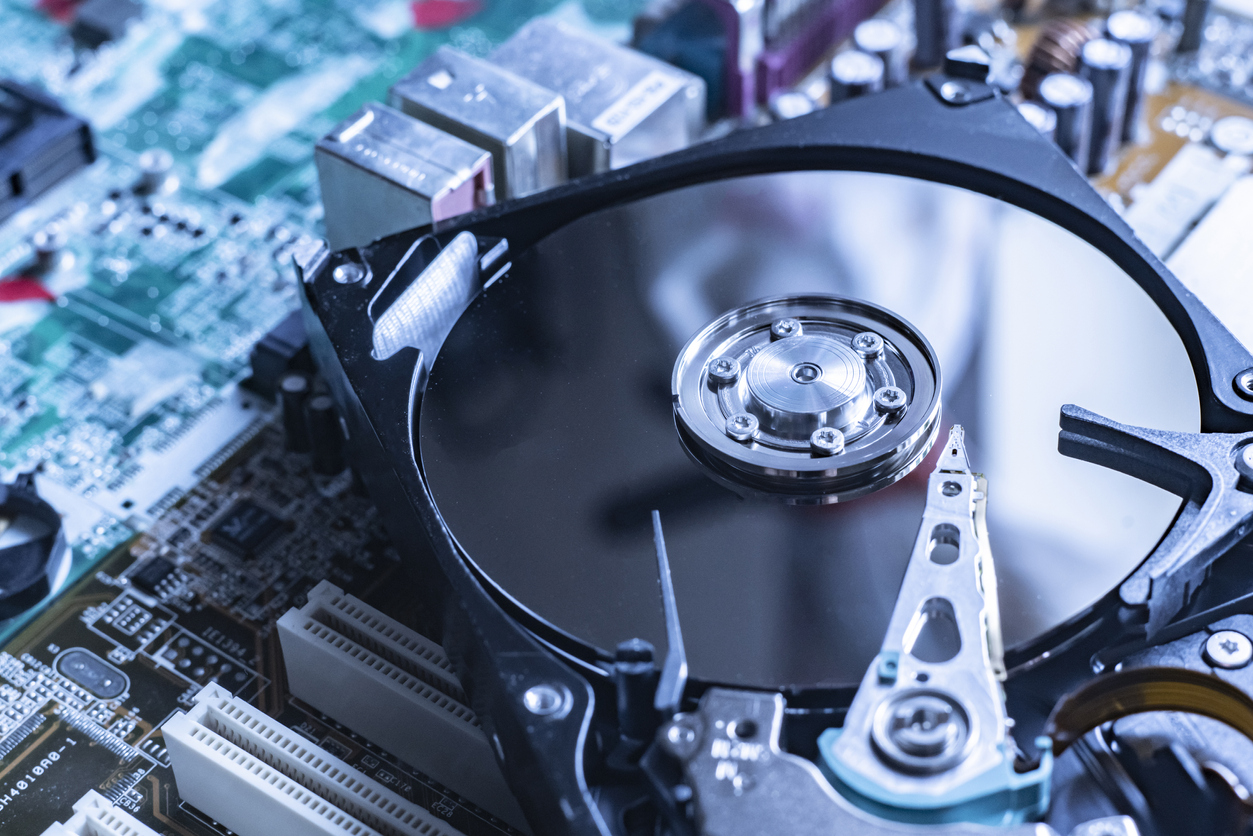
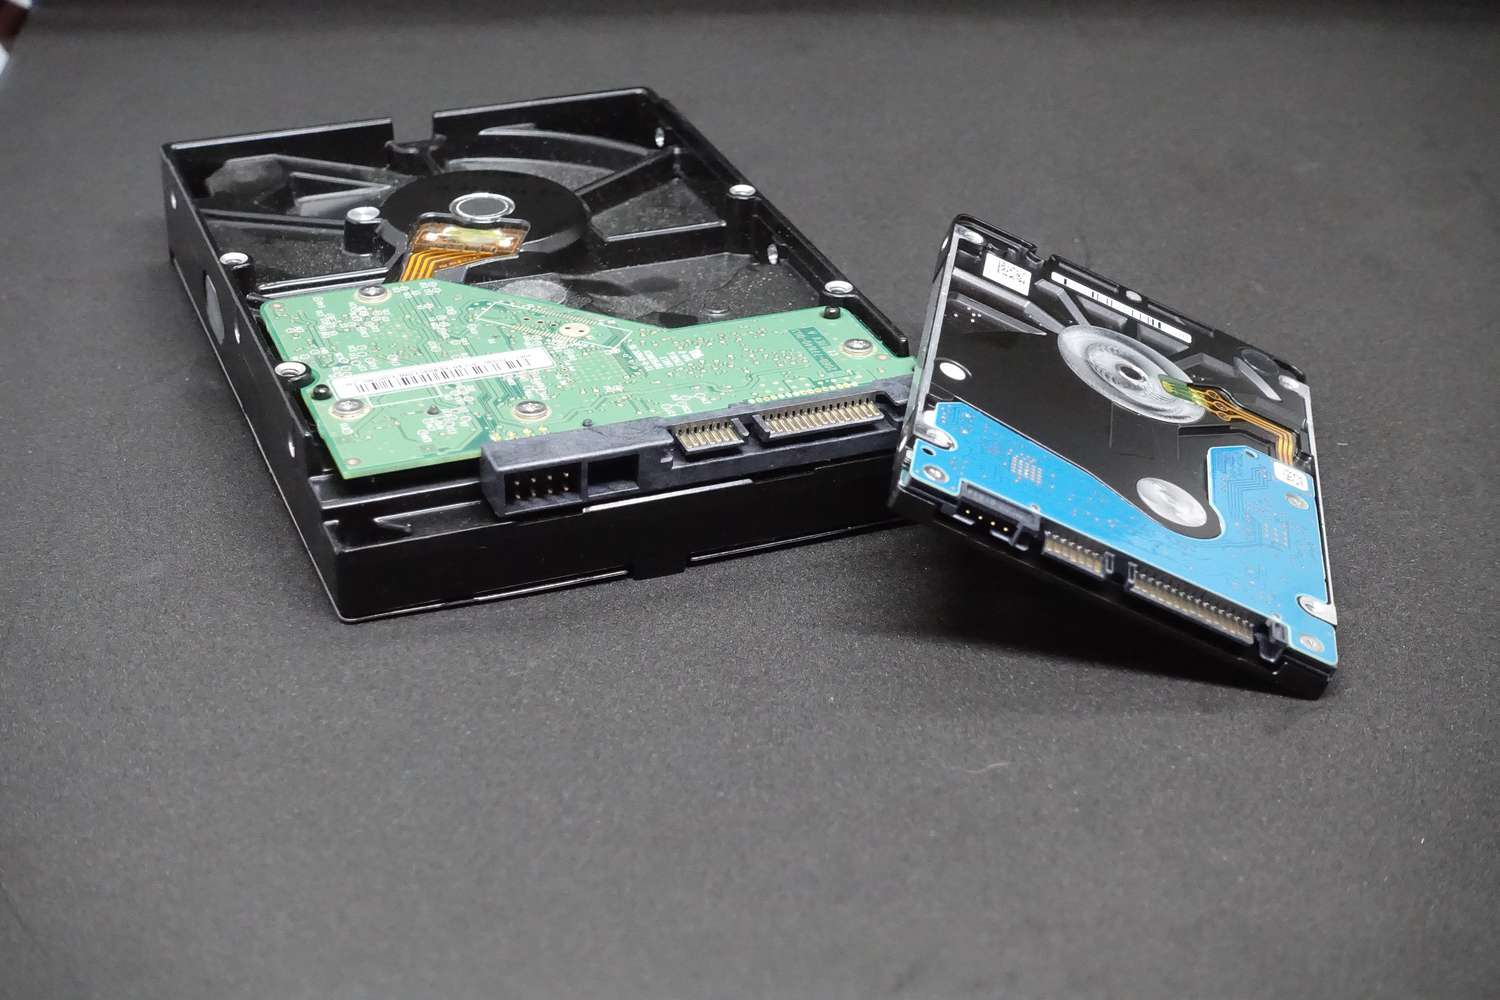
Step 4: Locate the hard disk drive
With your computer case open, the next step is to locate the hard disk drive (HDD) that you will be replacing. The HDD is where your current data is stored, and finding it is essential in order to proceed with the upgrade. Follow these steps to locate the HDD:
- Observe the internal components: Take a moment to familiarize yourself with the internal layout of your computer. Look for the main components, such as the motherboard, power supply, and any visible cables.
- Identify the hard disk drive: Look for a rectangular-shaped device mounted securely inside the computer case. It will typically be connected to the motherboard via data and power cables.
- Check for the manufacturer’s label: The hard disk drive should have a label or sticker indicating the manufacturer, model number, and capacity. This information can be useful for later reference.
- Take note of the connection cables: Locate the cables connecting the hard disk drive to the motherboard and power supply. Depending on the configuration, these cables may be flat and wide (IDE) or thin and narrow (SATA).
It’s important to handle the hard disk drive with care and avoid touching any sensitive components. If you’re uncertain about the location of the hard disk drive or need additional guidance, consult your computer’s manual or seek assistance from the manufacturer’s support resources.
Once you have successfully identified the hard disk drive, you’re ready to proceed to the next step: disconnecting the HDD in preparation for the replacement.
Step 5: Disconnect the hard disk drive
Now that you have located the hard disk drive (HDD), the next step is to disconnect it from the computer. Disconnecting the HDD is necessary to remove it and replace it with the desired removable storage device. Follow these steps to safely disconnect the hard disk drive:
- Identify the SATA or IDE cables: Locate the cables that connect the hard disk drive to the motherboard and power supply. SATA cables are thin and narrow, while IDE cables are wider and flat.
- Disconnect the data cable: Gently detach the data cable from the back of the hard disk drive. To do this, firmly grip the connector and carefully wiggle it back and forth while pulling it away from the drive. Be careful not to pull on the cable itself.
- Disconnect the power cable: Similarly, remove the power cable connected to the hard disk drive. This cable provides the necessary electrical power to the drive. Wiggle the connector gently and pull it away from the drive to detach it.
- Remove any mounting brackets or screws: Check if the hard disk drive is secured in place with any mounting brackets or screws. If so, use a screwdriver to remove them, allowing the drive to be released from its mounting position.
- Set aside the disconnected hard disk drive: Once the cables and mounting hardware are removed, carefully set the disconnected hard disk drive aside in a safe and static-free location. Keep it in a protective antistatic bag if possible.
Make sure to handle the hard disk drive with care and avoid unnecessary force or pressure. Being cautious during this step will help prevent any accidental damage to the drive or other computer components.
With the hard disk drive successfully disconnected, you’re now ready to proceed to the next step: replacing the hard disk drive with a removable storage device.
Step 6: Replace the hard disk drive with a removable storage device
Now that you have disconnected the hard disk drive (HDD), it’s time to replace it with the desired removable storage device. Whether you are using an external hard drive, USB flash drive, or SSD, follow these steps to complete the installation:
- Select the appropriate removable storage device: Choose the type of removable storage device you want to use, based on your requirements and preferences. Ensure that it is compatible with your computer and has sufficient capacity for your needs.
- Position the removable storage device: Depending on the type of device, you may need to place it in an external enclosure or directly connect it to an available USB or SATA port. Follow the manufacturer’s instructions for proper positioning.
- Connect the necessary cables and interfaces: If using an external enclosure, connect the appropriate data and power cables to the removable storage device. Ensure a secure connection, but be cautious not to force the cables or connectors into place.
- Secure the removable storage device: If using an external enclosure, make sure to secure the removable storage device in place using any included brackets, screws, or securing mechanisms. This will prevent any movement or accidental disconnections.
It’s important to handle the removable storage device with care, just like you would with any other electronic device. Avoid dropping or mishandling it to prevent damage.
Once you have successfully replaced the hard disk drive with the removable storage device, you’re ready to move on to the next step: securing the device in place.
Step 7: Secure the removable storage device in place
After replacing the hard disk drive (HDD) with the desired removable storage device, it’s important to secure it properly to ensure its stability and prevent any accidental disconnections. Follow these steps to securely fasten the removable storage device in place:
- Check for proper alignment: Ensure that the removable storage device is properly aligned with the slot or interface it is connected to. This will help ensure a secure and stable connection.
- Use any included brackets or screws: Depending on the type of device and enclosure being used, there may be included brackets or screws to secure the removable storage device in place. Follow the manufacturer’s instructions for proper installation.
- Tighten screws gently: If using screws to secure the removable storage device, tighten them gently with a screwdriver. Take care not to overtighten, as this may damage the device or the enclosure.
- Ensure all cables are properly connected: Double-check that all necessary cables are securely connected to the removable storage device. Confirm that both the data and power cables are properly inserted and seated.
- Verify stability: After securing the removable storage device, gently wiggle or spin it to ensure it is firmly in place. This will help ensure that it won’t come loose during normal usage or transportation.
By properly securing the removable storage device, you can ensure its stability and prevent any potential damage or data loss caused by accidental disconnections. Take your time during this step to ensure everything is secured correctly.
Once you have successfully secured the removable storage device, you’re ready to move on to the next step: closing the computer case.
Step 8: Close the computer case
Now that you have completed the necessary changes inside your computer, it’s time to close the computer case. Closing the case not only keeps the internal components protected but also ensures proper airflow and prevents dust and debris from entering. Follow these steps to securely close your computer case:
- Align the side panel: Position the side panel of the computer case in alignment with the main body of the case. Make sure the screw holes on the panel match up with the corresponding holes on the case.
- Slide or fasten the side panel: Depending on the design of your computer case, either slide the side panel back into position or make use of any latches, levers, or screws to fasten it securely. Follow the specific instructions for your case to ensure proper closure.
- Tighten the screws: If your case uses screws to secure the side panel, use a screwdriver to gently tighten them. Be careful not to overtighten or strip the screws, as this may cause damage.
- Double-check the closure: Give the computer case a gentle shake or tap to ensure that the side panel is securely fastened and doesn’t rattle or come loose. This step helps verify that the case is properly closed.
Take your time when closing the computer case to ensure that all connections and components are not obstructed or pinched. A properly closed case ensures optimal performance and protection for your computer.
Once you have successfully closed the computer case, you’re ready to move on to the final step: booting up your computer with the new removable storage device.
Step 9: Boot up your computer
Now that you have completed the physical changes to your computer and securely closed the case, it’s time to boot up your computer and ensure that the system recognizes the new removable storage device. Follow these steps to properly boot up your computer:
- Reconnect all necessary cables: Carefully reconnect all the cables that were disconnected earlier, including the power cable, monitor cable, and peripheral cables.
- Power on your computer: Press the power button on your computer to turn it on. Be patient as the system boots up.
- Access the BIOS/UEFI settings (optional): Depending on your system, you may need to access the BIOS/UEFI settings to ensure that the computer recognizes the new removable storage device. Consult your computer’s manual for instructions on how to enter the BIOS/UEFI.
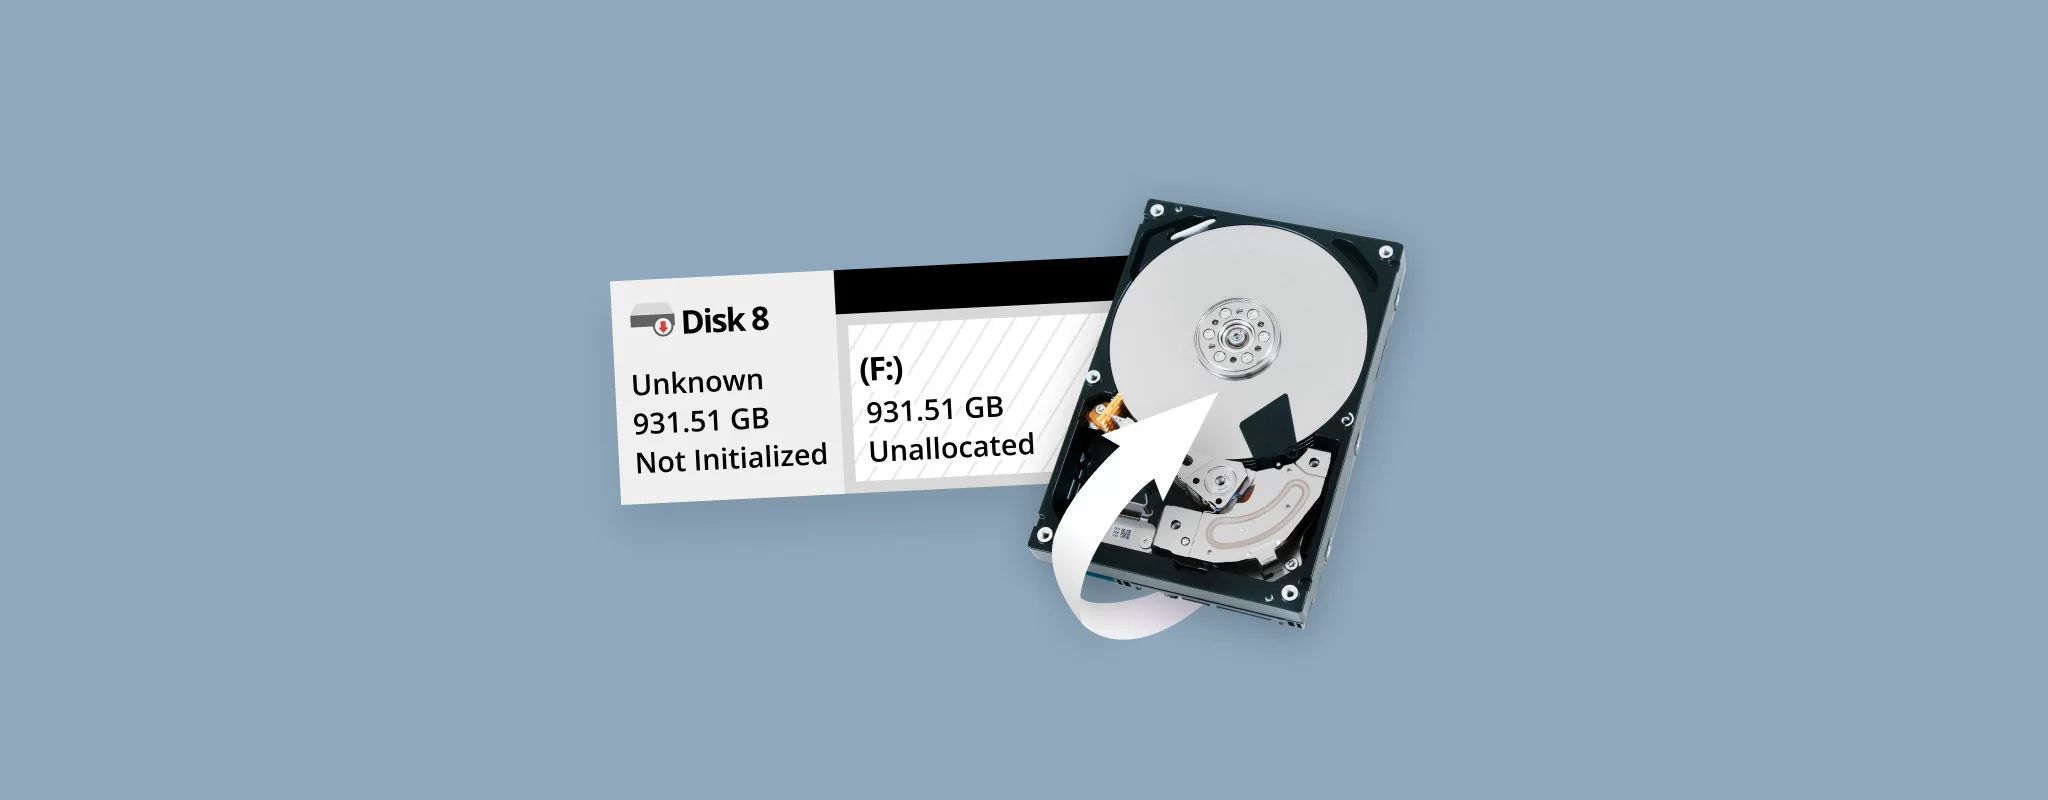
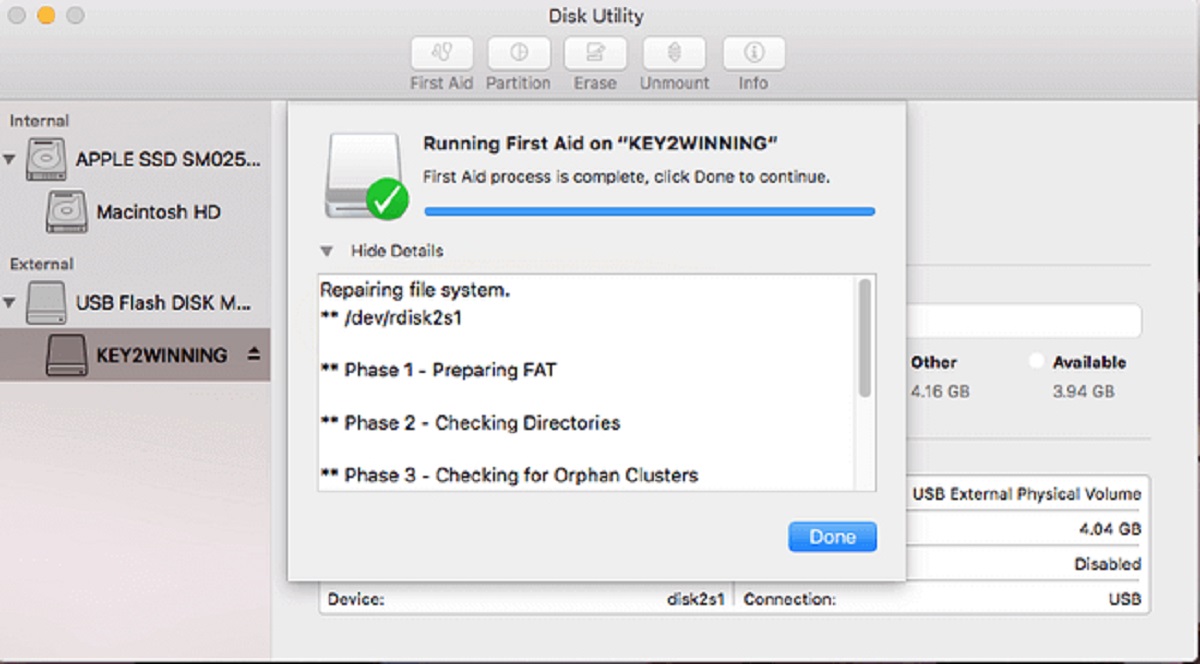
- Check for device recognition: Once your computer has booted up, go to “My Computer” (Windows) or “Finder” (Mac) to check if the new removable storage device is recognized. It should be listed as a new drive and ready for use.
- Initialize and format the new storage device (if necessary): If the new removable storage device is not automatically initialized and formatted, you may need to do so manually. Follow the instructions provided by the operating system to initialize and format the new drive.
- Ensure proper functionality: Copy a few files to the new removable storage device to confirm that it is working properly. This will help ensure that data can be read from and written to the device without any issues.
If your computer is not recognizing the new removable storage device, double-check the connections and ensure that the device is securely attached. If the issue persists, consult your computer’s manual or seek technical support for further assistance.
With your computer successfully booted up and the new removable storage device recognized, you have completed the process of changing your hard disk drive to removable storage. Congratulations!
Conclusion
Congratulations on successfully changing your hard disk drive to a removable storage device! By following the step-by-step process outlined in this guide, you have gained the flexibility of easily transferring and accessing your data across different devices.
From gathering the necessary tools and equipment to securely closing your computer case, each step was designed to ensure a smooth and efficient transition. By taking the time to back up your data and handle the components with care, you have minimized the risk of data loss or damage during the upgrade process.
Whether you chose to use an external hard drive, USB flash drive, or SSD, the new removable storage device opens up a world of possibilities for sharing, transporting, and safeguarding your files. Enjoy the convenience and versatility that comes with easily disconnecting and using your data across various devices.
Remember, it’s always essential to stay informed and exercise caution when making changes to your computer’s hardware. If you encounter any difficulties or are unsure about any part of the process, consult your computer’s manual or seek assistance from a knowledgeable professional.
Now that you have completed the transformation, take some time to explore the capabilities of your new removable storage device. Enjoy the freedom of data mobility and make the most out of this practical upgrade.