Introduction
When it comes to watching movies or videos, subtitles can be extremely helpful, especially for non-native speakers or those with hearing impairments. Subtitles allow viewers to understand the dialogue and follow the storyline effortlessly. If you have a video file and an accompanying subtitle file in the SRT format, you might want to burn them onto a DVD for convenient playback on any DVD player.
In this article, we will guide you through the process of burning a DVD with subtitles using a DVD burning software. Whether you want to create a DVD with subtitles for personal use or for sharing with friends and family, this step-by-step guide will help you achieve that effortlessly.
Please note that you will need a DVD burning software installed on your computer to complete the process. There are various DVD burning software options available online, both free and paid. Make sure to choose a reliable software that supports subtitle integration. Once you have the software ready, you can proceed with the following steps.
Before we dive into the specifics, it’s important to ensure that you have both the video file and the subtitle file ready in the required format. The video file can be in various formats such as AVI, MP4, or MKV, while the subtitle file should be in the SRT format. If your subtitle file is not in the SRT format, you may need to convert it using a subtitle conversion tool.
Now that you have a clear understanding of what’s involved, let’s move on to the next step: downloading and installing a reliable DVD burning software on your computer.
Step 1: Download and Install a DVD Burning Software
The first step in burning a DVD with subtitles is to download and install a DVD burning software on your computer. There are several options available online, so choose one that suits your needs and preferences. Here’s how you can go about it:
- Do some research: Take some time to research different DVD burning software options available. Consider factors such as user reviews, features, ease of use, and compatibility with subtitle integration.
- Choose a reliable software: Once you’ve done your research, select a DVD burning software that meets your requirements. Some popular options include Nero Burning ROM, ImgBurn, and Ashampoo Burning Studio. Make sure the software you choose supports subtitle integration.
- Visit the official website: Go to the official website of the chosen DVD burning software. Look for a download or buy link to proceed with obtaining the software.
- Download and install: Click on the download link provided on the website. The software may be available as a free trial or as a fully-paid version. Choose the option that best suits your needs and follow the instructions to download the software onto your computer.
- Run the installation file: Once the downloading process is complete, locate the installation file on your computer and run it. Follow the installation wizard’s instructions to install the DVD burning software on your computer.
- Launch the software: After the installation is complete, locate the DVD burning software in your computer’s applications or programs folder. Double click on it to launch the software.
Now that you have successfully downloaded and installed the DVD burning software, you’re ready to move on to the next step. In the following section, we will discuss how to prepare the video and subtitle files for burning onto the DVD.
Step 2: Prepare the Video and Subtitle Files
Before you can burn a DVD with subtitles, you need to ensure that both the video file and the subtitle file are properly prepared. Here’s what you need to do:
- Locate the video file: Find the video file that you want to burn onto the DVD. Ensure that it is in a compatible format for DVD burning, such as AVI, MP4, or MKV.
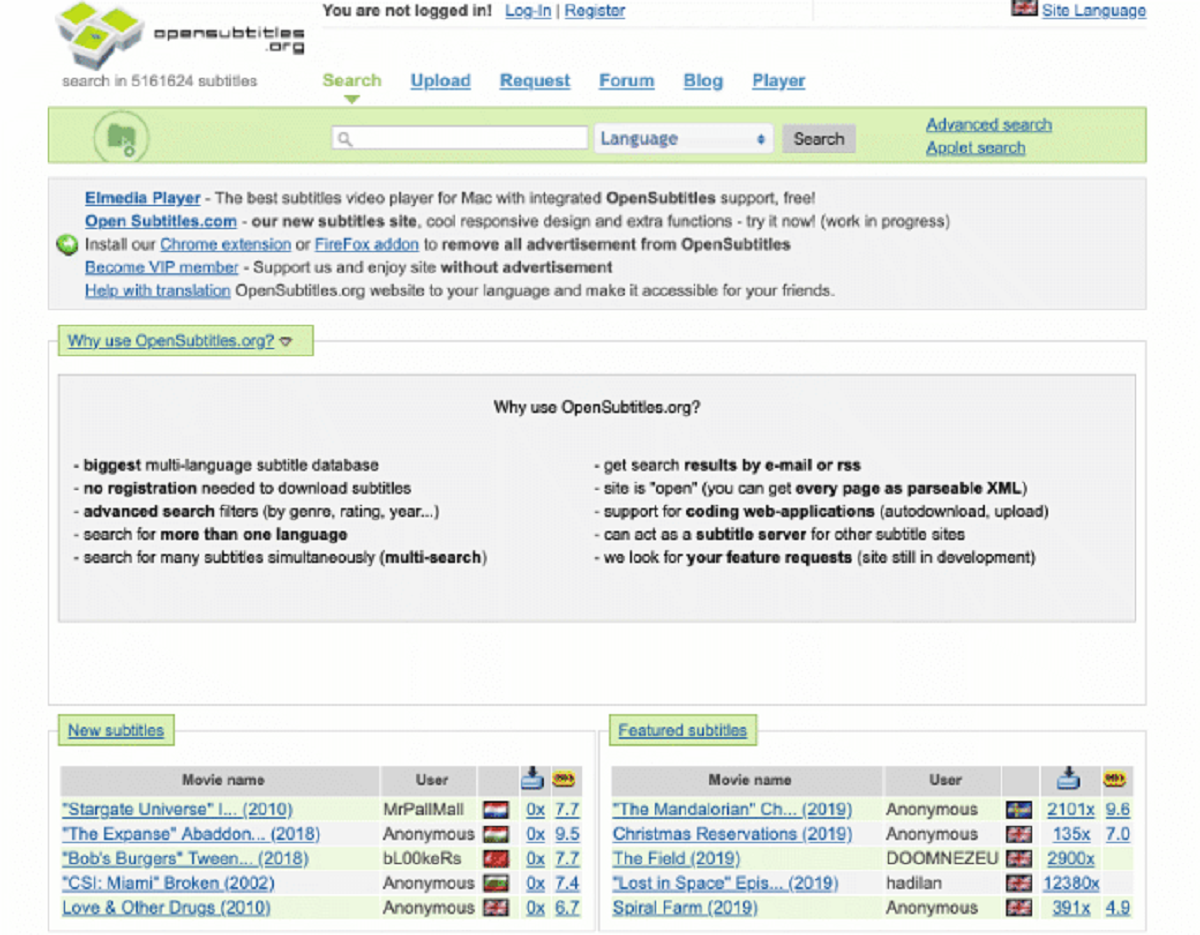
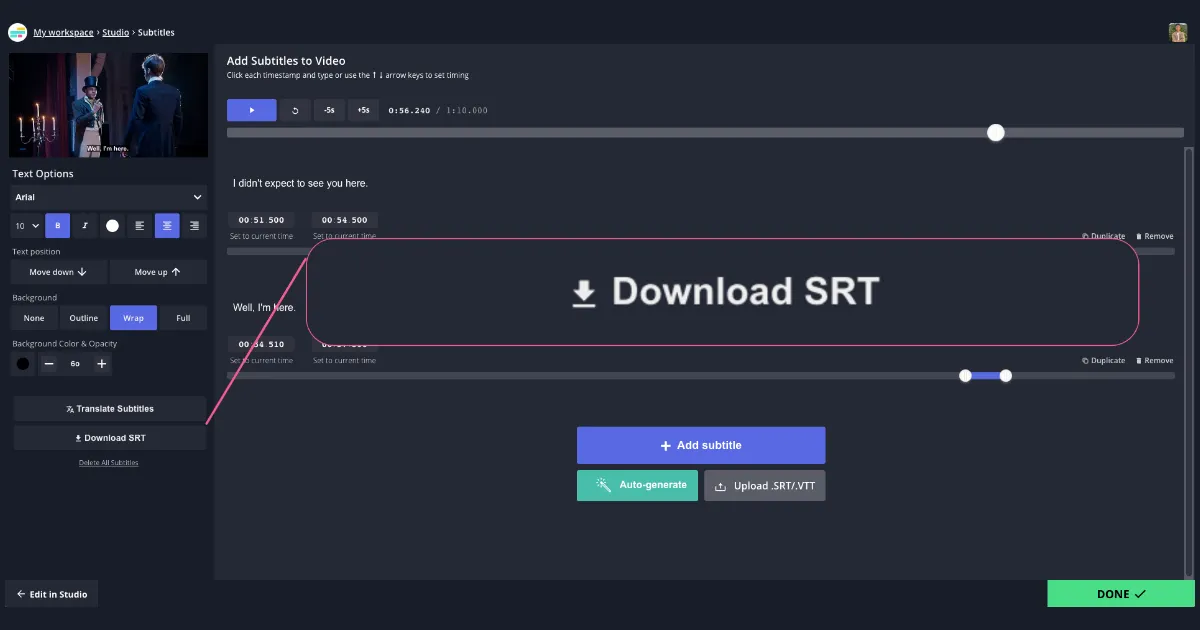
- Gather the subtitle file: Locate the corresponding subtitle file for your video. It should be in the SRT format. If you don’t have a subtitle file, you can find one online or create your own using subtitle creation tools.
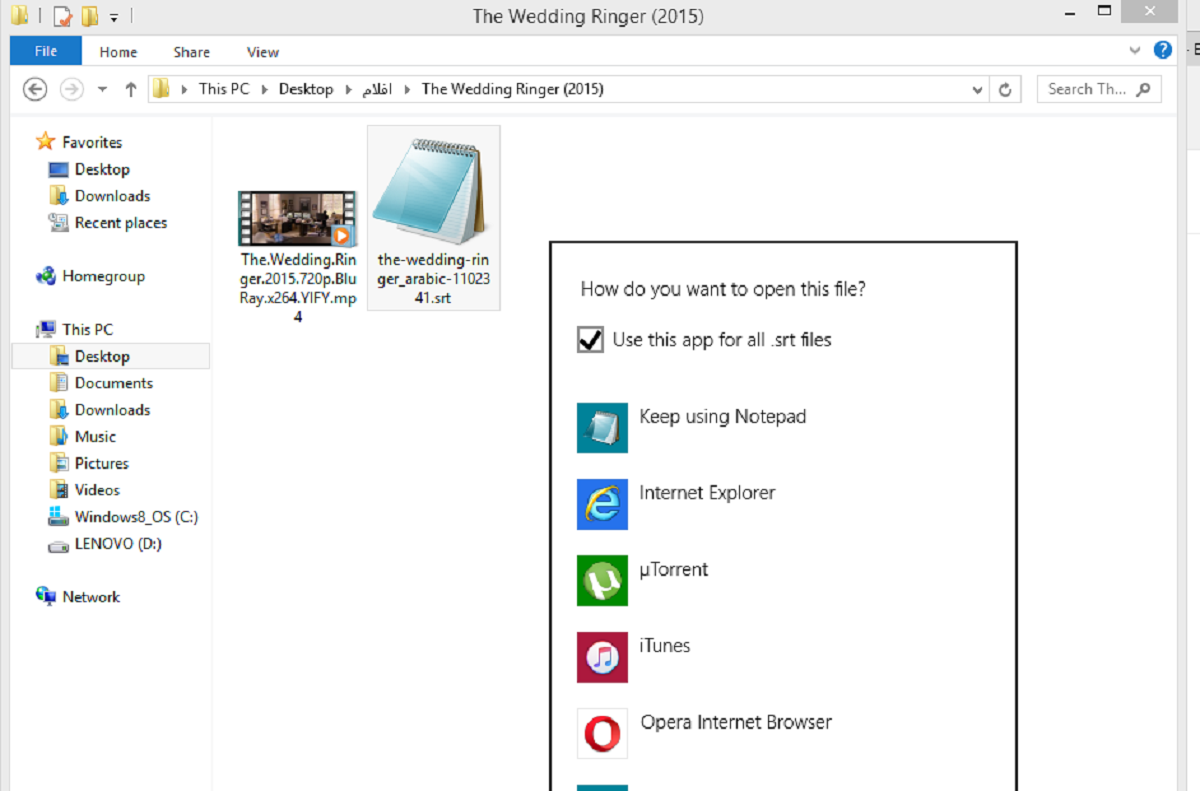
- Verify file compatibility: Check that both the video file and the subtitle file have the same filename (excluding the extension) and are stored in the same folder on your computer. For example, if your video file is named “movie.avi”, the subtitle file should be named “movie.srt”. This ensures that the DVD burning software will recognize the subtitle file when you load them together. If the filenames differ, rename them accordingly.
- Ensure subtitle timing: Open the subtitle file in a text editor and ensure that the timing of the subtitles matches the video. Each subtitle entry should have a start time and an end time that corresponds to the dialogue in the video. Make any necessary adjustments to sync the subtitles with the video.
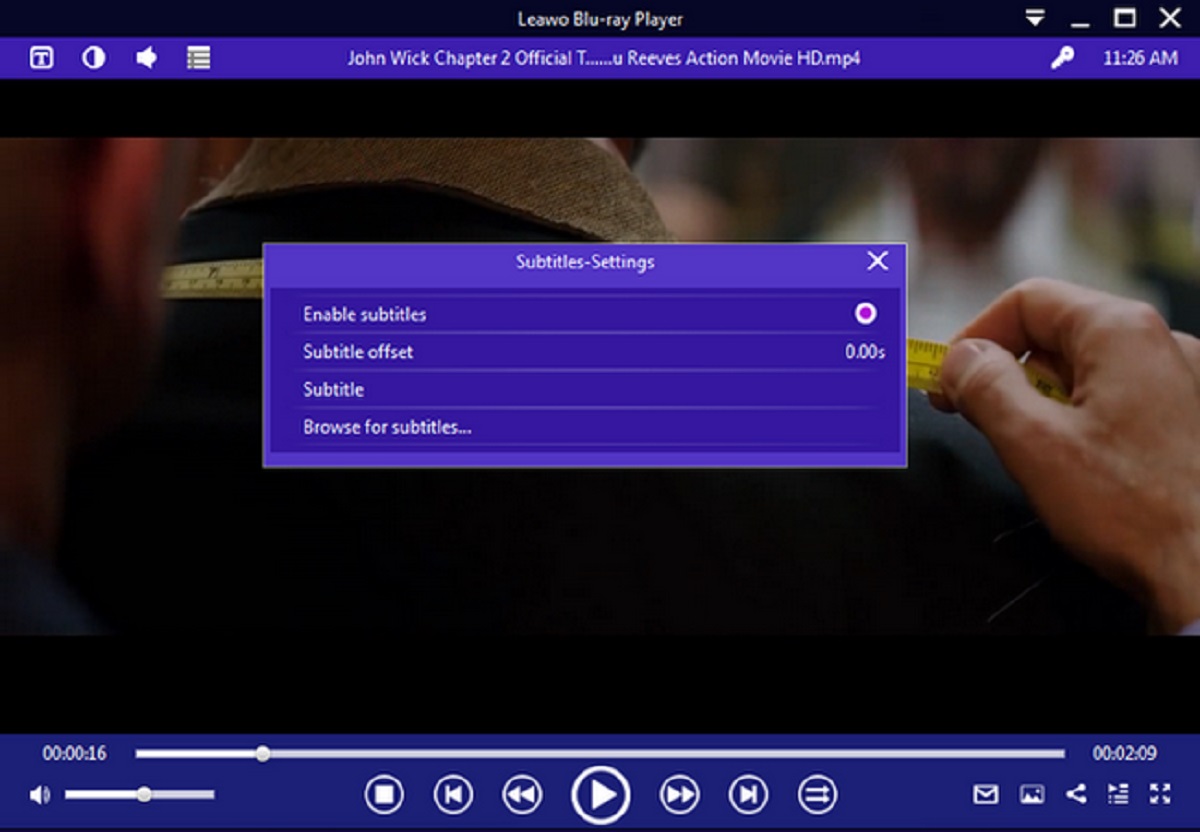
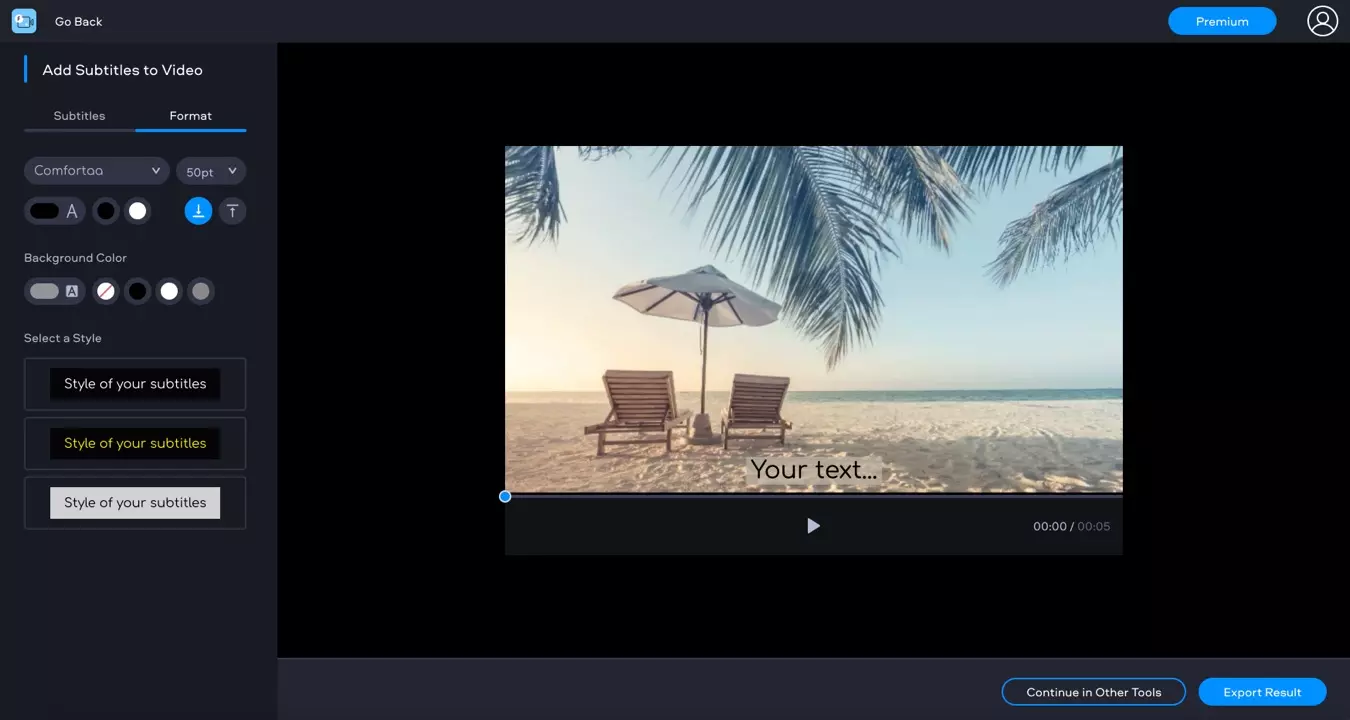
- Optional: Edit subtitle appearance (if supported): If your DVD burning software allows for it, you may have the option to customize the appearance of the subtitles. This can include changing the font, size, color, and position of the subtitles on the screen. Adjust these settings as desired.
By following these steps, you have successfully prepared your video and subtitle files for burning onto the DVD. In the next section, we will discuss how to load the video and subtitle files into the DVD burning software for further customization.
Step 3: Load the Video and Subtitle Files into the DVD Burning Software
Now that you have prepared the video and subtitle files, it’s time to load them into the DVD burning software. This step enables you to customize the DVD menu and settings before burning the DVD with subtitles. Follow these instructions:
- Launch the DVD burning software: Double-click on the DVD burning software icon to open it. The software’s user interface will appear on your screen.
- Select “Create a new DVD project”: Look for an option in the software that allows you to create a new DVD project. This option may be available in the form of a button or a menu item.
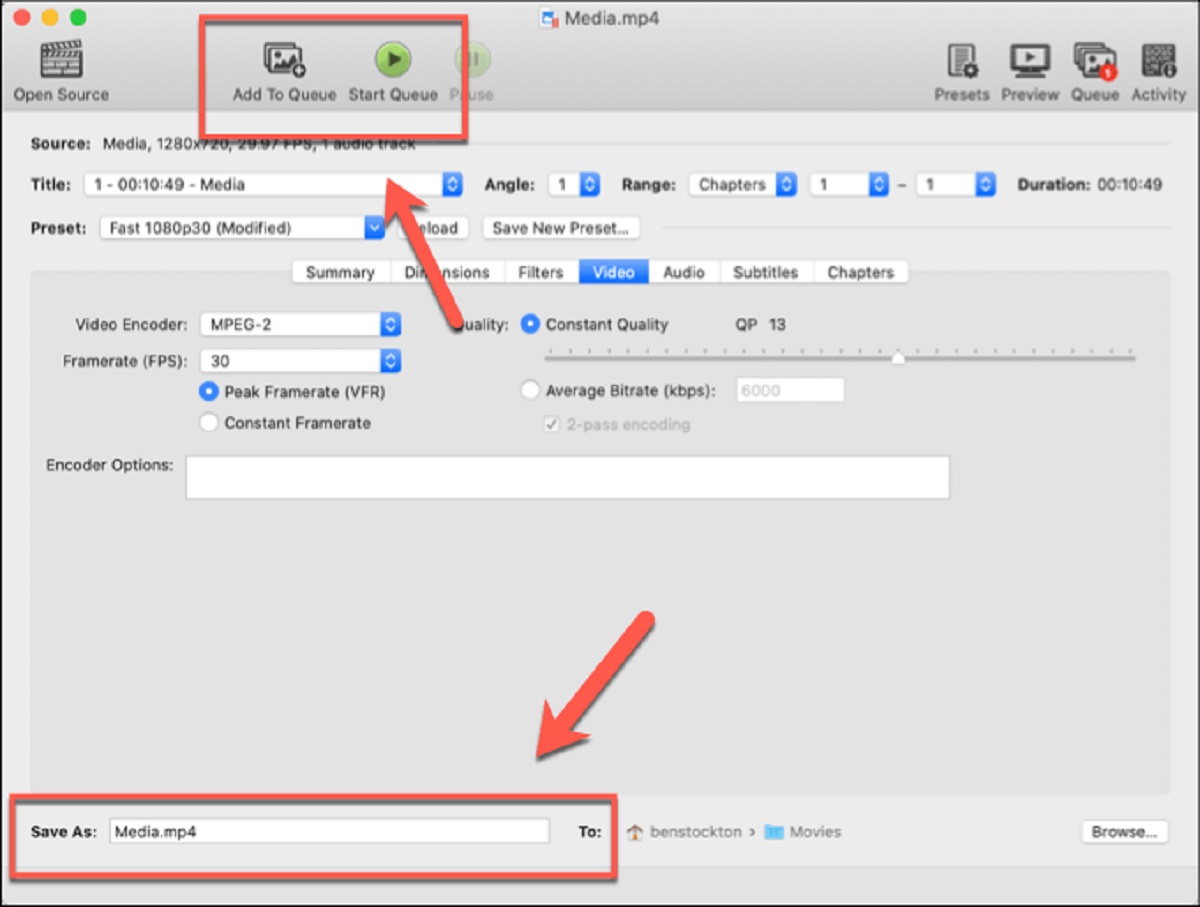
- Import the video file: Locate the “Import” or “Add” button within the DVD burning software interface. Click on it and navigate to the folder where your video file is stored. Select the video file and click “Open” to import it into the project.
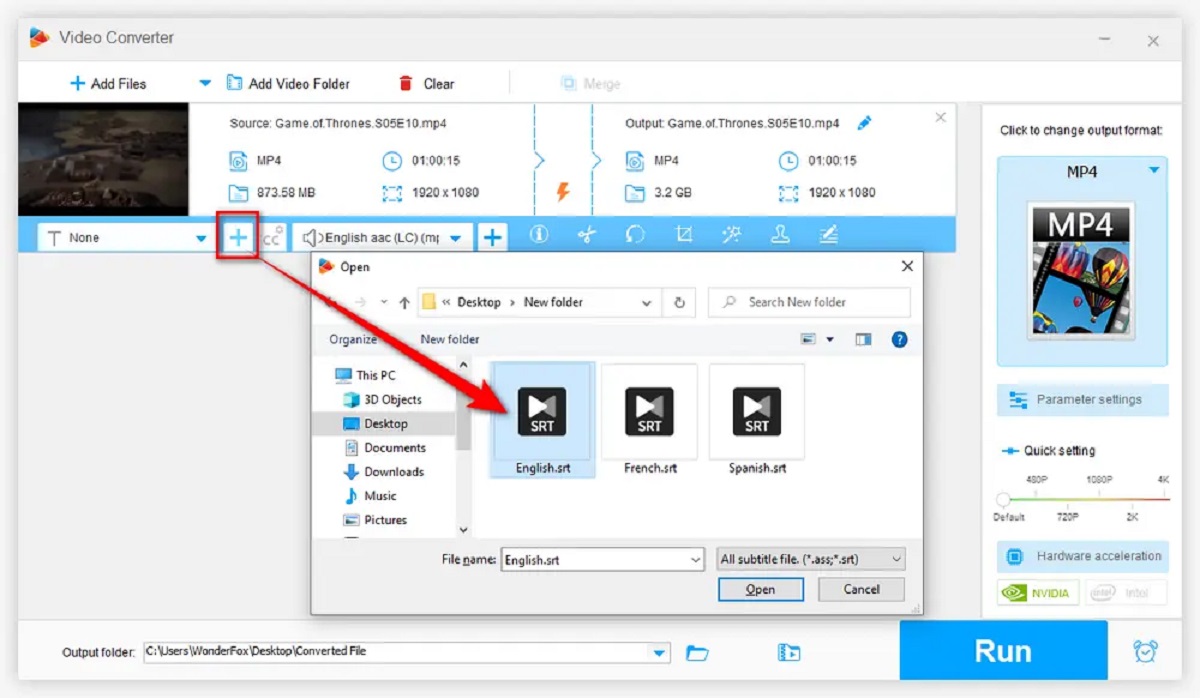
- Load the subtitle file: Look for an option in the software to add subtitles. Sometimes, this option may be found within the video import dialogue box. Click on it and navigate to the folder where your subtitle file is stored. Select the subtitle file and click “Open” to load it into the project.
- Verify synchronization: Once the video and subtitle files are loaded into the software, verify that the subtitles are synchronized correctly with the video. Play a portion of the video within the software and ensure that the subtitles appear at the right times.
- Adjust subtitle settings (if available): If the software allows for it, you may have the option to further customize the subtitle settings. This can include adjusting the font size, style, and position of the subtitles. Use these settings to make any desired changes.
By following these steps, you have successfully loaded the video and subtitle files into the DVD burning software. In the next section, we will discuss how to customize the DVD menu and settings to create a personalized DVD with subtitles.
Step 4: Customize DVD Menu and Settings
Now that you have loaded the video and subtitle files into the DVD burning software, it’s time to personalize the DVD menu and settings. Customizing the DVD menu allows you to create a visually appealing and user-friendly interface for your DVD. Follow these steps to customize the DVD menu and settings:
- Locate the DVD menu customization options: Look for a dedicated section or tab within the DVD burning software that allows you to customize the DVD menu. This section may include options for choosing a template, adding background images, selecting button styles, and adding text.
- Select a menu template: Choose a menu template that matches the theme or genre of your video. The DVD burning software will provide a range of pre-designed templates for you to choose from.
- Add background images or videos: If the software allows for it, you can further enhance the DVD menu by adding background images or videos. These visuals can add a touch of creativity and make your DVD more visually appealing.
- Customize button styles: Modify the appearance of the buttons on the DVD menu. You can change their shape, color, size, and positioning. Ensure that the buttons are clearly labeled and easy to navigate.
- Add text and titles: Include text and titles on the DVD menu to provide a brief description of the video or to indicate chapter titles. Use clear and concise wording to make it easy for viewers to understand.
- Preview the customized DVD menu: Take advantage of the preview feature within the DVD burning software. It allows you to see how the menu looks and functions before finalizing the DVD burning process.
- Make necessary adjustments: If you notice any issues or want to make changes to the DVD menu and settings, use the editing features provided by the software. This may include repositioning buttons, changing font styles, or adjusting the duration of menu transitions.
By following these steps, you have successfully customized the DVD menu and settings according to your preferences. In the next section, we will discuss how to preview the DVD with subtitles to ensure everything is in order before burning it onto a disc.
Step 5: Preview the DVD with Subtitles
Before burning the DVD with subtitles, it’s essential to preview it to ensure that everything is in order. This step allows you to check the synchronization of the subtitles, the functionality of the DVD menu, and overall playback quality. Follow these steps to preview the DVD with subtitles:
- Access the preview feature: Look for a “Preview” or “Play” button within the DVD burning software. This button will initiate the playback of the DVD project within the software’s built-in player.
- Check subtitle synchronization: Pay close attention to how the subtitles appear on the screen while the video is playing. Ensure that the timing is accurate, and the subtitles are perfectly synchronized with the dialogue.
- Test DVD menu functionality: Interact with the DVD menu by selecting different buttons and options. Verify that the navigation is smooth and that the buttons properly link to the designated sections of the DVD.
- Assess overall playback quality: Evaluate the overall playback quality of the DVD. Look for any potential issues like pixelation, audio sync problems, or visual artifacts. If you encounter any problems, go back and make necessary adjustments before proceeding.
- Make necessary revisions: If you discover any issues during the preview, return to the respective sections within the DVD burning software to make the necessary revisions. This could involve tweaking subtitle settings, adjusting menu design, or even revisiting the video and subtitle files for any corrections.
- Repeat the preview process: After making the revisions, go back to the preview feature and repeat the process to ensure that the changes have successfully resolved any previous issues.
By following these steps, you have successfully previewed the DVD with subtitles and made any necessary revisions. Now that everything is in order, you’re ready for the final step—burning the DVD with subtitles. In the next section, we will discuss how to proceed with this step.
Step 6: Burn the DVD with Subtitles
After previewing and ensuring that all the elements are correct, it’s time to burn the DVD with subtitles. This step will create a physical DVD copy of your video with the integrated subtitles. Follow these steps to successfully complete the burning process:
- Prepare a blank DVD: Insert a blank, writable DVD into your computer’s DVD burner. Ensure that the DVD has enough space to accommodate the video and subtitle files, as well as any other desired content.
- Select the burning option: Look for a “Burn” or “Create” button within the DVD burning software. This will initiate the burning process and prompt you to customize additional settings.
- Choose burning options: Depending on the software, you may be presented with additional burning options. These can include selecting the burning speed, choosing the DVD format (e.g., DVD-R, DVD+R), and specifying the target location for the burned DVD.
- Initiate the burning process: Once you have selected the desired burning options, click on the “Start” or “Burn” button to initiate the burning process. The software will begin converting and encoding the video and subtitle files onto the DVD.
- Monitor the burning progress: While the software is burning the DVD, a progress bar or indicator will display the status. Keep an eye on it to ensure that the process completes successfully without any errors.
- Eject the DVD: After the burning process is complete, the DVD burner will automatically eject the burned DVD. Remove the DVD from the drive and verify that the subtitles are present and functioning correctly.
Congratulations! You have successfully burned a DVD with subtitles. Take a moment to celebrate your accomplishment, and don’t forget to label the DVD for easy identification. Now, you can enjoy watching your video with subtitles on any DVD player that supports the format.
Remember, the process may vary slightly depending on the specific DVD burning software you are using. Refer to the software’s documentation or online resources for detailed instructions if needed.
Conclusion
Burning a DVD with subtitles can greatly enhance the viewing experience for both native and non-native speakers. With the help of DVD burning software, you can seamlessly integrate subtitles into your video files and create customized DVDs that can be enjoyed on any DVD player.
In this article, we have guided you through the step-by-step process of burning a DVD with subtitles. We started by downloading and installing a reliable DVD burning software, followed by preparing the video and subtitle files. Next, we loaded the files into the software and customized the DVD menu and settings to create a personalized DVD experience. We then previewed the DVD with subtitles to ensure everything was in order before proceeding to the final step – burning the DVD. Finally, we discussed how to burn the DVD and provided tips for a successful burning process.
By following these steps, you can create professional-looking DVDs with subtitles that cater to your specific preferences. Whether you want to share videos with friends and family, create a collection of your favorite movies, or distribute educational content, mastering the art of burning DVDs with subtitles opens up a world of possibilities.
Remember to choose a reliable DVD burning software that supports subtitle integration and offers customizable features for a truly personalized DVD experience. Additionally, ensure the compatibility of your video and subtitle files, and thoroughly preview the DVD before burning it to guarantee a seamless and enjoyable viewing experience.
Now that you have learned how to burn a DVD with subtitles, it’s time to unleash your creativity and share your favorite movies, videos, or other content with subtitles to bring joy and accessibility to your audience.