Introduction
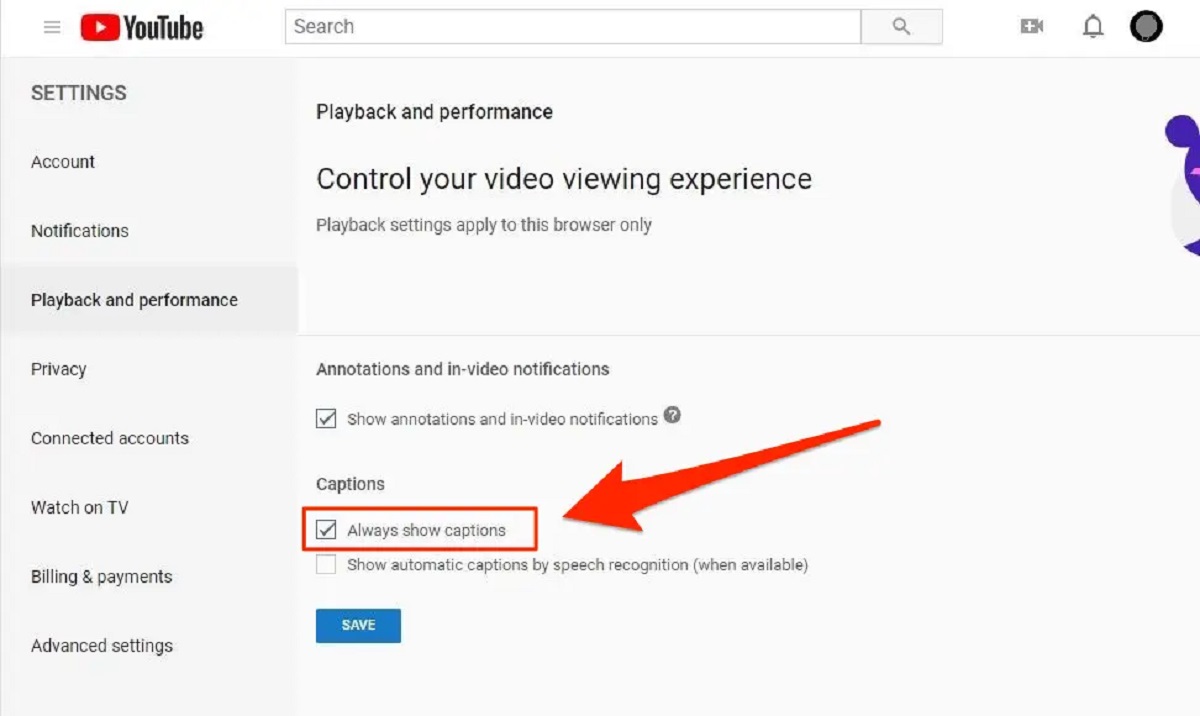
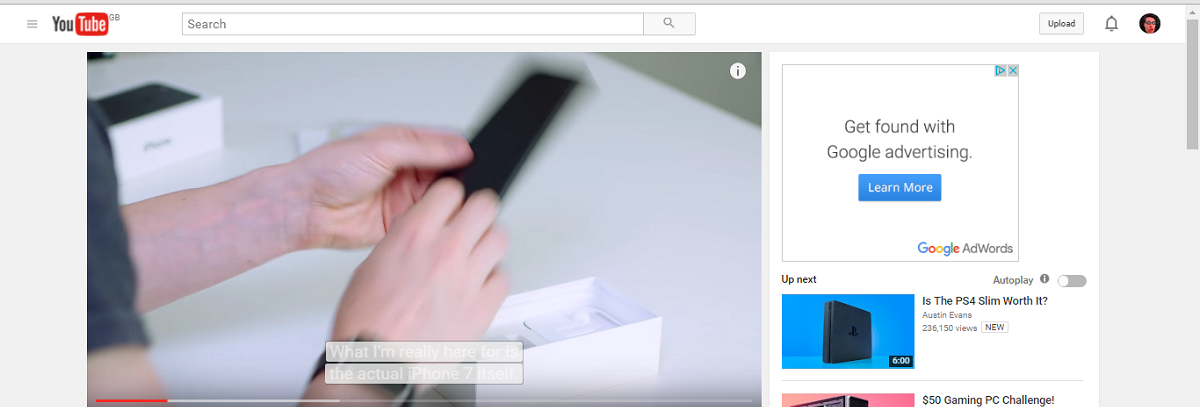
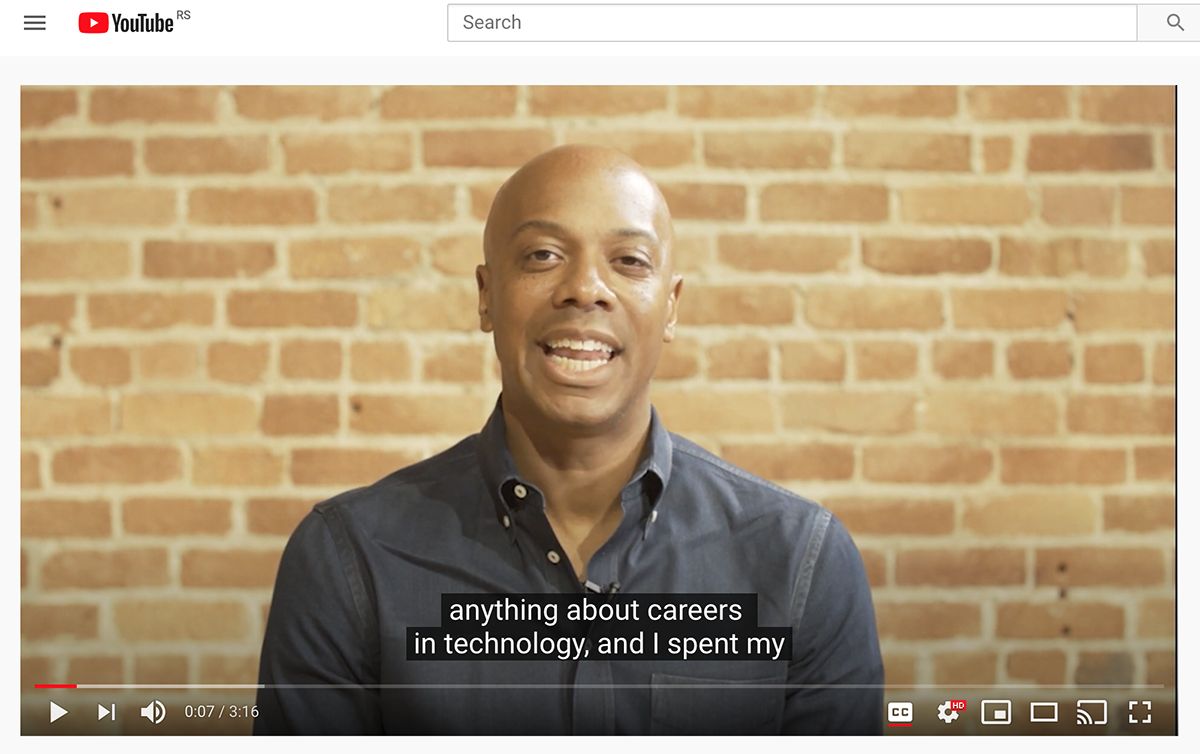
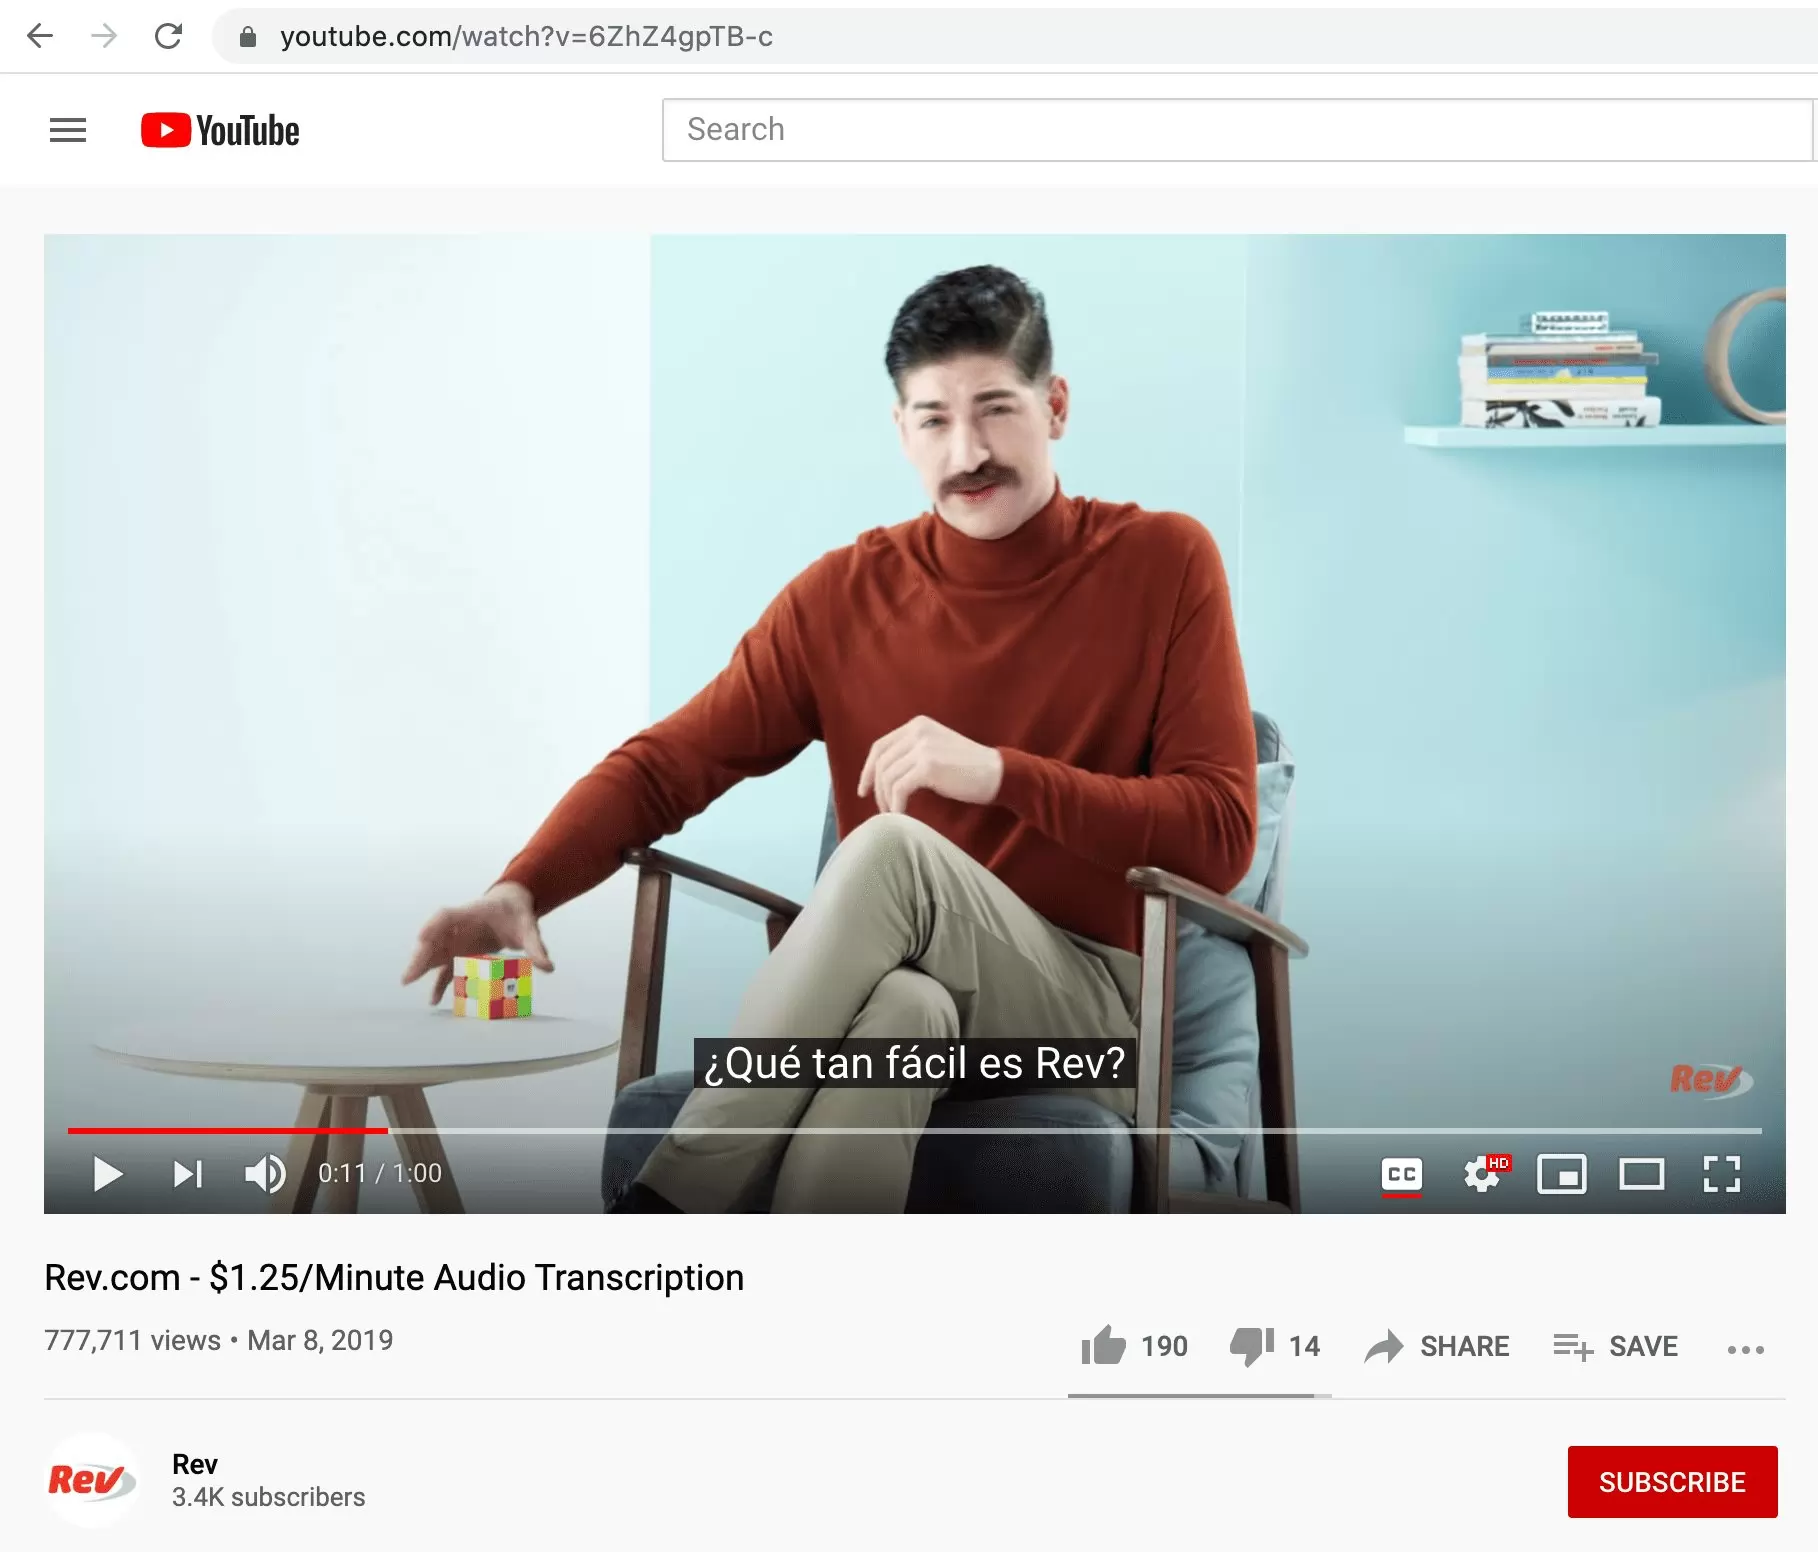
As a YouTube content creator, you want to reach as wide an audience as possible and make your videos accessible to everyone. One effective way to achieve this is by adding subtitles to your YouTube videos. Subtitles, also known as closed captions, provide text descriptions of the audio content in your videos, allowing viewers to read along while they watch. This feature is especially beneficial for individuals with hearing impairments, those who speak different languages, or people who prefer to watch videos with the sound off.
Adding subtitles to your YouTube videos not only enhances accessibility, but it also improves SEO (Search Engine Optimization) by making your content more discoverable. Search engines can index and analyze subtitles, allowing your videos to rank higher in search results. Additionally, subtitles can boost engagement and viewer retention, as they help viewers follow along more easily and capture their attention.
In this article, we will explore various methods for adding subtitles to your YouTube videos and provide best practices to ensure a seamless viewing experience for your audience. Whether you prefer automatic subtitle generation, uploading a pre-existing file, or creating subtitles using YouTube Studio, we have you covered. Let’s dive in and learn how to put subtitles on YouTube!
Why Should You Add Subtitles to Your YouTube Videos?
When it comes to creating YouTube videos, adding subtitles can offer numerous benefits for both content creators and viewers alike. Here are some compelling reasons why you should consider adding subtitles to your YouTube videos:
- Improved Accessibility: Subtitles make your videos accessible to a wider audience, including individuals with hearing impairments or those who are non-native speakers. By providing subtitles, you ensure that everyone can understand and enjoy the content you create.
- Language Barrier: Subtitles help overcome language barriers, allowing viewers from different parts of the world to understand and engage with your videos. This opens up your content to a global audience, increasing your reach and potential viewership.
- Enhance User Experience: Subtitles make it easier for viewers to follow along with your videos, especially if the audio quality is poor or if viewers are in noisy environments. They can read the text and still comprehend the message you are conveying, resulting in a more satisfying viewing experience.
- SEO Benefits: Adding subtitles to your YouTube videos can significantly boost your SEO performance. Search engines can crawl and index the text in subtitles, which increases the chances of your videos appearing in search results. This improves your video’s discoverability and increases organic traffic to your channel.
- Increased Viewer Engagement: Subtitles help captivate viewers’ attention and keep them engaged throughout your videos. Whether they are watching in a noisy environment, at work, or in a quiet setting, subtitles ensure that your viewers can easily follow the content and stay connected to the video.
- Compliance: In some cases, providing subtitles may be necessary for legal or regulatory compliance. For instance, certain countries have accessibility regulations that require videos to have subtitles, and failure to comply may result in penalties or restricted viewership.
Adding subtitles to your YouTube videos not only demonstrates your commitment to inclusivity but also helps you gain a competitive advantage in the YouTube ecosystem. It allows you to reach a broader audience, improve engagement, and enhance your video’s overall performance. Now that we understand the importance of subtitles, let’s explore the different methods for adding them to your YouTube videos.
Method 1: Using YouTube’s Automatic Subtitle Generator
YouTube provides a convenient automatic subtitle generation feature that can quickly generate subtitles for your videos. Here’s how to use YouTube’s automatic subtitle generator:
- Upload your video: Sign in to your YouTube account and navigate to the YouTube Studio. Click on the “Videos” tab and then select the video you want to add subtitles to. If the video is not uploaded yet, click on the “Upload video” button and follow the instructions to upload your video to YouTube.
- Access the subtitle settings: Once you’ve selected or uploaded your video, click on the “Subtitles” tab in the left-hand menu. This will take you to the subtitle settings page for that specific video.
- Generate automatic subtitles: On the subtitle settings page, you’ll see the option to “Add Language” for subtitles. Click on it and select the desired language for your subtitles. After selecting the language, click on the “Autogenerate” button. YouTube will then analyze your video’s audio and generate automatic subtitles. This process may take a few minutes, depending on the length of the video.
- Review and edit: Once the automatic subtitles are generated, YouTube will display them in the subtitle editor. Here, you can review and edit the subtitles to ensure accuracy. Play the video and read the subtitles line by line, making any necessary corrections. You can also adjust the timing of the subtitles to align perfectly with the spoken words.
- Save and publish: After reviewing and editing the subtitles, click on the “Publish” button to save and publish the subtitles to your YouTube video. The subtitles will be available for viewers to enable while watching your video.
Using YouTube’s automatic subtitle generator is a convenient and time-saving option, especially for videos with clear audio. However, it’s important to note that the accuracy of the automatic subtitles may vary, especially if the audio quality is poor or there are background noises. Therefore, it’s essential to review and edit the subtitles to ensure they accurately reflect the content of your video.
Now that you know how to utilize YouTube’s automatic subtitle generator, let’s explore another method for adding subtitles to your YouTube videos.
Method 2: Uploading Subtitles or Closed Captions File
If you have already created or obtained a subtitles or closed captions file for your YouTube video, you can easily upload it to YouTube. Here’s how:
- Create or obtain a subtitles file: Before you can upload a subtitles file, you need to have one readily available. You can create subtitles manually using a text editor or use specialized software to generate them. Alternatively, you can obtain subtitles from professional captioning services or online subtitle repositories.
- Access the subtitle settings: Sign in to your YouTube account and navigate to the YouTube Studio. Click on the “Videos” tab and select the video you want to add subtitles to. If the video is not uploaded yet, click on the “Upload video” button and follow the instructions to upload your video to YouTube.
- Upload the subtitles file: On the video’s subtitle settings page, click on the “Add Language” button and select the appropriate language for your subtitles. Next, choose the “Upload File” option and browse for the subtitles file on your computer. Select the file and click “Open” to upload it to YouTube.
- Review and edit if necessary: Once the subtitles file is uploaded, YouTube will display the subtitles in the subtitle editor. You can play the video and review the subtitles for accuracy. If any corrections or adjustments are needed, you can make them directly within the subtitle editor.
- Save and publish: After reviewing and editing the subtitles, click on the “Publish” button to save and publish the subtitles to your YouTube video. The subtitles will now be available for viewers to enable while watching your video.
Uploading a subtitles or closed captions file is a great option if you already have professionally created subtitles or if you prefer to create them using specialized software. This method offers more precise control over the accuracy and formatting of the subtitles. Remember to review and edit the subtitles if necessary to ensure they align perfectly with your video’s content.
Now that you know how to upload subtitles or closed captions files, let’s explore another method for adding subtitles to your YouTube videos.
Method 3: Creating Subtitles with YouTube Studio
If you prefer to create subtitles directly within YouTube’s platform, YouTube Studio provides a user-friendly tool for subtitle creation. Here’s how you can create subtitles with YouTube Studio:
- Access YouTube Studio: Sign in to your YouTube account and navigate to the YouTube Studio. Click on the “Videos” tab and select the video you want to add subtitles to.
- Open the subtitle editor: On the video’s details page, click on the “Subtitles” tab in the left-hand menu. This will open the subtitle editor where you can create and edit subtitles for your video.
- Add new subtitles: Within the subtitle editor, click on the “Add Language” button and select the desired language for your subtitles. YouTube will automatically create a new subtitle track for that language.
- Start adding subtitles: With the newly created subtitle track selected, you can begin adding subtitles to your video. Play the video and pause it at the point where you want to add a subtitle. Then, type the corresponding text in the subtitle editor box. Repeat this process for each subtitle you want to create.
- Set timing and duration: After adding the subtitle text, you can adjust the timing and duration of each subtitle to ensure they align with the spoken words in your video. Drag the subtitles’ start and end markers to set their timing accordingly.
- Review and edit: Once you’ve added and timed all the subtitles, preview your video with the subtitles enabled. Verify that the text is accurately synchronized with the audio. If any adjustments or corrections are needed, make them within the subtitle editor.
- Save and publish: After reviewing and editing the subtitles, click on the “Publish” button to save and publish the subtitles to your YouTube video. The subtitles will be available for viewers to enable while watching your video.
Creating subtitles with YouTube Studio offers the advantage of a seamless workflow within the YouTube platform. You can add, edit, and synchronize subtitles directly, without the need for additional software or files. It allows for easy collaboration, as multiple contributors can work on the subtitles simultaneously.
Now that you’re familiar with the process of creating subtitles with YouTube Studio, let’s explore another method for adding subtitles to your YouTube videos.
Method 4: Crowdsource Subtitles or Closed Captions
If you have a dedicated and engaged audience, you can leverage their support by crowd-sourcing subtitles or closed captions for your YouTube videos. This method involves allowing viewers and fans to contribute subtitles, ensuring a potentially large pool of contributors for accurate and timely additions. Here’s how you can crowdsource subtitles or closed captions:
- Enable community contributions: Sign in to your YouTube account and navigate to the YouTube Studio. Select the video you want to add subtitles to, then click on the “Subtitles” tab in the left-hand menu. Under “Community Contributions,” click on the switch to enable community contributions.
- Invite and communicate with your audience: Inform your audience through your YouTube video description, community posts, or social media platforms that you are accepting crowd-sourced subtitles. Encourage them to contribute by explaining the importance of subtitles and how their contributions can make your content accessible to a wider audience.
- Review and moderate contributions: As viewers contribute subtitles, you’ll need to review and moderate the submissions for accuracy and appropriateness. YouTube provides a platform for you to manage and approve the contributed subtitles, ensuring the quality of the final output.
- Collaborate and engage with contributors: Actively engage with the contributors by thanking them for their submissions and providing feedback or guidance when necessary. Foster a collaborative atmosphere to encourage further participation and to acknowledge the efforts of your dedicated viewers.
- Publish approved contributions: After reviewing and approving the crowd-sourced subtitles, you can publish them to your YouTube video. By doing so, you make the subtitles available for viewers to enable while watching your video, enhancing the accessibility and inclusivity of your content.
Crowdsourcing subtitles or closed captions allows your loyal audience members to contribute to your YouTube videos, fostering a sense of community and engagement. By involving your viewers, you not only benefit from their assistance in creating subtitles but also deepen their connection to your content.
Now that you’re familiar with the method of crowd-sourcing subtitles, let’s move on to explore the best practices for adding subtitles on YouTube.
Best Practices for Adding Subtitles on YouTube
When adding subtitles to your YouTube videos, it’s essential to follow best practices to ensure optimal accessibility and user experience. Here are some important guidelines to consider:
- Accuracy is key: Subtitles should accurately reflect the spoken content in your videos. Use proper grammar, punctuation, and spelling to ensure the subtitles are clear and easy to understand.
- Synch subtitles with the audio: Timing is crucial for subtitles. Make sure that the subtitles appear on-screen at the same time the corresponding audio is spoken. This ensures viewers can easily follow along with the content.
- Be mindful of reading speed: Ensure that the subtitle text is displayed on screen long enough for viewers to read comfortably. Avoid displaying subtitles for too short or too long durations, as it may cause frustration or difficulty in reading.
- Use correct formatting: Format the subtitles in a way that is easy to read. Use legible fonts, appropriate font sizes, and contrast against the background to improve readability, especially for viewers with visual impairments.
- Indicate speaker changes: If there are multiple speakers in your video, use visual cues to indicate when the speaker changes. This helps viewers understand who is speaking at any given moment.
- Include non-verbal audio cues: Subtitles should not only capture spoken words but also convey non-verbal audio cues such as music, sound effects, or applause. This helps viewers fully comprehend and engage with the content.
- Proofread and edit: Before publishing, proofread the subtitles for any errors or inconsistencies. Double-check the timing, wording, and any potential typos. This step ensures the highest quality and professionalism in your subtitles.
- Provide translations: If your target audience includes non-native speakers, consider providing translations in multiple languages. This can significantly expand your viewership and improve accessibility for international audiences.
- Engage with audience feedback: Encourage your viewers to provide feedback on the quality of the subtitles. Actively engage with their suggestions or corrections to continuously improve the subtitle experience for your audience.
Following these best practices will help ensure that your subtitles are accurate, synchronized, and visually appealing. By providing high-quality subtitles, you enhance accessibility and engage a wider range of viewers in an inclusive and meaningful way.
Now that we’ve covered the best practices, let’s explore the benefits of having subtitles for your YouTube videos.
Benefits of Having Subtitles for Your YouTube Videos
Adding subtitles to your YouTube videos offers numerous benefits that can enhance the overall viewer experience and expand your reach. Here are some key advantages of having subtitles for your YouTube videos:
- Accessibility: Subtitles make your videos accessible to a wider audience, including those with hearing impairments or who are non-native speakers. By providing subtitles, you ensure that everyone can understand and enjoy your content.
- Improved SEO: Subtitles contribute to your video’s SEO by making the content more discoverable to search engines. Search engines can index and analyze the text within the subtitles, increasing the chances of your videos appearing in search results.
- Expanded Viewer Reach: Subtitles break down language barriers, enabling viewers from different regions and language backgrounds to engage with your videos. This global accessibility can significantly expand your viewer base and attract a diverse audience.
- Enhanced Engagement: Subtitles help captivate viewers’ attention by ensuring they can follow the content easily. This leads to improved viewer engagement, increased watch time, and potentially higher rankings in YouTube’s algorithm.
- Improved Comprehension: Subtitles aid in content comprehension, especially for complex topics or fast-paced dialogue. Viewers can read along with the audio, reinforcing their understanding and retention of the information presented.
- Viewer Convenience: Subtitles provide convenience by allowing viewers to watch videos in situations where audio may not be possible or preferred. Whether in a noisy environment or a quiet space, viewers can still consume your content without missing important information.
- Compliance: In some cases, subtitles may be required to comply with accessibility regulations or legal obligations. Adding subtitles ensures that you meet these requirements, avoiding potential penalties or restrictions on your content.
- Improved User Experience: Subtitles add value to the overall user experience by making your videos more inclusive and engaging. They enhance the accessibility and professional quality of your content, leaving a positive impression on viewers.
By embracing subtitles for your YouTube videos, you create an inclusive and accessible environment for viewers. Subtitles improve the overall quality, accessibility, and SEO performance of your content, while also enabling you to reach a broader audience on a global scale.
Now that we’ve explored the benefits of having subtitles, let’s conclude our discussion on how to put subtitles on YouTube.
Conclusion
Adding subtitles to your YouTube videos is not only a thoughtful and inclusive practice but also a strategic decision that can significantly enhance your content. By providing subtitles, you ensure that your videos are accessible to those with hearing impairments, non-native speakers, and individuals in various listening environments. Moreover, subtitles provide SEO benefits, improve viewer engagement, and expand your audience reach.
In this article, we explored four methods for adding subtitles to your YouTube videos. You can use YouTube’s automatic subtitle generator, upload pre-existing subtitles or closed captions files, create subtitles within YouTube Studio, or crowdsource subtitles from your dedicated viewers. Each method offers its own advantages, and you can choose the one that suits your preferences and requirements.
Remember to follow best practices when adding subtitles to your YouTube videos. Ensure accuracy, synchronization with the audio, readability, and proper formatting. Engage with your audience and encourage their participation in the subtitle creation process to foster a sense of community.
By incorporating subtitles into your YouTube videos, you create a more inclusive and engaging experience for your viewers. You open your content to a wider audience, improve SEO performance, and provide convenience in various viewing situations. Embrace the power of subtitles, and take your YouTube channel to new heights!


![Top 4 Ways to Download YouTube Videos in 2024 [For PC/Mac/Android/iOS]](https://robots.net/wp-content/uploads/2023/12/How-to-download-YouTube-videos-300x150.png)


