Introduction
When watching videos on YouTube, subtitles can be incredibly useful for a variety of reasons. Subtitles allow individuals with hearing impairments to follow along with the audio, making the content more accessible and inclusive. They can also come in handy for those who are watching videos in a noisy environment or for non-native English speakers who may need assistance understanding the spoken words.
If you have a smart TV and want to enable subtitles while watching YouTube videos, you’re in luck. With just a few simple steps, you can easily turn on subtitles and even customize them according to your preferences. Whether you’re using a Samsung, LG, Sony, or any other smart TV brand, the process is similar and straightforward.
In this article, we will guide you through the process of turning on subtitles on YouTube on a smart TV. We will cover everything from accessing the YouTube app on your TV to customizing the subtitles to suit your needs. So, without further ado, let’s get started and make your YouTube viewing experience even better.
Step 1: Accessing the YouTube App
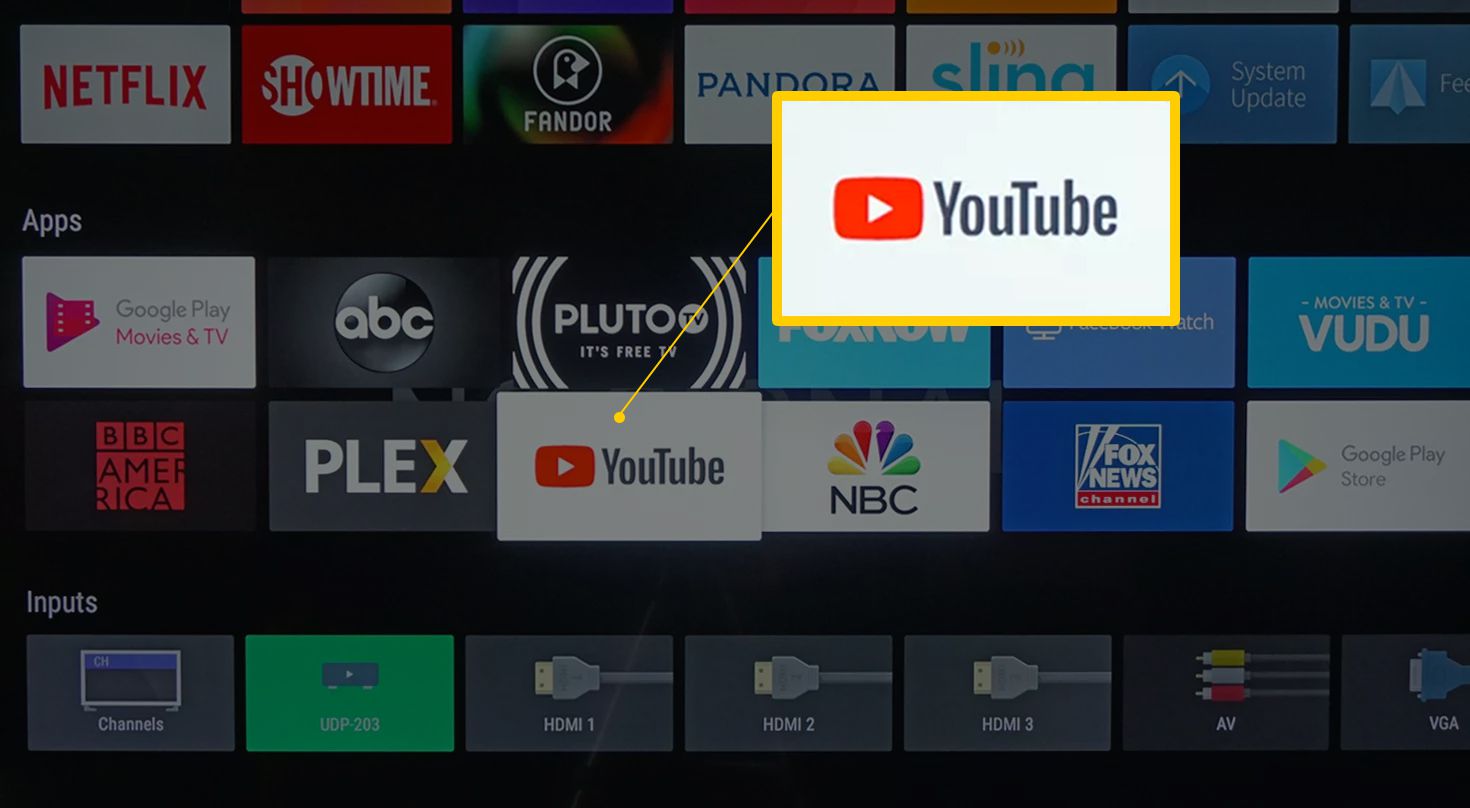
The first step to turning on subtitles on YouTube on your smart TV is to access the YouTube app. The exact method may vary slightly depending on the brand and operating system of your TV, but the general steps are as follows:
- Using your TV remote, navigate to the home screen or the main menu.
- Look for the YouTube app icon and select it. It might be located under the “Apps” or “Smart Hub” section.
- Wait for the app to load, and you will be greeted with the YouTube interface.
- You may need to sign in to your YouTube account if prompted. Use the on-screen keyboard or your TV remote to enter your login credentials.
- Once signed in, you will have full access to the YouTube app and can start searching for your favorite videos.
If you don’t see the YouTube app on your TV’s home screen, it’s possible that it was not pre-installed. In that case, you may need to go to your TV’s app store or marketplace and search for YouTube. Download and install the app from there, and then follow the steps mentioned above to access it.
Now that you’ve successfully accessed the YouTube app, you’re ready to move on to the next step and start enabling subtitles for your videos.
Step 2: Navigating to the Settings
Once you have accessed the YouTube app on your smart TV, the next step is to navigate to the settings where you can enable and customize the subtitles. The specific process may vary depending on the TV brand and model, but generally, you can follow these steps:
- On the YouTube interface, look for the menu icon or the three horizontal lines. It is usually located at the top-left or bottom-left corner of the screen.
- Using your TV remote, select the menu icon to open the YouTube menu.
- Scroll or navigate through the menu options until you find the “Settings” option. It may be labeled as “Options” or represented by a gear icon.
- Once you have located the “Settings” option, select it to access the settings menu.
In some cases, the settings menu might already be visible on the main YouTube interface without the need to access a separate menu. If that’s the case, simply navigate to the settings option directly.
Navigating to the settings menu is an essential step as it allows you to have control over various aspects of YouTube, including subtitles and captions. Once you’ve successfully reached the settings menu, you can move on to the next step and enable the subtitles for your YouTube videos on your smart TV.
Step 3: Enabling Subtitles
After navigating to the settings menu on the YouTube app of your smart TV, you’re now ready to enable subtitles for the videos you watch. The process may vary slightly depending on your TV’s brand and operating system, but generally, you can follow these steps:
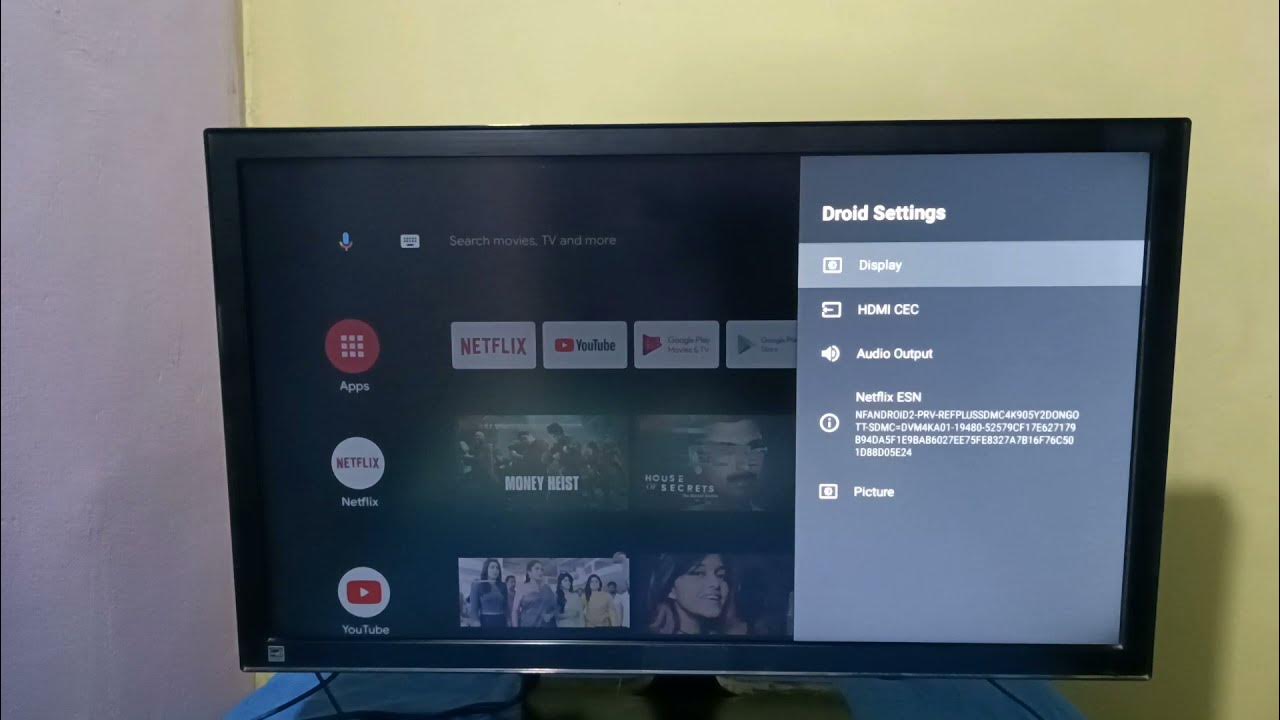
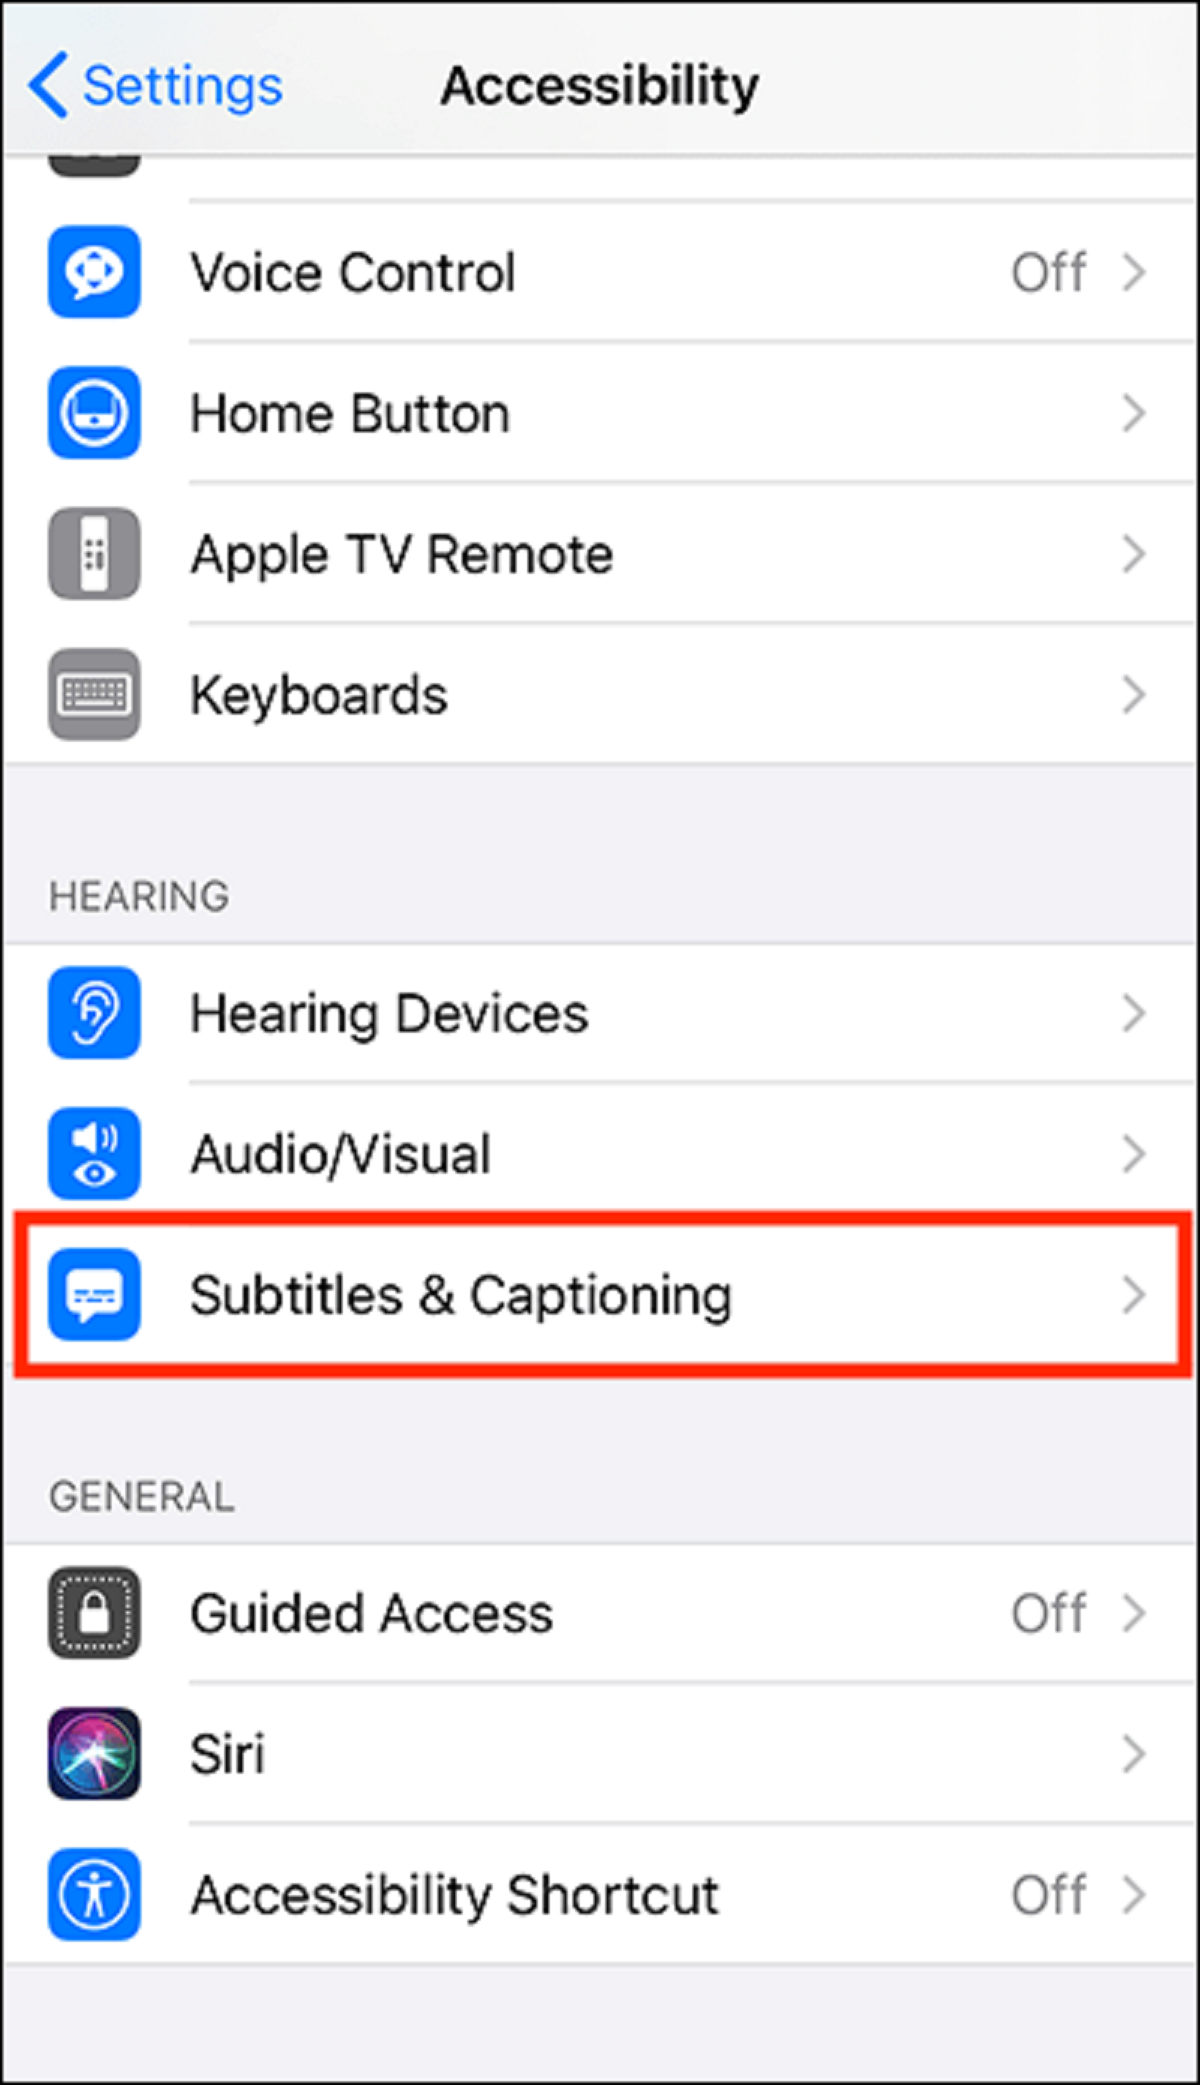
- In the settings menu, look for the “Accessibility” or “Accessibility Settings” option. It is often represented by an icon or labeled as such.
- Select the “Accessibility” option to access the accessibility settings.
- Within the accessibility settings, you should find an option related to “Subtitles” or “Closed Captions.” Select this option to open the subtitles menu.
- Toggle the switch to turn on the subtitles. The switch might be labeled as “Enable subtitles” or “Enable closed captions.”
- Once you have enabled the subtitles, exit the settings menu and return to the YouTube app interface.
Congratulations! You have successfully enabled subtitles for your YouTube videos on your smart TV. Now, whenever you watch a video where subtitles are available, they will be displayed on the screen.
It’s important to note that not all YouTube videos have subtitles or captions available. Subtitles are typically added by the video uploader, so it’s up to them to provide this feature. If you’re not seeing subtitles on a particular video, it’s likely because they were not included by the uploader.
Now that subtitles are enabled, you can move on to the next step and customize the subtitle settings according to your preferences.
Step 4: Customizing Subtitle Settings
Enabling subtitles on your YouTube videos is just the first step. To make your viewing experience more personalized, you can customize the subtitle settings on your smart TV. Here’s how you can do it:
- While watching a video on YouTube, press the “Settings” button on your TV remote. It is usually represented by a gear icon or labeled as such.
- A menu will appear on the screen with various options. Look for the “Subtitles” or “Caption Settings” option and select it.
- Within the subtitle settings menu, you will find options to customize different aspects of the subtitles, such as font size, font style, and color.
- Using your TV remote, navigate through the options and make the desired changes to the subtitle settings. For example, you can increase or decrease the font size, choose a different font style, or change the color to enhance readability.
- Preview the changes as you make them to ensure they meet your preferences.
- Once you’re satisfied with the customization, save the changes and exit the subtitle settings menu.
It’s worth noting that the availability of customization options may vary depending on the TV brand and model. Some smart TVs offer more extensive subtitle settings, allowing you to fine-tune features like background opacity and text positioning.
By customizing the subtitle settings, you can optimize the subtitles to suit your visual needs, ensuring a more comfortable and enjoyable viewing experience.
Now that you’ve customized the subtitle settings, you can proceed to the next step and choose your preferred language for the subtitles.
Step 5: Choosing Preferred Language
Having the ability to choose your preferred language for subtitles can greatly enhance your viewing experience on YouTube. This step will guide you through the process of selecting your desired language for subtitles on your smart TV:
- While watching a video on YouTube, access the video settings by pressing the “Settings” button on your TV remote. This button is typically represented by a gear icon.
- In the settings menu, look for the “Language” or “Subtitle Language” option and select it. Note that the label may vary depending on your TV’s interface.
- A list of available languages will appear on the screen. Scroll through the options to find your preferred language.
- Select the desired language, and the subtitles will automatically update to that language.
- If you prefer to have subtitles in multiple languages, some smart TVs allow you to enable multiple subtitle tracks simultaneously. This way, you can follow along with the video in different languages as needed.
- Once you have chosen your preferred language, exit the settings menu and continue watching the video.
It’s worth noting that the availability of subtitles in different languages depends on the video content and the uploader’s inclusion of multiple language options. Not all videos will have subtitles available in languages other than the default language.
Now that you have successfully chosen your preferred language for subtitles, you can move on to the final step of adjusting the subtitle size and style to further personalize your YouTube viewing experience on your smart TV.
Step 6: Adjusting Subtitle Size and Style
To make subtitles on your smart TV more visually appealing and easier to read, you have the option to adjust the size and style of the subtitles. Follow these steps to fine-tune the subtitle settings according to your preferences:
- While watching a video on YouTube, open the video settings by pressing the “Settings” button on your TV remote. This button is usually represented by a gear icon.
- In the settings menu, locate the “Subtitle Size” or “Text Size” option and select it.
- A range of size options will appear on the screen. Scroll through the choices and select the size that suits your needs. You can either increase or decrease the subtitle size.
- Next, if available, look for the “Subtitle Style” or “Text Style” option and select it.
- You will be presented with various style options, such as bold, italic, or underlined. Choose the style that best suits your preference.
- As you make adjustments to the subtitle size and style, preview the changes on the screen to ensure they meet your desired visual preferences.
- Once you are satisfied with the modifications, save the changes and exit the settings menu.
By adjusting the subtitle size and style, you can make the text more legible and customize it to your liking. It’s especially useful for individuals with visual impairments or those who prefer a particular text style for better readability.
With the subtitle size and style settings now adjusted, you have successfully personalized the subtitles on YouTube to suit your preferences. Enjoy watching your favorite videos with subtitles that make the viewing experience more enjoyable and accessible.
Conclusion
Enabling subtitles on YouTube videos can greatly enhance your viewing experience, making it more accessible, inclusive, and enjoyable. With the step-by-step guide provided in this article, you can easily turn on subtitles and customize them on your smart TV. Here’s a quick recap of the steps involved:
- Access the YouTube app on your smart TV.
- Navigate to the settings menu.
- Enable subtitles in the accessibility settings.
- Customize the subtitle settings according to your preferences.
- Choose your preferred language for subtitles.
- Adjust the subtitle size and style to enhance readability and personalization.
Remember that not all YouTube videos have subtitles available, as it depends on the uploader’s inclusion of subtitles. However, by following these steps, you can optimize your viewing experience for videos that do have subtitles.
Whether you need subtitles for accessibility reasons, language comprehension, or to enhance your overall enjoyment, having the option to enable and customize subtitles on your smart TV brings greater flexibility to your YouTube viewing.
Now, armed with these instructions, you can easily enable subtitles on YouTube videos and take control of your viewing experience on your smart TV. Enjoy the benefits of subtitles and make the most out of your YouTube videos, regardless of your preferences or requirements.