Introduction
Welcome to the world of Hisense Smart TVs! Whether you’re experiencing technical issues, want to clear out any personal data, or simply want to start fresh, performing a factory reset on your Hisense Smart TV can be the solution. Resetting your TV back to its original factory settings will revert all configurations and erase any installed apps or personalization settings.
In this guide, we will walk you through the step-by-step process of how to factory reset your Hisense Smart TV. Before proceeding with the reset, it’s important to note that this action is irreversible and will remove all your current settings and data. So, make sure you have backed up any important files or settings before proceeding.
Performing a factory reset can resolve various issues such as freezing or lagging, software glitches, or if you’re planning to sell or give away your TV and want to ensure your personal information is completely wiped clean.
Without further ado, let’s dive into the detailed steps to reset your Hisense Smart TV and get it back to its original state.
Step 1: Accessing the Settings Menu
Before you can begin the factory reset process, you’ll need to access the Settings menu on your Hisense Smart TV. Here’s how:
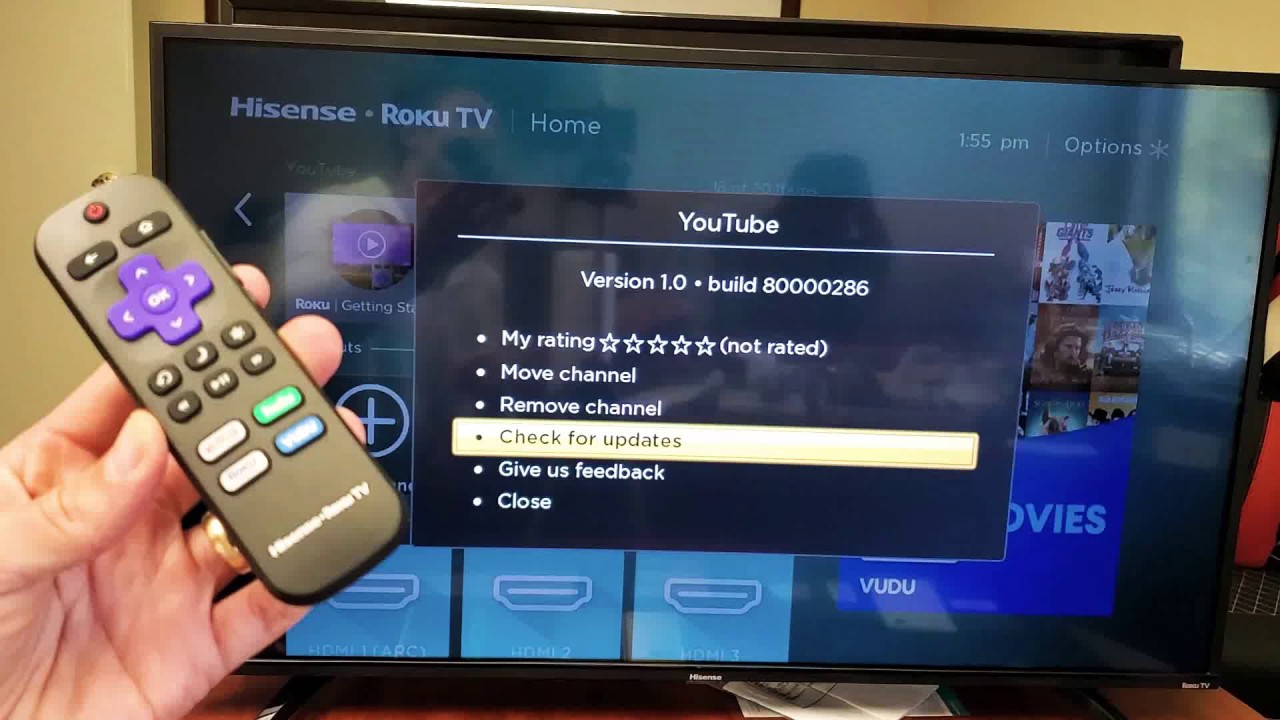
- Using your TV remote, press the “Menu” button. This will open the main menu on your screen.
- Navigate to the “Settings” option using the arrow keys on your remote. It is typically represented by a gear icon. Once you’ve highlighted it, press the “Enter” or “OK” button to select it.
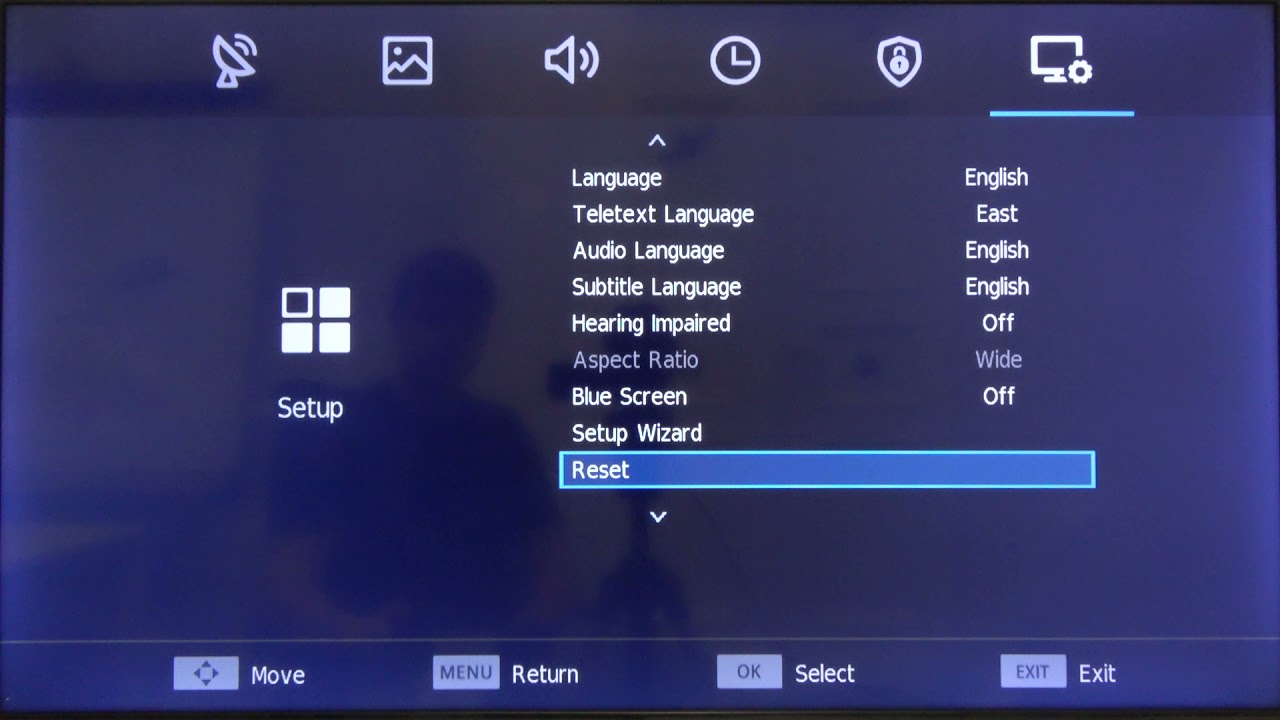
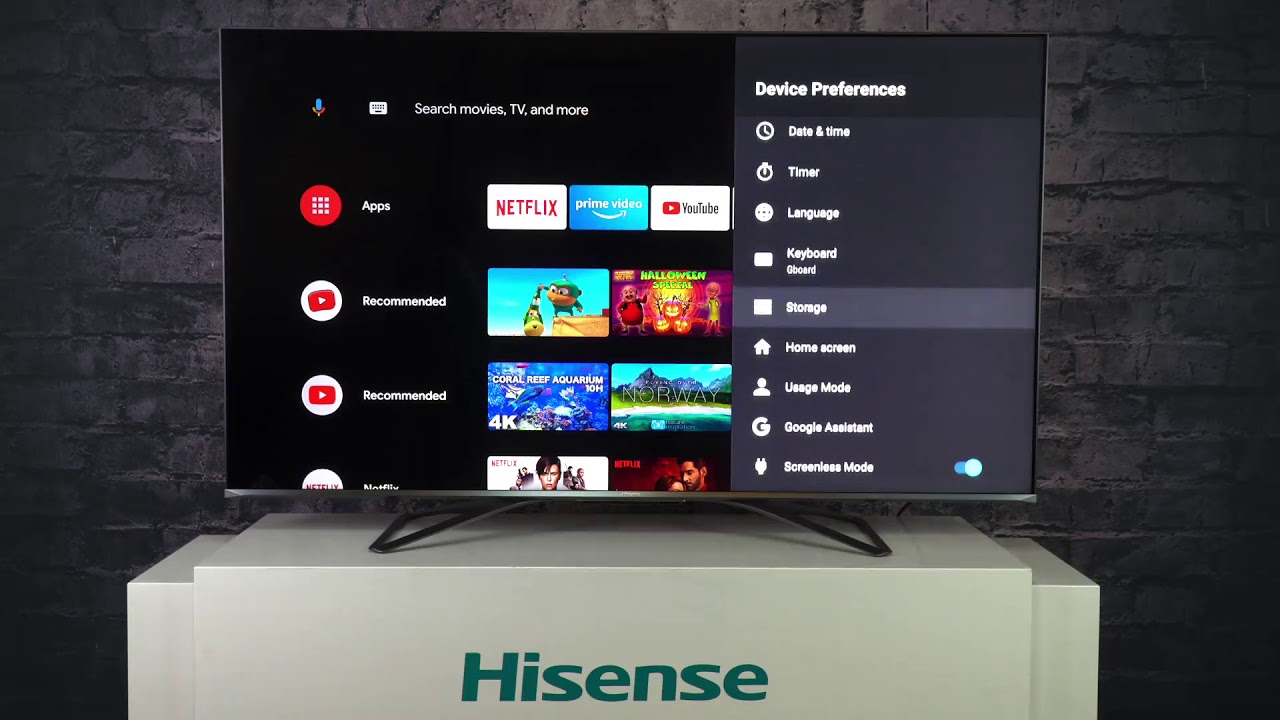
- Within the Settings menu, you may find different categories, such as Picture, Sound, Network, or System. Look for the option labeled “System” and select it.
- Scroll down through the System menu options until you find the “Reset” or “Factory Reset” option. Use the arrow keys to navigate and press the “Enter” or “OK” button to select it.
By following these steps, you should now be able to access the Settings menu on your Hisense Smart TV and find the option for resetting your TV to its factory settings. Keep in mind that the exact names and locations of the menu items may vary slightly between different models and firmware versions.
Step 2: Selecting the “Reset” Option
Now that you have accessed the Settings menu on your Hisense Smart TV, it’s time to select the “Reset” option to initiate the factory reset process. Follow the steps below:
- Within the System menu, locate the “Reset” or “Factory Reset” option.
- Highlight this option using the arrow keys on your remote and press the “Enter” or “OK” button to select it.
- You may be prompted to enter a PIN or password to proceed with the reset. If you have set up a PIN or password on your TV, enter it using the numeric keypad on your remote.
- If you haven’t set up a PIN or password, you can press the “Enter” or “OK” button directly without entering anything.
Once you have selected the “Reset” option and provided any necessary authentication, you’re one step closer to performing the factory reset on your Hisense Smart TV. The next section will guide you on how to confirm the reset and initiate the process.
Step 3: Confirming the Factory Reset
After selecting the “Reset” or “Factory Reset” option on your Hisense Smart TV, you will need to confirm the reset to proceed. Follow these steps to confirm the factory reset:
- A confirmation dialog box will appear on your screen, asking if you are sure you want to reset your TV to its factory settings.
- Using the arrow keys on your remote, navigate to the “Yes” or “Confirm” option.
- Press the “Enter” or “OK” button to confirm the factory reset.
It’s crucial to note that the confirmation process is a preventive measure to ensure that you don’t accidentally reset your TV. Take a moment to double-check that you want to proceed with the factory reset before confirming.
Once you’ve confirmed the factory reset, the TV will begin the process of restoring its original settings and erasing all personal data. This may take a few minutes, so be patient and avoid interrupting the process.
Now that you have confirmed the factory reset, you’re ready to move on to the next step, where we’ll discuss what to do while waiting for the TV to reset.
Step 4: Waiting for the TV to Reset
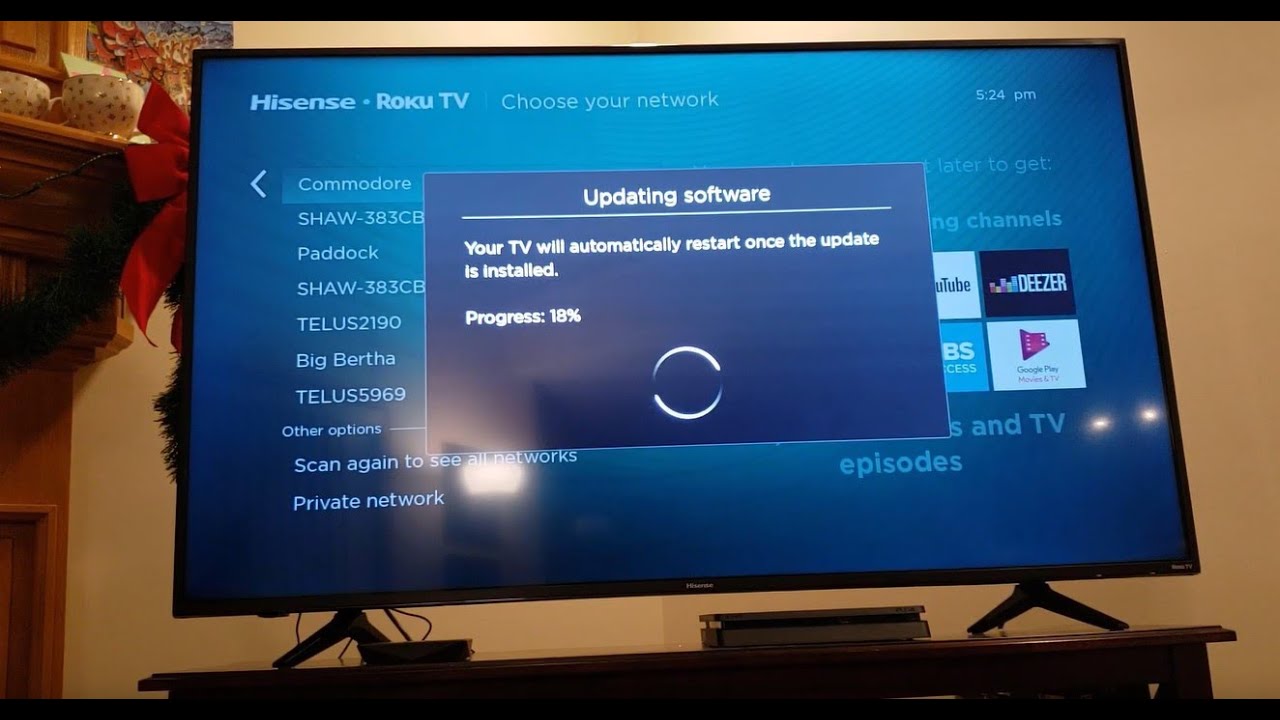
After confirming the factory reset on your Hisense Smart TV, the TV will begin the resetting process. During this time, it’s important to be patient and allow the TV to complete the reset without interruption. Here’s what you should do while waiting:
- A progress screen or a spinning wheel may appear on your TV, indicating that the reset process is underway. This is normal and shows that the TV is working on restoring its original settings.
- Avoid pressing any buttons on the remote or the TV itself during the reset process. Interfering with the reset may disrupt the process and cause unexpected issues.
- It’s recommended to leave the TV connected to a stable power source throughout the reset process. Disconnecting the power or turning off the TV may result in an incomplete reset and potential system errors.
The duration of the reset process can vary depending on the model and the amount of data stored on the TV. Typically, it takes a few minutes to complete. Allow sufficient time for the TV to reset before proceeding to the next step.
While waiting, you might consider preparing the necessary setup for the next step, which involves setting up the TV again after the factory reset. This can include connecting the TV to the internet, adjusting picture and sound settings, and reinstalling any desired apps.
Once the TV has completed the reset process, it will automatically proceed to the initial setup screen, which we will cover in the next step.
Step 5: Setting up the TV Again
After the factory reset on your Hisense Smart TV is complete, you’ll need to set up the TV again from scratch. This involves going through the initial setup process, reconnecting to the internet, and customizing your preferences. Here’s what you should do:
- The TV will automatically display the initial setup screen. Follow the on-screen instructions to select your preferred language, country, and time zone. Use the arrow keys on your remote to navigate and the “Enter” or “OK” button to confirm your choices.
- If you have a Wi-Fi network available, the TV will prompt you to connect to the internet. Follow the instructions to select your Wi-Fi network and enter the password using the remote control.
- Once the TV is connected to the internet, it may prompt you to download and install any available software updates. It’s recommended to proceed with the update to ensure your TV has the latest features and improvements.
- After the software update, you can customize your picture and sound settings according to your preferences. Use the remote control to navigate through the settings options and make adjustments as desired.
- If you had any previously installed apps on your Hisense Smart TV, you will need to reinstall them from the app store. Navigate to the app store on your TV, search for the desired apps, and follow the prompts to download and install them.
Once you have completed the initial setup, reconnected to the internet, adjusted the settings, and installed any desired apps, your Hisense Smart TV will be back to its default state. You can now enjoy using your TV with a fresh start and explore its features and functionalities.
Keep in mind that it’s a good practice to keep your TV updated with the latest software and perform regular maintenance to ensure optimal performance. If you encounter any issues or have further questions, referring to the TV’s user manual or contacting Hisense customer support can provide additional guidance.
Conclusion
Performing a factory reset on your Hisense Smart TV can be a useful solution for various reasons, such as troubleshooting technical issues, clearing personal data, or preparing the TV for resale or donation. By following the steps outlined in this guide, you can easily reset your Hisense Smart TV and restore it to its original factory settings.
Remember to back up any important files or settings before proceeding with the factory reset, as it will erase all existing data. Additionally, take note of any specific instructions or variations that may apply to your specific Hisense Smart TV model.
Once the factory reset is initiated, be patient and allow the TV to complete the reset process without interruptions. Avoid pressing any buttons or disconnecting the power during this time. After the reset, you’ll need to set up the TV again from scratch, including selecting language preferences, connecting to the internet, and customizing settings.
Setting up your Hisense Smart TV after the factory reset allows you to personalize your preferences, reinstall desired apps, and ensure that the TV is up to date with the latest software.
Remember to refer to the TV’s user manual or contact Hisense customer support if you encounter any difficulties or have further questions regarding the factory reset process or any other TV-related concerns.
Enjoy using your refreshed Hisense Smart TV and make the most out of its features and functionalities!