Introduction
Welcome to the world of technology, where we rely heavily on our computers for work, entertainment, and storing precious memories. But what happens if your computer crashes or gets infected with a virus? All those important documents, cherished photos, and irreplaceable files could be lost forever. This is where backing up your computer files becomes crucial.
Backing up your computer files is essentially creating a duplicate copy of your important data and storing it in a safe place. This ensures that even if something unfortunate happens to your computer, you can easily recover your files and get back to normalcy in no time.
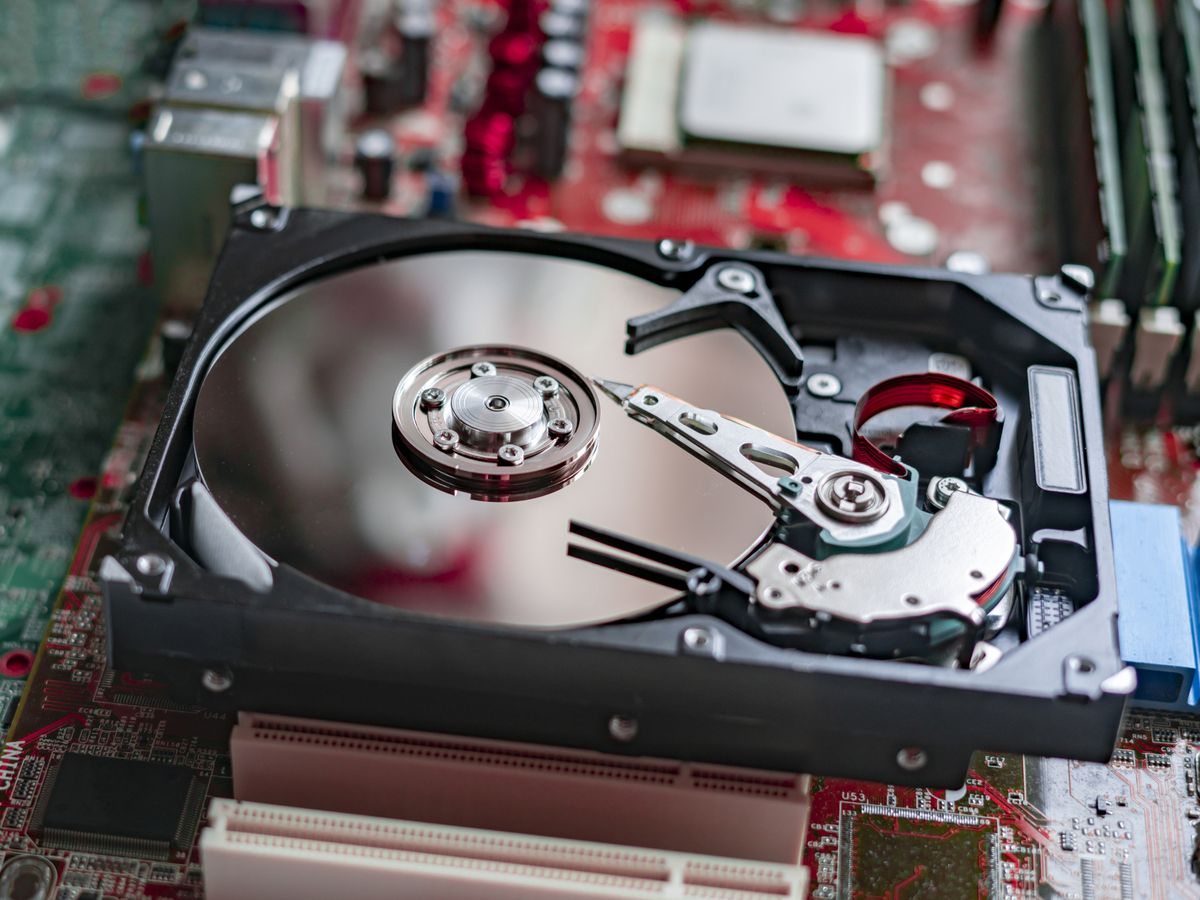
With the advancement in technology, there are various methods available for backing up your computer files. One popular option is using a hard disk drive (HDD) as your backup solution. HDDs are reliable, affordable, and offer ample storage space to accommodate all your files and folders.
However, backing up your computer files on a hard disk drive requires some knowledge and a few steps to follow. In this article, we will guide you through the process of backing up your computer files on a hard disk drive, from choosing the right software to safely disconnecting the drive.
Whether you are a beginner or a seasoned computer user, this article will provide you with the necessary information and steps to safeguard your valuable data. So, let’s dive in and ensure the preservation of your cherished files and peace of mind!
Why Backing Up Computer Files is Important
Backing up your computer files may not seem like a top priority for many users, but it is an essential practice that can save you from a lot of heartache and frustration in the long run. Here are some reasons why backing up computer files is crucial:
- Data Loss Prevention: Computers are vulnerable to a multitude of risks, including hardware failure, viruses, malware, accidental deletion, and even natural disasters. Without a backup, you risk losing all your important files and documents, which can be devastating for personal or professional reasons.
- Easy File Recovery: When you have a backup of your computer files, recovering lost or accidentally deleted data becomes a breeze. Instead of panicking and spending countless hours trying to recover files, you simply restore them from the backup, ensuring minimal disruption to your workflow.
- Protecting Against Ransomware: Ransomware attacks have become increasingly common, where hackers encrypt your files and demand a ransom for their release. Having a backup prevents you from becoming a victim since you can simply restore your files from a secure backup instead of paying the ransom.
- Peace of Mind: Knowing that your valuable data is safely backed up provides peace of mind. You can work, browse, or experiment on your computer without the constant worry of losing your files. This freedom allows for a more productive and stress-free computing experience.
- Long-Term Storage: Hard disk drives are a reliable and cost-effective method of long-term data storage. Whether you want to preserve family photos, important documents, or project files, backing them up on a hard disk drive ensures their longevity and accessibility for years to come.
- Easy Migration: When upgrading to a new computer or transferring data to a different device, having a backup simplifies the process. You can easily transfer files from the backup to the new device, saving time and effort in manually copying or moving files.
As you can see, backing up computer files is not just a precautionary measure; it is an investment in securing your digital life. By taking the time to backup your files regularly, you can protect yourself from data loss and ensure the continuity of your work and personal files. So, don’t wait for a data disaster to strike – start backing up your computer files today!
Types of Hard Disk Drives for Backing Up Computer Files
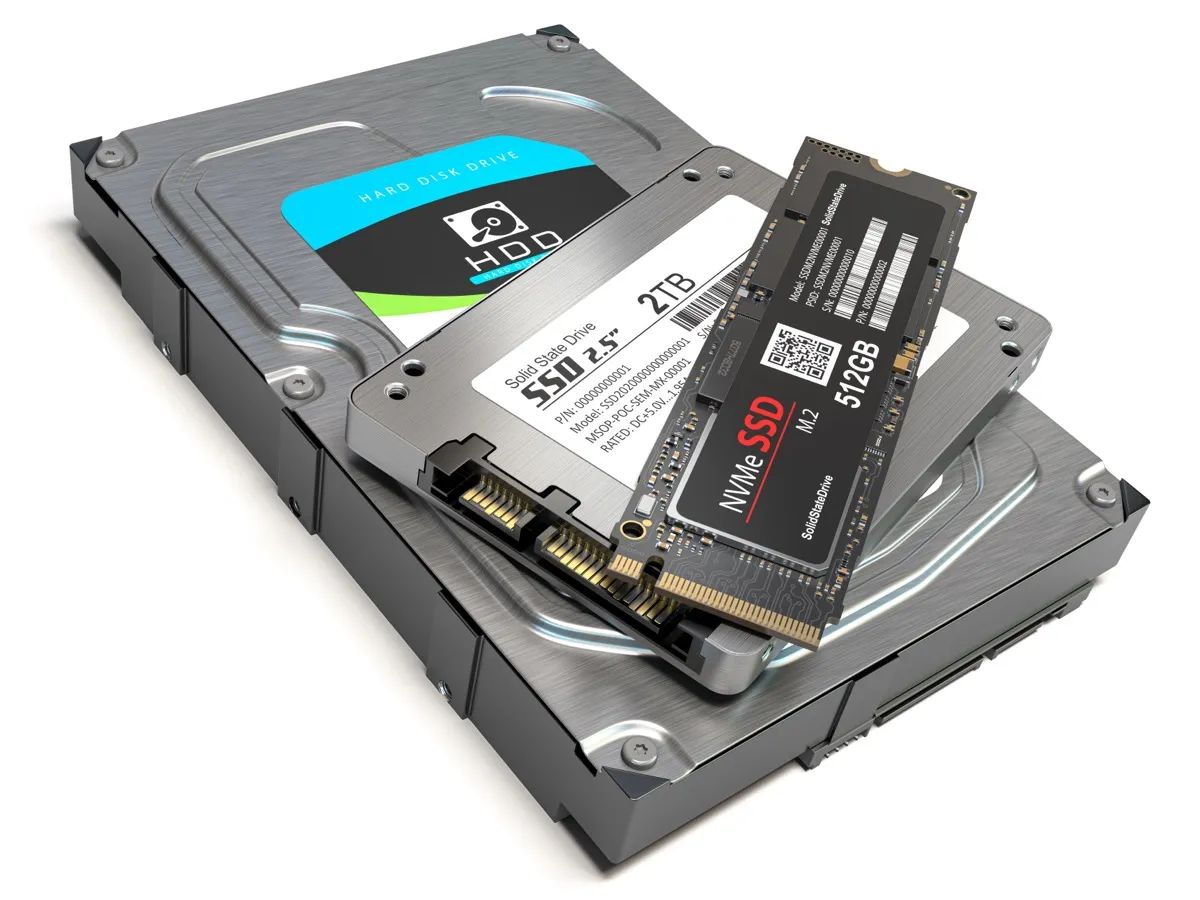
When it comes to choosing a hard disk drive (HDD) for backing up your computer files, there are a few options available. Let’s take a closer look at the different types of HDDs popularly used for data backup:
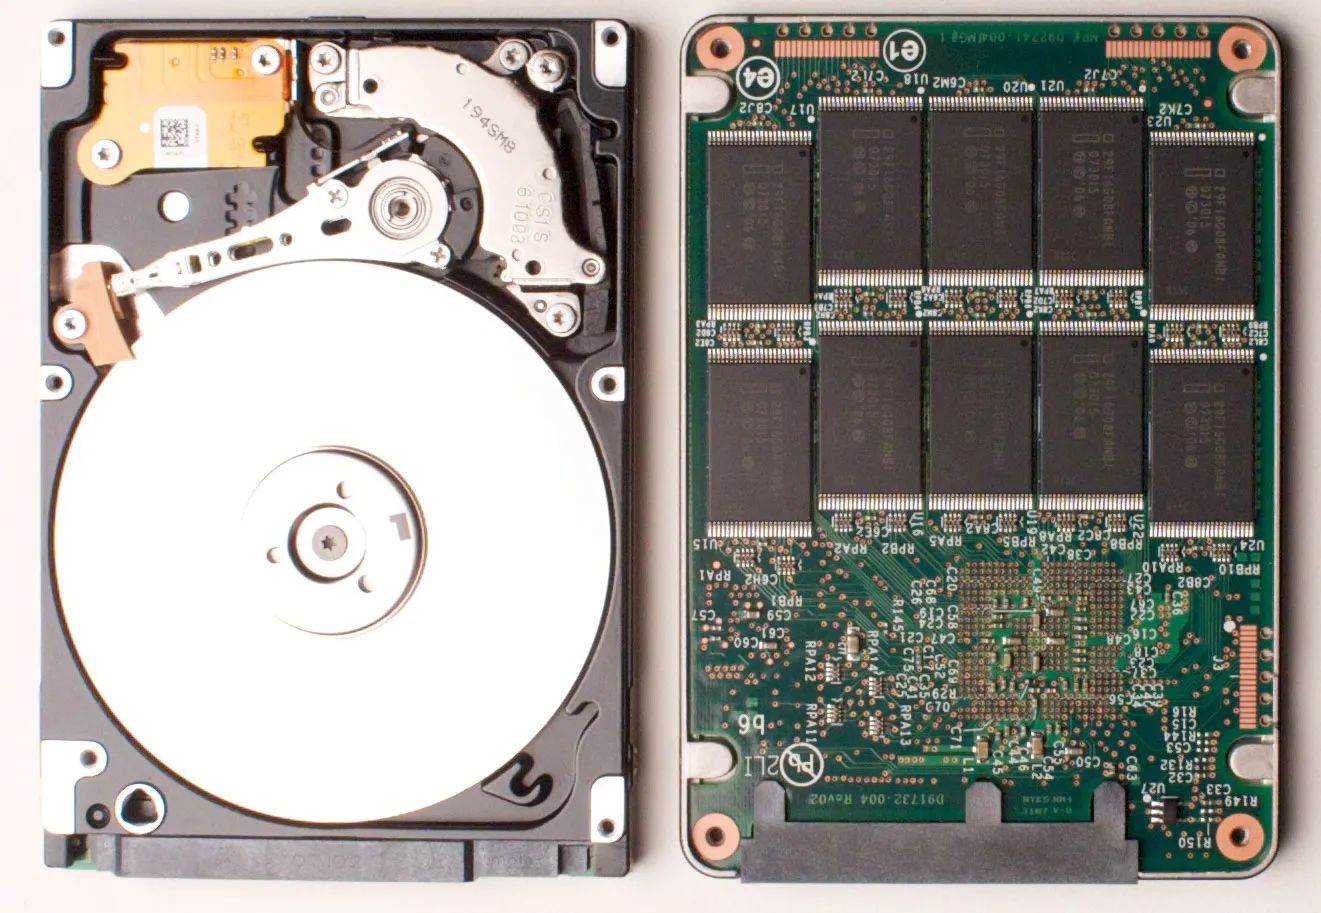
- Internal HDDs: These hard disk drives are installed inside your computer’s casing and offer a high level of storage capacity. Internal HDDs are an ideal choice if you have a desktop computer and want to keep your backup drive connected at all times. They provide fast data transfer speeds and are relatively easy to install. However, keep in mind that internal HDDs are not portable, so they may not be suitable if you need to access your backup files on multiple devices.
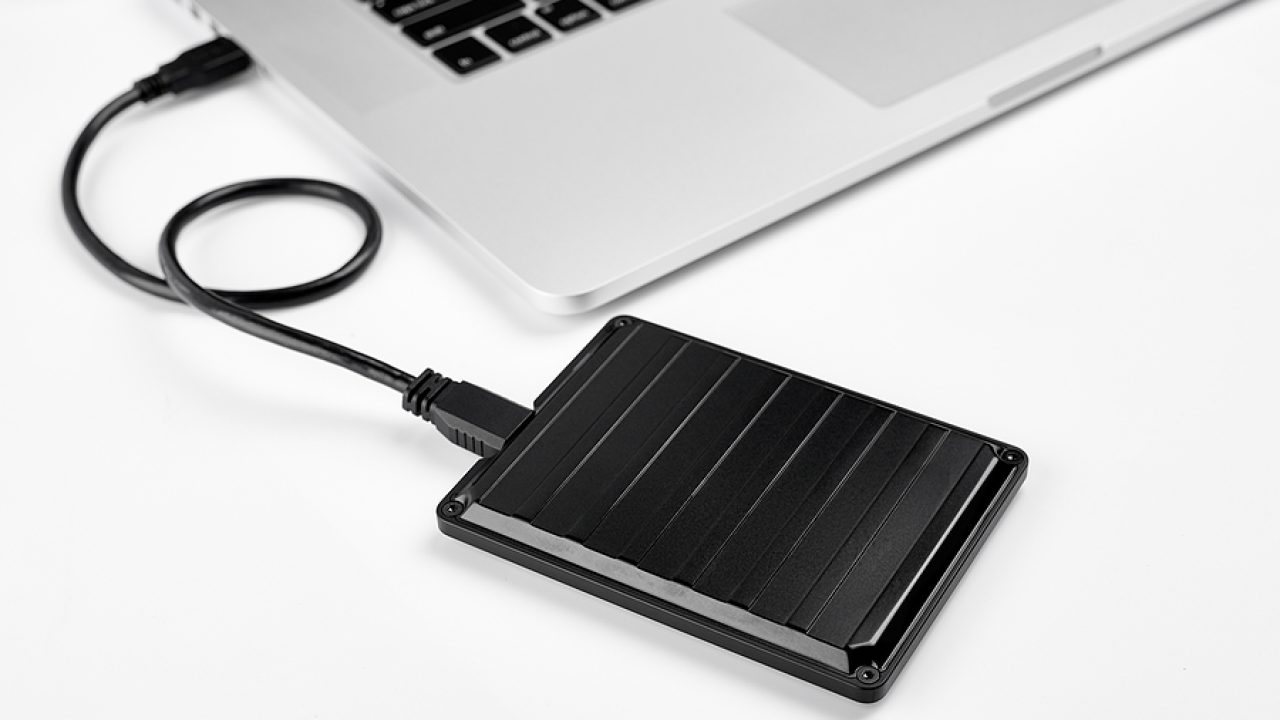
- External HDDs: External HDDs are standalone drives that connect to your computer via USB or Thunderbolt ports. They are highly portable and can be easily carried around, allowing you to access your backup files on multiple devices. External HDDs are available in various storage capacities, offering flexibility based on your needs. They are also an excellent choice if you want to keep your backup separate from your computer, providing an additional layer of protection against potential data loss.
- Network Attached Storage (NAS) Drives: NAS drives are designed to provide centralized storage and backup solutions for multiple devices within a local network. They connect directly to your router and allow multiple devices, such as computers, laptops, and smartphones, to access and backup files simultaneously. NAS drives often come with advanced features like RAID configurations for data redundancy and remote access options, making them suitable for small businesses or households with multiple devices.
- Cloud-Based Storage: Although not a physical hard disk drive, cloud-based storage is an increasingly popular option for backing up computer files. Instead of relying on a local HDD, cloud storage services offer remote storage space over the internet. You can securely upload your files to the cloud and access them from any device with an internet connection. Cloud-based storage eliminates the need for physical hardware and provides an added layer of data protection by storing your files on servers maintained by the service provider.
Each type of hard disk drive has its own advantages and considerations. Consider factors such as storage capacity, portability, ease of use, and budget when choosing the right HDD for backing up your computer files. Whether you opt for an internal HDD, external HDD, NAS drive, or cloud storage, investing in a reliable backup solution ensures the safety and accessibility of your important data.
Before You Start: Things to Consider
Before you embark on the process of backing up your computer files, there are a few important things to consider. Taking these factors into account will help ensure a smooth and successful backup process. Let’s take a look at what you should consider before you start:
- Storage Capacity: Assess the amount of data you need to backup and choose a hard disk drive (HDD) with sufficient storage capacity. It’s important to have enough space to accommodate your current files and allow room for future growth.
- Backup Frequency: Decide how often you want to backup your files. Consider the frequency of your file changes and the importance of the data. You can choose daily, weekly, or monthly backups, depending on your needs.
- Backup Software: Research and select a reliable backup software that suits your requirements. Look for features like automatic scheduling, incremental backups, and encryption to ensure the security and efficiency of your backups.
- Organization and File Selection: Spend some time organizing your files and determining which ones are critical for backup. Identify important folders, documents, photos, and other files that you cannot afford to lose.
- Security and Encryption: Consider the security measures offered by the backup software and the hard disk drive. Look for encryption options to protect your data in case of unauthorized access or theft.
- Backup Verification: Plan for regular verification of your backup files to ensure their integrity. Explore options within your chosen backup software to automatically verify the backups once completed.
- Backup Location: Determine where you want to store your backup. For local backups, choose a safe and secure location, away from potential hazards like floods or fire. If using cloud storage, research reputable and trustworthy service providers.
- Consider Multiple Backup Solutions: Relying on a single backup method can still pose risks. Consider implementing multiple backup solutions, such as using both an external hard disk drive and cloud storage, for added redundancy and protection.
By considering these factors before you start the backup process, you can ensure that your valuable data is protected and the backup procedure runs smoothly. Taking the time to plan and make informed decisions will ultimately result in a more effective and reliable backup solution. So, be proactive and set yourself up for a successful backup experience!
Step 1: Choosing a Backup Software
Choosing the right backup software is a crucial step in ensuring the effectiveness and efficiency of your computer file backups. With a wide range of options available in the market, it’s important to consider the following factors when selecting backup software:
- Compatibility: Verify that the backup software is compatible with your operating system. Whether you are using Windows, macOS, or Linux, ensure that the software supports your specific OS version.
- Features: Assess the features offered by the backup software. Look for options such as automatic scheduling, file compression, encryption, and the ability to perform incremental backups. These features can enhance the backup process and provide added security to your files.
- User-Friendliness: Consider the ease of use and user interface of the backup software. A user-friendly interface can streamline the backup process and make it easier for you to navigate through the software’s functions and settings.
- Backup Types: Determine the types of backups supported by the software. Look for options like full backups, which create a complete copy of your files, and differential or incremental backups, which only backup the changes made since the last backup. Having different backup options provides flexibility and efficiency in managing your backups.
- File and Folder Selection: Ensure that the software allows for granular control in selecting files and folders for backup. You should be able to choose specific files, directories, or even file types to include or exclude from the backup process.
- Storage Options: Consider the storage options supported by the backup software. It should allow you to backup your files to different locations, such as external hard disk drives, network drives, or cloud storage services. The flexibility to choose your preferred storage option ensures convenience and accessibility.
- Customer Support: Check the availability and reliability of customer support for the backup software. In case you encounter any issues or need assistance during the backup process, prompt and helpful customer support can be invaluable.
- Price: Evaluate the cost of the backup software. Some software offers free versions with limited features, while others require a purchase or subscription. Consider your budget and the value provided by the software when making your decision.
By thoroughly considering these factors, you can choose a backup software that aligns with your needs and preferences. Take the time to research and compare different software options to ensure that you make an informed decision. Remember, selecting reliable backup software is a crucial step towards securing and protecting your computer files for the long term.
Step 2: Connecting the Hard Disk Drive
Once you have chosen the backup software, it’s time to connect the hard disk drive (HDD) to your computer. Here’s a step-by-step guide on how to connect the HDD for the backup process:
- Power Off: Make sure your computer is powered off before connecting the HDD. This precaution ensures the safety of both the computer and the HDD.
- Identify the Connection Type: Determine the type of connection required for your HDD. Most external hard disk drives use USB or Thunderbolt cables. Check the HDD documentation or its physical ports to confirm the correct connection type.
- Connect to the Computer: Plug one end of the USB or Thunderbolt cable into the corresponding port on the hard disk drive. Then, connect the other end of the cable into an available USB or Thunderbolt port on your computer.
- Power On the HDD: If the hard disk drive has a separate power source, such as an external power adapter, connect it to a power outlet and turn on the HDD.
- Wait for Recognition: Once connected, your computer should automatically detect the HDD. Depending on your operating system, you may receive a notification or see the HDD icon appear in the file explorer.
- Installation (if necessary): In some cases, the HDD may require driver installation or software setup. Follow the instructions provided with the HDD to install any necessary drivers or software.
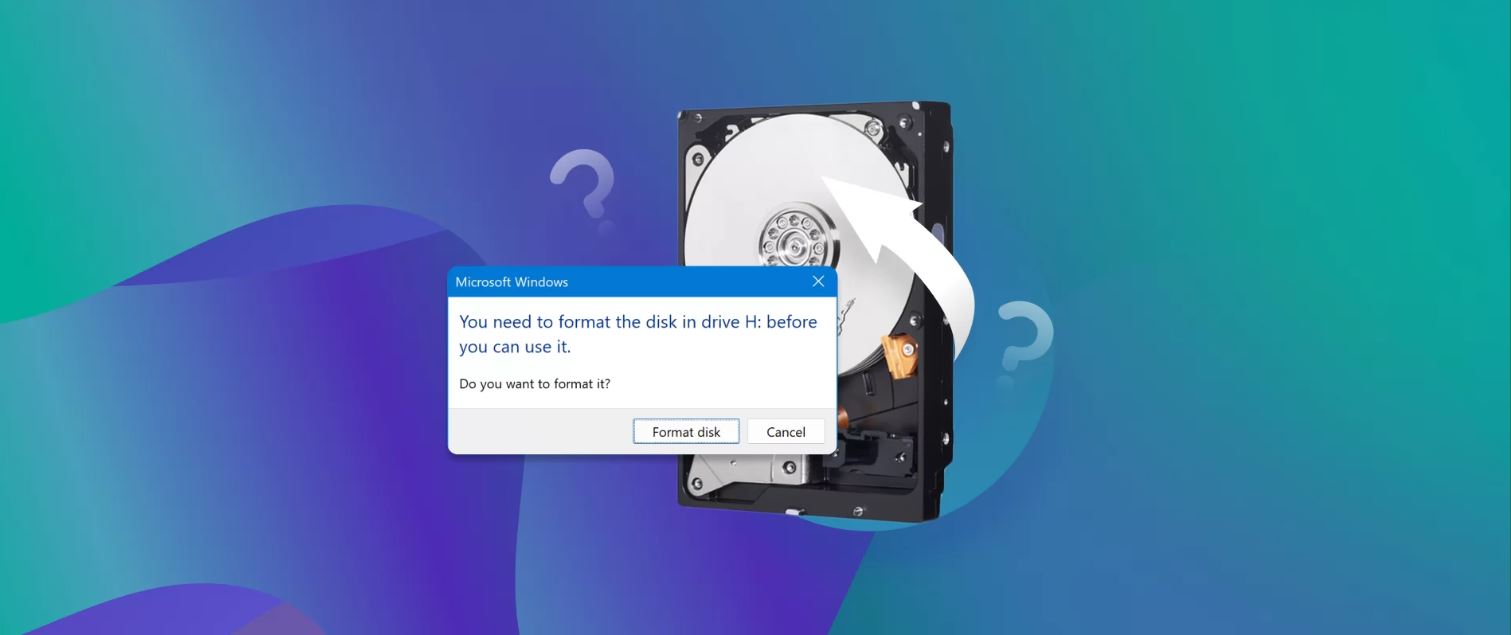
- Format the HDD (if necessary): If your HDD is new or has not been formatted for your specific operating system, you may need to format it before you can start using it. Follow the instructions provided by your operating system to format the HDD.
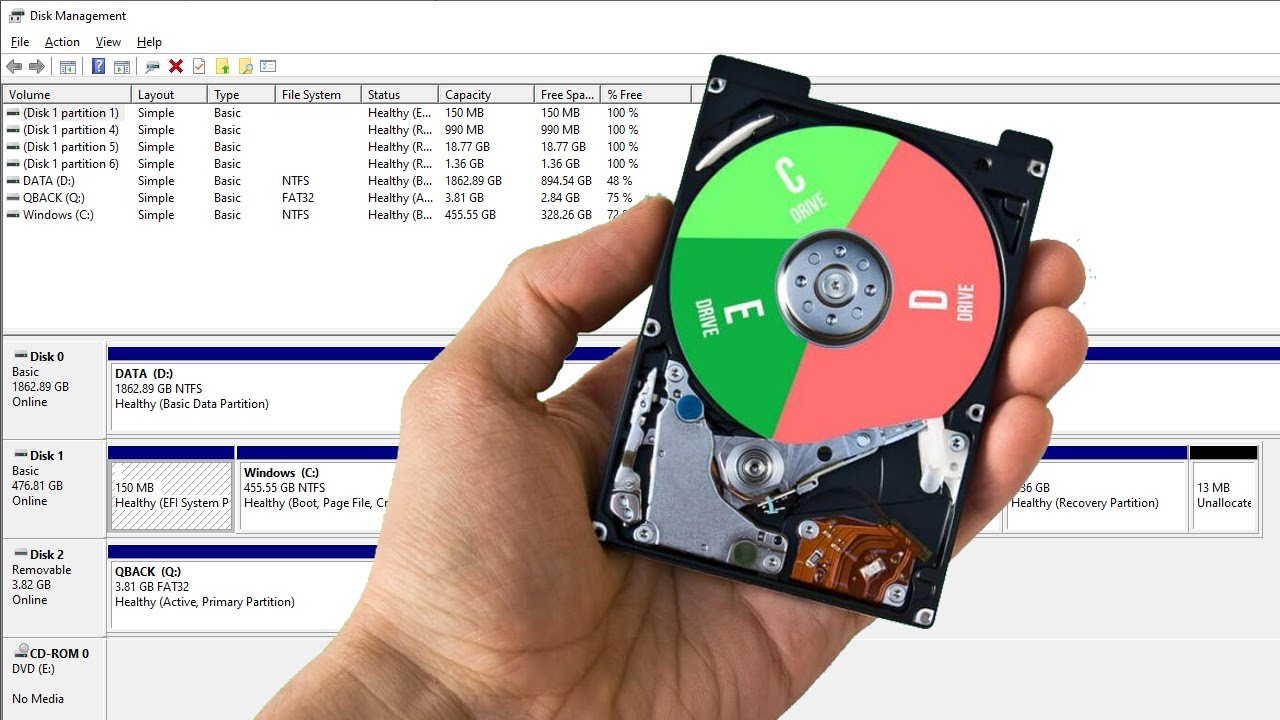
- Assign a Drive Letter (if necessary): If the HDD does not automatically appear in your file explorer, you may need to assign a drive letter to it. This can be done in the Disk Management utility in Windows or Disk Utility in macOS.
Once you have successfully connected the hard disk drive to your computer, it will be ready for the backup process. Make sure the connection is secure and stable to prevent any interruptions during the backup. Remember, the proper connection of the HDD is essential for a smooth backup experience and ensures that your files are securely transferred to the backup drive.
Step 3: Selecting Files to Back Up
Now that you have connected the hard disk drive (HDD) to your computer, it’s time to choose the files and folders that you want to include in the backup. Follow these steps to select the files for backup:
- Assess Your Data: Take a moment to review your files and identify the ones that are critical or irreplaceable. Consider documents, photos, videos, music, and any other important files that you want to ensure are backed up.
- Create Backup Categories: Organize your files into categories or folders. This will help you better manage and navigate your backups. For example, you may create folders such as “Documents,” “Pictures,” “Music,” and “Videos.”
- Select Files and Folders: Use your chosen backup software to browse through your computer’s file system and select the files and folders you want to include in the backup. Most backup software provides an intuitive interface that allows you to easily navigate through your files.
- Choose a Backup Type: Determine the backup type that suits your needs. You may opt for a full backup, which includes all selected files and folders, or choose specific files and folders for incremental backup, where only the changes made since the last backup are included.
- Exclude Unnecessary Files: Consider excluding files that are not essential for backup, such as temporary files or system files. These files can take up unnecessary space on your HDD and increase backup time.
- Verify Selected Files: Double-check your selected files and folders before starting the backup process. Ensure that all the important files you want to back up are included.
- Set Any Advanced Options: Take advantage of any advanced options offered by the backup software. For example, you may choose to enable file compression, which reduces the size of the backup files, or set up filters to include or exclude specific file types.
- Save Backup Preferences: If your backup software allows it, save your backup preferences for future use. This will make future backups faster and more convenient, as you won’t need to select files and folders again.
By carefully selecting the files and folders for backup, you ensure that your most important data is safely preserved and easily recoverable in case of any unfortunate events. Take your time during this step to ensure that you have included all the files that are necessary for your work, memories, and peace of mind.
Step 4: Creating Backup Schedule
Creating a backup schedule is an essential step to ensure that your files are regularly and automatically backed up. Follow these steps to set up a backup schedule:
- Assess Backup Frequency: Determine how often you want your files to be backed up. Consider the importance of your data and the frequency at which it changes. Daily or weekly backups are common options depending on your needs.
- Open Your Backup Software: Launch your chosen backup software and navigate to the settings or preferences section to access backup scheduling options.
- Select Backup Schedule: Choose the backup scheduling option that suits your needs. Most backup software provides options such as daily, weekly, or monthly backups. Select the desired frequency.
- Specify Backup Time: Set the specific time at which you want the backup to occur. Consider a time when your computer is typically not in use, such as during overnight hours. This ensures that the backup process does not disrupt your work or activities.
- Consider Incremental Backups: If your backup software supports it, consider enabling incremental backups. This option only backs up the files that have changed since the last backup, saving time and storage space.
- Set Backup Destination: Specify the storage location where you want the backup files to be saved. This can be your connected hard disk drive (HDD), an external drive, or a cloud storage location.
- Save Backup Schedule: Once you have configured the backup schedule and options, save your settings to ensure that the backups occur automatically according to the specified schedule.
- Test the Backup Schedule: To ensure the scheduled backups are working correctly, perform a test backup on a small set of files. Verify that the backup process runs smoothly and that the files are correctly stored in the designated backup location.
- Regularly Review and Adjust: Periodically review your backup schedule to ensure it aligns with your changing needs. Make adjustments as necessary, considering any changes in the importance or quantity of your files.
Creating a backup schedule helps automate the backup process, minimizing the risk of data loss and ensuring that your files are consistently protected. By following these steps and regularly reviewing your backup schedule, you can have peace of mind knowing that your files are backed up on a routine basis.
Step 5: Initiating the Backup Process
Now that you have set up the backup schedule and selected the files to be backed up, it’s time to initiate the backup process. Follow these steps to start backing up your computer files:
- Ensure the Hard Disk Drive (HDD) is Connected: Double-check that the HDD is properly connected to your computer and powered on. Ensure that it is recognized by your operating system.
- Launch Your Backup Software: Open your backup software and navigate to the backup section or initiate the backup process according to the software’s instructions. You may need to select the desired backup type, such as full or incremental backup.
- Select Backup Source: Choose the files and folders that you want to include in the backup. This will typically involve navigating through your computer’s file system and selecting the desired files or folders.
- Set the Backup Destination: Specify the storage location where you want the backup files to be saved. This should be the connected HDD or the designated backup location you have previously chosen.
- Review and Confirm Backup Settings: Double-check the backup settings, including the backup source, destination, and any other options specified in the software. Ensure everything is correctly configured before proceeding.
- Initiate the Backup: Click the “Start Backup” or equivalent button to initiate the backup process. The software will begin copying and transferring the selected files to the backup destination. Depending on the size of the files and the speed of your computer and HDD, this process may take some time.
- Monitor the Backup Progress: Keep an eye on the backup progress to ensure that it completes successfully. Some backup software provides progress indicators or completion notifications so you can track the backup process.
- Verify the Backup: Once the backup process is complete, it’s important to verify the integrity of the backup files. Use the backup software’s verification feature, if available, or manually compare a few backed-up files with the original copies to ensure they match.
- Keep the Backup Process Running: Depending on your backup schedule, the software may automatically initiate future backups according to the set frequency. Ensure that your computer and the HDD remain connected and powered on during these scheduled backup times.
Initiating the backup process ensures that your files are securely transferred to the designated backup location. By following these steps and monitoring the backup progress, you can ensure the successful completion of the backup and the availability of your data in case of any unforeseen events.
Step 6: Verifying the Backup
After completing the backup process, it is important to verify the integrity of the backup files to ensure that they have been accurately and securely stored. Follow these steps to verify your backup:
- Review Backup Logs: Many backup software programs generate logs that provide information about the backup process. Check these logs to ensure there were no errors or issues during the backup.
- Random File Checks: Perform random checks on a few files in the backup to ensure their integrity. Compare the files in the backup with the original files to confirm that they are identical.
- Test File Restorations: Select a few files from the backup and test the restoration process. Restore these files to a different location on your computer and verify that they are fully functional and accessible.
- Validation Tools: Some backup software offers built-in validation tools to automatically verify the integrity of the backup files. Utilize these tools to perform a thorough validation of your backup.
- Monitoring File Sizes: Keep an eye on the file sizes of the backup files. Compare them with the original files to ensure that all data has been accurately backed up and that there are no missing or incomplete files.
- Periodic Data Restoration: Every once in a while, restore a selection of files from the backup to ensure that both the backup files and the restoration process are working as intended.
- Regular Backup Checks: Make it a routine to periodically check the backup status and perform verification. This will help identify any issues or discrepancies early on, ensuring the reliability of your backup.
Regularly verifying your backup ensures that your files are accurately and securely stored, reducing the risk of data loss. By following these steps and performing regular checks on your backup, you can have confidence in the reliability and accessibility of your backed-up data.
Step 7: Safely Disconnecting the Hard Disk Drive
Once you have completed the backup process and verified the integrity of the backup files, it’s important to safely disconnect the hard disk drive (HDD) from your computer to ensure its longevity and avoid data corruption. Follow these steps to safely disconnect the HDD:
- Check Backup Status: Make sure that the backup process has completed successfully and that all files have been transferred to the HDD. Confirm that there are no active file transfers or backup tasks in progress.
- Close Backup Software: If your backup software is running, close it to ensure that there are no ongoing processes accessing the HDD. This prevents any potential conflicts or data disruptions when disconnecting the drive.
- Eject or Safely Remove: Depending on your operating system, use the proper method to eject or safely remove the HDD. In Windows, you can right-click on the drive icon in the file explorer and select “Eject.” On macOS, you can drag and drop the HDD icon into the trash and then click on the “Eject” button.
- Wait for Confirmation: After initiating the eject or safely remove process, wait for the confirmation that it is safe to disconnect the HDD. This confirmation ensures that all file operations involving the drive have completed and that it is safe to remove.
- Physically Disconnect the HDD: Once you have received the confirmation, gently unplug the USB or Thunderbolt cable that connects the HDD to your computer. Avoid yanking or forcefully removing the cable to prevent any damage to the drive or the computer’s ports.
- Store Properly: When not in use, store the HDD in a safe and dust-free environment. Consider using a protective case or sleeve to safeguard it from physical damage.
By following these steps, you ensure that the HDD is safely disconnected from your computer, minimizing the risk of data corruption or damage to both the drive and your computer. Taking the time to safely disconnect the HDD helps preserve its longevity and reliability, ensuring that it remains in good working condition for future backup needs.
Conclusion
Backing up your computer files on a hard disk drive (HDD) is an essential practice to protect your valuable data from loss, damage, or unforeseen circumstances. By following the step-by-step process outlined in this guide, you can ensure the security and accessibility of your files.
We began by highlighting the importance of backing up computer files, emphasizing the prevention of data loss, easy file recovery, protection against ransomware, peace of mind, long-term storage, and easy migration to new devices. Understanding these benefits helps create a strong motivation for implementing a backup strategy.
We then explored the different types of hard disk drives available for backing up computer files, including internal HDDs, external HDDs, network-attached storage (NAS) drives, and cloud-based storage options. Each type has its own advantages and considerations, allowing you to choose the one that best fits your needs and preferences.
Before beginning the backup process, we discussed important factors to consider, such as storage capacity, backup frequency, backup software selection, file and folder organization, security measures, backup verification, and the use of multiple backup solutions. Taking these factors into account ensures a smoother and more effective backup experience.
The step-by-step process covered in this guide included choosing backup software, connecting the HDD, selecting files to back up, creating a backup schedule, initiating the backup process, verifying the backup, and safely disconnecting the HDD. Each step plays a crucial role in ensuring the successful and secure backup of your computer files.
By implementing a regular backup routine and following these steps, you can safeguard your important files, documents, photos, and other data, providing peace of mind and protecting yourself from the potential loss of valuable information.
Remember, the process of backing up your computer files is an ongoing commitment. Regularly reassess and update your backup strategy to accommodate changes in your data and technology landscape. By doing so, you can ensure the continued protection and accessibility of your files for years to come. Start backing up your computer files today and enjoy the benefits of a secure and reliable data storage solution!