Introduction
Welcome to the digital age of music streaming, where artists have unprecedented opportunities to share their music with the world. Thanks to platforms like Spotify, musicians can reach millions of listeners, gaining exposure and building a dedicated fan base. While Spotify catalogs a vast collection of songs, you might be wondering how you can add your own tracks to the platform and join the ranks of emerging artists.
In this guide, we will take you through the step-by-step process of adding your own songs to Spotify. Whether you’re a solo artist, part of a band, or a producer with original tracks, this article will walk you through everything you need to know to get your music on one of the most popular streaming platforms in the world.
Before we delve into the details, it’s important to note that Spotify doesn’t allow artists to directly upload their music to the platform. Instead, Spotify relies on partnerships with music distributors to provide a seamless process for artists to release their music to the platform. These distributors act as intermediaries, ensuring that your songs are properly formatted and delivered to Spotify.
While this may seem like an extra step, partnering with a music distributor offers several benefits. These distributors not only handle the technical aspect of delivering your music to Spotify but also provide additional support and services such as royalty collection and analytics to help you track your music’s performance on the platform.
So, let’s get started on the journey of adding your music to Spotify and making your mark in the music industry.
Step 1: Choose a Distributor
The first step in adding your own songs to Spotify is choosing a music distributor. As mentioned earlier, Spotify doesn’t allow direct uploads from artists, so partnering with a distributor is essential.
There are several reputable distributors to choose from, each with its own features, pricing plans, and distribution networks. Some popular distributors include DistroKid, TuneCore, CD Baby, and UnitedMasters. It’s crucial to research and compare these distributors to find the one that best suits your needs and budget.
Consider factors such as distribution fees, commission rates, additional services offered, and the size of their network. A larger distribution network can increase your chances of reaching a broader audience and securing placements in curated playlists. Also, look for distributors that offer detailed analytics and reporting tools to help you track the performance of your music on Spotify.
Once you’ve chosen a distributor, sign up for an account on their website. You’ll need to provide basic information about yourself or your band, such as your name or band name, your contact details, and your tax information for royalty payments. Make sure to read and understand their terms and conditions before proceeding.
Some distributors may require you to pay an upfront fee or offer different pricing plans depending on your needs. Take your time to explore the options and choose the best plan for your budget. Remember, an investment in a reliable distributor can significantly impact the visibility and success of your music on Spotify.
It’s worth noting that some distributors also offer additional promotional services, such as playlist pitching or artist development programs. These services can help boost your music’s exposure and increase your chances of getting discovered by new listeners.
Once you’ve selected a distributor, you’re ready to move on to the next step: preparing your music files for upload. This involves ensuring your songs meet the required file formats and quality standards set by the distributor and Spotify. We’ll cover this in detail in the next section.
Step 2: Prepare your Music Files
After choosing a distributor, the next step in adding your own songs to Spotify is preparing your music files. Before your distributor can upload your music to Spotify, it needs to meet certain requirements in terms of file format and quality.
Firstly, make sure your songs are in a compatible audio file format. Spotify accepts common file formats like MP3 and WAV. If your songs are in a different format, you can use audio editing software or online converters to convert them to the appropriate format.
It’s important to pay attention to the quality of your music files as well. Ensure that your songs are mastered properly and are of high audio quality. Poorly mixed or low-quality recordings can negatively impact the listener’s experience and your music’s chances of being added to popular playlists.
Consider investing in professional mastering services to ensure your tracks sound polished and ready for the streaming platform. This step is crucial in delivering a professional and competitive release.
Additionally, check that your music files meet the required specifications for metadata. Metadata includes information such as the track title, artist name, album title, genre, and release date. Your distributor will provide you with guidelines on how to format and input this metadata correctly.
Make sure to provide accurate and consistent metadata for each song to enhance discoverability and categorization on Spotify. This information will help listeners find your music when searching by artist, genre, or album.
Finally, consider creating high-resolution album artwork that reflects your music and stands out in the Spotify interface. The artwork should be a minimum of 3000×3000 pixels and follow Spotify’s guidelines for image format and file size.
Once you’ve successfully prepared your music files according to these guidelines, you’re ready to proceed to the next step: creating a Spotify artist account. This will allow you to claim your artist profile and gain access to key features for managing and promoting your music. We will discuss this in detail in the following section.
Step 3: Create a Spotify Artist Account
Creating a Spotify artist account is an essential step in adding your own songs to the platform. This account will serve as your hub for managing and promoting your music, as well as accessing important artist features and analytics.
To create a Spotify artist account, you’ll need to go through a simple verification process. Start by visiting the Spotify for Artists website and clicking on the “Sign Up” button. If you already have a regular Spotify account, you can use it to log in and upgrade to an artist account.
Once you’re in the Spotify for Artists dashboard, you’ll be prompted to claim your artist profile. Search for your artist name using the search bar, and if your profile appears, select it and proceed to claim it. If your artist profile doesn’t appear, you can easily request access by providing the necessary information.
Spotify may require some verification steps to ensure that you are the authorized representative of the artist or band. This may involve providing links to verified social media accounts, websites, or other evidence of your authenticity as an artist.
After successfully claiming your artist profile, you can start customizing it to reflect your brand and image. Add a profile picture that represents you or your band, and write a compelling bio that showcases your music and tells your story. This information will engage listeners and help them connect with your music on a deeper level.
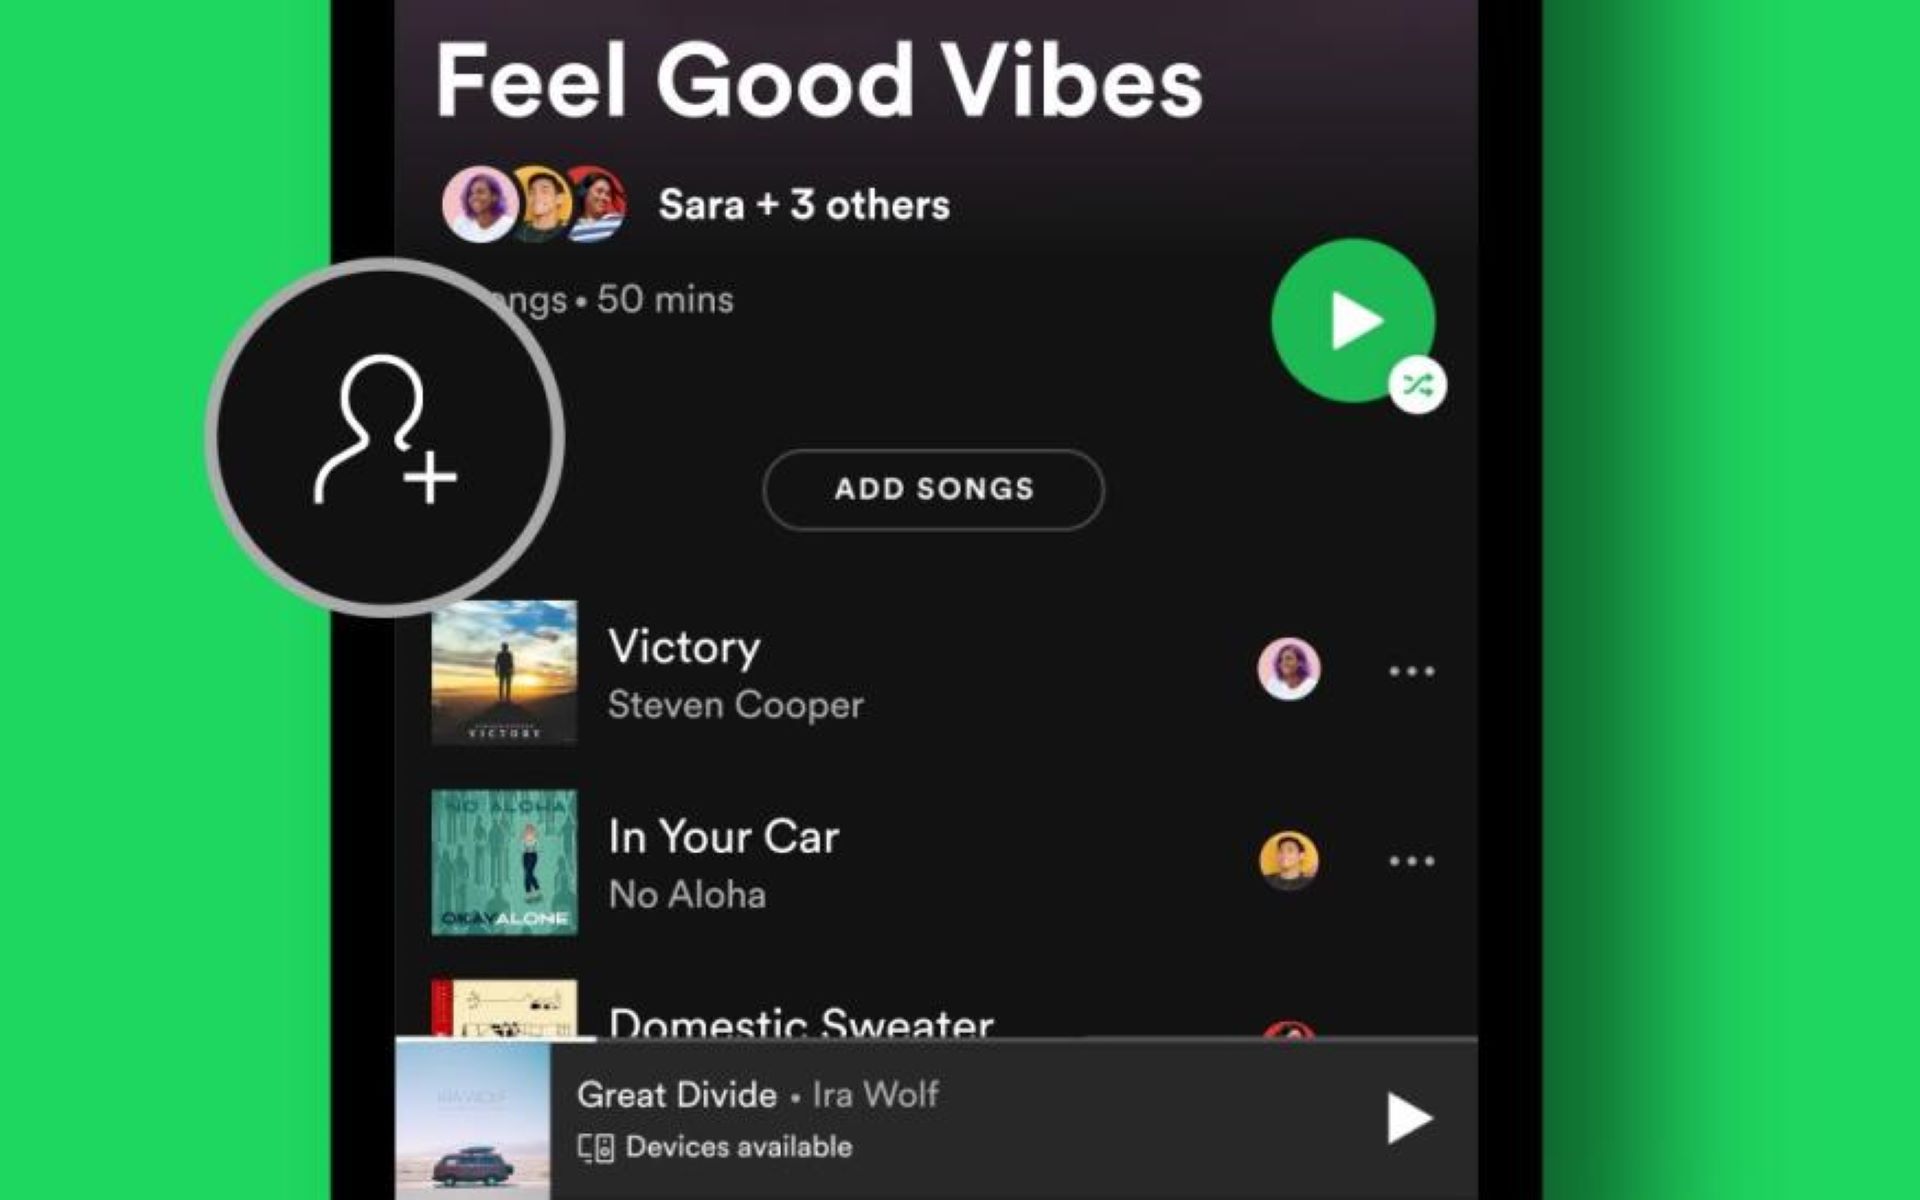
Make sure to include links to your social media profiles, website, and any other relevant platforms where fans can connect with you. Spotify allows you to add up to three “Artist’s Pick” slots, where you can highlight your latest releases, favorite tracks, or curated playlists.
By personalizing your artist profile, you make it more engaging and informative for listeners, increasing the chances of attracting new fans and engagement with your music.
Once your artist profile is ready, you are now prepared for the next step: uploading your music to the distributor. In the following section, we will guide you through the process of uploading your songs and preparing for their release on Spotify.
Step 4: Upload your Music to the Distributor
Now that you have a verified Spotify artist account and have prepared your music files, it’s time to upload your songs to the chosen distributor.
Log in to your distributor’s website and navigate to the section for uploading your music. Each distributor has its own user interface, but the process generally involves creating a release and uploading your audio files.
Start by creating a new release and providing the necessary information requested by the distributor. This includes the title of your album or single, tracklist, release date, genre, and any additional metadata required. It’s crucial to double-check the accuracy of this information to ensure a smooth release on Spotify.
Next, proceed to upload your music files following the guidelines provided by the distributor. Usually, you can either upload individual audio files or a compressed file containing all your songs. The platform will validate the format and quality of your files, so make sure they meet the required specifications.
During the upload process, you may be prompted to enter specific details for each track, such as the track title, artist name, and track number. This step is important for organizing your music properly on Spotify and ensuring that listeners can easily navigate and discover your songs.
After uploading your music files and providing the necessary information, carefully review the release details on the distributor’s platform to confirm that everything is accurate. Pay close attention to spelling, track order, and any additional options or settings available.
Once you’re satisfied with the release information, you can proceed to submit your music to the distributor for review. The distributor will carefully review your release to ensure it adheres to Spotify’s policies and quality standards.
This review process may take a few days, so be patient and wait for confirmation that your music has been successfully submitted. The distributor will notify you once your release has been approved, and your songs are on their way to being available on Spotify.
Keep in mind that the time it takes for your music to appear on Spotify can vary, so it’s important to plan your release schedule accordingly. It’s a good idea to set your release date at least a few weeks ahead to allow for distribution process and promotion.
Now that you’ve successfully uploaded your music to the distributor, it’s time to move on to the next step: verifying and claiming your artist profile on Spotify. We will explore this process in detail in the following section.
Step 5: Verify and Claim your Artist Profile on Spotify
After uploading your music to the distributor, the next step is to verify and claim your artist profile on Spotify. Verifying and claiming your profile will give you control over how your music is presented, access to valuable artist features, and the ability to interact with your fans.
To start the process, visit the Spotify for Artists website and log in to your artist account. Once logged in, you’ll need to search for your artist name in the Spotify search bar. If your profile appears, click on it and look for the “Claim” or “Verify” option. Click on it to start the verification process.
If you can’t find your artist profile on Spotify, you have the option to request access instead. Follow the instructions provided by Spotify to submit the necessary information to claim your profile.
Spotify may require additional verification steps to ensure that you are the authorized representative of the artist or band. This may involve providing links to verified social media accounts, websites, or other evidence of your authenticity as an artist.
Once your artist profile is successfully verified and claimed, you gain access to the Spotify for Artists dashboard, where you can manage and customize your profile.
Take some time to review and update your artist profile. Add a compelling bio that can resonate with your listeners, describe your musical journey, and highlight your unique style. You can also customize your profile with promotional images, such as your latest album cover or promotional photos.
Explore the various sections of the Spotify for Artists dashboard, as it provides valuable insights about your listeners, their locations, and their engagement with your music. Use this data to understand your audience better and tailor your promotional efforts accordingly.
You also have the opportunity to pitch your songs to Spotify’s in-house playlist curators. These curators create and maintain popular playlists, making them an ideal way to gain exposure and reach new listeners. Submitting your tracks for playlist consideration can significantly boost your music’s visibility on the platform.
Engage with your fans by sharing updates, news, and upcoming releases through your Spotify artist account. Use the “Artist’s Pick” feature to showcase your favorite tracks or playlists, giving fans a glimpse into your musical taste.
Verifying and claiming your artist profile on Spotify is a crucial step in establishing your presence on the platform. It helps you personalize your profile, access valuable artist features, and connect with your listeners in a meaningful way.
With your artist profile verified and claimed, you’re now ready to move on to the next step: customizing your artist profile. We’ll explore this process in detail in the following section.
Step 6: Customize your Artist Profile
Now that you’ve successfully verified and claimed your artist profile on Spotify, it’s time to customize it to reflect your brand and engage your audience. Customizing your artist profile helps you create a unique identity and make a strong impression on listeners.
Start by adding a profile picture that represents you or your band. This is the first visual element that listeners will see when they visit your profile, so choose an image that accurately represents your music and captures your image or style. The image should be eye-catching and easily recognizable even as a small thumbnail.
Next, craft a compelling and informative bio that showcases your music and tells your story. Use this space to share your musical journey, influences, and any notable achievements. Your bio should give listeners a clear understanding of what to expect from your music and what makes you unique as an artist.
Take advantage of the “Artist’s Pick” feature to highlight your latest releases, favorite tracks, or curated playlists. This gives your audience a glimpse into your musical preferences and helps them discover more of your music.
Consider creating and curating playlists that align with your musical style and share them with your fans. These playlists can include your own songs, as well as tracks from other artists that you admire or believe your fans would enjoy. Curating playlists is a great way to engage your audience and showcase your musical taste.
Be sure to include links to your social media profiles, website, and any other platforms where fans can connect with you outside of Spotify. This will encourage listeners to follow you on other platforms and stay updated with your latest releases and updates.
Regularly update your artist profile with fresh content and keep your audience informed about your upcoming releases, shows, or collaborations. Regular engagement helps to maintain a strong connection with your listeners and keeps them engaged with your music.
Keep in mind that your artist profile is your digital presence on Spotify, so make sure it accurately represents your brand and music. Continually evaluate and update your profile to ensure it aligns with your evolving artistic vision.
By customizing your artist profile, you create a visually appealing and informative space where fans can learn more about you and explore your music. Take the time to make your profile unique and visually engaging to leave a positive and lasting impression on listeners.
With your artist profile customized, you’re now ready for the next step: releasing your music on Spotify. We’ll delve into the details of this process in the following section.
Step 7: Release your Music on Spotify
After customizing your artist profile on Spotify, it’s time to release your music and make it available to listeners on the platform. Releasing your music on Spotify gives you the opportunity to reach a vast audience and connect with new fans.
Start by setting a release date for your music. Consider factors such as promotional activities, timing, and fan engagement when choosing the release date. Giving your fans ample notice and building anticipation can help generate excitement and increase the chances of a successful release.
Work closely with your chosen distributor to schedule the release. Provide all the necessary information, such as the release date, tracklist, album title, and any additional metadata required. Ensure that the information is accurate and up to date to avoid any delays or complications.
Most distributors offer the option to select a pre-save feature. Pre-save allows your fans to save your music to their libraries before the release date, ensuring that they receive it as soon as it’s available. Utilizing this feature can help create buzz and ensure a strong start for your release.
Consider promoting your release through various channels, including social media, emails to fans, and collaborations with other artists. Share teasers, behind-the-scenes content, or snippets of your songs to build anticipation and create excitement among your fanbase.
Once your music is released on Spotify, encourage your fans to stream and save your songs. Share direct links to your tracks and playlists on your social media platforms, website, and other promotional channels. The more engagement and streams your music receives in the initial release period, the higher the chances of it being noticed and featured by Spotify’s algorithms.
Monitor the performance of your release through the analytics provided by Spotify for Artists. Pay attention to metrics like streams, followers, and playlist placements to gauge the success of your music. Use this data to adjust your promotional efforts and refine your strategies for future releases.
Engage with your fans and show appreciation for their support. Respond to comments, messages, and shares on social media, and consider hosting live streams or Q&A sessions to connect with your audience on a personal level.
Continuously promote your music even after the release date. Create curated playlists featuring your music and tracks from other artists in your genre. Collaborate with influencers or fellow musicians for cross-promotion to reach new audiences.
Ensure that you keep your artist profile updated with new releases, tour dates, and any other significant updates. By keeping your profile fresh and active, you will maintain the interest of your existing fanbase and attract new listeners to your music.
Releasing your music on Spotify opens the door to countless opportunities to connect with listeners and grow your fanbase. By strategizing your release, promoting it diligently, and engaging with your audience, you can maximize the potential of your music and pave the way for a successful musical journey on Spotify.
Step 8: Promote Your Music
Releasing your music on Spotify is just the beginning of your journey as an artist. To maximize the reach and impact of your music, it’s crucial to actively promote it through various channels and strategies. Effective promotion can help you attract new listeners, increase your fanbase, and drive engagement with your music.
Utilize the power of social media to promote your music to a wide audience. Share updates, teasers, and behind-the-scenes content on platforms like Facebook, Instagram, Twitter, and TikTok. Engage with your followers, collaborate with other artists, and encourage sharing and spreading the word about your music.
Create eye-catching visuals to accompany your posts, such as album art, lyric videos, or music videos. Visual content is highly shareable and can capture the attention of potential new fans. Consider investing in professional-quality visuals or collaborate with talented visual artists to create captivating content.
Collaborate with influential music bloggers, podcasters, and playlists curators in your genre. Reach out to them to request reviews, interviews, or playlist placements. Getting featured on popular playlists or receiving positive reviews can expose your music to a wider audience and help you gain credibility as an artist.
Make use of music submission platforms that connect artists with opportunities for exposure. Submit your music to online radio stations, indie music blogs, and online magazines that cater to your genre. Participate in music contests and competitions to showcase your talent and potentially win recognition and prizes.
Don’t neglect the power of live performances. Organize concerts, gigs, or virtual live sessions to connect with your fans on a personal level. Whether it’s in-person or through virtual platforms, live performances can generate buzz, attract new fans, and deepen the connection between you and your audience.
Collaborate with other artists, both in your genre and outside of it. Collaboration exposes your music to a new audience and allows you to tap into the existing fanbase of the collaborating artist. Consider featuring guest vocalists, remixing songs, or creating joint projects to expand your reach and extend your musical network.
Utilize music marketing techniques such as email marketing, press releases, and targeted online advertising to reach your target audience efficiently. Build an email list and use it to communicate directly with your fans, update them on new releases, and offer exclusive content or merchandise.
Engage with your fans actively through contests, giveaways, and interactive online events. Run social media campaigns that encourage user-generated content, such as cover song challenges or dance challenges. Encourage your fans to share their love for your music, and feature their content on your social media channels to strengthen the connection with your fanbase.
Lastly, regularly analyze and monitor your promotional efforts to understand what strategies are working and what needs improvement. Leverage the analytics provided by platforms like Spotify for Artists to track listener engagement, streaming patterns, and audience demographics. This data can guide your future promotional decisions and help you refine your marketing strategies.
Promoting your music requires consistent effort and creativity. Experiment with various strategies, be open to feedback, and adapt your approach based on the results. With an effective promotion plan in place, you can maximize the discoverability and success of your music on Spotify and beyond.
Conclusion
Adding your own songs to Spotify and making your mark in the music industry is an exciting and rewarding journey. By following the steps outlined in this guide, you can navigate the process with confidence and increase your chances of success.
Choosing a reputable distributor, preparing your music files, creating a Spotify artist account, and customizing your artist profile are essential steps that lay the foundation for a strong presence on Spotify. Releasing your music and promoting it diligently through various channels and strategies will help you gain visibility, attract new listeners, and grow your fanbase.
Remember, success on Spotify is not guaranteed overnight. It requires consistent effort, patience, and continuous engagement with your audience. Continually refine your music, interact with your fans, and leverage the analytics provided by Spotify for Artists to track your progress and make data-driven decisions for your future releases.
Utilize the power of social media, collaborations with other artists, and live performances to expand your reach and connect with your listeners on a deeper level. Implement effective music promotion techniques, such as targeted advertising, submission to playlists and blogs, and engagement campaigns to actively promote your music.
Stay authentic to yourself and your artistic vision throughout the process. Your uniqueness and individuality are what will set you apart in the vast musical landscape. Be open to learning and evolving as an artist, embracing feedback, and continuously improving your craft.
With dedication, perseverance, and the right promotional strategies, you can successfully add your own songs to Spotify and captivate a global audience. Embrace the opportunities that the digital age offers, and never stop pursuing your passion for music.