Introduction
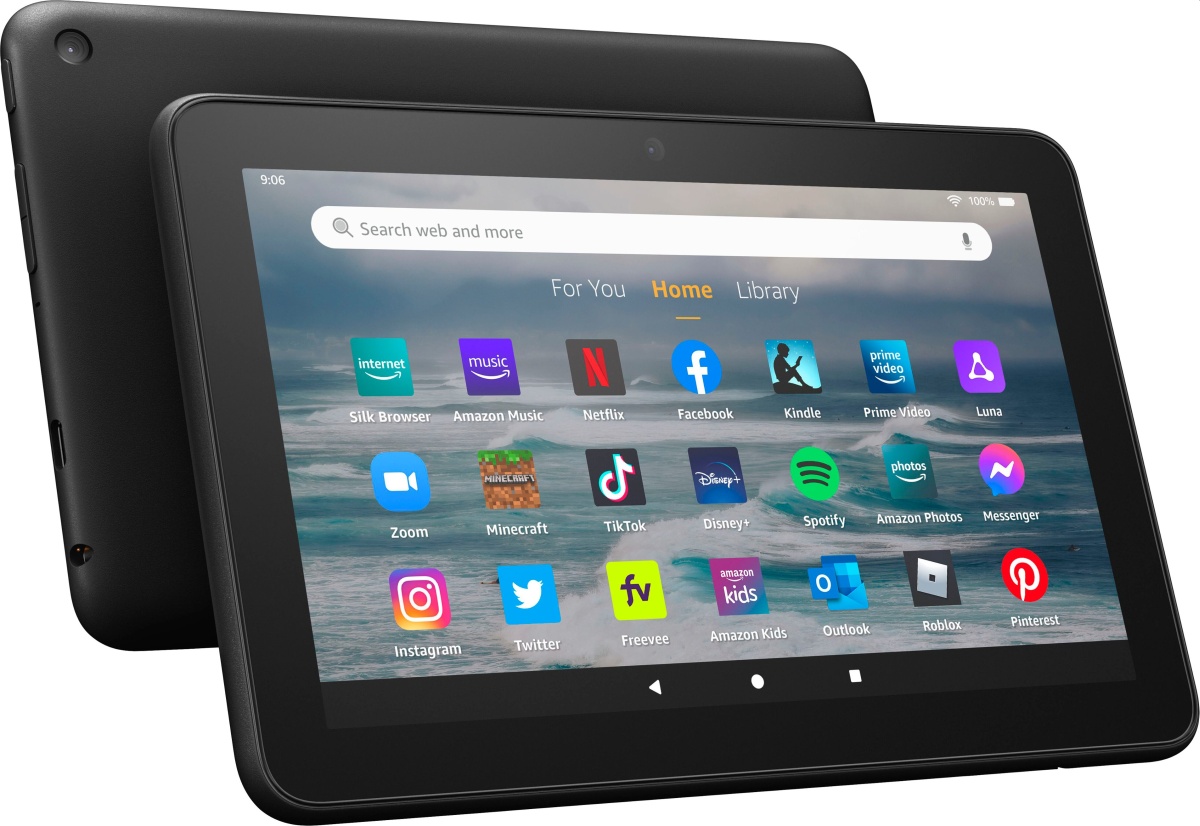
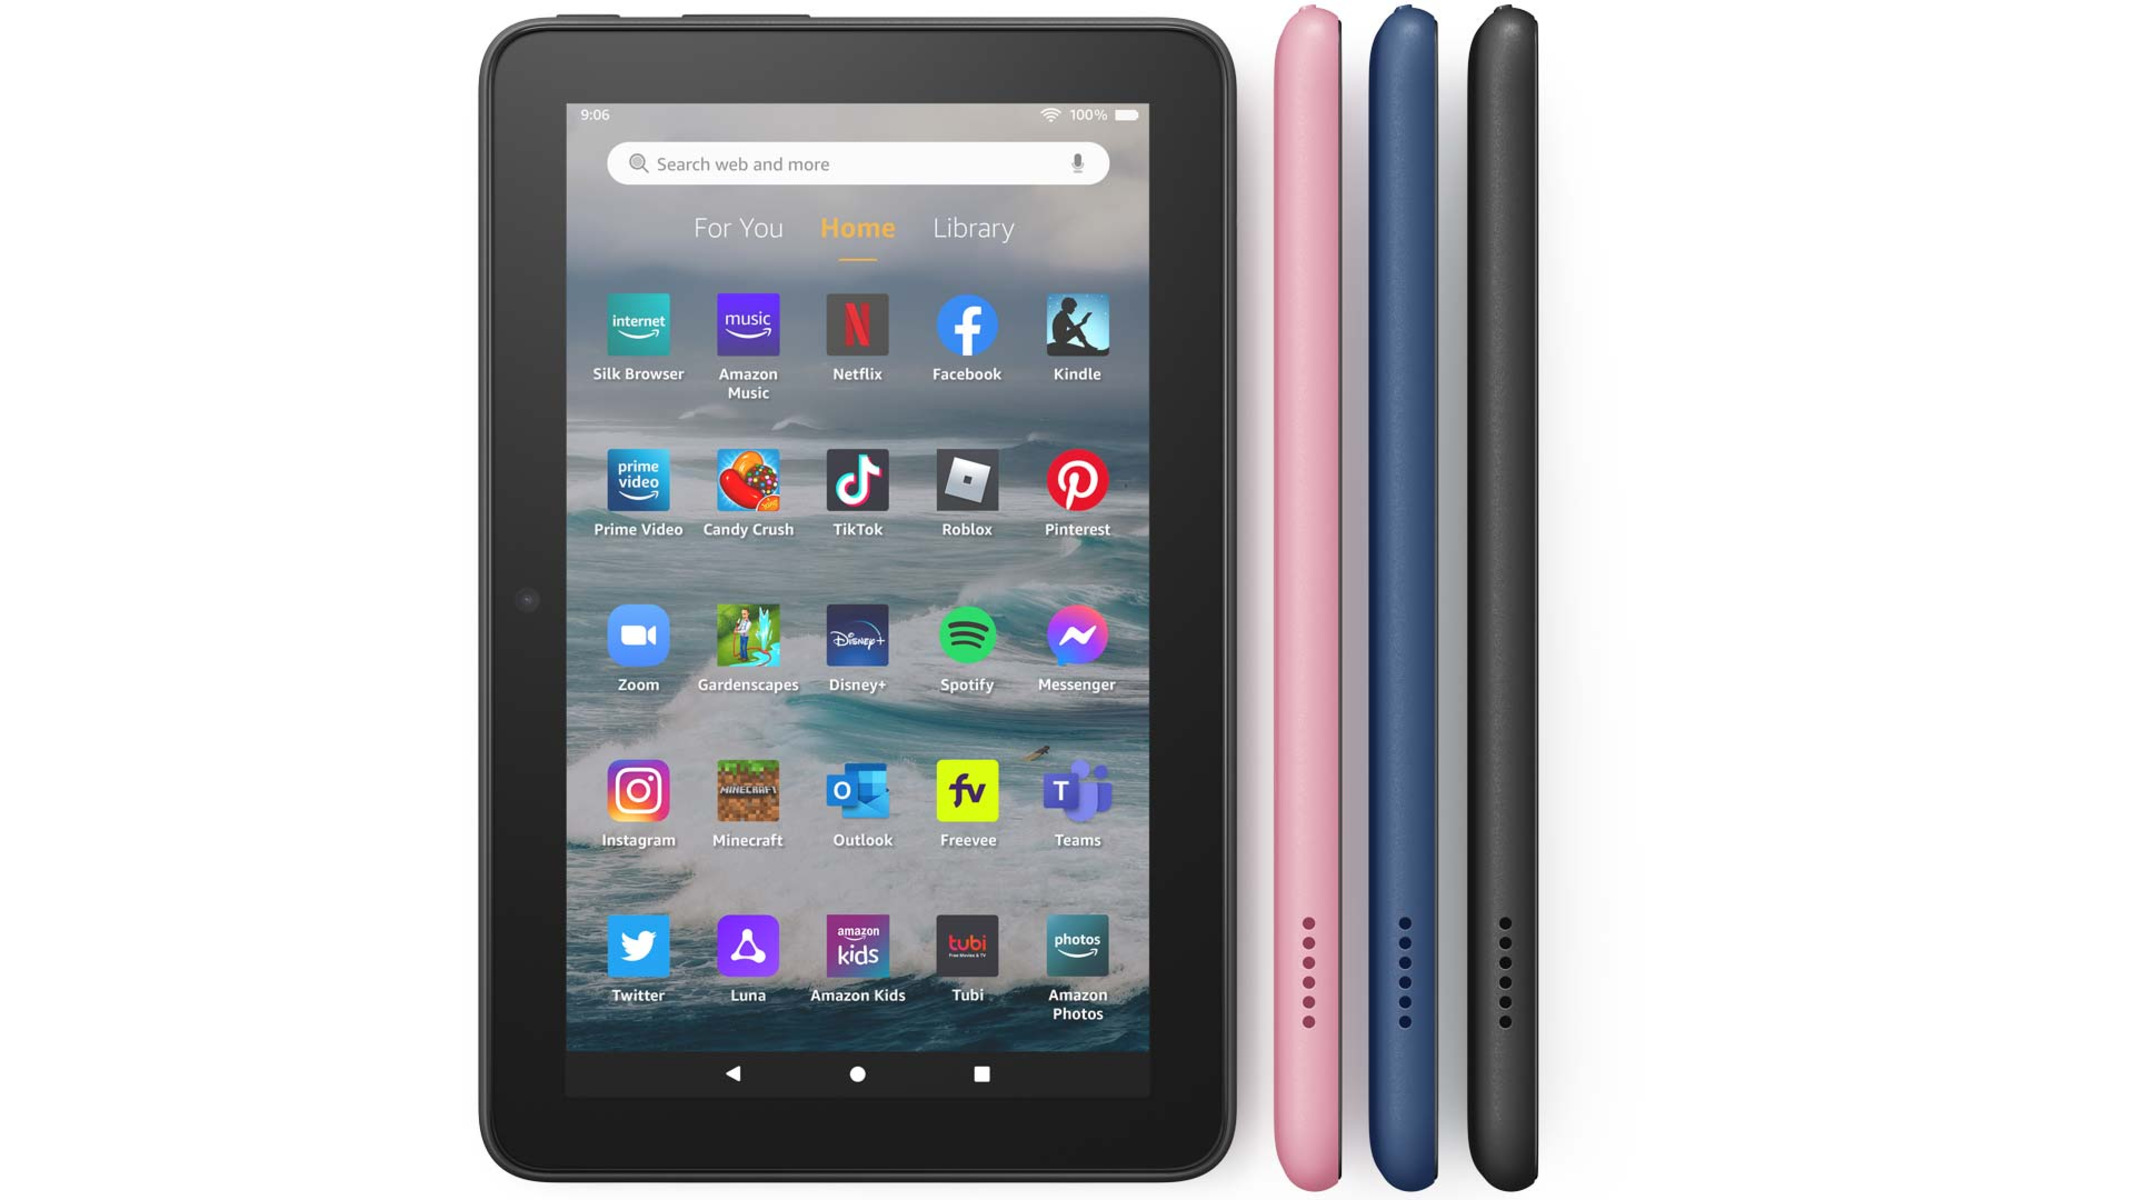
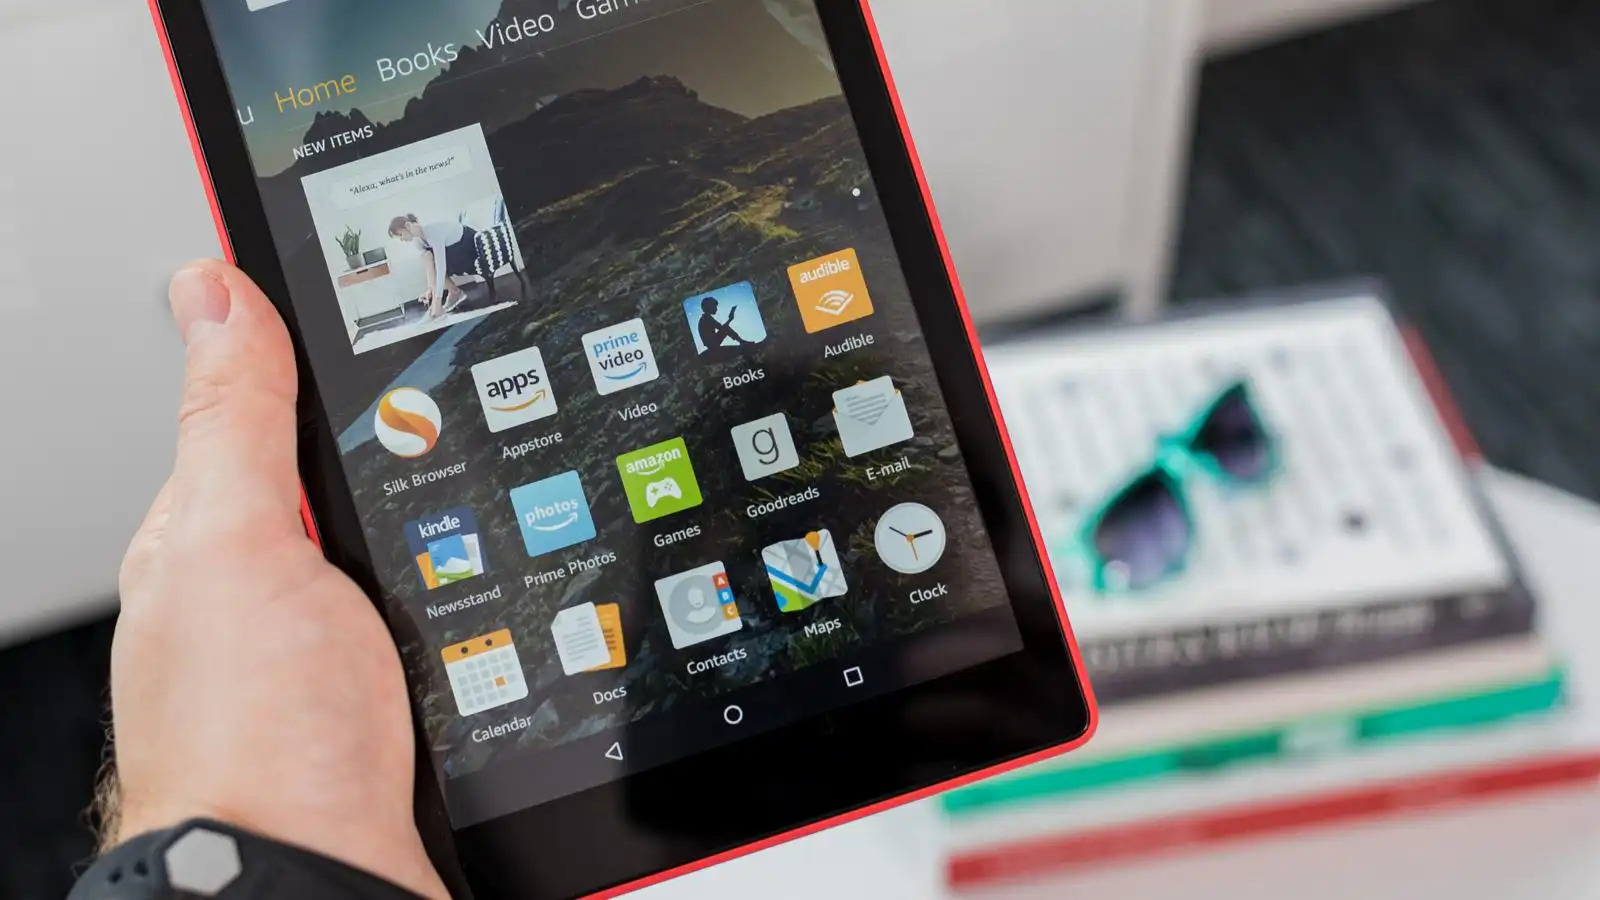
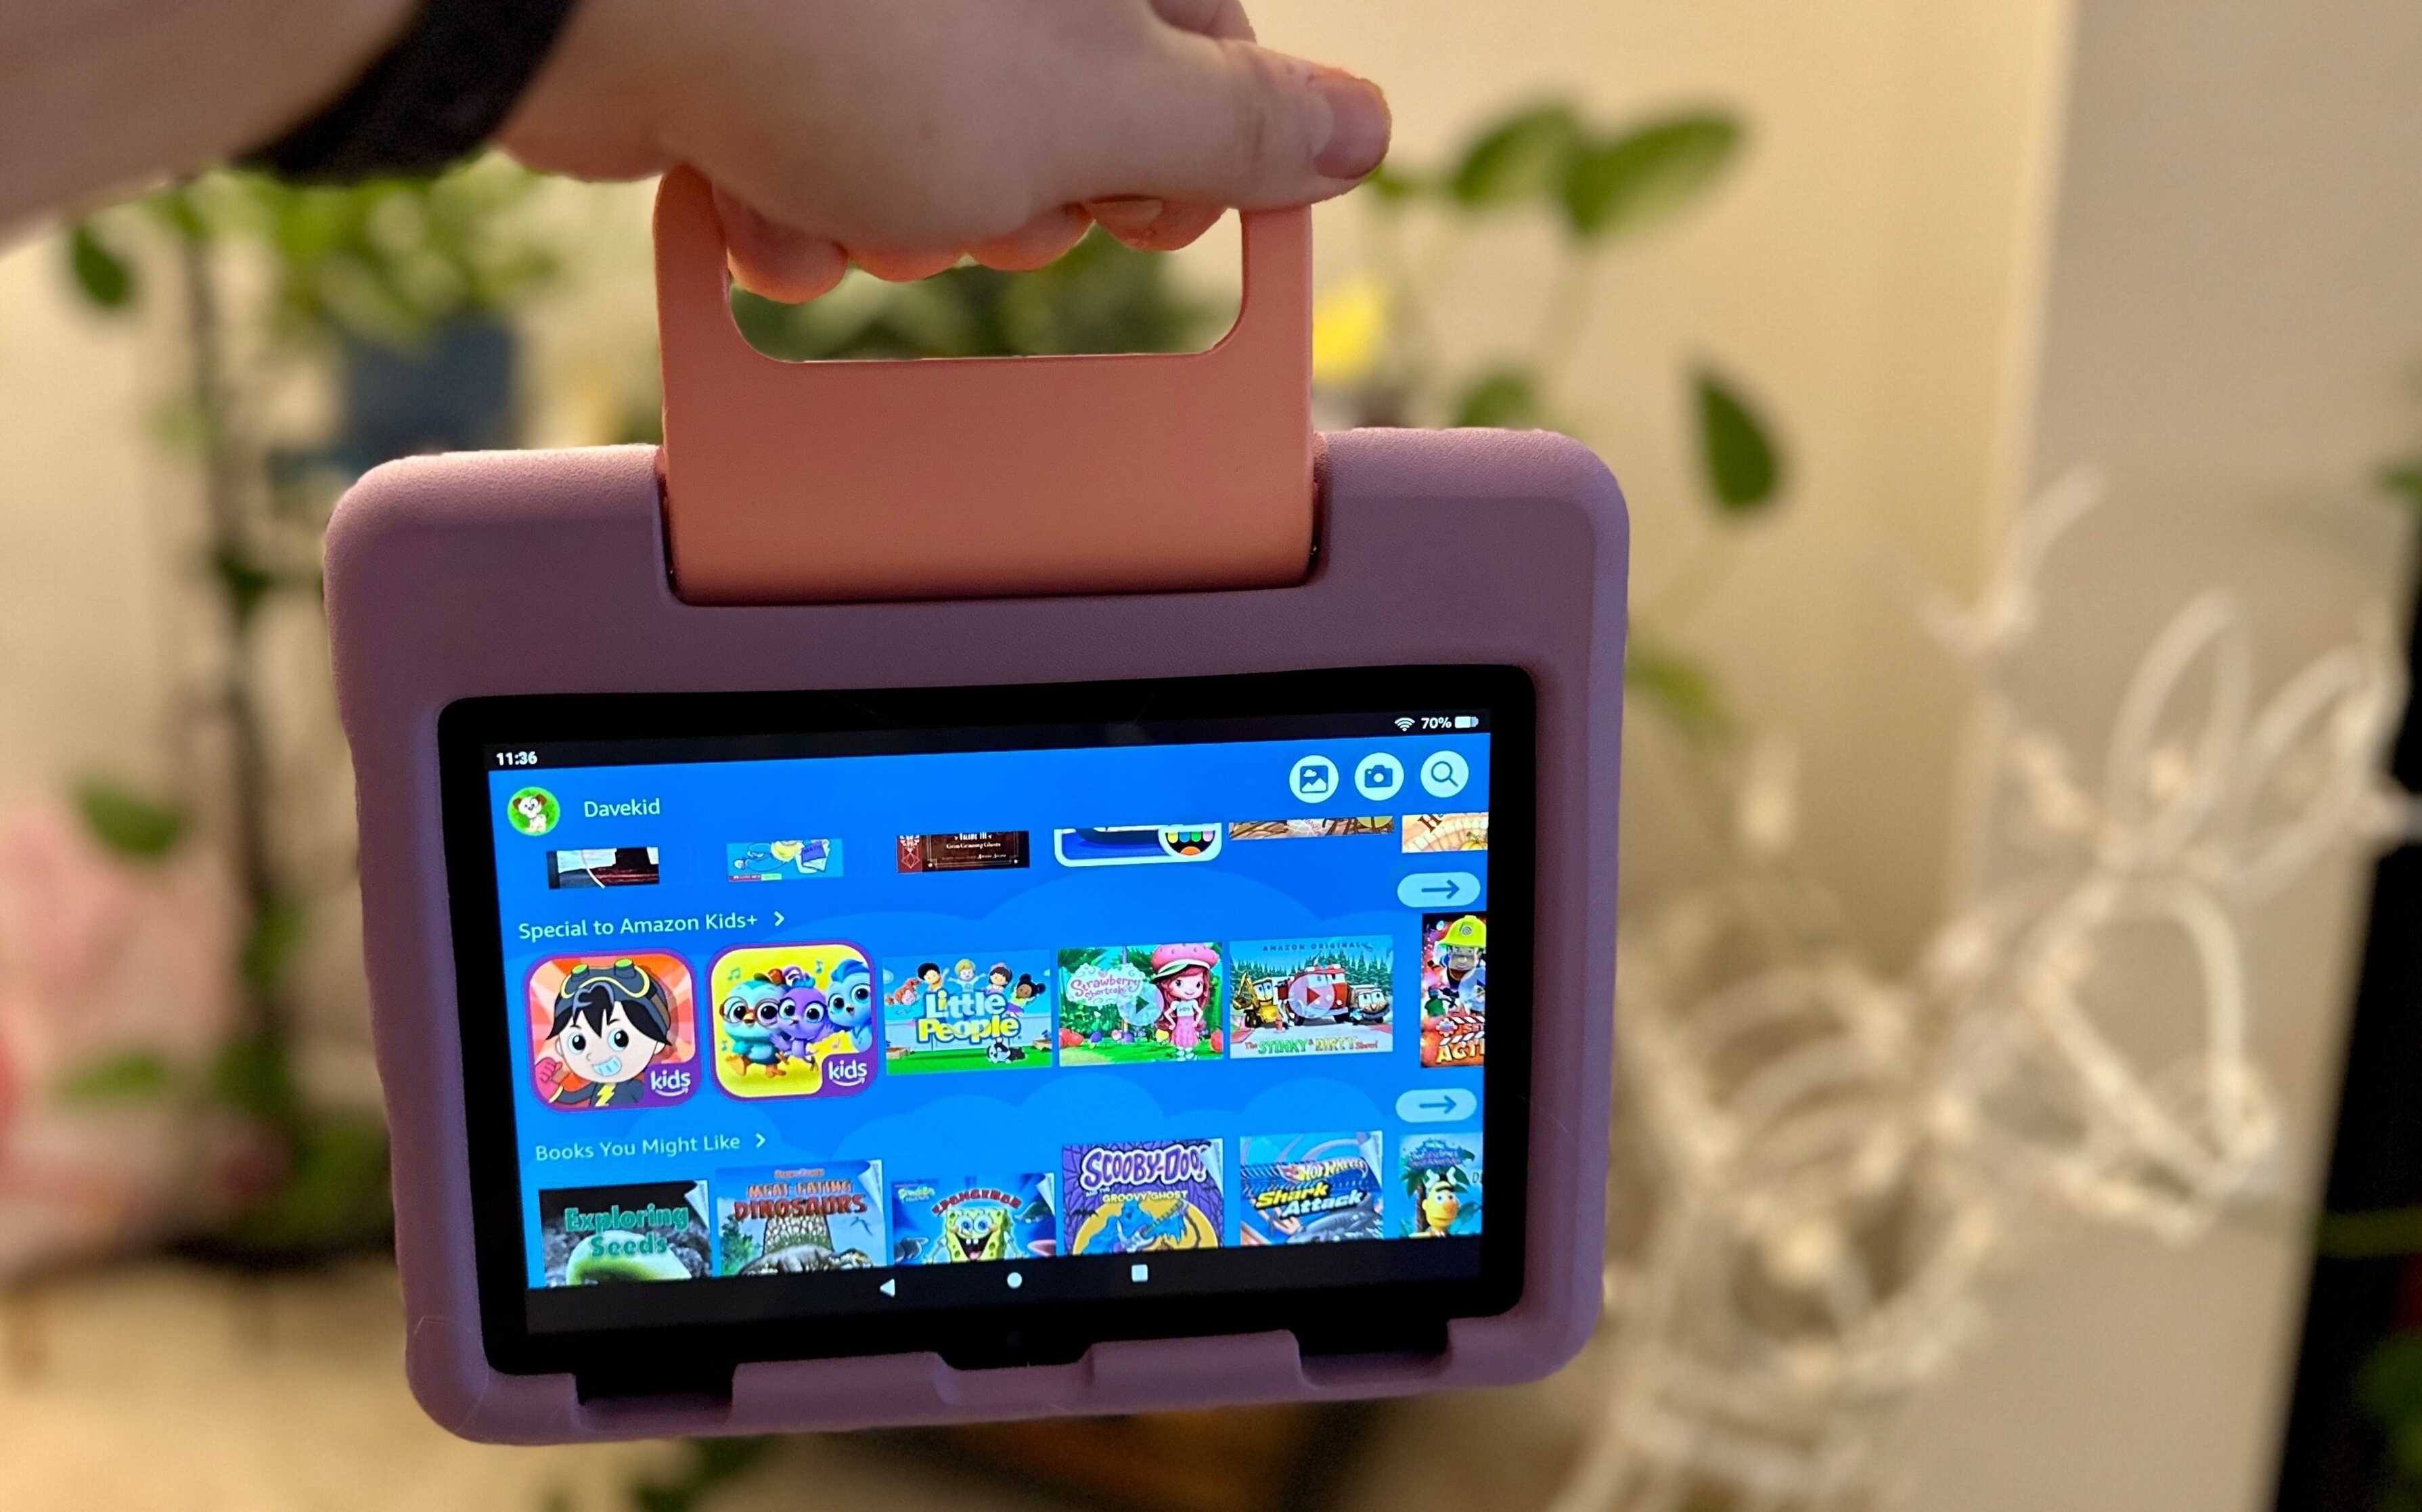
Welcome to the world of Amazon Fire Tablets! These compact devices offer a convenient way to surf the internet, watch movies, read e-books, and much more. However, one of the common challenges faced by Fire Tablet users is the limited storage capacity. If you find yourself running out of space for apps, games, photos, or videos, don’t worry! There are several ways to add extra storage to your Amazon Fire Tablet.
In this article, we will explore the various options available to expand the storage on your Fire Tablet. Whether you want to utilize cloud storage or add a microSD card, we’ve got you covered. By following the step-by-step instructions provided, you’ll be able to increase the storage capacity of your Fire Tablet and enjoy more space for all your digital content.
Before we delve into the details, it’s important to note that adding extra storage to your Fire Tablet is not only about convenience, but also about optimizing its performance. When your device’s internal storage reaches its limit, it can slow down operations and affect its overall functionality. By expanding the storage, you can ensure a smoother user experience and avoid frustrations caused by insufficient space.
Now, let’s dive into the various methods you can use to enhance the storage capacity of your Amazon Fire Tablet. Whether you prefer accessing your files from the cloud or want the flexibility of a physical storage option, we have solutions that cater to your needs. With these simple steps, you can unlock the full potential of your Fire Tablet and make the most of its features.
Understanding the Storage Limitations of Amazon Fire Tablet
Before we explore the ways to add extra storage to your Amazon Fire Tablet, it’s crucial to understand the storage limitations of the device. Fire Tablets come with built-in storage, typically ranging from 8GB to 64GB, depending on the model you own. However, it’s important to note that a portion of this storage is allocated for the operating system and pre-installed apps, leaving you with less available space for your personal data.
For example, if you have a Fire Tablet with 16GB of storage, the actual usable space may be around 10-12GB. This means that as you install additional apps, download media files, and capture photos or videos, the available storage will gradually decrease. It’s essential to keep an eye on your device’s storage to prevent it from reaching its capacity.
Another aspect to consider is that Fire Tablets do not support external USB storage devices, such as external hard drives or flash drives. Unlike some other tablets or smartphones, you cannot directly connect external storage devices to expand the storage capacity. However, Amazon has provided alternative options to address this limitation, which we will explore in the next sections.
Beyond the internal storage, Amazon Fire Tablets also provide cloud storage options. With Amazon’s Cloud Drive, you can securely store your files, photos, and videos in the cloud and access them from your Fire Tablet. However, cloud storage has its own limitations, such as relying on an internet connection for access and limited free storage space.
While understanding the storage limitations is important, it’s equally crucial to optimize your device’s storage by removing unnecessary apps, files, or media. By regularly decluttering your Fire Tablet, you can free up space and ensure smooth performance. In the following sections, we will explore various ways to add extra storage to your Fire Tablet, allowing you to overcome these limitations and make the most of your device.
Checking the Available Storage on your Fire Tablet
Before we proceed with adding extra storage to your Amazon Fire Tablet, it’s important to check how much storage is currently available on your device. This will help you understand the amount of space you have left and decide which option for expanding storage will best suit your needs.
To check the available storage on your Fire Tablet, follow these simple steps:
- Unlock your Fire Tablet and navigate to the home screen.
- Swipe down from the top of the screen to open the notification panel.
- Tap on the “Settings” gear icon to access the settings menu.
- In the settings menu, scroll down and tap on the “Storage” option.
- You will now see a breakdown of your device’s storage, including the amount of space used and the available space.
On this screen, you will be able to see how much space is being occupied by different categories such as Apps, Photos, Videos, and Other. This gives you a clear overview of which files or apps are taking up the most space on your device.
If you find that your available storage is low or close to full, it’s time to consider adding extra storage to ensure you have enough space for your files, apps, and media.
Remember that it’s important to regularly check your device’s storage to prevent it from reaching capacity. When your Fire Tablet is low on storage, it can negatively impact its performance, causing apps to crash, slow response times, and limited functionality.
Now that you know how to check the available storage on your Fire Tablet, we can move on to exploring the different methods you can use to add extra storage. Whether you prefer utilizing cloud storage options or adding a physical external storage device, we’ve got you covered.
Utilizing Cloud Storage Options
When it comes to expanding the storage capacity of your Amazon Fire Tablet, one of the most convenient options is utilizing cloud storage. Cloud storage allows you to store your files, photos, videos, and documents securely on remote servers, accessible from any device with an internet connection.
Amazon provides its own cloud storage service called Amazon Drive, which seamlessly integrates with your Fire Tablet. To utilize cloud storage options, follow these steps:
- Open the Amazon Drive app on your Fire Tablet. If you don’t have the app installed, you can download it from the Amazon Appstore.
- Sign in to your Amazon account or create a new account if you don’t have one.
- Once logged in, you can start uploading files to your Amazon Drive. You can either select specific files or folders to upload or choose to automatically back up your device’s photos and videos to the cloud.
- To access your files on your Fire Tablet, open the Amazon Drive app and navigate through your files and folders.
- You can also access your Amazon Drive files using the Silk Browser on your Fire Tablet or by installing other cloud storage apps such as Dropbox or Google Drive.
By utilizing cloud storage options, you can free up space on your Fire Tablet without losing your important files. It also allows you to access your files from multiple devices, giving you the flexibility to work or enjoy your media wherever you are.
While Amazon Drive offers a certain amount of free storage, you might need to consider upgrading to a paid plan if you require more space. Amazon provides various subscription options to suit different storage needs.
It’s important to note that utilizing cloud storage requires a stable internet connection. If you’re in an area with limited or no internet access, accessing your files may be challenging. In such cases, consider other storage options like adding a microSD card, which we will explore in the next section.
Now that you’re aware of the cloud storage option offered by Amazon, you can choose to store your files securely in the cloud and access them whenever you need them. If cloud storage does not fully meet your needs or you prefer the flexibility of a physical storage solution, keep reading to learn how to add extra storage to your Fire Tablet using a microSD card.
Adding Extra Storage with microSD Card
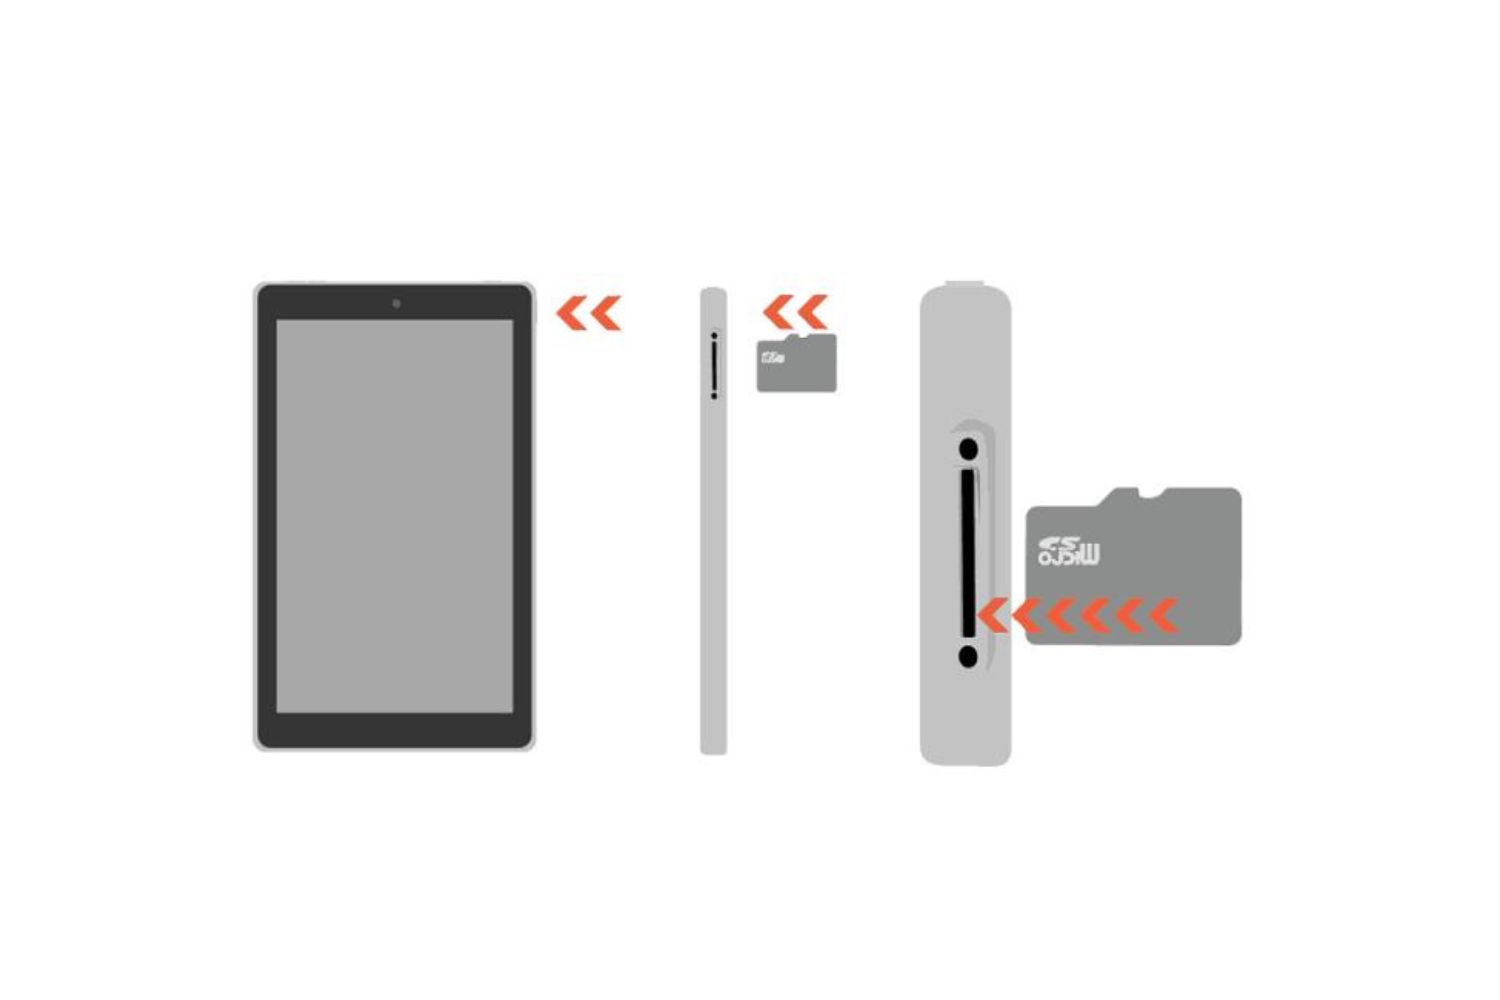
If you prefer a physical storage option for expanding the storage capacity of your Amazon Fire Tablet, adding a microSD card is an excellent choice. Most Fire Tablet models come with a built-in microSD card slot, allowing you to easily insert and use external storage.
To add extra storage with a microSD card, follow these steps:
- Locate the microSD card slot on your Fire Tablet. The location may vary depending on the model, but it’s usually found on the side or back of the device.
- Power off your Fire Tablet before inserting the microSD card to avoid any potential data corruption.
- Insert the microSD card into the card slot, ensuring it is properly seated.
- Power on your Fire Tablet and wait for it to recognize the newly inserted microSD card.
- Once the microSD card is recognized, you can start using it to store your apps, files, photos, and videos.
It’s important to note that not all microSD cards are compatible with Amazon Fire Tablets. Make sure to choose a microSD card that is compatible with your device and has adequate storage capacity. Amazon recommends using Class 10 or UHS-I microSD cards for better performance.
If you’re unsure about which microSD card to purchase for your Fire Tablet, you can refer to the Amazon website or consult the device’s user manual for specific recommendations.
After inserting the microSD card, you will need to format and mount it in order to start using it as additional storage for your Fire Tablet. Follow these steps to format and mount the microSD card:
- Go to the Settings menu on your Fire Tablet.
- Scroll down and tap on the “Storage” option.
- Under the “Storage” menu, you will see the name of your microSD card listed. Tap on it.
- On the microSD card screen, tap on the three vertical dots in the upper-right corner.
- Select the “Format” option to format the microSD card. Please note that formatting will erase all the data on the microSD card, so make sure to back up any important files before proceeding.
- After formatting, tap on the “Mount” option to mount the microSD card, making it available for use.
Now that your microSD card is formatted and mounted, you can start transferring your apps, files, photos, and videos to the card to free up space on your Fire Tablet’s internal storage. In the next section, we will discuss how to transfer apps and files to the microSD card for efficient storage management.
Formatting and Mounting the microSD Card
After inserting a new microSD card into your Amazon Fire Tablet, the next step is to format and mount the card. Formatting prepares the microSD card for use and ensures compatibility with your Fire Tablet, while mounting makes it accessible for storing apps, files, photos, and videos.
To format and mount the microSD card, follow these steps:
- Access the Settings menu on your Fire Tablet by swiping down from the top of the screen and tapping on the “Settings” gear icon.
- Scroll down and tap on the “Storage” option.
- Under the “Storage” menu, you will see the name or description of your microSD card. Tap on it to access the microSD card settings.
- On the microSD card settings screen, tap on the three vertical dots in the upper-right corner to open the options menu.
- From the options menu, select the “Format” option.
- A warning message will prompt you about the deletion of all data on the microSD card. Ensure that you have backed up any important files before proceeding. Tap on “Format” to confirm.
- The system will begin formatting the microSD card. This process may take a few moments to complete.
- Once the formatting is finished, return to the microSD card settings screen.
- Tap on the three vertical dots again and select the “Mount” option.
The microSD card will now be mounted and ready to use as additional storage on your Fire Tablet. With the microSD card successfully formatted and mounted, you can start transferring apps, files, photos, and videos to it.
By moving data to the microSD card, you can free up space on your Fire Tablet’s internal storage, enhancing the device’s performance and allowing you to store more content. It’s important to note that not all apps or files can be transferred to the microSD card, as some may require to reside on the internal storage for proper functioning.
Now that your microSD card is formatted and mounted, let’s proceed to the next section where we will discuss how to transfer apps and files to the microSD card for efficient storage management on your Amazon Fire Tablet.
Transferring Apps and Files to the microSD Card
With your microSD card formatted and mounted on your Amazon Fire Tablet, you can now start transferring your apps, files, photos, and videos to the card. By moving data to the microSD card, you can free up space on your device’s internal storage and ensure smoother performance.
Follow these steps to transfer apps and files to the microSD card:
- Go to the Settings menu on your Fire Tablet.
- Tap on the “Apps & Games” option.
- Select the “Manage All Applications” option.
- Scroll through the list of installed apps and identify the ones you want to transfer to the microSD card.
- Tap on the desired app to access its settings.
- Tap on the “Storage” option within the app settings.
- From the storage options, select “Change” or “Move to SD Card” (depending on the device and software version).
- The app will now be transferred to the microSD card. Repeat this process for other apps you wish to move to the card.
- For transferring files such as photos, videos, or documents, you can use a file manager app. There are numerous file manager apps available on the Amazon Appstore. Install one of these apps and use it to move files from the internal storage to the microSD card.
- Open the file manager app and navigate to the location of the files you want to transfer.
- Select the files you wish to move and tap on the “Move” or “Copy” option.
- Navigate to the microSD card directory and select a destination folder. Tap on “Move” or “Paste” to complete the transfer.
Keep in mind that not all apps or files can be transferred to the microSD card. Some system apps and certain files may require to reside on the internal storage for proper functionality. The ability to transfer apps and files to the microSD card may also vary based on the device model and software version.
It’s recommended to regularly review and manage the storage on your Fire Tablet. By periodically moving unused apps and files to the microSD card, you can optimize the storage capacity and ensure efficient usage of your device’s resources.
In the next section, we will discuss how to manage apps and files on the microSD card, including deleting, organizing, and accessing them on your Amazon Fire Tablet.
Managing Apps and Files on the microSD Card
Now that you have successfully transferred apps and files to the microSD card on your Amazon Fire Tablet, it’s essential to know how to manage them effectively. In this section, we will explore various aspects of managing apps and files on the microSD card.
To manage apps stored on the microSD card, follow these steps:
- Go to the Settings menu on your Fire Tablet.
- Tap on the “Apps & Games” option.
- Select the “Manage All Applications” or “App Manager” option.
- Scroll through the list of apps and identify the ones stored on the microSD card. These apps will have the option to “Move to Internal Storage” or “Move to SD Card” (depending on the device and software version).
- To manage these apps, tap on the desired app and choose the appropriate option to either move it back to internal storage or uninstall it completely.
Managing files on the microSD card can be done using a file manager app or through the built-in file manager on your Fire Tablet. Here’s how to manage files on the microSD card:
- Open the file manager app or use the built-in file manager on your Fire Tablet.
- Navigate to the directory where the files are stored on the microSD card.
- From here, you can perform various actions such as copying, moving, deleting, or organizing files.
- Select the file(s) you want to manage and choose the appropriate action (i.e., delete, move, copy, etc.) from the options menu.
When managing files, it’s a good practice to organize them into folders to keep things structured and easily accessible. Create folders based on different categories, such as photos, videos, documents, etc., and move files accordingly to maintain a well-organized storage system.
Regularly reviewing and managing apps and files on the microSD card is crucial to optimize storage capacity and ensure efficient usage of your Fire Tablet. Removing unused apps and files and organizing them into appropriate folders will help you maintain a clean and clutter-free storage environment.
Now that you’re familiar with managing apps and files on the microSD card, you can easily keep your storage organized and make the most out of the expanded storage capacity on your Amazon Fire Tablet.
Troubleshooting Storage Issues
While adding extra storage to your Amazon Fire Tablet can significantly enhance its functionality, you may encounter some storage-related issues along the way. In this section, we will discuss common storage issues and provide troubleshooting tips to help you resolve them.
Insufficient storage space: If you continue to receive notifications about low storage space, even after adding a microSD card, it’s possible that some apps or files are still being stored on the internal storage. Follow the steps outlined earlier to move apps and files to the microSD card. Additionally, consider deleting unnecessary apps or files to free up more space.
Apps not moving to microSD card: In some cases, certain apps may not have the option to be moved to the microSD card. This can happen if the app is system-related or if it requires storage on the internal memory for proper functioning. Unfortunately, there is no direct workaround for this limitation, and you may need to manage your storage by regularly uninstalling unused apps.
MicroSD card not recognized: If your Fire Tablet is not detecting or recognizing the microSD card, try removing and reinserting the card, ensuring it is properly seated in the slot. If the issue persists, try using a different microSD card to determine if the problem lies with the card itself. If none of these steps work, consider reaching out to Amazon customer support for further assistance.
Slow performance after adding storage: If you notice a decrease in your Fire Tablet’s performance after adding extra storage, it could be due to the type or quality of the microSD card. Ensure that you are using a Class 10 or UHS-I microSD card, as recommended by Amazon. If you are already using a compatible microSD card, it’s possible that there may be another issue affecting performance. Try restarting your device or clearing cache files to improve performance.
Corrupted files or card: In rare cases, the microSD card may become corrupted, resulting in data loss or failure to read. To prevent this, it’s essential to safely eject the microSD card before removing it from your Fire Tablet. If you encounter a corrupted card, try using it on another device to see if it works. If it doesn’t, you may need to consider formatting the card and potentially losing the data stored on it.
If you encounter persistent storage issues or face any other difficulties, it’s recommended to refer to the Amazon support website or contact their customer support for further assistance. They can provide specific troubleshooting steps or offer solutions tailored to your device and situation.
By being aware of these common storage issues and following the troubleshooting tips provided, you can maintain a smooth and optimized storage experience on your Amazon Fire Tablet.
Conclusion
In conclusion, expanding the storage capacity of your Amazon Fire Tablet is essential to ensure smooth performance and have enough space for your apps, files, photos, and videos. Whether you choose to utilize cloud storage options or add a microSD card, there are several effective methods available to meet your specific storage needs.
By understanding the storage limitations of your Fire Tablet and regularly checking the available storage, you can stay ahead of storage issues and make informed decisions about expanding your device’s storage capacity.
Utilizing cloud storage options, such as Amazon Drive, allows you to securely store your files in the cloud and access them from any device with an internet connection. This is a convenient solution if you have a stable internet connection and prefer the flexibility of accessing your files from different devices.
Adding a microSD card offers a physical storage option that provides additional space directly on your Fire Tablet. By formatting and mounting the microSD card, you can transfer apps and files, freeing up the internal storage and optimizing the device’s performance. Remember to choose a compatible microSD card and regularly manage the apps and files on the card to keep your storage organized.
If you encounter any storage-related issues, such as insufficient space or slow performance, troubleshooting steps can help resolve these problems. It’s important to follow best practices, such as safely ejecting the microSD card and using a compatible card, to prevent data loss or corruption.
In summary, expanding the storage capacity of your Amazon Fire Tablet empowers you to make the most of your device’s features and enjoy a smooth user experience. Whether it’s utilizing cloud storage or adding a physical storage option, take the necessary steps to enhance your device’s storage and stay organized with your growing collection of apps, files, and media.


