Introduction
Managing the financial aspects of a business is crucial for success, and QuickBooks Online is a powerful tool that offers a range of features to streamline the process. One such feature is the ability to add categories, which allows you to organize your financial transactions and track them more efficiently. Whether you need to classify expenses, income, or assets, QuickBooks Online makes it easy to create and manage categories that align with your business needs.
This article will guide you through the process of adding categories in QuickBooks Online, step by step. By following these instructions, you can customize your Chart of Accounts and have a clearer view of your business finances. Whether you are a small business owner, an entrepreneur, or a financial professional, understanding how to create and utilize categories in QuickBooks Online will contribute to more accurate record-keeping and better financial decision-making.
Adding categories in QuickBooks Online is a simple and straightforward process that can be accomplished in just a few clicks. This flexibility allows you to tailor the software to suit your specific business requirements, providing you with the information you need to stay organized and in control of your finances. In the following sections, we will explore the steps you need to take to add, edit, and delete categories, as well as how to define the details of each category.
Step 1: Accessing the Chart of Accounts
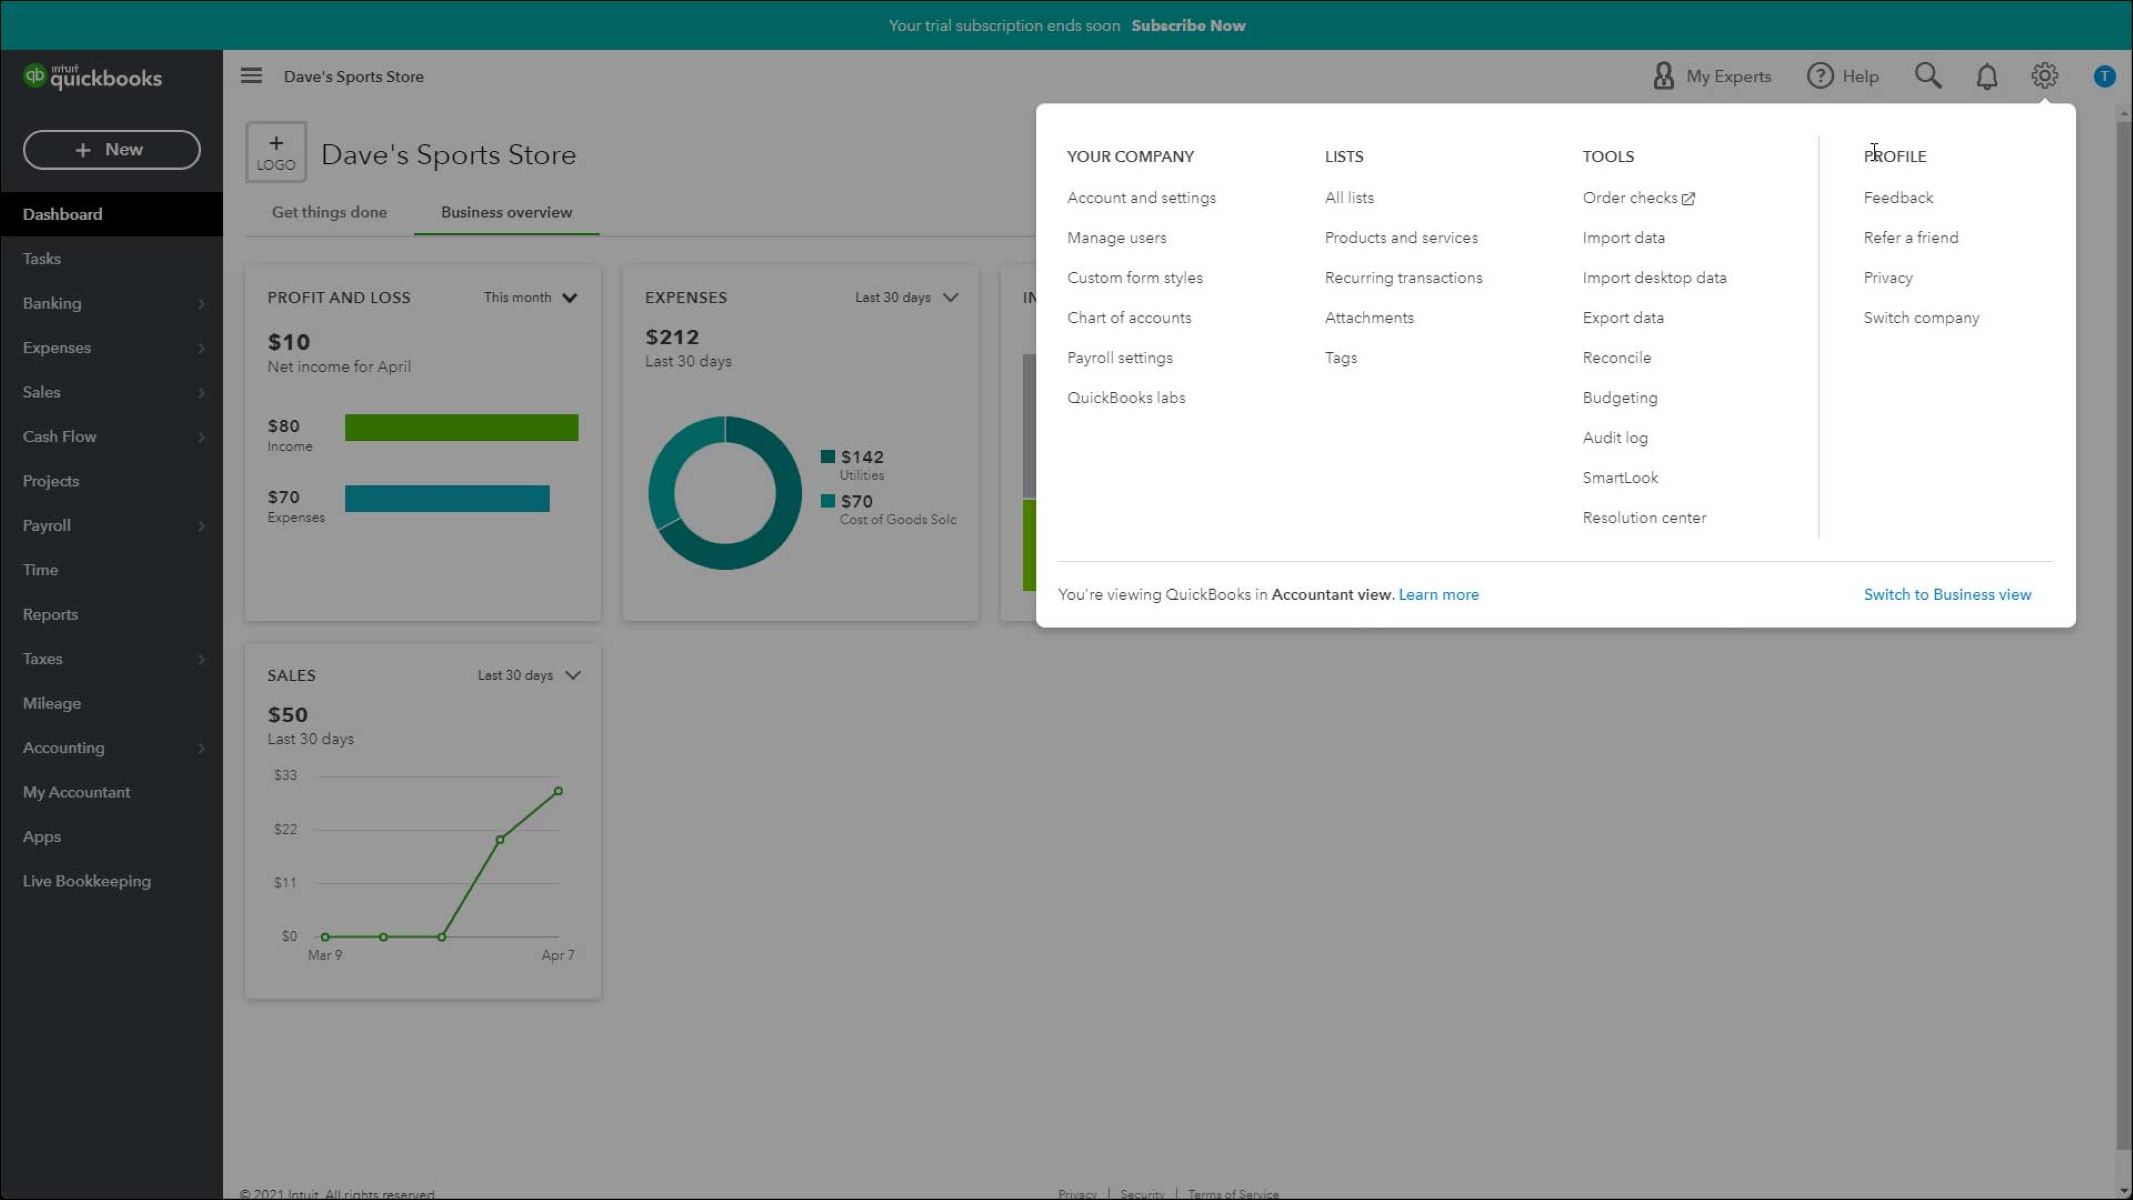
To begin adding categories in QuickBooks Online, you first need to access the Chart of Accounts. The Chart of Accounts is a comprehensive list of all the accounts and categories used to track your company’s financial transactions. Follow these simple steps to access the Chart of Accounts:
- Log in to your QuickBooks Online account and navigate to the Dashboard.
- Click on the “Accounting” tab in the left side menu.
- From the drop-down menu, select “Chart of Accounts.”
- You will now see a list of existing accounts and categories within your Chart of Accounts.
The Chart of Accounts provides an overview of your financial structure, including assets, liabilities, income, and expenses. It is the foundation upon which you will add and organize your categories. By accessing this section, you can begin the process of creating new categories to accurately track your business transactions and financial health.
QuickBooks Online offers a user-friendly interface that makes the navigation process intuitive and straightforward. Once you have accessed the Chart of Accounts, you are ready to move on to the next step: creating a new category.
Step 2: Creating a New Category
Creating a new category in QuickBooks Online allows you to customize and organize your financial transactions based on your specific business needs. Follow these steps to add a new category to your Chart of Accounts:
- While in the Chart of Accounts section, click on the “New” button.
- Select “Category” under the “Type” dropdown menu.
- Enter a unique name for the category in the “Name” field.
- Choose a parent category if applicable, to create a hierarchy within your accounts.
- Specify the appropriate account detail type for the category, such as income, expense, or asset.
- Click on “Save and Close” to finalize the creation of the new category.
It is important to choose a meaningful name for your category that accurately reflects the type of transaction it will track. For example, if you are creating a category for office supplies, name it something like “Office Supplies Expense” to facilitate easy tracking and reporting.
Additionally, selecting a parent category allows you to create a hierarchical structure within your Chart of Accounts. This can help you organize your categories and subcategories in a logical manner. For instance, you can have a parent category named “Expenses” with subcategories like “Office Supplies” and “Advertising” nested under it.
By specifying the account detail type, QuickBooks Online ensures that the category is correctly categorized and included in the appropriate financial reports. This will enable you to analyze your business’s finances more effectively and obtain a clearer view of your operations.
Once you have filled in all the necessary information and saved the new category, it will be added to your Chart of Accounts and ready for use. You can proceed to define the details of the category in the next step to further customize its tracking and reporting capabilities.
Step 3: Defining Category Details
Now that you have created a new category in your Chart of Accounts, it’s time to define the details that will enhance its tracking and reporting capabilities in QuickBooks Online. Here are the steps to follow:
- Go to the Chart of Accounts section in QuickBooks Online.
- Locate the category you want to define the details for and click on it.
- Within the category details page, you can add a description to provide more information about the category.
- You can also assign a default tax code if applicable to ensure accurate tax reporting.
- Set the category as active or inactive based on whether or not you want it to be available for use in transactions.
- Click on “Save and Close” to save the changes.
Adding a description to the category allows you to provide more context and details for better understanding. For example, if the category is for “Web Development Services,” you can add a description that includes the types of services included or any specific details related to billing or invoicing.
Assigning a default tax code to the category ensures that any transactions using this category are automatically associated with the correct tax code. This simplifies the process of tax reporting and ensures compliance with tax regulations.
By setting the category as active or inactive, you have control over whether it is available for use in transactions. This can be helpful when you want to temporarily disable a category or prevent accidental selection. Inactive categories will not appear in dropdown menus when recording transactions, reducing clutter and streamlining the selection process.
Once you have defined the details of the category, you can continue adding and customizing additional categories to accurately track and report on your business transactions. QuickBooks Online allows you to have a comprehensive system in place, providing you with valuable insights into your financial health and performance.
Step 4: Editing or Deleting Categories
As your business evolves, you may find the need to make changes to your categories in QuickBooks Online. Whether it’s updating the name, modifying the details, or deleting categories that are no longer relevant, QuickBooks Online offers a simple process to edit or delete categories. Here’s how:
- Access the Chart of Accounts section in QuickBooks Online.
- Locate the category you want to edit or delete and click on it.
- If you want to edit the category, update the necessary details such as the name, description, tax code, or active/inactive status.
- Click on “Save and Close” to save the changes.
- If you want to delete the category, click on the “Delete” button at the bottom of the category details page.
- Confirm the deletion when prompted. Please note that deleting a category will permanently remove all associated transactions.
Editing categories allows you to keep your Chart of Accounts up to date and aligned with any changes in your business. You can easily modify the details to reflect new business activities, rename categories for better clarity, or update tax codes as needed. Remember to save the changes to ensure they take effect in your reporting and tracking.
Deleting categories should be done with caution, as it permanently removes all associated transactions. Ensure that you no longer need the category and have made any necessary backups or copies of the data before proceeding. Deleting categories can help declutter your Chart of Accounts and streamline your reporting process by removing unnecessary or outdated categories.
By regularly reviewing and maintaining your categories, you can ensure accurate financial tracking and reporting in QuickBooks Online. Take advantage of the flexibility and ease of editing or deleting categories to keep your Chart of Accounts organized and aligned with your evolving business needs.
Conclusion
In this article, we have explored the process of adding, editing, and deleting categories in QuickBooks Online. By leveraging the Chart of Accounts feature, you can customize and organize your financial transactions to gain better insights into your business’s financial health.
Adding categories allows you to classify and track your income, expenses, and assets more efficiently. By following a few simple steps, you can create new categories that align with your specific business needs and provide a clear view of your financial activities. Remember to give each category a meaningful name, assign the appropriate account detail type, and consider nesting categories within parent categories to create a hierarchical structure.
Defining category details provides you with further customization options. By adding descriptions, assigning default tax codes, and setting categories as active or inactive, you can enhance the accuracy and relevance of your financial reporting. These details help streamline your processes and ensure compliance with tax regulations.
Lastly, editing or deleting categories gives you the flexibility to adapt to changes in your business. By regularly reviewing and maintaining your categories, you can keep your Chart of Accounts up to date and reflective of your evolving needs. Whether it’s renaming categories, modifying details, or removing outdated categories, QuickBooks Online provides a user-friendly interface to facilitate these tasks.
In conclusion, understanding how to add, edit, and delete categories in QuickBooks Online is essential for efficient financial management. By utilizing the Chart of Accounts effectively, you can organize your business transactions, track your income and expenses accurately, and generate meaningful financial reports. Take the time to customize your categories and regularly review them to ensure they remain relevant and aligned with your business goals. With QuickBooks Online, you have a powerful tool at your disposal to enhance your financial organization and make informed decisions to drive your business’s success.


