Introduction
Adding a printer to your MacBook Pro is a straightforward process that allows you to easily print documents, photos, and more. Whether you’re setting up a new printer or connecting to an existing one, this guide will walk you through each step to ensure a seamless installation.
Gone are the days of complicated printer installations and tangled cables. With the advancement in technology, setting up a printer on your MacBook Pro has become much simpler. As long as you have the necessary printer drivers and a stable internet connection, you’ll be printing in no time.
In this step-by-step guide, we’ll cover everything you need to know to add a printer to your MacBook Pro. From connecting the printer to your laptop to installing the necessary software and drivers, we’ve got you covered.
So, if you’re ready to unleash the full potential of your MacBook Pro and start printing wirelessly or over a USB connection, continue reading. By the end of this article, you’ll have your printer up and running, ready to bring your digital creations to life on paper.
No matter the model or brand of your printer, the process is quite similar across the board. Whether you have an inkjet printer, laser printer, or even an all-in-one multifunction printer, the steps provided here will guide you through the process effortlessly.
So, let’s dive right in and get your printer connected to your MacBook Pro!
Step 1: Connect the Printer to Your MacBook Pro
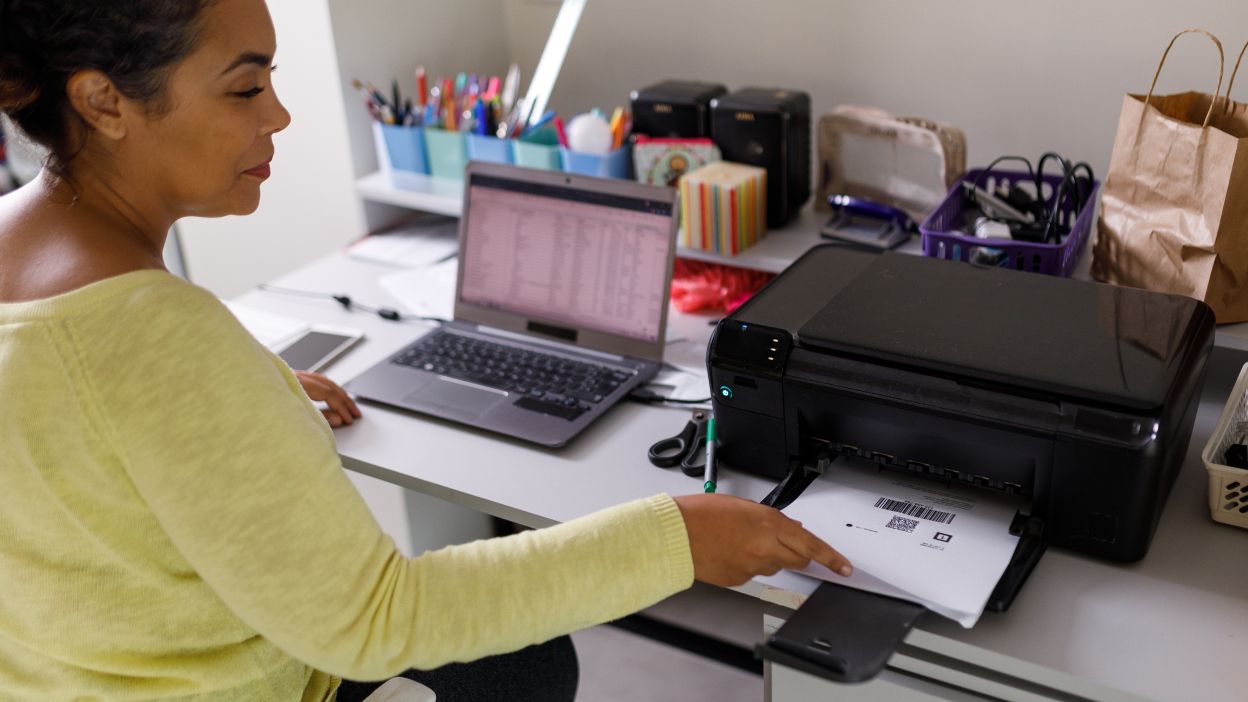
The first step to adding a printer to your MacBook Pro is to establish a physical connection between the printer and your laptop. Depending on the type of printer you have, there are a few different methods for connecting it to your MacBook Pro:
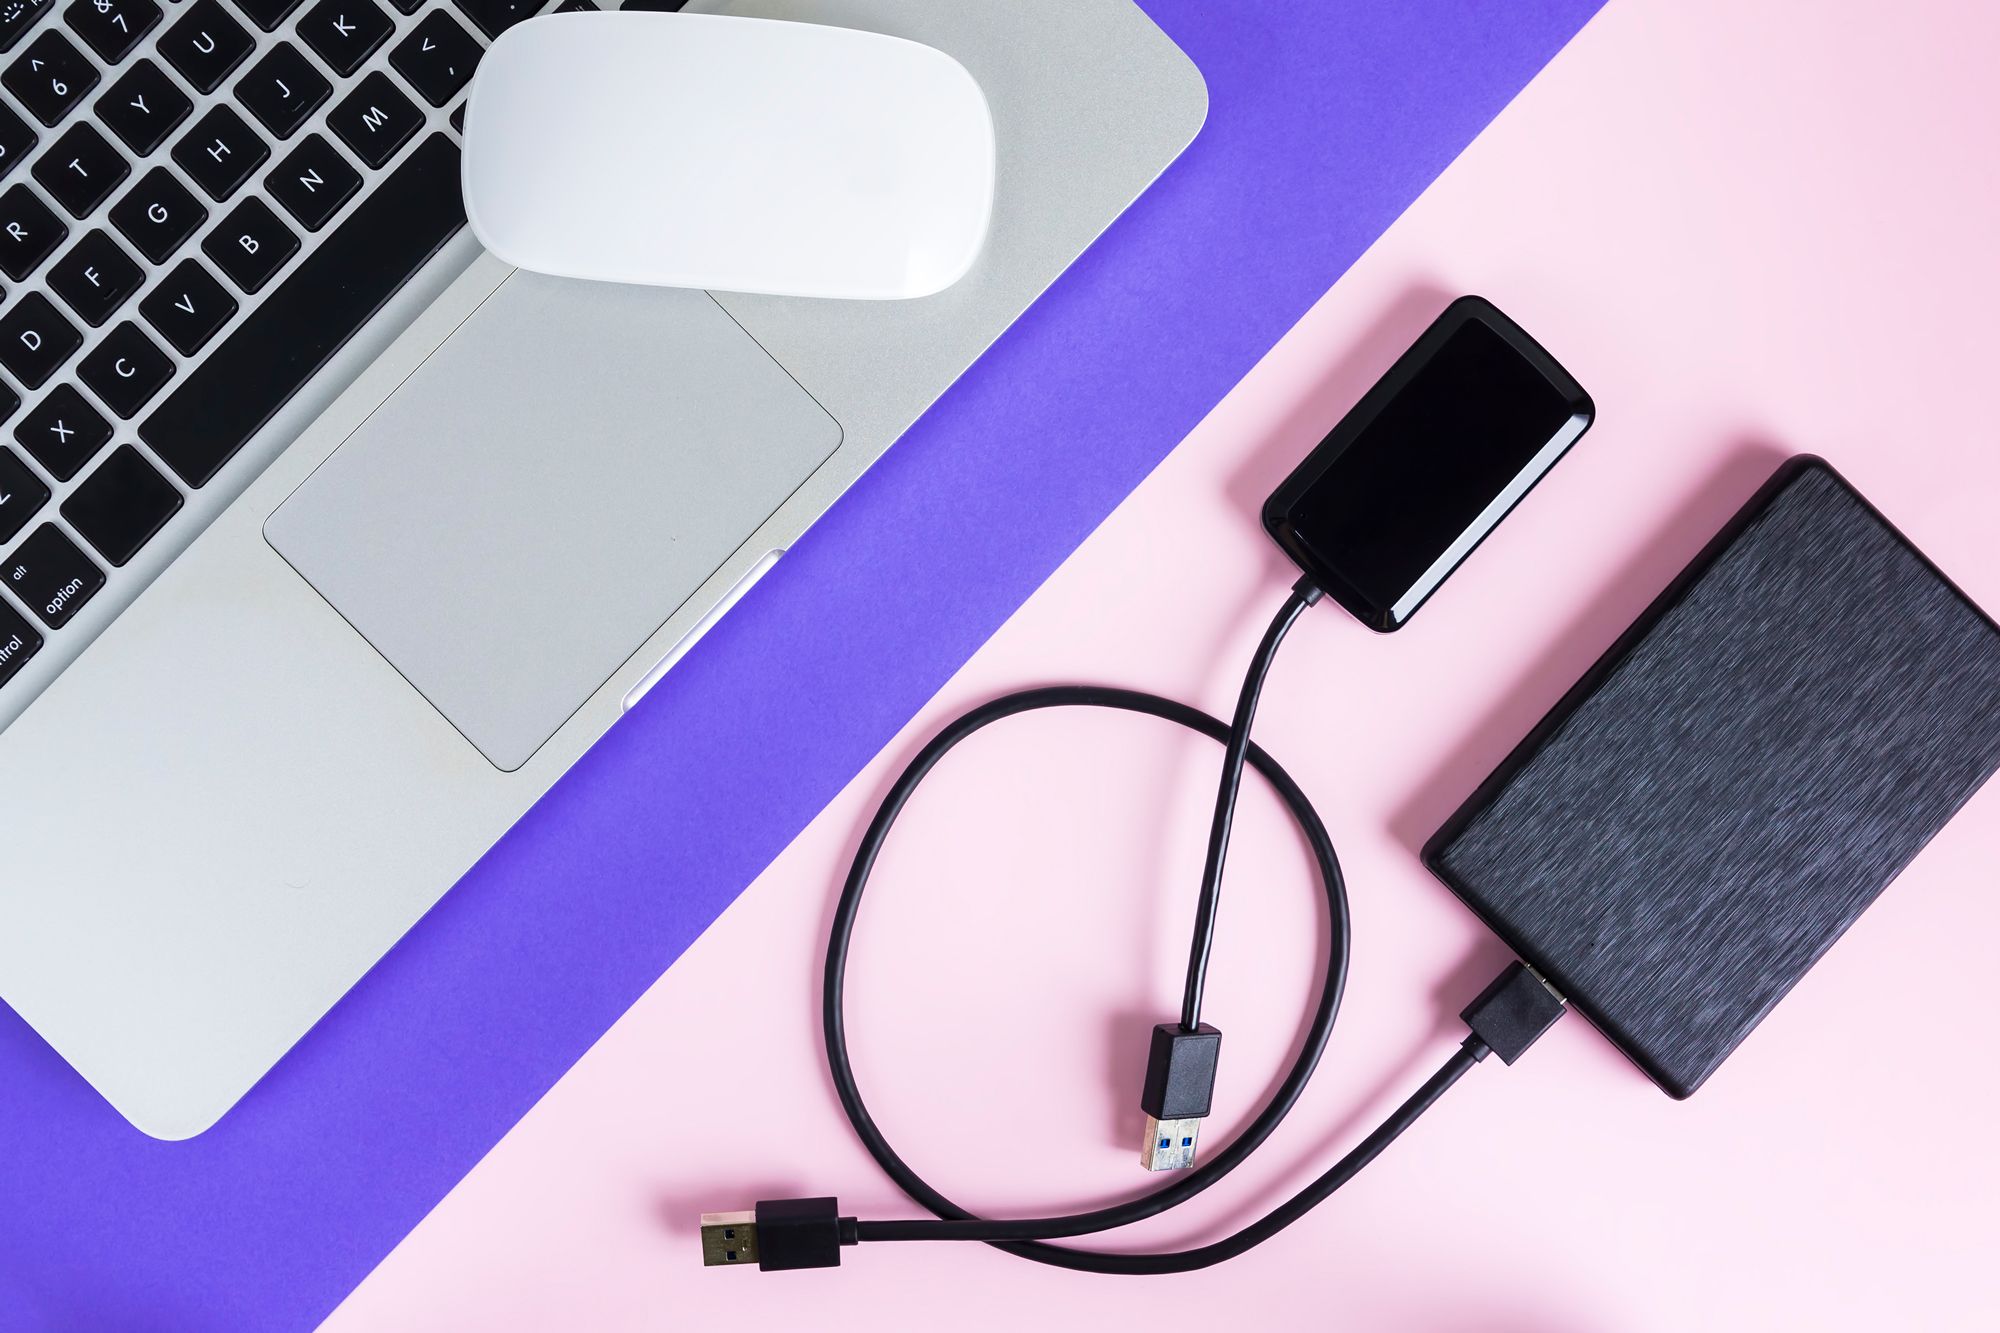
- USB Connection: If your printer has a USB port, you can connect it directly to your MacBook Pro using a USB cable. Ensure that both ends of the cable are securely plugged in, with one end connected to your printer and the other end plugged into an available USB port on your MacBook Pro.
- Wireless Connection: Many modern printers have built-in Wi-Fi capabilities, which allows for a wireless connection to your MacBook Pro. To connect wirelessly, make sure that your printer is on the same Wi-Fi network as your MacBook Pro. Refer to your printer’s user manual to learn how to connect it to your Wi-Fi network, as the steps may vary depending on the printer model.
- Network Connection: If your printer is connected to a network, either through an Ethernet cable or Wi-Fi, you can add it to your MacBook Pro by selecting it from the available network printers. This method allows multiple computers on the same network to access the printer.
Regardless of the connection method you choose, ensure that your printer is powered on and ready to receive print jobs. Once the physical connection is established, move on to the next step to ensure your MacBook Pro has the necessary software and updates to recognize and communicate with your printer.
Step 2: Check for Software Updates
Before proceeding with the printer installation process, it’s crucial to ensure that your MacBook Pro has all the necessary software updates. These updates often include new printer drivers or improvements to existing ones, allowing your laptop to communicate effectively with your printer.
To check for software updates on your MacBook Pro, follow these steps:
- Click on the Apple menu in the top-left corner of your screen and select “System Preferences.”
- In the System Preferences window, click on “Software Update.”
- Wait for your MacBook Pro to check for available updates. If any updates are found, click on the “Update Now” button to install them.
- Enter your administrator password if prompted, and follow the on-screen instructions to complete the update process.
Updating your MacBook Pro ensures that you have the latest printer drivers and software, which greatly improves compatibility and performance. It’s always recommended to keep your laptop up to date with the latest updates from Apple.
If your MacBook Pro is already up to date but you’re still experiencing issues with your printer, you may need to visit the printer manufacturer’s website to download and install the latest drivers specific to your printer model. Most manufacturers provide a support section on their website where you can find the necessary drivers and software for your printer.
Once you’re confident that your MacBook Pro is up to date with all the necessary software updates, you can proceed to the next step of installing the printer driver.
Step 3: Install Printer Driver
Installing the correct printer driver is essential for your MacBook Pro to recognize and communicate with your printer effectively. The printer driver acts as a bridge between your laptop’s operating system and the printer itself, enabling seamless printing functionality.
Follow these steps to install the printer driver on your MacBook Pro:
- Visit the printer manufacturer’s website and navigate to the support or downloads section.
- Search for your specific printer model and locate the appropriate driver for your MacBook Pro’s operating system.
- Download the printer driver package and open the installer.
- Follow the on-screen instructions to complete the installation process. Make sure to review and accept any license agreements if prompted.
- Once the installation is complete, restart your MacBook Pro to ensure that the printer driver is fully integrated into the system.
It’s important to install the correct printer driver for your specific printer model and MacBook Pro’s operating system version. Using an incompatible driver may result in issues or limited functionality when attempting to print.
If your printer supports AirPrint technology, your MacBook Pro may automatically install the necessary driver without requiring any manual intervention. In such cases, you can skip this step and proceed to the next step of adding the printer.
Once the printer driver is installed and your MacBook Pro has restarted, you’re ready to proceed to the next step and add the printer to your laptop.
Step 4: Add the Printer
Now that your printer is physically connected to your MacBook Pro and the necessary printer driver is installed, it’s time to add the printer to your laptop. This step will ensure that your MacBook Pro recognizes the printer and allows you to send print jobs to it.
Follow these steps to add the printer to your MacBook Pro:
- Click on the Apple menu in the top-left corner of your screen and select “System Preferences.”
- In the System Preferences window, click on “Printers & Scanners.”
- Click on the “+” button below the list of printers on the left-hand side.
- Your MacBook Pro will now search for available printers connected to your laptop or on the network. Wait for the search to complete.
- Select your printer from the list of available printers. If you don’t see your printer listed, make sure it is turned on and properly connected to your MacBook Pro.
- Click on the “Add” button to add the printer to your MacBook Pro.
Once the printer is added, you can customize the printer settings according to your preferences. You can set the default paper size, print quality, and other options by selecting the printer from the list in the Printers & Scanners section of System Preferences and clicking on the “Options & Supplies” button.
It’s important to note that some printers may require additional setup steps, such as entering a passcode or configuring network settings. Refer to your printer’s user manual or the manufacturer’s website for specific instructions on setting up your printer.
With the printer successfully added to your MacBook Pro, you’re now ready to print documents, photos, and other files directly from your laptop!
Step 5: Test the Printer
After adding the printer to your MacBook Pro, it’s crucial to test its functionality to ensure that it is working correctly. By performing a test print, you can verify that your MacBook Pro and the printer are communicating effectively and that the print quality meets your expectations.
Follow these steps to test your printer:
- Open any document or file that you would like to print, such as a Word document or a photo.
- Click on the “File” menu, then select “Print” or use the shortcut Command+P.
- In the Print dialog box, confirm that the correct printer is selected from the list of available printers.
- Adjust any print settings, such as the number of copies, paper size, or print quality, as desired.
- Click on the “Print” button to start the printing process.
Once you initiate the print job, your MacBook Pro will send the document or file to the printer, which will begin printing according to your specified settings. Depending on the complexity of the print job and the speed of your printer, it may take a few moments to complete the printing process.
After the print job is finished, inspect the printed document or photo for any issues or discrepancies in print quality. Ensure that the colors are accurate, text is legible, and there are no smudges or streaks on the paper.
If the printout meets your expectations and there are no issues, congratulations! Your printer is successfully installed and ready to use with your MacBook Pro. If you encounter any problems or are unsatisfied with the print quality, review the printer settings and consult the printer manufacturer’s support resources for troubleshooting steps.
By testing the printer functionality, you can ensure that it is ready to handle your printing needs and produce high-quality output as desired.
Conclusion
Adding a printer to your MacBook Pro is a relatively simple process that enables you to print documents, photos, and other files directly from your laptop. By following the step-by-step guide outlined in this article, you can successfully connect your printer and ensure seamless printing functionality.
First, you need to connect the printer to your MacBook Pro, either through a USB, wireless, or network connection. Once the physical connection is established, it is essential to check for software updates on your MacBook Pro to ensure compatibility and optimal performance.
After installing the necessary printer driver, you can proceed to add the printer to your MacBook Pro through the System Preferences settings. Taking the time to customize printer settings according to your preferences allows for a more personalized printing experience.
Finally, don’t forget to test the printer by printing a document or photo to ensure that it is functioning correctly and producing the desired results. If any issues arise, consult the printer manufacturer’s resources for troubleshooting steps or seek technical support.
Remember to periodically check for software updates for both your MacBook Pro and the printer to stay up to date with the latest features and enhancements. Additionally, keep in mind that different printer models may have specific setup instructions, so refer to the user manual or manufacturer’s website for any additional guidance.
By adding a printer to your MacBook Pro, you gain the convenience of printing directly from your laptop without the need for additional devices. Enjoy the flexibility and ease of bringing your digital creations to life on paper, and make the most out of your printer and MacBook Pro pairing.