Introduction
Connecting your MacBook Pro to an Ethernet network can be a practical solution when you need a stable and fast internet connection. While Wi-Fi is convenient, there are instances where a wired connection is preferred, such as online gaming, video streaming, or working with large files. In this guide, we will walk you through the steps to connect your MacBook Pro to Ethernet.
MacBook Pro models have different configurations, but most of them come equipped with an Ethernet port. This allows you to connect your laptop directly to a router or modem using an Ethernet cable. By doing so, you can take advantage of the reliable connection that Ethernet provides.
Before we dive into the steps, it’s essential to ensure that your MacBook Pro has an Ethernet port. Newer models, starting from the 2012 MacBook Pro Retina, come with Thunderbolt ports, which can be used to connect an Ethernet adapter. This guide will focus on the built-in Ethernet port found on most models.
To proceed with the connection, you will need an Ethernet cable, also known as a network cable or LAN cable. These cables are easily available and can be found in different lengths to suit your needs. Additionally, make sure you have a functional router or modem with an available Ethernet port.
Now that we have covered the basic requirements let’s move on to the step-by-step process of connecting your MacBook Pro to Ethernet. By following these instructions, you’ll be ready to enjoy a stable and speedy internet connection in no time.
Step 1: Check your MacBook Pro’s Ethernet port
Before connecting your MacBook Pro to Ethernet, it’s crucial to verify that your laptop has an Ethernet port. This step is essential as it determines whether you can proceed with a direct Ethernet connection or if you’ll need an adapter.
Most MacBook Pro models released before 2012 come equipped with a built-in Ethernet port. This port is typically located on the side of the laptop and resembles a slightly wider version of a regular USB port. It may have the label “Ethernet” or a symbol of two arrows pointing in opposite directions.
If your MacBook Pro has a built-in Ethernet port, you’re in luck! You can move on to the next step of gathering the necessary equipment for the connection process. However, if your MacBook Pro is a newer model and lacks a built-in Ethernet port, don’t worry. You still have the option to use a Thunderbolt or USB-C to Ethernet adapter.
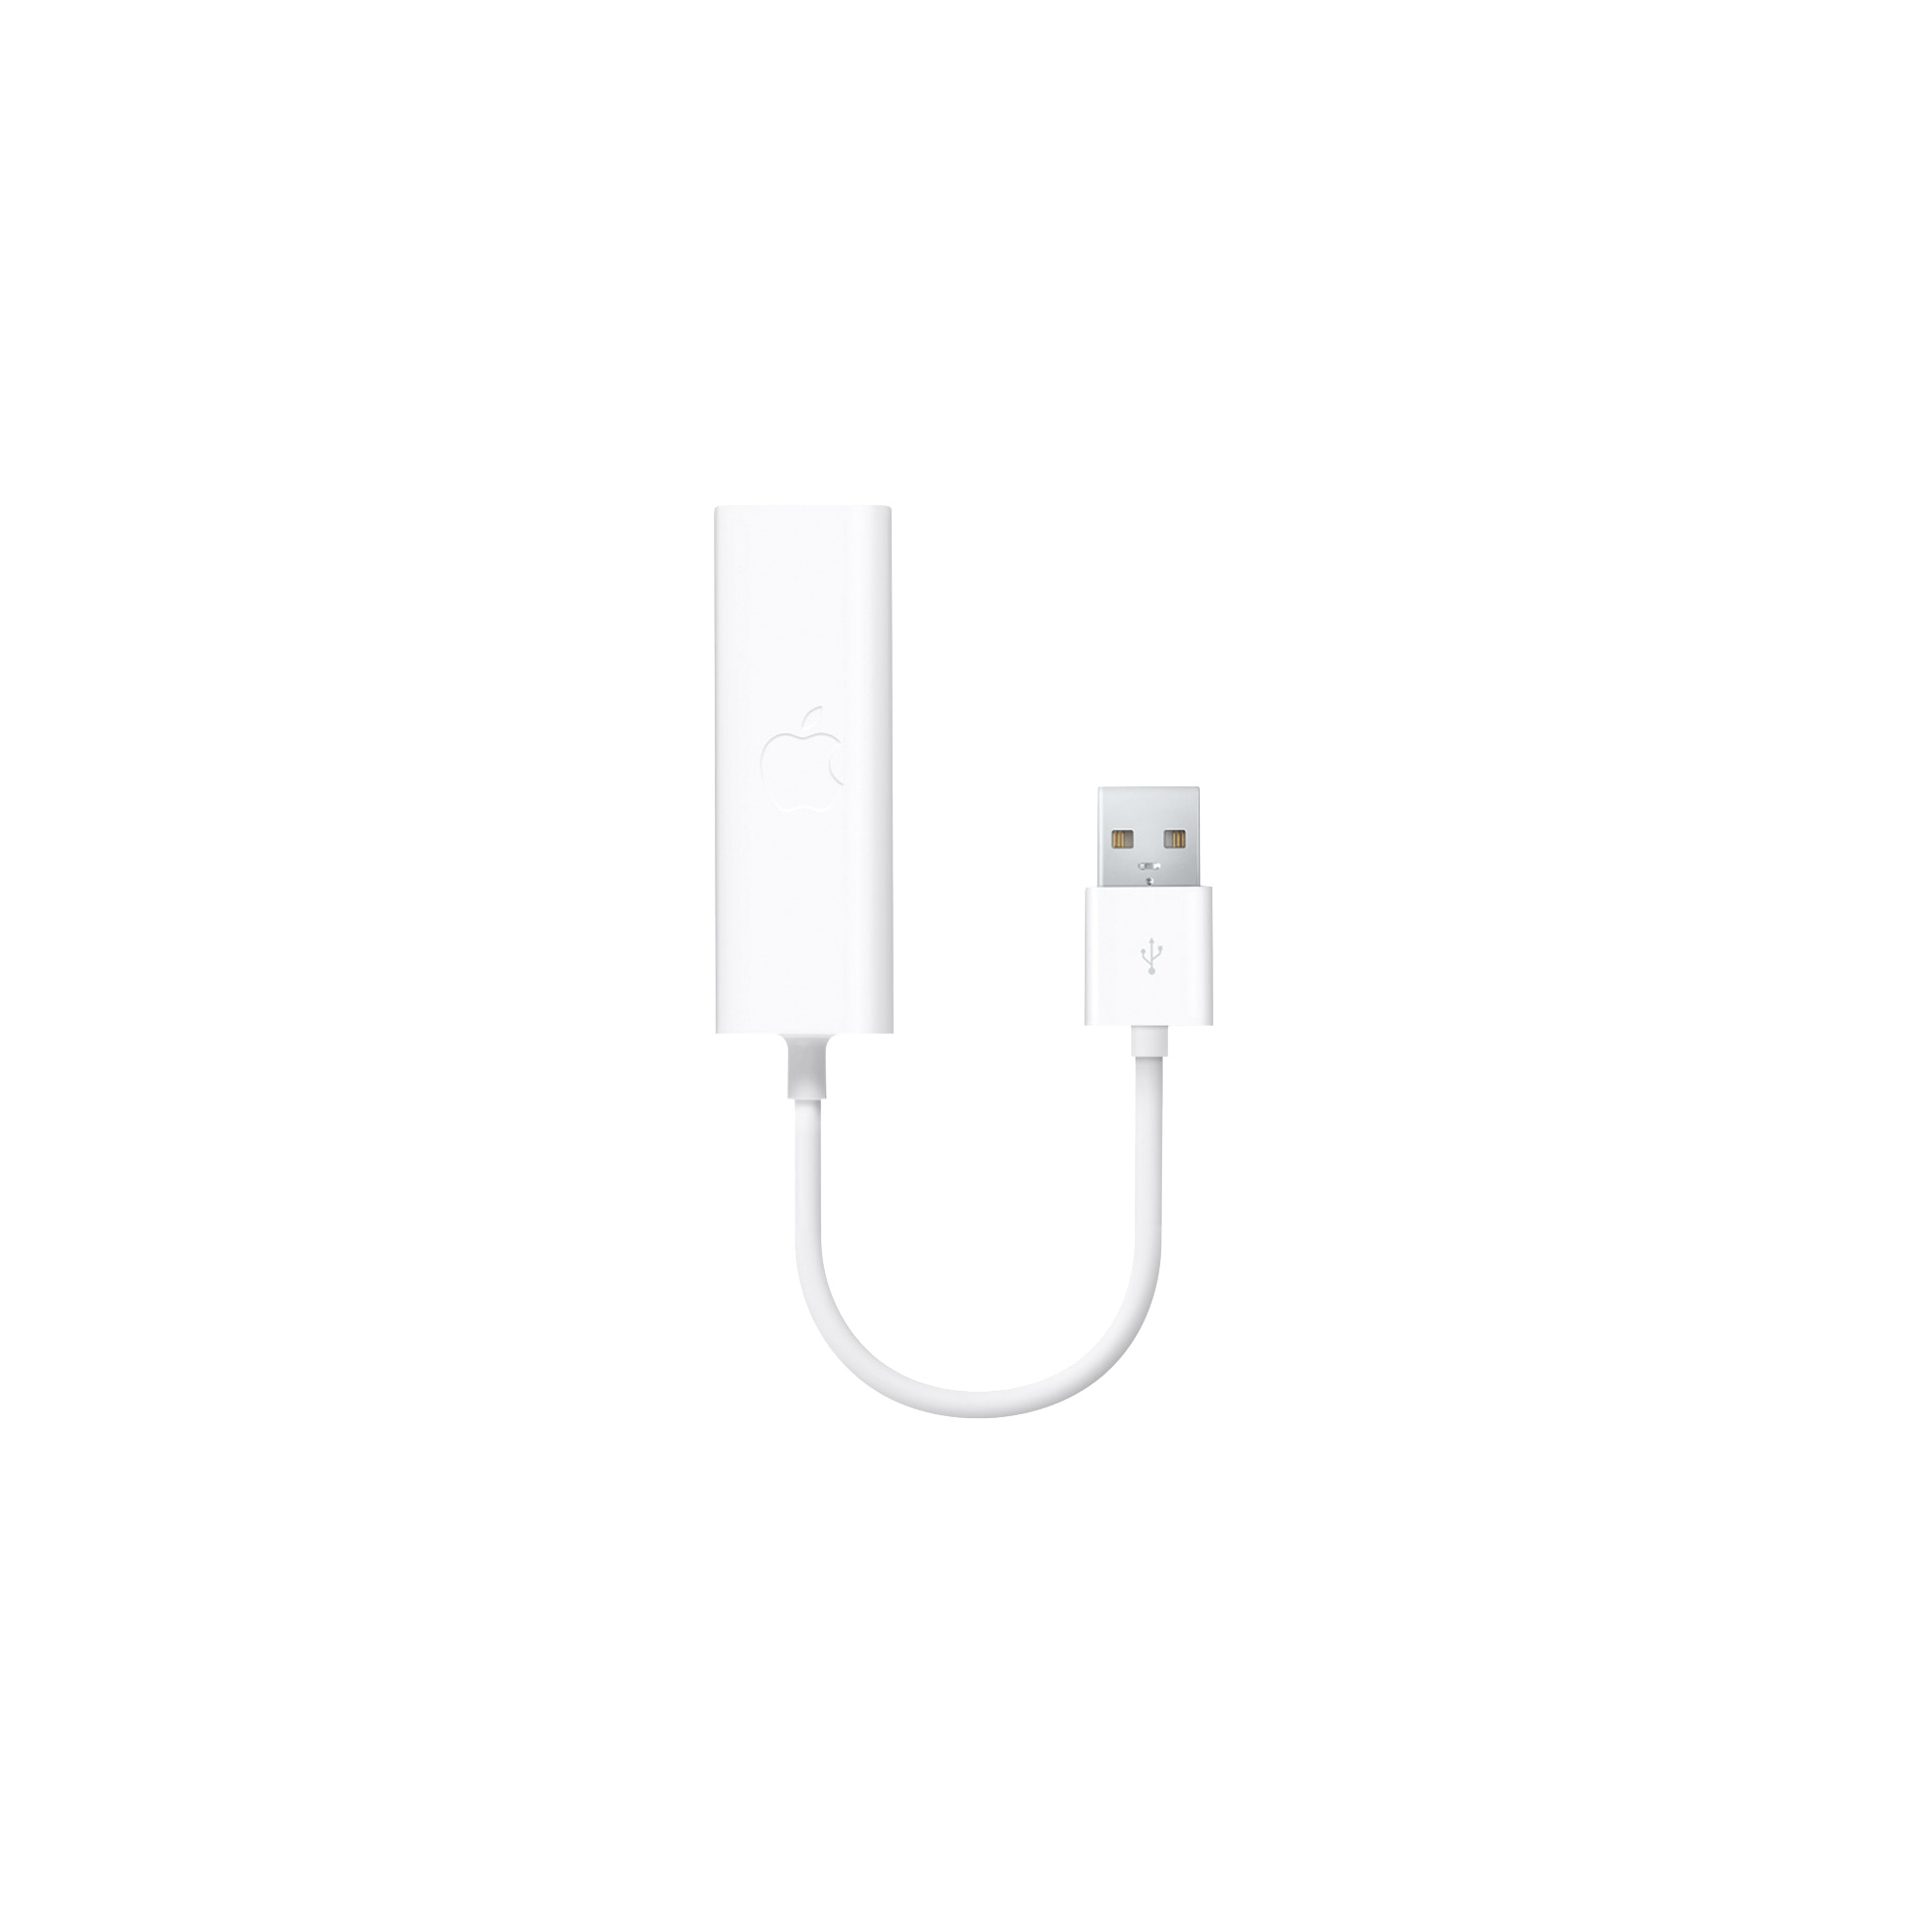
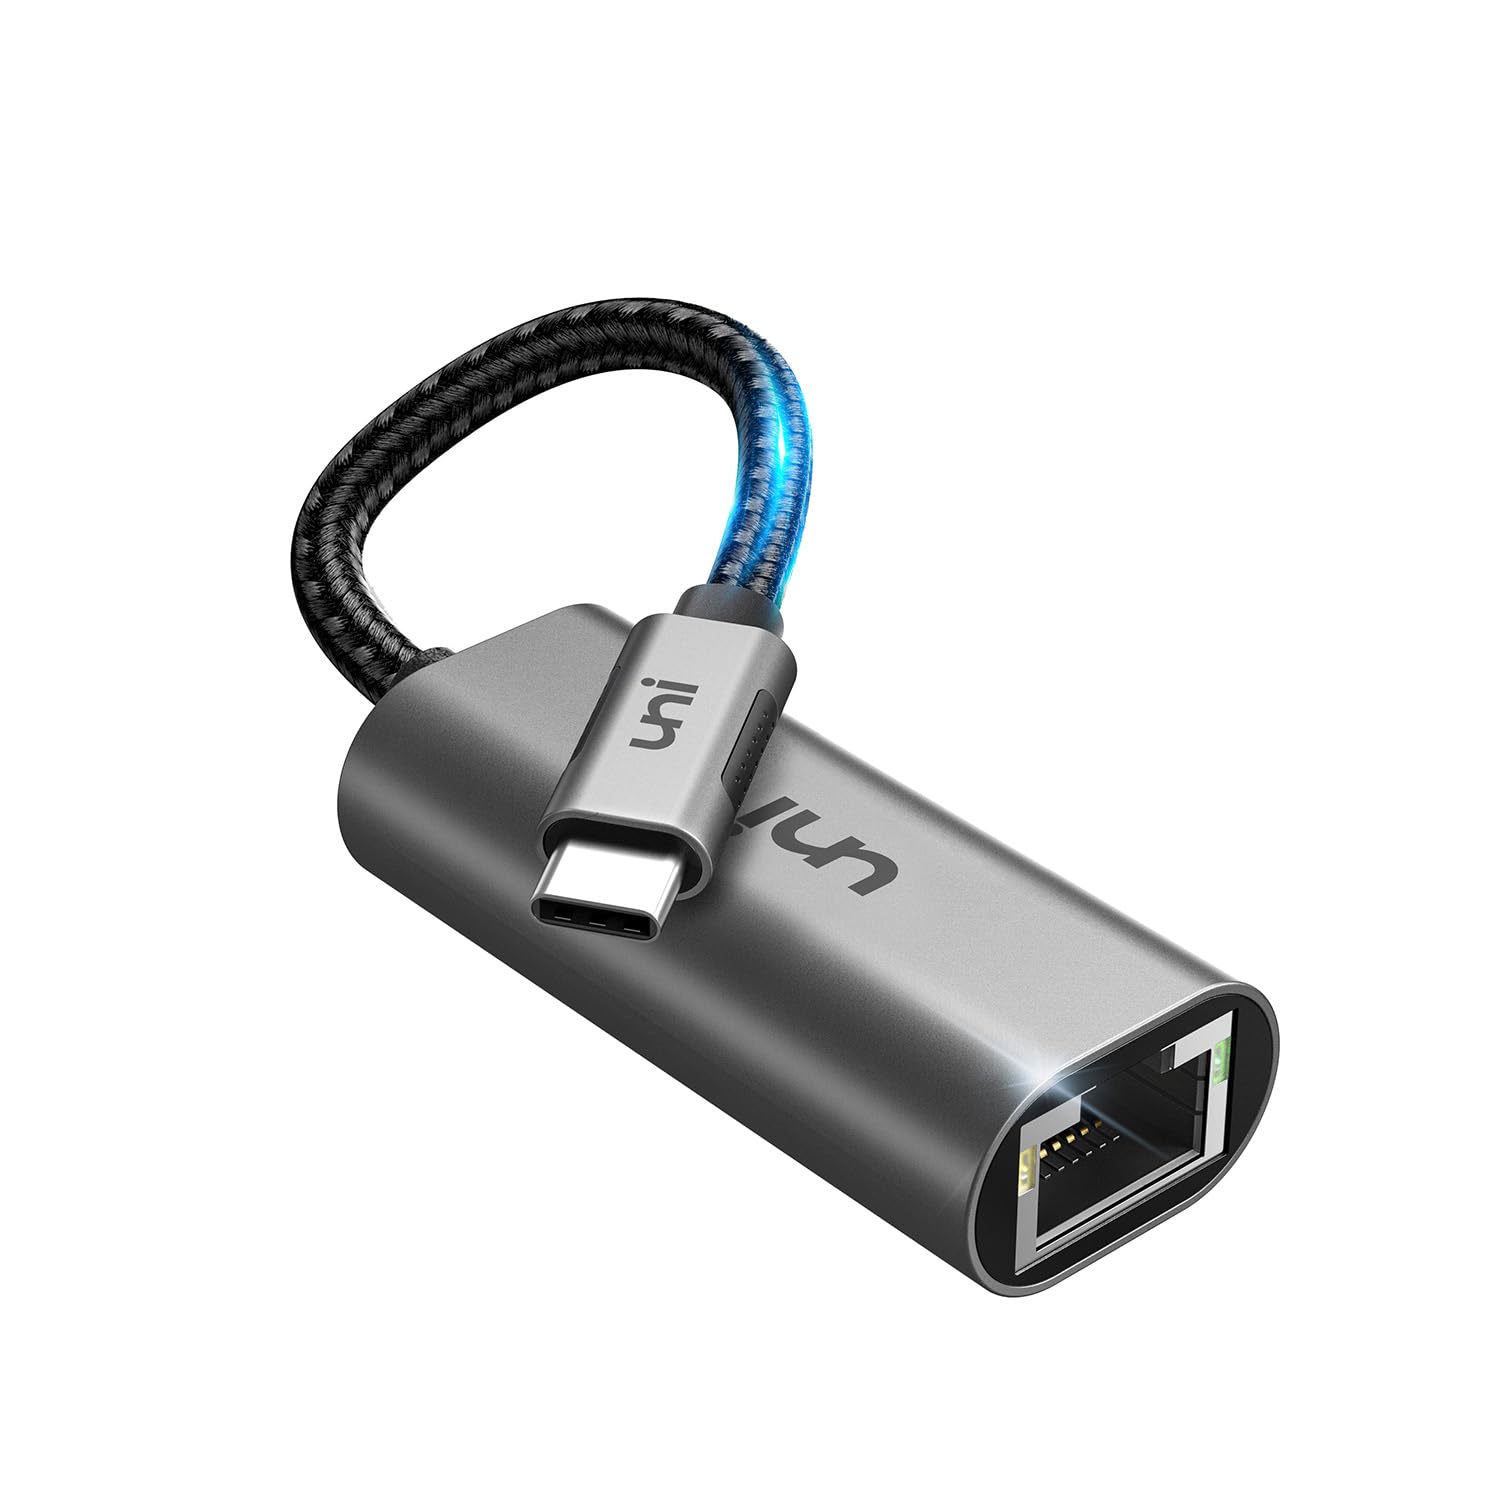
To check if your MacBook Pro has a Thunderbolt port, look for a small, rectangular port with a lightning bolt symbol near it. This port can be used to connect a Thunderbolt to Ethernet adapter. On the other hand, if your MacBook Pro has only USB-C ports, you’ll need a USB-C to Ethernet adapter.
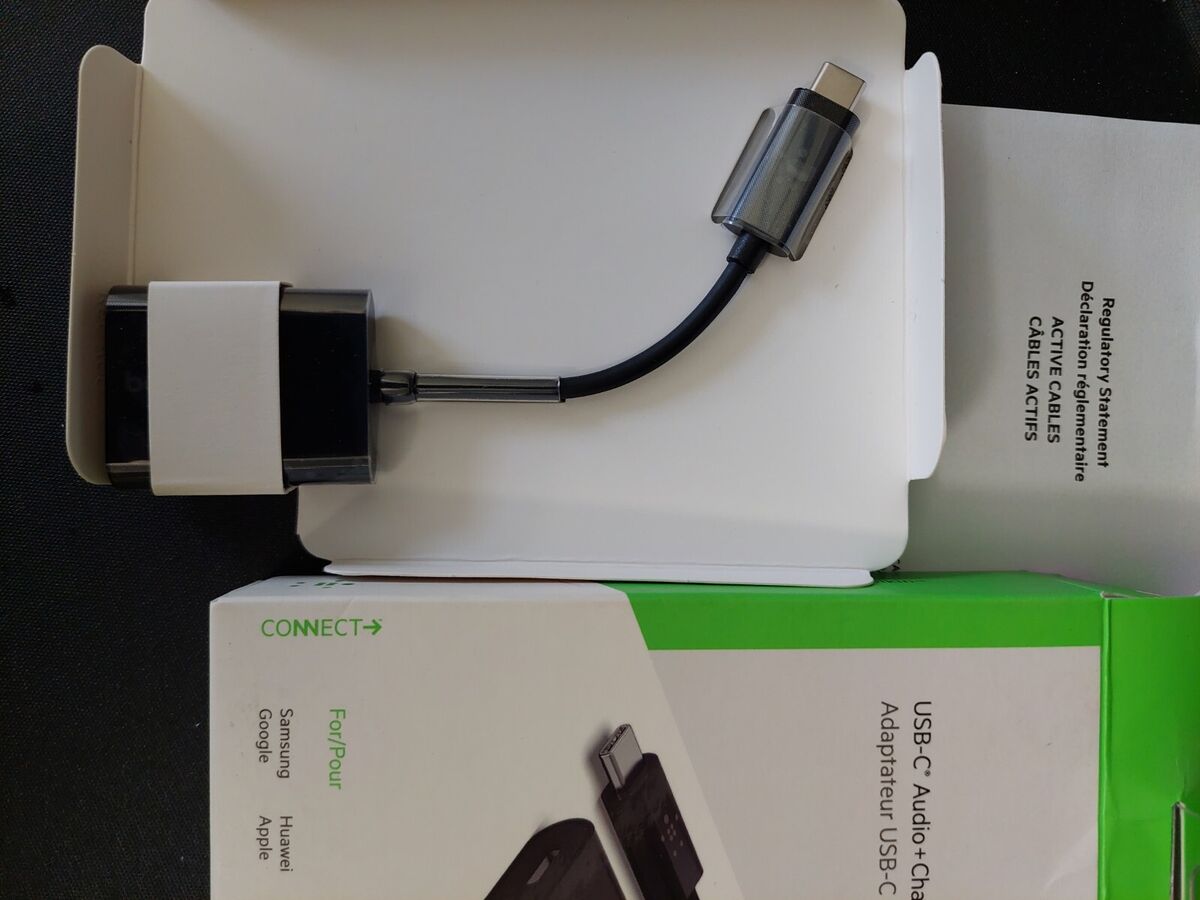
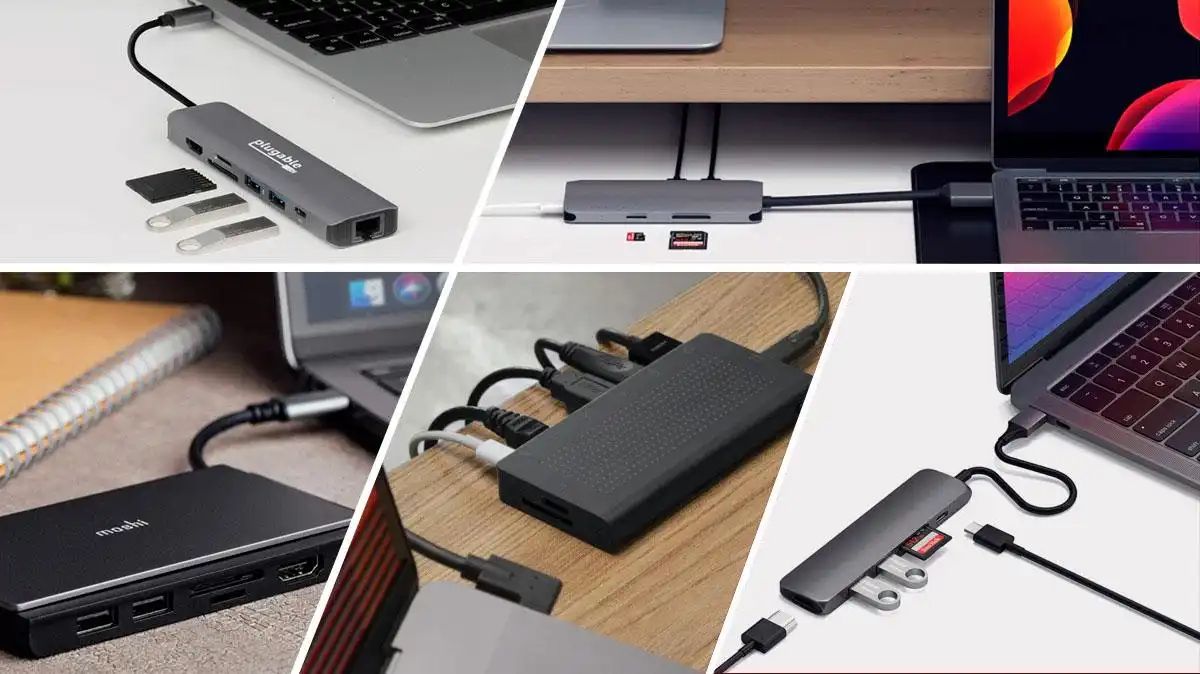
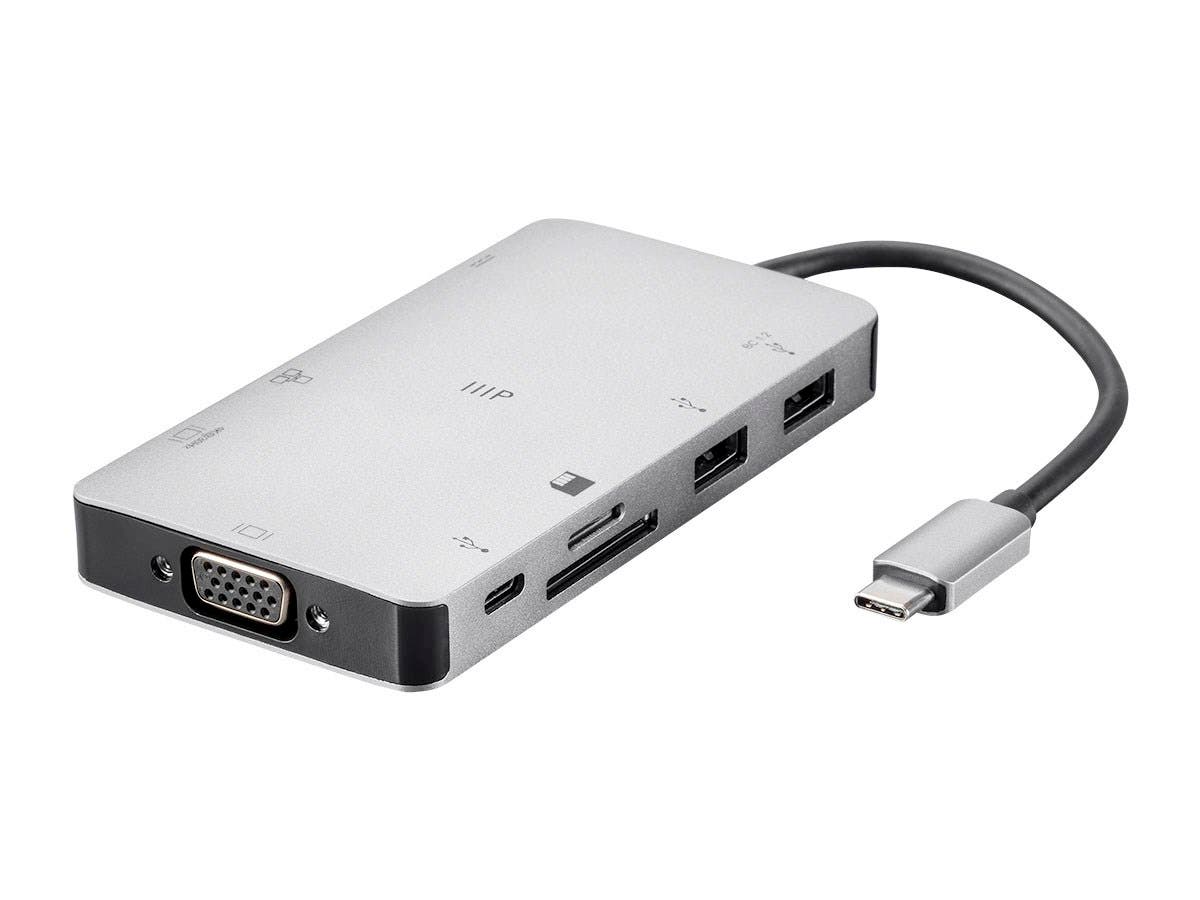
Keep in mind that Thunderbolt and USB-C adapters are sold separately and may come in various configurations, such as single or multiple ports. Choose an adapter that suits your needs and ensure it is compatible with your MacBook Pro model.
Once you’ve confirmed the presence of an Ethernet port or chosen the appropriate adapter, you’re ready to move on to the next step of gathering the necessary equipment for the connection process.
Step 2: Gather the necessary equipment
Before you can connect your MacBook Pro to Ethernet, you’ll need to gather the necessary equipment. Depending on your MacBook Pro model and the availability of built-in Ethernet ports, the required equipment may vary.
If your MacBook Pro has a built-in Ethernet port, you’ll need:
- An Ethernet cable: Also known as a network cable or LAN cable, this cable is used to establish a direct connection between your MacBook Pro and the router or modem. Ensure the cable is long enough to reach from your laptop to the router or modem.
- A functioning router or modem: You’ll need a router or modem that is connected to an active internet connection. Ensure that there is an available Ethernet port on the router or modem for you to connect the other end of the Ethernet cable.
If your MacBook Pro does not have a built-in Ethernet port and you’re using a Thunderbolt or USB-C adapter, you’ll need:
- An Ethernet cable: Similar to above, you’ll need an Ethernet cable to connect your MacBook Pro to the adapter.
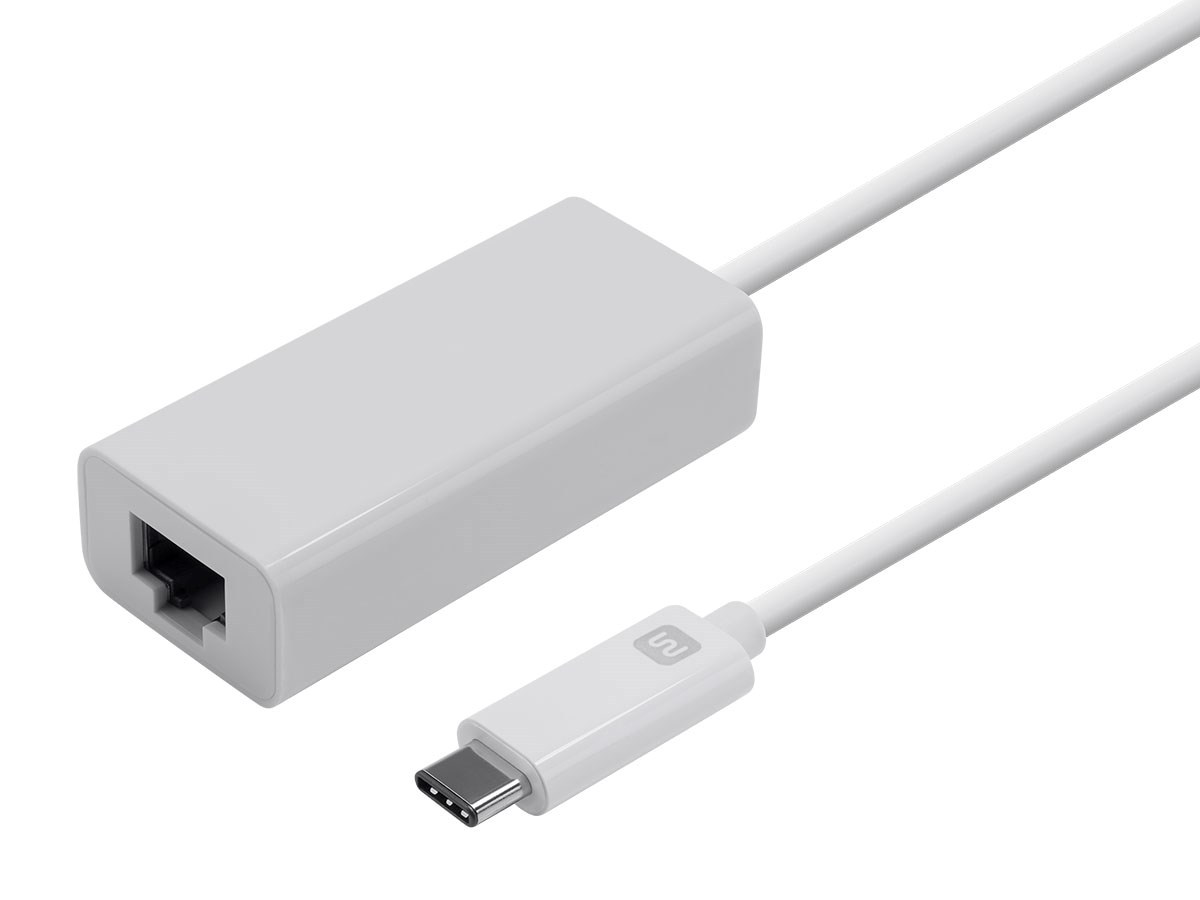
- A Thunderbolt or USB-C to Ethernet adapter: This adapter allows you to connect the Ethernet cable to your MacBook Pro’s Thunderbolt or USB-C port, depending on the model. Ensure that the adapter is compatible with your MacBook Pro’s port type.
- A functioning router or modem: As mentioned earlier, you’ll need a router or modem with an available Ethernet port to connect the other end of the Ethernet cable.
Double-check that you have all the necessary equipment before proceeding to the next step. Having everything on hand will make the connection process smooth and hassle-free.
Step 3: Connect one end of the Ethernet cable to your MacBook Pro
Now that you have all the necessary equipment, it’s time to start connecting your MacBook Pro to Ethernet. The first step is to connect one end of the Ethernet cable to your laptop.
If your MacBook Pro has a built-in Ethernet port:
- Locate the Ethernet port on the side of your MacBook Pro. It resembles a slightly wider version of a USB port and may have the label “Ethernet” or a symbol of two arrows pointing in opposite directions.
- Take one end of the Ethernet cable and insert it firmly into the Ethernet port on your MacBook Pro. Ensure it is securely connected.
If your MacBook Pro requires a Thunderbolt or USB-C adapter:
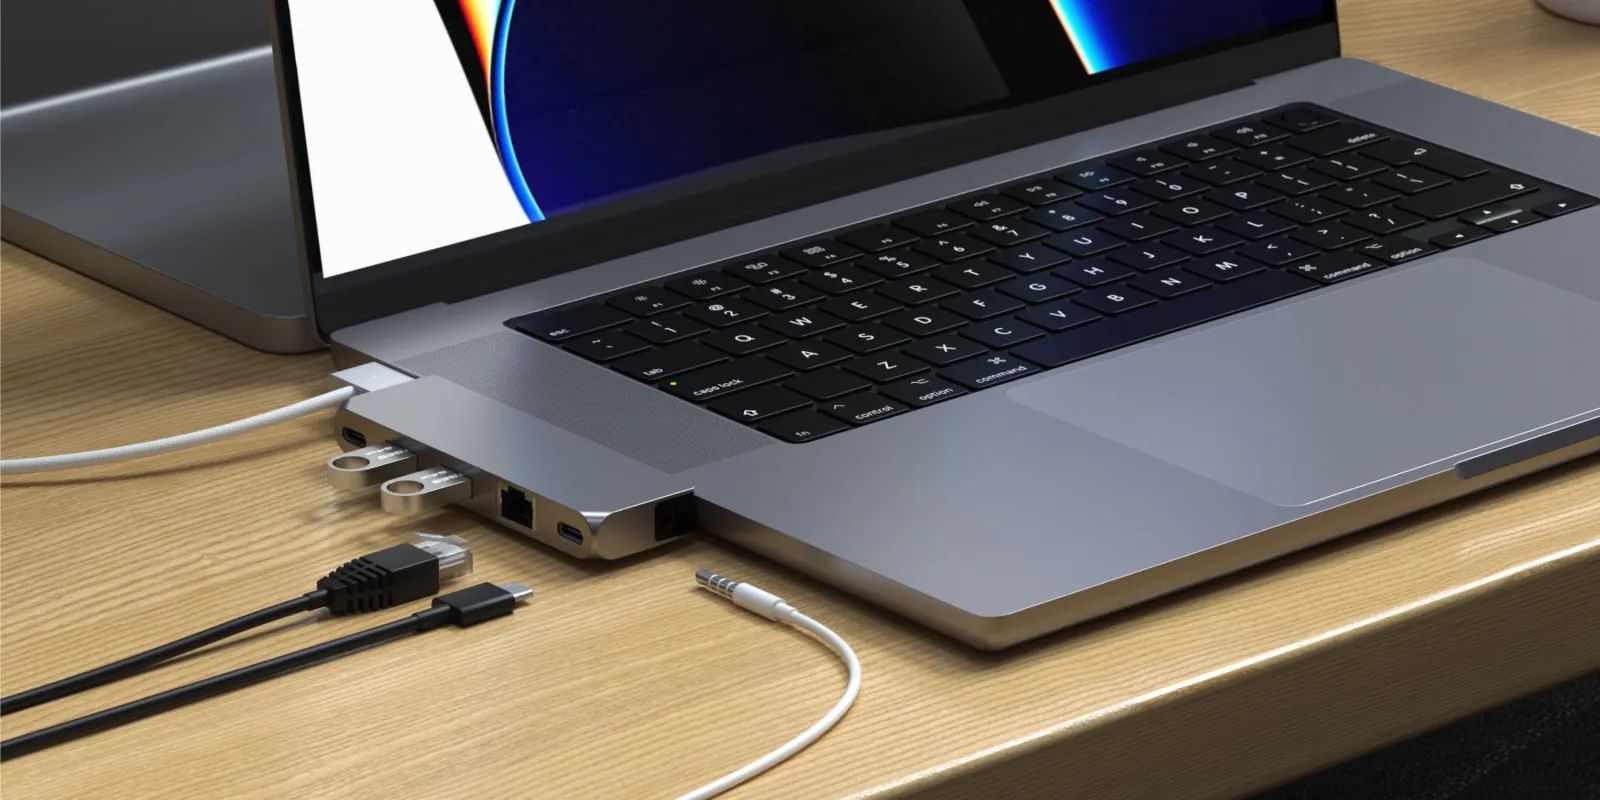
- Connect the Thunderbolt or USB-C to Ethernet adapter to your MacBook Pro. Insert the adapter into the appropriate port (Thunderbolt or USB-C) on your laptop until it clicks into place.
- Take one end of the Ethernet cable and insert it into the Ethernet port on the adapter. Ensure it is firmly connected.
Once the Ethernet cable is securely connected to your MacBook Pro or the appropriate adapter, you have completed an important step in establishing a wired connection. The next step is to connect the other end of the Ethernet cable to the router or modem.
Note: It’s important to handle the Ethernet cable and adapter (if applicable) with care to prevent any damage to the ports or connectors.
Step 4: Connect the other end of the Ethernet cable to the router or modem
After connecting one end of the Ethernet cable to your MacBook Pro, it’s time to establish the connection by connecting the other end of the cable to your router or modem.
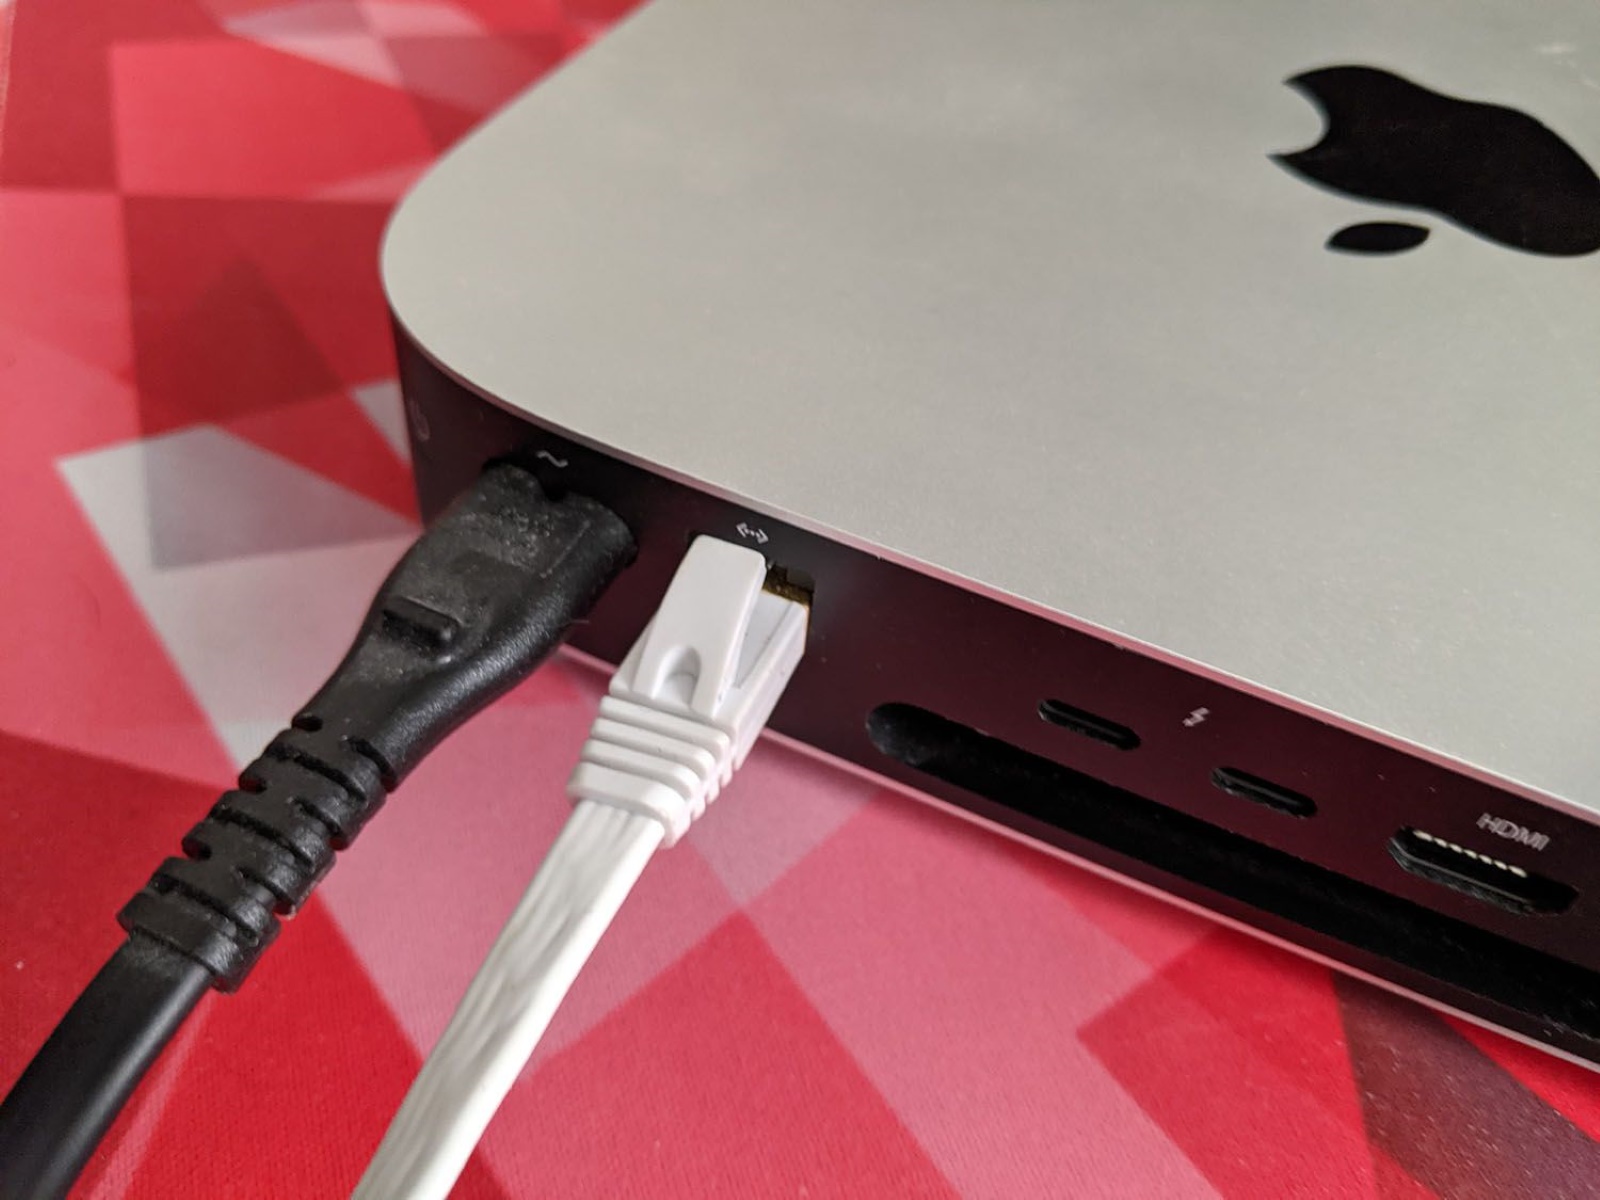
Locate the Ethernet port on your router or modem. This port is usually labeled “Ethernet” and can be found on the back or side of the device.
Once you’ve identified the Ethernet port on your router or modem, follow these steps:
- Take the other end of the Ethernet cable, which is not connected to your MacBook Pro, and insert it firmly into the Ethernet port on the router or modem. Ensure a secure connection.
- Verify that the Ethernet cable is properly inserted into the port. It should fit snugly and not be loose.
By connecting the other end of the Ethernet cable to your router or modem, you have established a physical connection between your MacBook Pro and the network device. This connection will allow your MacBook Pro to communicate with the router or modem and access the internet through the Ethernet connection.
If necessary, make sure your router or modem is powered on and connected to an active internet connection. This will ensure that your MacBook Pro can establish a stable and reliable internet connection.
Now that both ends of the Ethernet cable are connected, you’re ready to move on to the next step and configure the Ethernet settings on your MacBook Pro.
Step 5: Configure Ethernet settings on your MacBook Pro
Now that you have successfully connected your MacBook Pro to the router or modem via Ethernet, it’s time to configure the Ethernet settings on your laptop. This step ensures that your MacBook Pro recognizes and utilizes the Ethernet connection for internet access.
To configure the Ethernet settings on your MacBook Pro, follow these steps:
- Click on the Apple menu in the top-left corner of your screen and select “System Preferences” from the drop-down menu.
- In the System Preferences window, locate and click on the “Network” icon.
- In the Network settings, you will see a list of available network connections. On the left-hand side, look for the “Ethernet” option and click on it.
- In the Ethernet settings, make sure the “Configure IPv4” is set to “Using DHCP”. This allows your MacBook Pro to automatically obtain the necessary network settings from the router or modem.
- You can also click on the “Advanced” button to further customize the Ethernet settings, such as DNS servers and proxy configurations. However, these settings are typically not required for a basic Ethernet connection setup.
- Once you have configured the Ethernet settings, click on the “Apply” button to save the changes.
After applying the settings, your MacBook Pro will establish a connection to the internet using the Ethernet connection. It may take a few moments for the network settings to be applied and for your MacBook Pro to fully recognize and utilize the wired connection.
You can test the connection by opening a web browser and visiting a website. If the connection is successful, you should be able to browse the internet without any issues.
It’s worth noting that if you switch back to a Wi-Fi connection in the future, you may need to reconfigure the network settings accordingly.
Congratulations! Your MacBook Pro is now successfully connected to the internet via Ethernet, providing you with a stable and fast connection for your online activities.
Step 6: Troubleshooting common issues
While connecting a MacBook Pro to Ethernet is generally a straightforward process, there are times when you may encounter issues. Here are some common problems that you may encounter and some troubleshooting steps to help resolve them:
No Internet Access:
- Check to ensure that your router or modem is powered on and connected to an active internet connection. Restarting the router or modem can often resolve connectivity issues.
- Verify that both ends of the Ethernet cable are securely plugged in. Sometimes, a loose connection can cause a loss of internet access.
- Double-check your MacBook Pro’s Ethernet settings and ensure that it is set to “Using DHCP” for automatic network configuration.
Slow Connection:
- Confirm that you’re using a good quality Ethernet cable. Faulty or damaged cables can result in a slow or unstable connection.
- Check if there are any background processes or applications on your MacBook Pro consuming excessive network bandwidth. Quitting unnecessary apps or processes can help improve your connection speed.
- If multiple devices are connected to the same network, ensure that none of them are performing bandwidth-intensive tasks that could be affecting the overall network performance. Consider temporarily disconnecting other devices to see if it improves the connection speed.
Ethernet Port or Adapter Issues:
- If you’re using a Thunderbolt or USB-C adapter, ensure that the adapter you’re using is compatible with your MacBook Pro model and port type.
- If you’re using an adapter, try disconnecting and reconnecting it to the MacBook Pro to ensure a secure connection.
- Restart your MacBook Pro and try reconnecting the Ethernet cable or adapter to see if it resolves any port-related issues.
If you’ve exhausted these troubleshooting steps and still can’t resolve the issue, it may be worth contacting your internet service provider or seeking technical assistance from a professional to further diagnose and fix the problem.
By troubleshooting common issues, you can overcome any obstacles along the way and enjoy a reliable Ethernet connection for all your internet activities.
Conclusion
Connecting your MacBook Pro to Ethernet opens up a world of benefits, including a stable and fast internet connection for various activities like gaming, streaming, and working with large files. By following the steps outlined in this guide, you can easily set up a wired connection and enjoy the advantages it offers.
First, make sure your MacBook Pro has a built-in Ethernet port or determine the appropriate adapter needed for your model. Then, gather the necessary equipment, including an Ethernet cable and a functional router or modem. Connect one end of the Ethernet cable to your MacBook Pro or the adapter, depending on your setup. Connect the other end of the cable to the router or modem. Configure the Ethernet settings on your MacBook Pro to utilize the wired connection effectively.
If you encounter any issues during the process, refer to the troubleshooting section to help resolve common problems. Remember to check for internet access, perform basic troubleshooting steps for slow connection issues, and address any port or adapter-related concerns.
By successfully connecting your MacBook Pro to Ethernet, you can enjoy a reliable and high-speed internet connection, enhancing your productivity, entertainment, and online experience. Whether you’re gaming, streaming, or simply browsing the web, the Ethernet connection provides a stable foundation for seamless online performance.
Now that you’re equipped with the knowledge and steps to connect your MacBook Pro to Ethernet, go ahead and enjoy the benefits of a wired connection. Stay connected, stay productive, and make the most out of your MacBook Pro’s capabilities.