Introduction
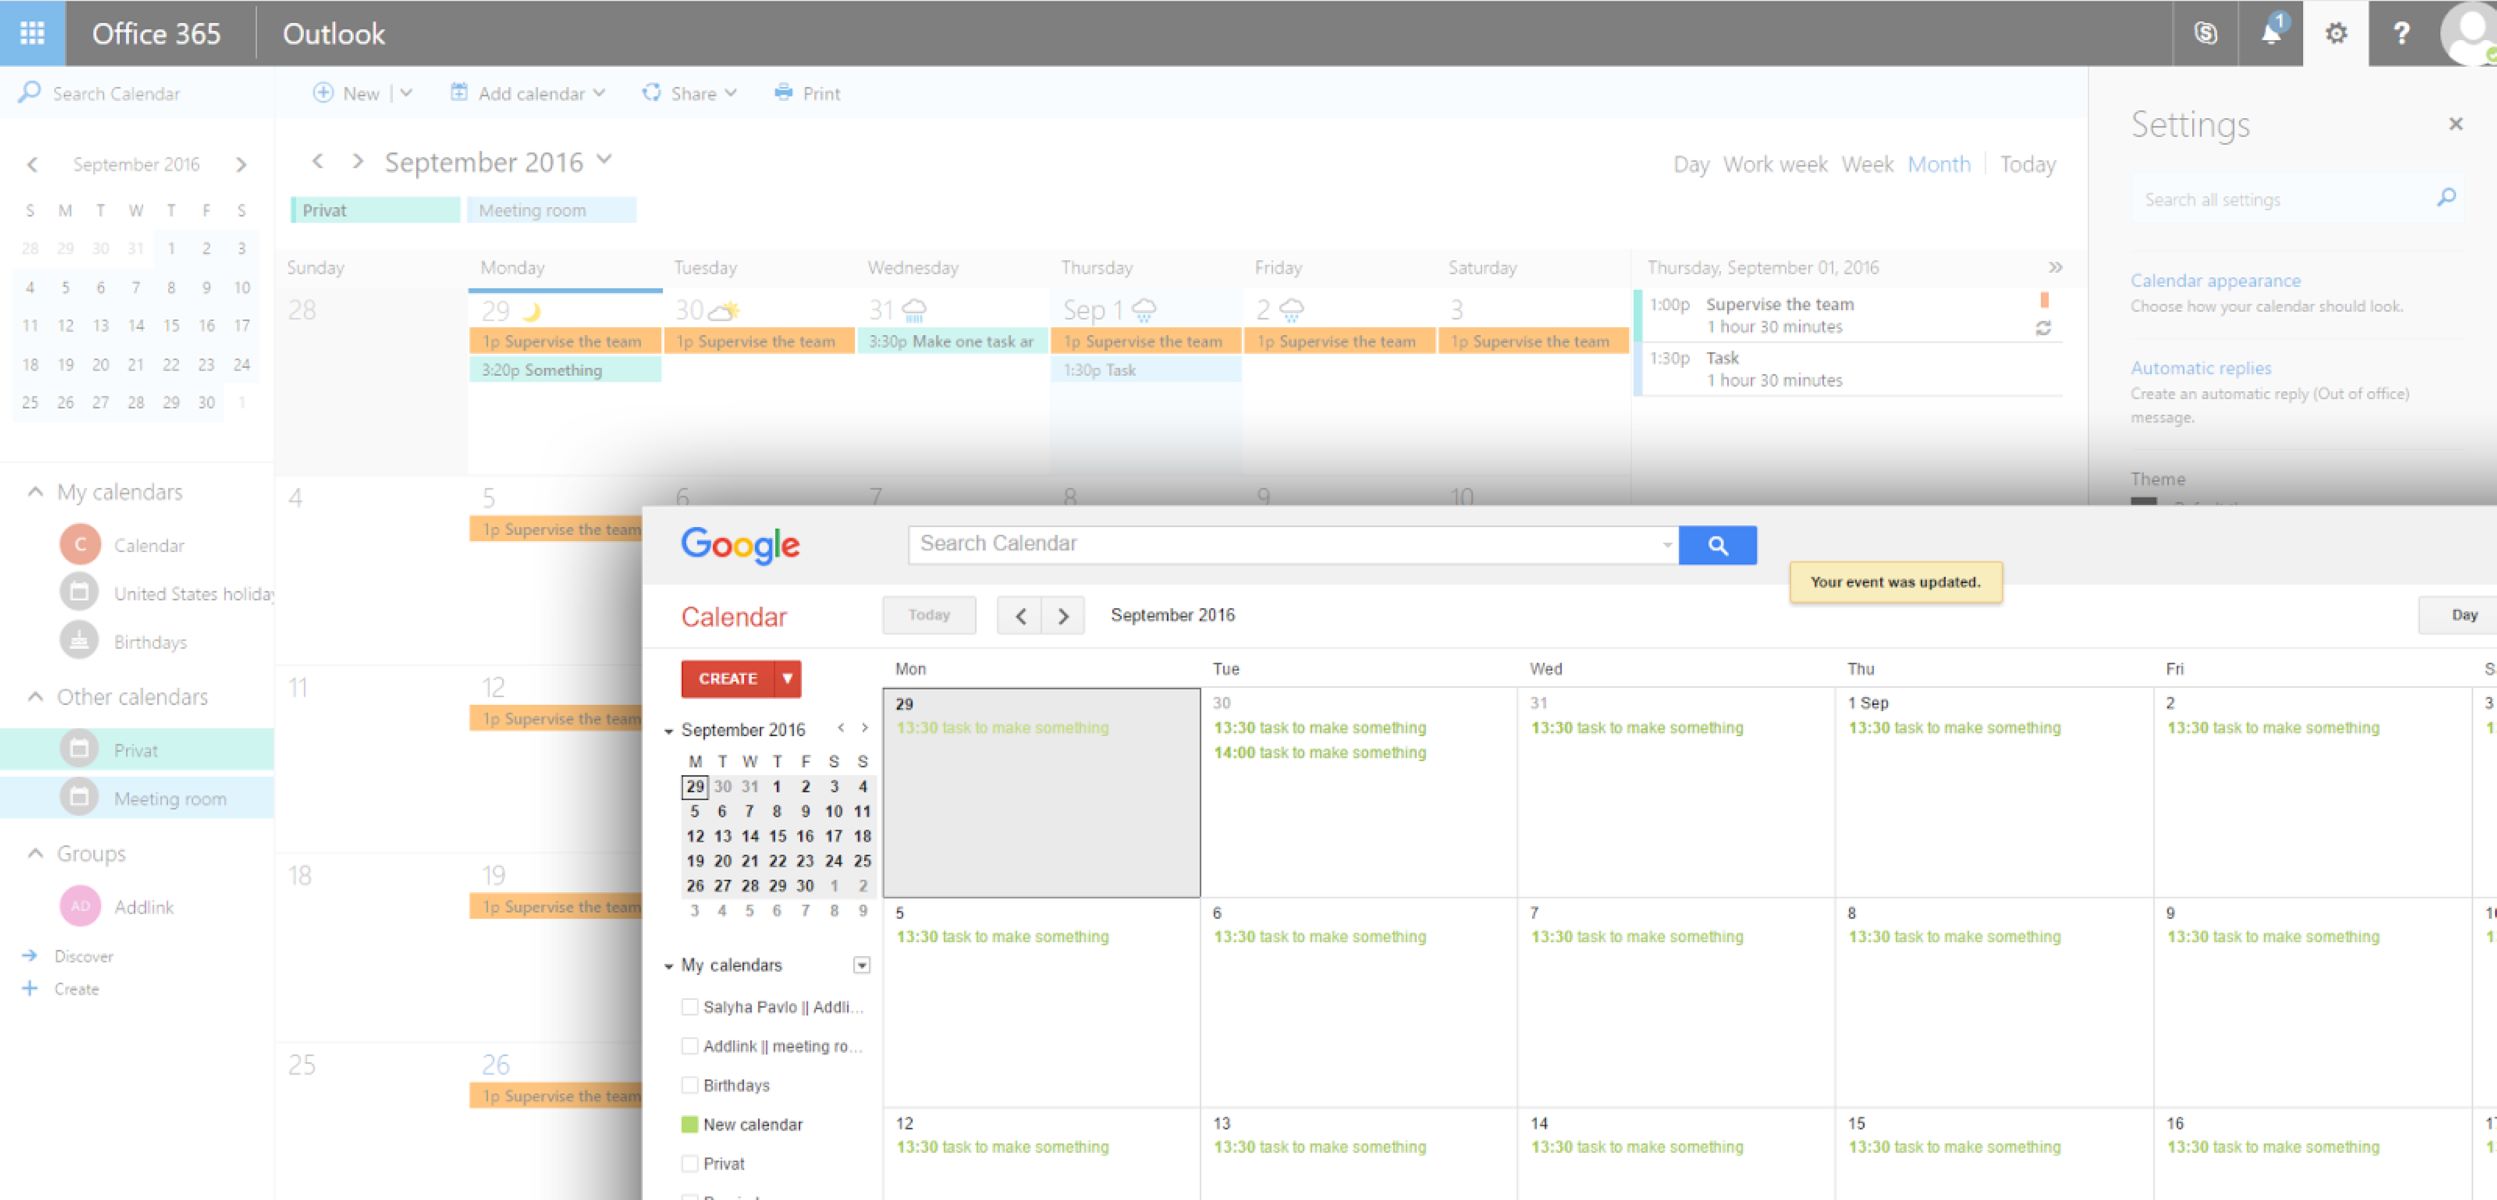
In the fast-paced digital age, managing multiple calendars across different platforms can be a challenge. Fortunately, with the right tools, you can seamlessly integrate your Google Calendar with Microsoft Outlook, one of the most popular email and calendar management applications. By syncing these two powerful platforms, you can consolidate and streamline your scheduling and stay organized across devices.
Adding a Google Calendar to Outlook may seem like a complex task, but rest assured, it’s a relatively straightforward process that can be completed in just a few simple steps. In this guide, we’ll walk you through the process and provide troubleshooting tips for common issues that may arise.
Before we dive into the steps, let’s first make sure you have all the necessary prerequisites to successfully add a Google Calendar to Outlook. Firstly, you’ll need an active Google account and access to Google Calendar. If you don’t already have one, you can easily create a Google account for free. Secondly, you’ll need Microsoft Outlook installed on your computer. Outlook is available as part of the Microsoft Office suite or can be downloaded separately as a standalone application.
Now that we have the necessary prerequisites in place, let’s get started with adding a Google Calendar to Outlook. In the next section, we’ll walk you through the first step: generating a Google Calendar URL that will allow Outlook to access your calendar data. So, grab your favorite beverage and let’s dive into the world of calendar synchronization!
Prerequisites for Adding a Google Calendar to Outlook
Before you can start syncing your Google Calendar with Outlook, there are a few prerequisites to ensure a smooth integration process. Make sure you have the following requirements met before proceeding:
- Google Account: You’ll need an active Google account to access Google Calendar. If you don’t already have one, you can easily create a Google account for free.
- Access to Google Calendar: Ensure that you have access to Google Calendar and have created at least one calendar to sync with Outlook.
- Microsoft Outlook: Make sure you have Microsoft Outlook installed on your computer. Outlook is available as part of the Microsoft Office suite or can be downloaded separately as a standalone application.
- Internet Connection: A stable internet connection is required to perform the necessary steps to add a Google Calendar to Outlook.
Having these prerequisites in place will ensure a smooth and hassle-free integration process. Once you have everything ready, you’re now prepared to move on to the next step: generating the Google Calendar URL. In the following section, we’ll guide you through this process and show you how to obtain the URL needed to add your Google Calendar to Outlook.
Step 1: Generate Google Calendar URL
To add your Google Calendar to Outlook, you first need to generate a unique URL that will allow Outlook to access and sync your calendar data. Follow these steps to generate the Google Calendar URL:
- Open a web browser and navigate to https://calendar.google.com.
- Sign in to your Google account if you haven’t already.
- In the left-hand sidebar, locate the section labeled “My calendars” and click on the three-dot icon next to the calendar you want to add to Outlook.
- From the dropdown menu, select “Settings and sharing.”
- Scroll down to the “Integrate calendar” section and locate the “Public address in iCal format” option.
- Click on the “ICAL” button to generate the unique URL for your calendar.
- A pop-up window will appear with the URL. Copy the URL to your clipboard.
Congratulations! You have successfully generated the Google Calendar URL. This URL acts as a bridge between your Google Calendar and Outlook, allowing the two platforms to sync seamlessly. In the next step, we will guide you through adding the Google Calendar to Outlook using this generated URL.
Step 2: Add Google Calendar to Outlook
Now that you have generated the Google Calendar URL, it’s time to add your Google Calendar to Outlook. Follow these steps to complete the integration:
- Launch Microsoft Outlook on your computer.
- Click on the “File” tab located at the top-left corner of the Outlook window.
- In the left-hand sidebar, click on the “Account Settings” button and select “Account Settings” from the dropdown menu.
- In the “Account Settings” window, switch to the “Internet Calendars” tab.
- Click on the “New” button.
- Paste the Google Calendar URL that you copied earlier into the field labeled “Enter the location of the Internet calendar.”
- Click “Add” to proceed.
- In the “Subscription Options” window, you can customize the name and description of the calendar if desired.
- Click “OK” to complete the process.
- Your Google Calendar will now appear in the Outlook calendar list, and any changes made to the Google Calendar will be automatically synced with Outlook.
Fantastic! You have successfully added your Google Calendar to Outlook. The two platforms are now linked, and any updates or modifications you make will be reflected in both calendars. In the next step, we will guide you through configuring the Google Calendar sync settings to ensure a seamless experience between the two platforms.
Step 3: Configure Google Calendar Sync Settings
After adding your Google Calendar to Outlook, it’s essential to configure the sync settings to ensure a smooth and accurate integration between the two platforms. Follow these steps to configure the Google Calendar sync settings:
- In Outlook, click on the “File” tab at the top-left corner of the window.
- Select “Options” from the dropdown menu.
- In the “Outlook Options” window, click on the “Advanced” tab.
- Scroll down to the “Export” section and click on the “Export” button.
- In the “Import and Export Wizard” window, select “Export to a file” and click “Next”.
- Select “Microsoft Excel” or “Microsoft Access” as the file type and choose a location to save the exported file.
- Click “Finish” to export your Outlook calendar data.
- Now, go back to the “Options” window and click on the “Calendar” tab.
- Under the “Calendar options” section, click on the “Free/Busy Options” button.
- Ensure that the “Default” setting is selected and click “Browse” to locate the exported file from step 7.
- Click “OK” to save the changes.
Great job! You have successfully configured the Google Calendar sync settings in Outlook. This will ensure that your availability information from Outlook is shared with Google Calendar, providing accurate and up-to-date scheduling information. In the next step, we will guide you through the process of syncing your Google Calendar with Outlook.
Step 4: Sync Google Calendar with Outlook
Now that you’ve configured the sync settings, it’s time to sync your Google Calendar with Outlook. Follow these steps to ensure that both calendars are updated and synchronized:
- In Outlook, click on the “Send/Receive” tab at the top of the window.
- Click on the “Send/Receive All Folders” button.
- Outlook will now sync with your Google Calendar, updating any changes or events.
- Wait for the sync process to complete. This may take a few moments depending on the size of your calendar data.
- Once the sync is complete, your Google Calendar events will appear in your Outlook calendar.
- You can now manage and modify your calendar events seamlessly between Google Calendar and Outlook.
Congratulations! You have successfully synced your Google Calendar with Outlook. Changes made in one calendar will now be reflected in the other, providing you with a unified and streamlined scheduling experience. You can now enjoy the convenience of accessing and managing your events across both platforms.
Remember, it’s crucial to periodically sync your calendars to ensure that any updates or modifications are properly reflected. By making syncing a regular habit, you can stay organized and avoid any discrepancies between Google Calendar and Outlook.
In the next section, we will address some common troubleshooting issues that you may encounter during the process. Stay with us as we provide solutions to help you overcome these challenges and maintain a seamless integration between Google Calendar and Outlook.
Troubleshooting Common Issues
While the process of adding and syncing a Google Calendar with Outlook is generally straightforward, you may encounter some common issues along the way. Here are a few troubleshooting tips to help you overcome these challenges:
- URL Error: If you encounter an error message while generating the Google Calendar URL, double-check that you’re following the correct steps and that you have the necessary permissions to access and share the calendar. Ensure that you’re signed in to the correct Google account and that you have internet connectivity.
- Sync Errors: If you experience errors during the syncing process, try restarting Outlook and initiating the sync again. Make sure your internet connection is stable, as interruptions can cause sync failures. Additionally, verify that the Google Calendar URL you entered in Outlook is correct.
- Duplicate Events: In some cases, you may notice duplicate events in your calendar after syncing. This can occur if you have multiple Google Calendars and they’re not properly merged. To resolve this, review your calendar settings and ensure that only the relevant calendars are selected for syncing.
- Missing Events: If you’re missing events in either Google Calendar or Outlook after syncing, check the settings in both platforms to ensure that the calendars are properly configured for syncing. Also, verify that the events are not set as private or hidden, as they may not be visible in the synced calendar.
- Compatibility Issues: It’s important to note that certain advanced features or formatting in Google Calendar may not be fully compatible with Outlook. This can result in minor discrepancies in event appearance or functionality. If you encounter such issues, consider simplifying the event details or using common features that are supported by both platforms.
By following these troubleshooting tips, you can overcome common issues and ensure a smooth integration between Google Calendar and Outlook. If you continue to experience difficulties, consider checking online forums or reaching out to support resources for further assistance. Remember, with a bit of troubleshooting, you’ll be well on your way to enjoying the benefits of synchronized calendars.
In the concluding section, we will summarize the key steps and highlight the importance of regular syncing to maintain an effective and efficient calendar integration between Google Calendar and Outlook.
Conclusion
Integrating your Google Calendar with Microsoft Outlook can greatly enhance your productivity and organization. By following the steps outlined in this guide, you can seamlessly sync your calendars and ensure that your scheduling information is up-to-date across both platforms.
We started by discussing the prerequisites for adding a Google Calendar to Outlook, including the need for a Google account and access to Google Calendar. We then walked through the process of generating a unique Google Calendar URL that allows Outlook to access your calendar data. With the URL in hand, we proceeded to add the Google Calendar to Outlook and configure the sync settings to ensure accurate and seamless integration.
Remember to periodically sync your calendars to keep them in sync and to avoid any discrepancies. By maintaining regular syncing habits, you can enjoy the convenience and efficiency of managing your events across both Google Calendar and Outlook.
Throughout the process, we addressed common troubleshooting issues such as URL errors, sync errors, duplicate events, and missing events. By following the troubleshooting tips provided, you can overcome these challenges and maintain a smooth calendar integration experience.
Now that you have successfully added and synced your Google Calendar with Outlook, you can enjoy the benefits of managing your events and schedules seamlessly across both platforms. Keep in mind that while the integration is robust, there may be slight compatibility limitations between advanced features or formatting of the two calendars.
We hope this guide has been informative and helpful in assisting you with adding a Google Calendar to Outlook. Embrace the power of synchronization and stay organized with ease as you manage your calendars across platforms. Happy scheduling!


