How to Activate Webcam on Samsung Ultrabook
Introduction
The webcam feature has become an essential part of our daily lives, allowing us to connect with family, friends, and colleagues through video calls and conferences. If you own a Samsung Ultrabook and want to activate the webcam, you’ve come to the right place. In this guide, we will walk you through the steps to enable and set up your webcam on your Samsung Ultrabook.
Samsung Ultrabooks are known for their sleek design and powerful performance. Equipped with a built-in webcam, these Ultrabooks offer a convenient way to participate in video chats, online meetings, or even create video content. However, sometimes the webcam may not be activated by default or may require a few adjustments to work seamlessly. Not to worry, we will cover all the necessary steps to get your webcam up and running in no time.
It is important to note that the specific steps may vary slightly based on the model and operating system of your Samsung Ultrabook. However, the general process should remain the same across most Samsung Ultrabooks. So, let’s dive in and learn how to activate your webcam on your Samsung Ultrabook.
Step 1: Check Webcam Compatibility
Before you proceed with activating your webcam on your Samsung Ultrabook, it’s important to ensure that your device is equipped with a built-in webcam. Most Samsung Ultrabooks come with an integrated webcam, but it’s always a good idea to double-check.
To check the compatibility of your webcam, follow these steps:
- Open the Start menu by clicking on the Windows icon located at the bottom left corner of your screen.
- Type “Camera” in the search bar and select the “Camera” app from the search results.
- If the app opens and you can see an image on the screen, congratulations! Your Samsung Ultrabook is equipped with a working webcam. You can skip to the next step.
- If the “Camera” app does not appear or you receive an error message, it is likely that your Samsung Ultrabook does not have a built-in webcam. In this case, you may need to consider using an external webcam to fulfill your video communication needs.
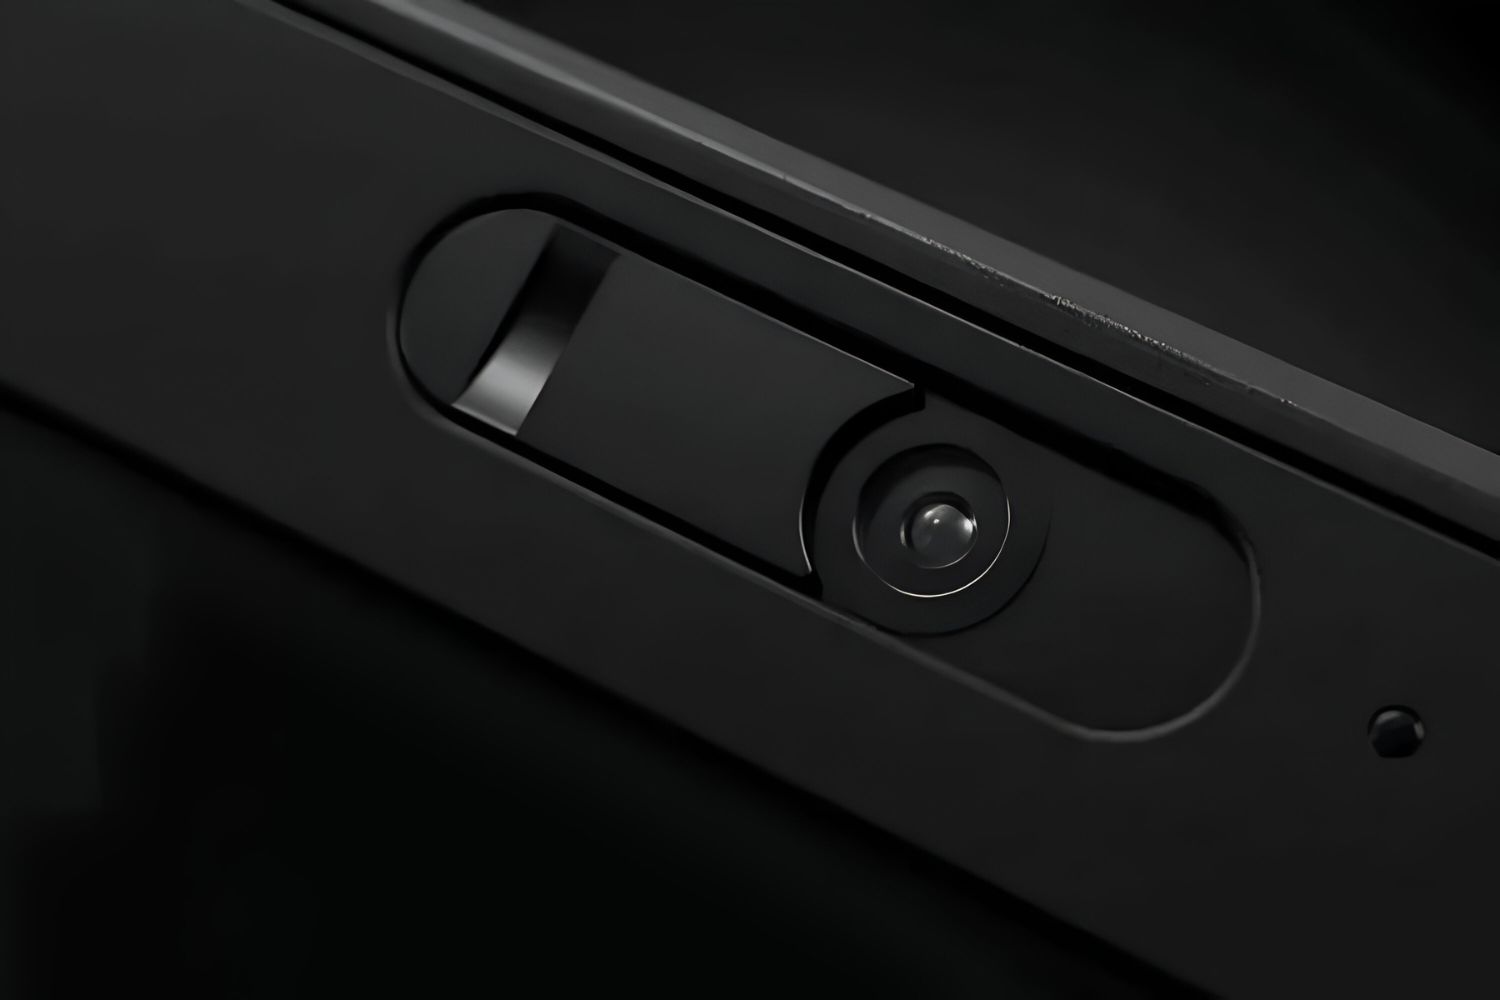
It’s worth noting that some older models of Samsung Ultrabooks may have a physical shutter or button to enable or disable the webcam. If this is the case, make sure the shutter or button is set to the “on” position before proceeding.
Once you’ve confirmed the compatibility of your webcam, you can move on to the next steps to activate and configure it on your Samsung Ultrabook.
Step 2: Update Webcam Drivers
Outdated or incompatible webcam drivers can often cause issues with the functionality of your webcam. Therefore, it’s crucial to ensure that you have the latest drivers installed on your Samsung Ultrabook. Here’s how you can update your webcam drivers:
- Open the Start menu and search for “Device Manager”. Click on the “Device Manager” option from the search results.
- In the Device Manager window, locate the “Imaging devices” category and expand it by clicking on the arrow next to it.
- Right-click on your webcam device and select “Update driver” from the context menu.
- Choose the “Search automatically for updated driver software” option. Windows will now search for the latest driver software for your webcam and install it if available.
- Follow the on-screen instructions to complete the driver update process. You may be prompted to restart your Samsung Ultrabook once the installation is complete.
If Windows couldn’t find any updated drivers for your webcam, you can try visiting the official Samsung support website. Locate the drivers section and search for the latest webcam driver specific to your Samsung Ultrabook model. Download the driver and follow the provided instructions to install it on your system.
Updating your webcam drivers can often resolve compatibility issues and improve the overall performance of your webcam. With up-to-date drivers installed, you can move on to the next step to enable your webcam in the device settings.
Step 3: Enable Webcam in Device Manager
Once you have updated the webcam drivers on your Samsung Ultrabook, the next step is to ensure that the webcam is enabled in the Device Manager. Here’s how you can enable your webcam:
- Open the Start menu and search for “Device Manager”. Click on the “Device Manager” option from the search results.
- In the Device Manager window, find the “Imaging devices” category and expand it.
- Right-click on your webcam device and choose the “Enable device” option.
Enabling the webcam device in the Device Manager ensures that it is activated and ready for use. If the device was already enabled, you can skip this step and move on to adjusting the webcam settings.
It’s important to note that if you do not see the “Imaging devices” category in the Device Manager, it could indicate a problem with the webcam drivers or the webcam hardware itself. In such cases, you may need to troubleshoot the issue further or seek assistance from Samsung support.
Now that your webcam is enabled, let’s proceed to the next step and adjust the settings to ensure optimal performance.
Step 4: Adjust Webcam Settings
After enabling your webcam in the Device Manager, it’s time to fine-tune the settings to ensure the best possible video quality and performance. Here’s how you can adjust the webcam settings on your Samsung Ultrabook:
- Open your preferred video call or conferencing application, such as Skype or Zoom.
- Access the settings or preferences menu within the application.
- Look for the “Video” or “Camera” settings and click on it.
- Here, you will find various options to customize your webcam settings. You can adjust parameters like brightness, contrast, saturation, resolution, and more, depending on the available options in your application.
- Make the desired adjustments to the settings to enhance the video quality and ensure the webcam captures the best image possible.
It’s recommended to experiment with the settings to find the optimal configuration that suits your preferences. If you’re unsure about which settings to adjust, you can try the default settings and make minor tweaks based on your requirements.
Additionally, some Samsung Ultrabooks may come bundled with software applications specifically designed for webcam tuning and configuration. Check if your device has any pre-installed webcam software and explore its settings for additional customization options.
Once you have adjusted the webcam settings to your satisfaction, you’re ready to move on to the final step of testing the webcam on your Samsung Ultrabook.
Step 5: Test the Webcam
Now that you have enabled and adjusted the settings of your webcam on your Samsung Ultrabook, it’s time to test if everything is working correctly. Follow these steps to test your webcam:
- Open the video call or conferencing application that you used to adjust the webcam settings.
- Start a video call or join a meeting to activate the webcam.
- In the application, look for a button or option to activate the webcam. It is usually represented by a camera icon.
- Click on the camera icon to start the webcam and initiate the video feed.
- You should now see a live preview of your webcam video. Verify that the image is clear, and the audio is properly synced.
- To ensure the webcam is fully functional, you can perform a test call or ask a friend or family member to connect with you for a quick video chat.
During the test, pay attention to any video quality issues, such as pixelation, lag, or poor audio. If you encounter any problems, you may need to revisit the earlier steps to ensure all settings and configurations are correct. Alternatively, you might need to seek assistance from Samsung support or the specific application’s support team.
Congratulations! You have successfully activated and tested the webcam on your Samsung Ultrabook. Now you can confidently engage in video calls, online meetings, or even create content using your Ultrabook’s reliable webcam functionality.
Keep in mind that regular maintenance and updating of your webcam drivers will help ensure optimal performance. Additionally, it’s recommended to keep your Ultrabook’s operating system and software applications up to date to avoid compatibility issues.
Enjoy the seamless video communication experience on your Samsung Ultrabook with a fully activated and functional webcam!
Conclusion
Activating and configuring the webcam on your Samsung Ultrabook is a straightforward process that can greatly enhance your video communication experience. By following the steps outlined in this guide, you can ensure that your webcam is enabled, drivers are up to date, and settings are optimized for the best performance.
Checking the compatibility of your webcam, updating drivers, enabling the webcam in the Device Manager, adjusting settings, and testing the webcam are essential steps to ensure a smooth and seamless video call or conferencing experience. By taking the time to go through these steps, you can troubleshoot any issues and maximize the potential of your Samsung Ultrabook’s webcam.
It’s worth mentioning that while the steps provided in this guide are generally applicable to most Samsung Ultrabooks, there may be slight variations depending on the specific model and operating system. Always refer to the official documentation or support resources provided by Samsung for model-specific instructions.
Remember to periodically check for driver updates, as well as keep your operating system and video call applications up to date to ensure continued compatibility and optimal performance.
Now that you have successfully activated and tested your webcam, you can enjoy crystal-clear video calls, online meetings, and even create video content with ease using your Samsung Ultrabook. Stay connected with your loved ones, collaborate with colleagues, and express your creativity through the power of your webcam.
So, go ahead, activate your webcam, and explore the endless possibilities of video communication on your Samsung Ultrabook!