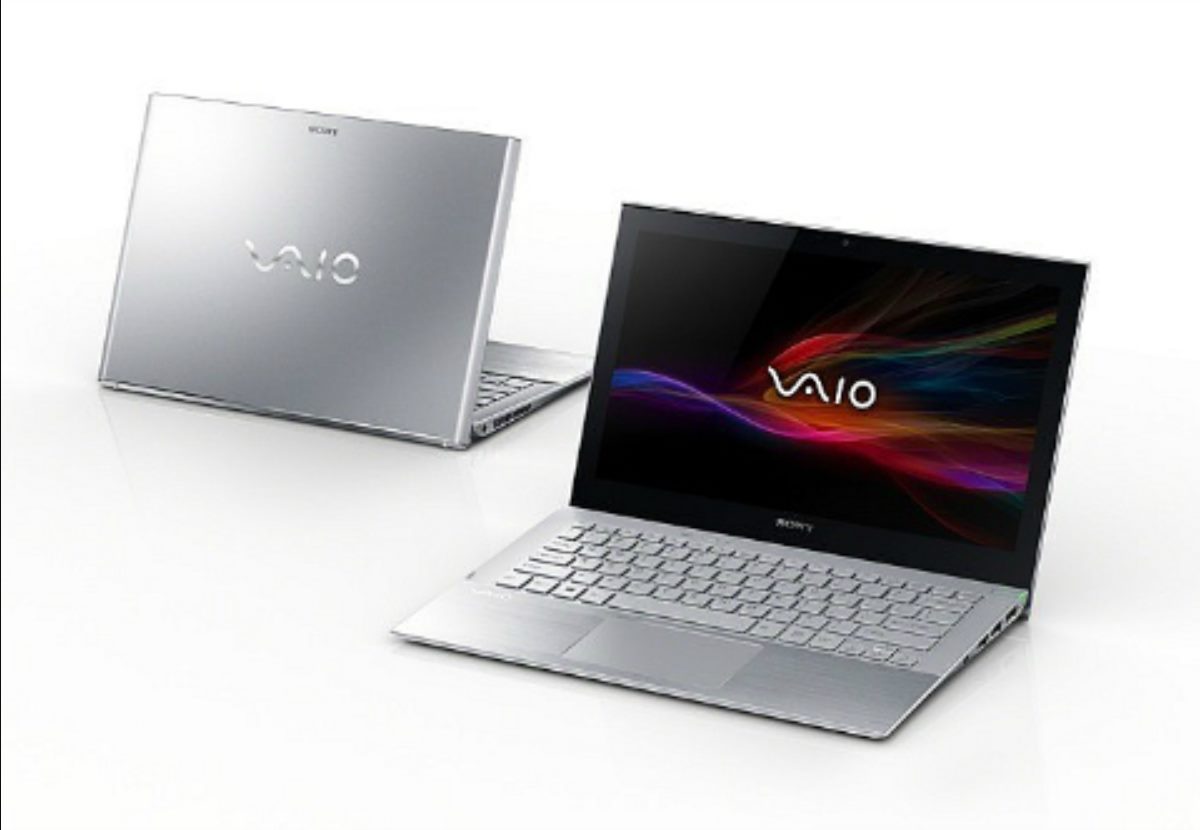
Introduction
Having a touch screen on your Vaio Ultrabook can be a convenient feature, allowing you to interact with your device in a more intuitive way. However, there may be instances where you prefer not to use the touch screen functionality. Whether it’s to prevent accidental touches or to conserve battery life, disabling the touch screen on your Vaio Ultrabook is a straightforward process that can be done through the device manager.
Disabling the touch screen will effectively turn off its responsiveness, allowing you to use your Vaio Ultrabook solely with the keyboard and touchpad. This can be particularly useful in situations such as using your laptop on a desk with an external monitor, where the touch screen may not be necessary.
In this guide, we will walk you through the step-by-step process of disabling the touch screen on your Vaio Ultrabook. Rest assured, this process is reversible, meaning you can enable the touch screen again at any time if you decide to re-enable its functionality.
Before we begin, it’s important to note that the steps provided in this guide are specifically for Vaio Ultrabooks. If you have a different model or brand of laptop, the process may vary slightly, so it’s recommended to consult the manufacturer’s documentation for your specific device.
Now, let’s dive into the steps to disable the touch screen on your Vaio Ultrabook!
Step 1: Open the Start Menu
The first step in disabling the touch screen on your Vaio Ultrabook is to open the Start menu. You can do this by clicking on the Windows icon located at the bottom left corner of your screen or by pressing the Windows key on your keyboard.
Once you have opened the Start menu, you will see a list of applications and options. This is the central hub for accessing various features and settings on your Vaio Ultrabook.
Alternatively, you can also open the Start menu by pressing the Windows key + R on your keyboard to open the Run dialog box. Then, type “start” (without the quotes) and press Enter.
By opening the Start menu, you are now ready to proceed to the next step in disabling the touch screen on your Vaio Ultrabook. Make sure to follow along closely, as each step will guide you through the process and ensure that you can easily disable the touch screen functionality.
Step 2: Go to the Device Manager
Once you have opened the Start menu, the next step in disabling the touch screen on your Vaio Ultrabook is to navigate to the Device Manager. The Device Manager is a built-in utility in Windows that allows you to manage and control the hardware devices connected to your computer.
To access the Device Manager, you can either search for it directly in the Start menu search bar or use the Run dialog box. Here’s how:
- Type “Device Manager” (without the quotes) in the Start menu search bar and click on the corresponding search result.
- Alternatively, you can press the Windows key + R on your keyboard to open the Run dialog box. Then, type “devmgmt.msc” (without the quotes) and press Enter.
Both methods will open the Device Manager window, which displays a list of all the hardware devices and drivers installed on your Vaio Ultrabook. This is where you can make changes to the settings and properties of individual devices.
At this stage, you should have successfully navigated to the Device Manager. Congratulations! You’re now ready to proceed to the next step, where we will locate the touch screen driver and disable it.
Step 3: Expand the “Human Interface Devices” category
With the Device Manager window open, the next step in disabling the touch screen on your Vaio Ultrabook is to locate and expand the “Human Interface Devices” category. This category contains various input devices, including your touch screen.
To expand the “Human Interface Devices” category, follow these steps:
- In the Device Manager window, look for “Human Interface Devices” in the list of device categories.
- Click on the small arrow next to it to expand the category and reveal the devices listed underneath.
Expanding the “Human Interface Devices” category will present you with a list of all the input devices connected to your Vaio Ultrabook, including the touch screen. These devices are typically labeled with their respective names or model numbers.
It’s important to exercise caution when making changes in the Device Manager, as modifying the wrong device or driver can have unintended consequences. Therefore, it’s crucial to ensure that you are only disabling the touch screen and not any other critical input device.
Once you have successfully expanded the “Human Interface Devices” category, you are one step closer to disabling the touch screen on your Vaio Ultrabook. The next step will involve locating and disabling the specific touch screen device driver, which we will cover in the following section.
Step 4: Disable the touch screen driver
Now that you have expanded the “Human Interface Devices” category in the Device Manager, the next step in disabling the touch screen on your Vaio Ultrabook is to locate and disable the touch screen driver.
Follow these steps to disable the touch screen driver:
- Scroll through the list of devices under the “Human Interface Devices” category and look for a device that mentions the touch screen or has “Touch” in its name.
- Once you have identified the touch screen driver, right-click on it.
- From the context menu that appears, select “Disable device” or “Disable”.
Disabling the touch screen driver will effectively disable the touch screen functionality on your Vaio Ultrabook. This means that you will no longer be able to interact with your device using touch gestures or input on the touch screen itself.
It’s important to note that disabling the touch screen driver may require administrator privileges. If prompted, provide the necessary permissions or enter the administrator password to proceed with disabling the device.
Once you have successfully disabled the touch screen driver, you have completed the essential step in disabling the touch screen on your Vaio Ultrabook. In the next step, we will confirm that the touch screen functionality has been disabled.
Step 5: Confirm the disabled touch screen functionality
After disabling the touch screen driver, it’s important to verify that the touch screen functionality has indeed been disabled on your Vaio Ultrabook. This step will ensure that the changes made in the previous steps have taken effect.
Follow these steps to confirm the disabled touch screen functionality:
- Close the Device Manager window.
- Now, using your Vaio Ultrabook, try touching the screen with your finger or using a stylus pen.
- If the touch screen has been successfully disabled, there should be no response or interaction when you touch the screen.
It’s important to note that depending on your Vaio Ultrabook model, you may still see visual feedback such as a cursor or highlight when you touch the screen. However, there should be no actual functionality or response from the touch screen itself.
If you find that the touch screen is still responsive after following the previous steps, double-check that you have disabled the correct touch screen driver. Return to the Device Manager and ensure that the specific touch screen driver is disabled.
Congratulations! You have successfully confirmed the disabled touch screen functionality on your Vaio Ultrabook. You can now enjoy using your device without interacting through the touch screen, whether it’s to prevent accidental touches or conserve battery life.
If at any point you decide to re-enable the touch screen, simply follow the same steps to open the Device Manager, locate the touch screen driver, and enable it. This will restore the touch screen functionality on your Vaio Ultrabook.
Conclusion
Disabling the touch screen functionality on your Vaio Ultrabook can be a useful option in various situations. Whether you want to prevent accidental touches, conserve battery life, or simply prefer using the keyboard and touchpad, the step-by-step process outlined in this guide allows you to easily disable and enable the touch screen driver.
We started by opening the Start menu and navigating to the Device Manager. From there, we expanded the “Human Interface Devices” category to locate the touch screen driver. By disabling the touch screen driver, we effectively turned off the touch screen functionality on the Vaio Ultrabook. Lastly, we confirmed the disabled touch screen functionality to ensure the changes took effect.
Remember, the process outlined in this guide is specific to Vaio Ultrabook models. If you have a different brand or model of laptop, the steps may differ. It’s always a good idea to consult the manufacturer’s documentation or support resources.
Disabling the touch screen is a reversible step, and you can easily re-enable it if you choose to do so. If you have disabled the touch screen and later decide that you want to use it again, simply follow the same steps to open the Device Manager and enable the touch screen driver.
We hope this guide has been helpful in guiding you through the process of disabling the touch screen on your Vaio Ultrabook. By disabling the touch screen, you can tailor your device usage to your preferences and needs, enhancing your overall experience.
Now you’re ready to enjoy your Vaio Ultrabook without the touch screen functionality, taking full control using the keyboard and touchpad. Happy computing!