Introduction
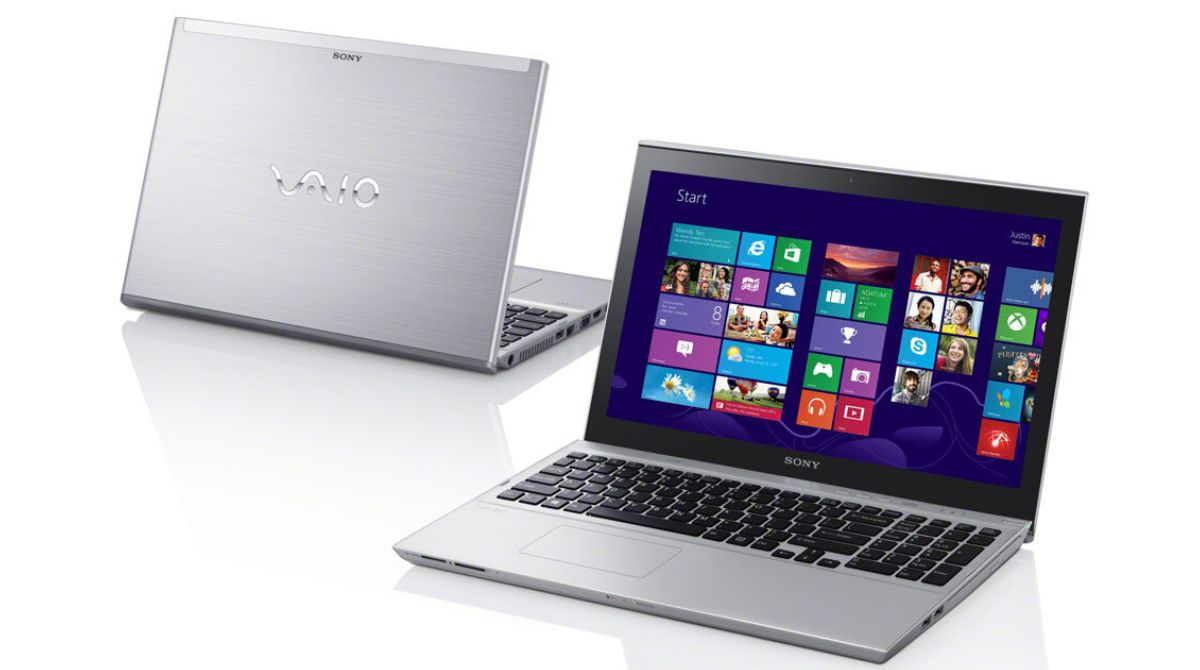
Welcome to this guide on how to factory reset your Sony Vaio Ultrabook. If you’re experiencing performance issues, software glitches, or simply want to start fresh, a factory reset can help restore your Ultrabook to its original state. A factory reset reinstalls the operating system and removes all personal files and settings, making your device feel like new again.
Before we dive into the step-by-step process, it’s important to note that performing a factory reset will erase all data on your Sony Vaio Ultrabook. Therefore, it’s essential to back up any important files and documents you want to keep. Additionally, ensure that you have the necessary power supply connected to your Ultrabook to prevent any interruptions during the reset process.
Resetting your Sony Vaio Ultrabook is a straightforward procedure that can be performed by following a few simple steps. In this guide, we’ll cover each step in detail to ensure a smooth and successful factory reset. So, let’s get started and learn how to restore your Sony Vaio Ultrabook to its default settings.
Step 1: Backup your important data
Before proceeding with the factory reset, it is crucial to back up all your important data to ensure that you don’t lose any valuable files or documents during the process. Backing up your data will give you peace of mind and allow you to easily restore your files once the reset is complete.
Start by connecting an external hard drive or USB flash drive to your Sony Vaio Ultrabook. This will serve as the destination for your backup. Next, open the File Explorer on your Ultrabook and identify the files and folders you wish to back up. These may include documents, photos, videos, music, and any other files that hold value to you.
Select the files and folders, then right-click and choose “Copy” from the context menu. Now navigate to the external hard drive or USB flash drive, right-click, and choose “Paste” to transfer the files and folders to the backup location.
If you have a large amount of data to backup or prefer an automated backup process, consider using backup software. There are many reliable and user-friendly backup software options available that can simplify the backup process and save you time.
Take your time to ensure that all your important data has been successfully backed up. Double-check the backup location to verify that all files and folders have been transferred correctly. Once you are confident that your data is safely backed up, you can proceed to the next step of the factory reset process.
Step 2: Disconnect all external devices
Before initiating the factory reset process, it is important to disconnect all external devices from your Sony Vaio Ultrabook. This includes devices such as USB drives, external hard drives, printers, scanners, and any other peripherals that are currently connected to your Ultrabook.
Removing external devices ensures a smooth and uninterrupted reset process. When you disconnect these devices, you prevent any interference or conflicts that could potentially occur during the reset process.
Start by safely ejecting any USB drives or external hard drives connected to your Ultrabook. To do this, right-click on the device icon in the system tray and select “Eject” or “Safely Remove Hardware.”
If you have any printers or scanners connected to your Ultrabook, turn them off and disconnect the USB cables. It’s important to disconnect the cables from both ends to ensure a complete disconnection.
Other devices such as speakers, headphones, or external monitors should also be disconnected to eliminate any potential issues during the reset process.
By disconnecting all external devices, you minimize the risk of any data loss or damage to your Sony Vaio Ultrabook. It allows the reset process to proceed smoothly and ensures that your Ultrabook is restored to its factory settings without any complications.
Once all external devices have been disconnected, you are ready to move on to the next step of the factory reset process.
Step 3: Restart your Sony Vaio Ultrabook
Now that you have backed up your important data and disconnected all external devices, it’s time to restart your Sony Vaio Ultrabook. Restarting your Ultrabook ensures a fresh start and prepares it for the factory reset process.
To restart your Sony Vaio Ultrabook, go to the Start menu and click on the power icon. From the power options, select “Restart”. Alternatively, you can press the Windows key, followed by the “I” key to open the Settings menu. From there, click on the “Power” button and choose “Restart”.
Once you click on the restart option, your Sony Vaio Ultrabook will begin the restart process. It may take a few moments for the system to shut down and restart.
During the restart, do not interrupt the process or power off your Ultrabook. Allow it to restart fully to ensure a smooth transition to the next step of the factory reset process.
After the restart is complete, your Sony Vaio Ultrabook will be ready for the next step in restoring it to its factory settings.
Step 4: Access the Advanced Boot Options menu
In order to proceed with the factory reset process, you need to access the Advanced Boot Options menu on your Sony Vaio Ultrabook. This menu provides you with the necessary tools to perform various system recovery actions, including the factory reset option.
To access the Advanced Boot Options menu, start by restarting your Sony Vaio Ultrabook. As the system restarts, repeatedly press the F8 key on your keyboard. You need to be quick and consistent with your key presses to ensure that you access the menu successfully.
This action will bring up the Advanced Boot Options menu, which presents you with a range of boot options for your Ultrabook. Here, you can choose the desired boot option by using the arrow keys on your keyboard.
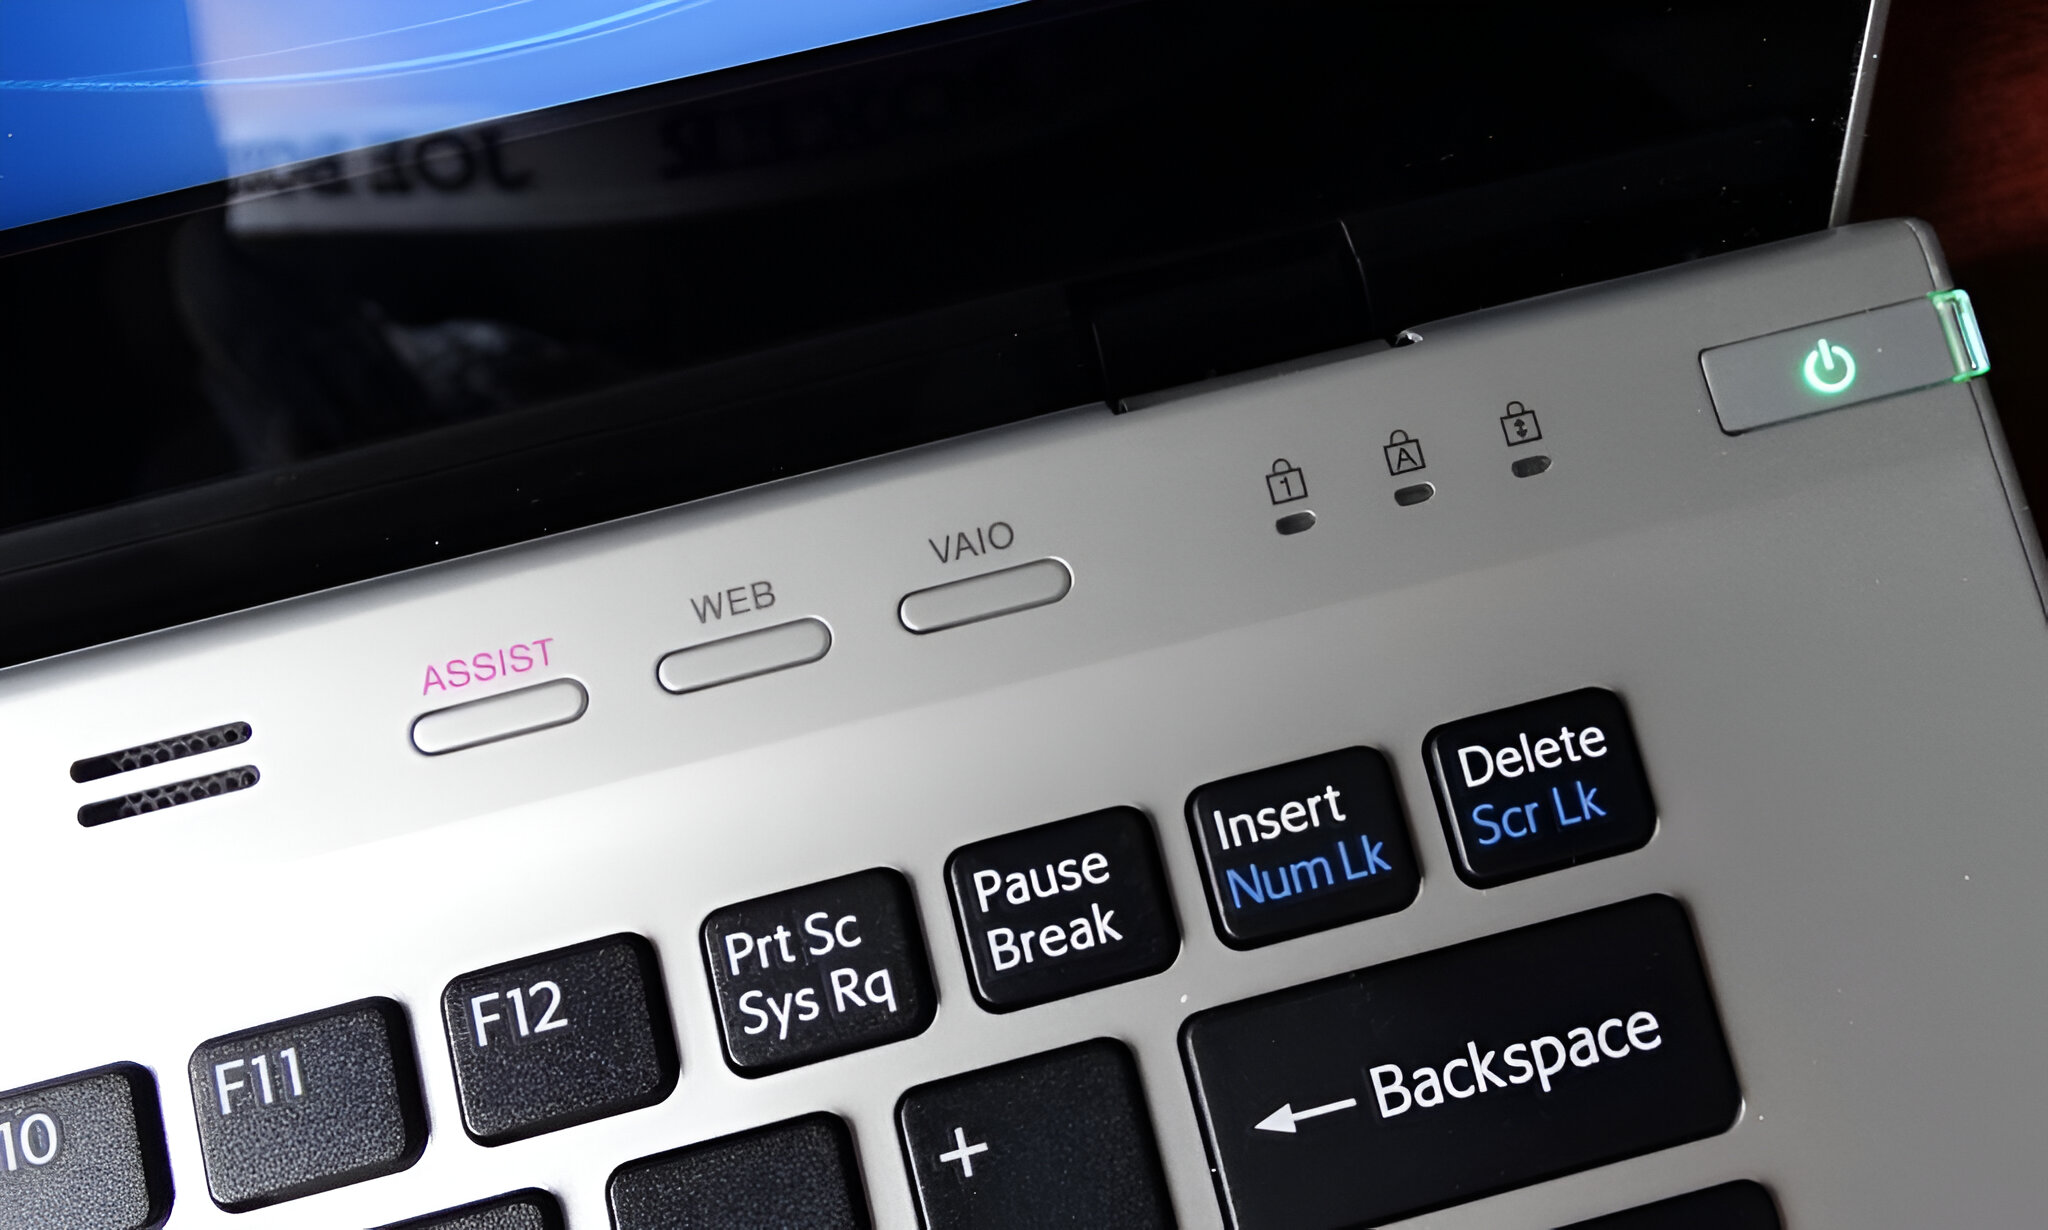
Note that in some Sony Vaio models, the F8 key may not bring up the Advanced Boot Options. If this is the case, try using the Assist button, which is usually located near the power button. By pressing the Assist button during startup, you can access the Sony Vaio Recovery Center, which also provides access to the Advanced Boot Options menu.
Once you have successfully accessed the Advanced Boot Options menu, you are one step closer to performing the factory reset on your Sony Vaio Ultrabook. In the following steps, we will explore the factory reset option and guide you through the reset process.
Step 5: Choose “Troubleshoot” from the menu
After accessing the Advanced Boot Options menu on your Sony Vaio Ultrabook, the next step is to choose the “Troubleshoot” option. This will lead you to a range of advanced troubleshooting tools, including the option to initiate the factory reset.
Using the arrow keys on your keyboard, navigate to the “Troubleshoot” option in the Advanced Boot Options menu. Once you have selected it, press the Enter key to proceed.
By choosing the “Troubleshoot” option, you gain access to various repair and recovery options for your Sony Vaio Ultrabook. This menu provides advanced tools to help resolve system issues, including startup problems, system restore, system image recovery, and the factory reset option.
It’s important to note that the appearance and layout of the Troubleshoot menu may vary slightly depending on your Sony Vaio model and the version of the operating system installed on your Ultrabook.
Once you have selected the “Troubleshoot” option, you are ready to move on to the next step of the factory reset process. In the following steps, we will guide you through selecting the appropriate reset option and completing the reset process to restore your Sony Vaio Ultrabook to its factory settings.
Step 6: Select “Reset this PC”
After choosing the “Troubleshoot” option from the Advanced Boot Options menu, the next step in the factory reset process for your Sony Vaio Ultrabook is to select “Reset this PC”. This option allows you to restore your Ultrabook to its original factory settings.
In the Troubleshoot menu, you will find different options for system recovery. Look for the “Reset this PC” option and click on it to proceed.
Upon selecting “Reset this PC”, you will be presented with two choices: “Keep my files” or “Remove everything”. Let’s take a closer look at each option:
- Keep my files: This option allows you to reset your Sony Vaio Ultrabook while keeping your personal files intact. It removes all installed applications and settings but retains your documents, pictures, videos, and other personal data. However, it’s important to note that this option might not completely eliminate all software-related issues.
- Remove everything: This option performs a complete factory reset by removing all personal files, settings, and applications. It restores your Sony Vaio Ultrabook to the original state as if it were brand new out of the box. This option is recommended if you are experiencing severe software issues or want to start fresh with a clean slate.
Select the option that best suits your needs and preferences. However, before proceeding, ensure that you have backed up all important data to avoid any potential data loss.
Once you have made your selection, follow the on-screen instructions to confirm your choice and initiate the factory reset process. Remember that this process might take some time, so it’s important to be patient and let the system complete the reset.
In the following steps, we will guide you through the remaining process to finalize the factory reset on your Sony Vaio Ultrabook.
Step 7: Choose either “Keep my files” or “Remove everything”
Once you have selected the “Reset this PC” option from the Troubleshoot menu on your Sony Vaio Ultrabook, the next step is to choose between the two available options: “Keep my files” or “Remove everything”. This step allows you to decide the level of data deletion during the factory reset process.
Option 1: Keep my files:
If you select the “Keep my files” option, your Sony Vaio Ultrabook will undergo a factory reset while preserving your personal files and data. This means that your documents, pictures, videos, and other files will remain intact after the reset. However, any installed applications and custom settings will be removed, returning your Ultrabook to its original state.
Choosing this option can be useful if you want to start fresh with a clean operating system while ensuring that your important files are not lost. However, it’s still recommended to have a backup of your important data, as some files or settings may be affected during the reset process.
Option 2: Remove everything:
On the other hand, if you choose the “Remove everything” option, your Sony Vaio Ultrabook will undergo a complete factory reset. This means that all personal files, applications, and settings will be permanently deleted. Your Ultrabook will be restored to its original factory settings, similar to how it was when you first purchased it.
By selecting this option, you will have a clean slate to work with, and any software-related issues or conflicts will likely be resolved. However, make sure to backup all your important files and data before proceeding, as they will be permanently erased during the reset process.
Take your time to consider which option suits your needs best. Once you have made your decision, follow the on-screen prompts to confirm your selection and proceed with the factory reset.
In the following steps, we will guide you through the remaining process to complete the factory reset on your Sony Vaio Ultrabook.
Step 8: Follow the on-screen instructions
After choosing either the “Keep my files” or “Remove everything” option in the factory reset process for your Sony Vaio Ultrabook, the next step is to follow the on-screen instructions. These instructions will guide you through the remaining steps to complete the reset successfully.
Once you confirm your selection, the factory reset process will begin. The on-screen instructions will provide you with important information and options that you need to consider during the reset process.
It’s essential to carefully read and understand each instruction before proceeding. Follow the prompts and input any required information accurately to ensure a smooth factory reset.
During the process, you may be asked to confirm your decision, enter passwords, or select additional settings. For example, you might need to choose the language and region settings for your Sony Vaio Ultrabook.
Additionally, some models may require you to insert the original system recovery discs or USB drive that came with your Ultrabook. Follow the on-screen instructions to insert these recovery media if required.
Throughout the reset process, it’s crucial to be patient and allow the system to complete each step. The time it takes to reset your Sony Vaio Ultrabook can vary depending on various factors, such as the model, hardware specifications, and the chosen reset option.
Do not interrupt the process or power off your Ultrabook while the reset is in progress. Doing so could cause data corruption or other issues. Allow the system to complete the reset process so that you can enjoy a fresh start with your Sony Vaio Ultrabook.
Once the on-screen instructions have been followed and the factory reset process is complete, you will be ready to set up your Sony Vaio Ultrabook again.
Step 9: Wait for the factory reset process to complete
After following the on-screen instructions and initiating the factory reset process on your Sony Vaio Ultrabook, it is crucial to exercise patience and allow the system sufficient time to complete the reset. The duration of the reset process can vary depending on several factors, including the model of the Ultrabook and the selected reset option.
During the factory reset process, your Sony Vaio Ultrabook will undergo a series of operations including formatting the hard drive, reinstalling the operating system, and configuring the system settings. These steps are necessary to restore your Ultrabook to its original factory state.
It is important to avoid interrupting or interfering with the reset process to prevent any potential issues or data corruption. Allow the system to complete the necessary operations uninterrupted.
While the factory reset is in progress, you may notice that your Ultrabook restarts multiple times. This is normal and part of the reset process. Each restart helps finalize the configuration changes and ensures that the reset is performed correctly.
The duration of the factory reset process can range from several minutes to an hour or more, depending on the complexity of your Ultrabook’s system files and the reset option you selected. It is essential to be patient and avoid tampering with the process.
During this waiting period, you can utilize this time to gather any necessary installation media, such as drivers or software applications, that you may need later on. Additionally, take this opportunity to prepare any login credentials or personal settings that you will need to set up your Ultrabook once the reset is complete.
Once the factory reset process is finished, your Sony Vaio Ultrabook will restart and present you with a fresh and clean start. You will be ready to move on to the final step of setting up your Ultrabook again and optimizing it according to your preferences.
Step 10: Set up your Sony Vaio Ultrabook again
After the factory reset process is complete and your Sony Vaio Ultrabook has restarted, it’s time to set it up again. This step involves configuring basic settings, reinstalling necessary applications, and personalizing your Ultrabook according to your preferences.
Follow the on-screen instructions that appear after the reset process to set up your Ultrabook. Here are some essential steps to consider:
1. Language and region settings: Choose your desired language and region settings. It’s important to ensure that these settings are accurate as they will affect the display language and regional formats on your Ultrabook.
2. Network connectivity: Connect your Sony Vaio Ultrabook to a Wi-Fi network or Ethernet connection to enable internet access. This will allow you to download necessary updates, drivers, and applications.
3. Windows update: Check for and install any pending Windows updates. Windows updates ensure that your Ultrabook has the latest security patches and improvements for optimal performance.
4. Driver installation: Install any missing drivers for your hardware components. You can download the latest drivers from the Sony Vaio support website or use Windows Update to automatically install recommended drivers.
5. Software reinstallation: Reinstall any essential applications and programs that you need on your Ultrabook. This may include productivity software, antivirus programs, multimedia players, and any other software that is crucial for your workflow.
6. Personalization: Customize your Ultrabook by adjusting the display settings, desktop background, and other personalization options to suit your preferences. You can also set up user accounts and password protection for added security.
Take your time to carefully go through each step and ensure that you set up your Sony Vaio Ultrabook according to your needs. This is an opportunity to optimize your Ultrabook’s performance and tailor it to your specific requirements.
Once you have completed the setup process, your Sony Vaio Ultrabook will be ready for use. You can now enjoy a fresh start with your restored Ultrabook and utilize its full potential for work or entertainment purposes.
Conclusion
Performing a factory reset on your Sony Vaio Ultrabook can be an effective solution to resolve performance issues, software glitches, or simply start fresh with a clean operating system. This step-by-step guide has provided you with the necessary instructions to successfully carry out a factory reset on your Ultrabook.
Remember that before initiating the reset process, it is crucial to back up all your important data to avoid any potential loss. Disconnecting external devices and following the on-screen instructions are equally important to ensure a smooth and successful reset.
By following these steps, you have learned how to access the Advanced Boot Options menu, select the desired reset option, and go through the entire factory reset process. It is important to exercise patience throughout the process and allow your Ultrabook sufficient time to complete the reset.
Once the factory reset process is finished, you can set up your Sony Vaio Ultrabook again, personalizing it and reinstalling necessary applications to suit your needs. This fresh start will provide you with an optimized and rejuvenated Ultrabook that is ready for your daily tasks and activities.
We hope that this guide has been helpful to you. By following these steps, you have been able to successfully perform a factory reset on your Sony Vaio Ultrabook, giving it a new lease of life.
Remember to regularly backup your important data and keep your Ultrabook updated to maintain its performance and security. If you ever need to perform a factory reset again in the future, you can always refer back to this guide for assistance.
Enjoy your refreshed Sony Vaio Ultrabook and make the most of its capabilities!