Introduction
Welcome to the world of wireless networking! In today’s digital age, having a wireless router is essential for connecting multiple devices to the internet without the limitations of wired connections. Whether you’re a tech enthusiast or a novice user, understanding how to access your wireless router is crucial for managing and configuring its settings.
In this article, we’ll explore the steps to access your wireless router and provide a comprehensive guide on how to navigate its user interface. We’ll cover the basics of setting up a wireless network, configuring advanced settings, and troubleshooting common issues that may arise. By the end of this article, you’ll have the knowledge necessary to manage and optimize your wireless connection.
Before we dive into the technical details, let’s take a moment to understand what a wireless router is. Essentially, a wireless router is a device that connects your home or office network to the internet. It acts as a central hub, allowing multiple devices such as laptops, smartphones, and gaming consoles to access the internet simultaneously.
Connecting to a wireless router eliminates the need for physical cables, providing convenience and flexibility in accessing the internet from anywhere within the router’s range. With that said, let’s explore how to access your wireless router and gain control over its settings.
Understanding your wireless router
Before accessing your wireless router, it’s important to familiarize yourself with its basic components and functions. This knowledge will empower you to make informed decisions when configuring and troubleshooting your network.
A wireless router is composed of several key elements that work together to provide a seamless internet experience. The main components include:
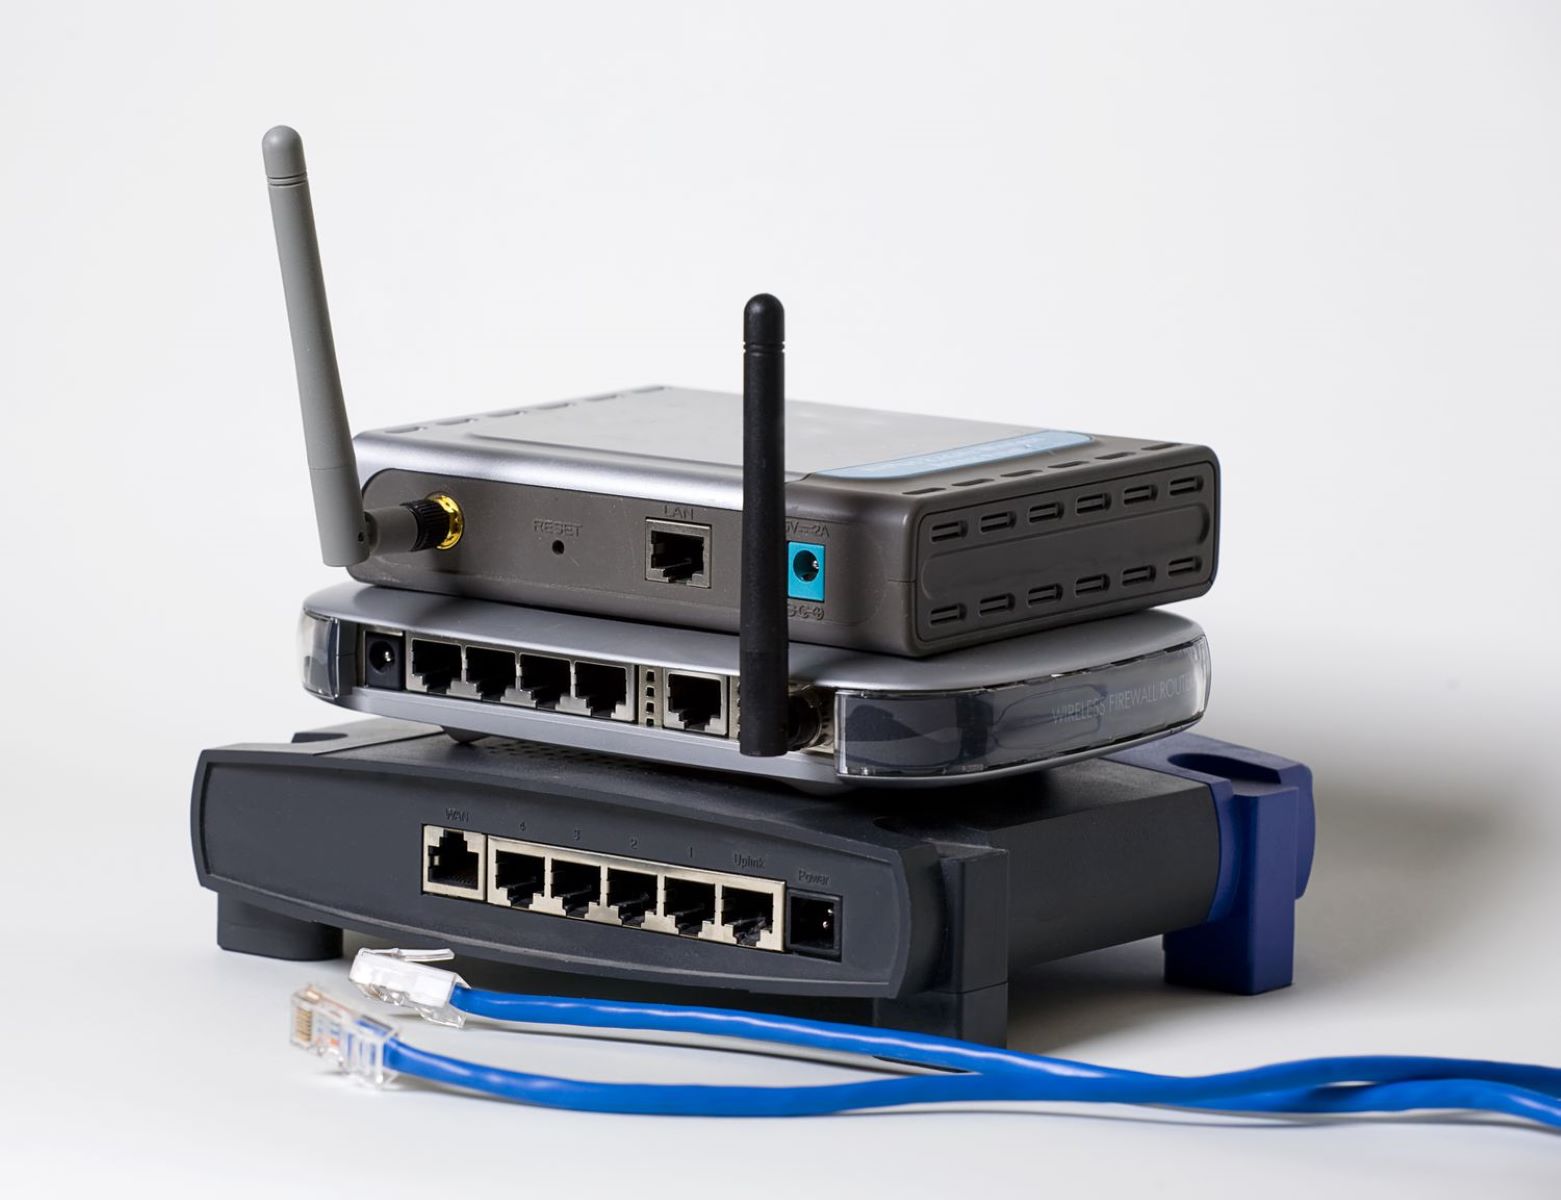
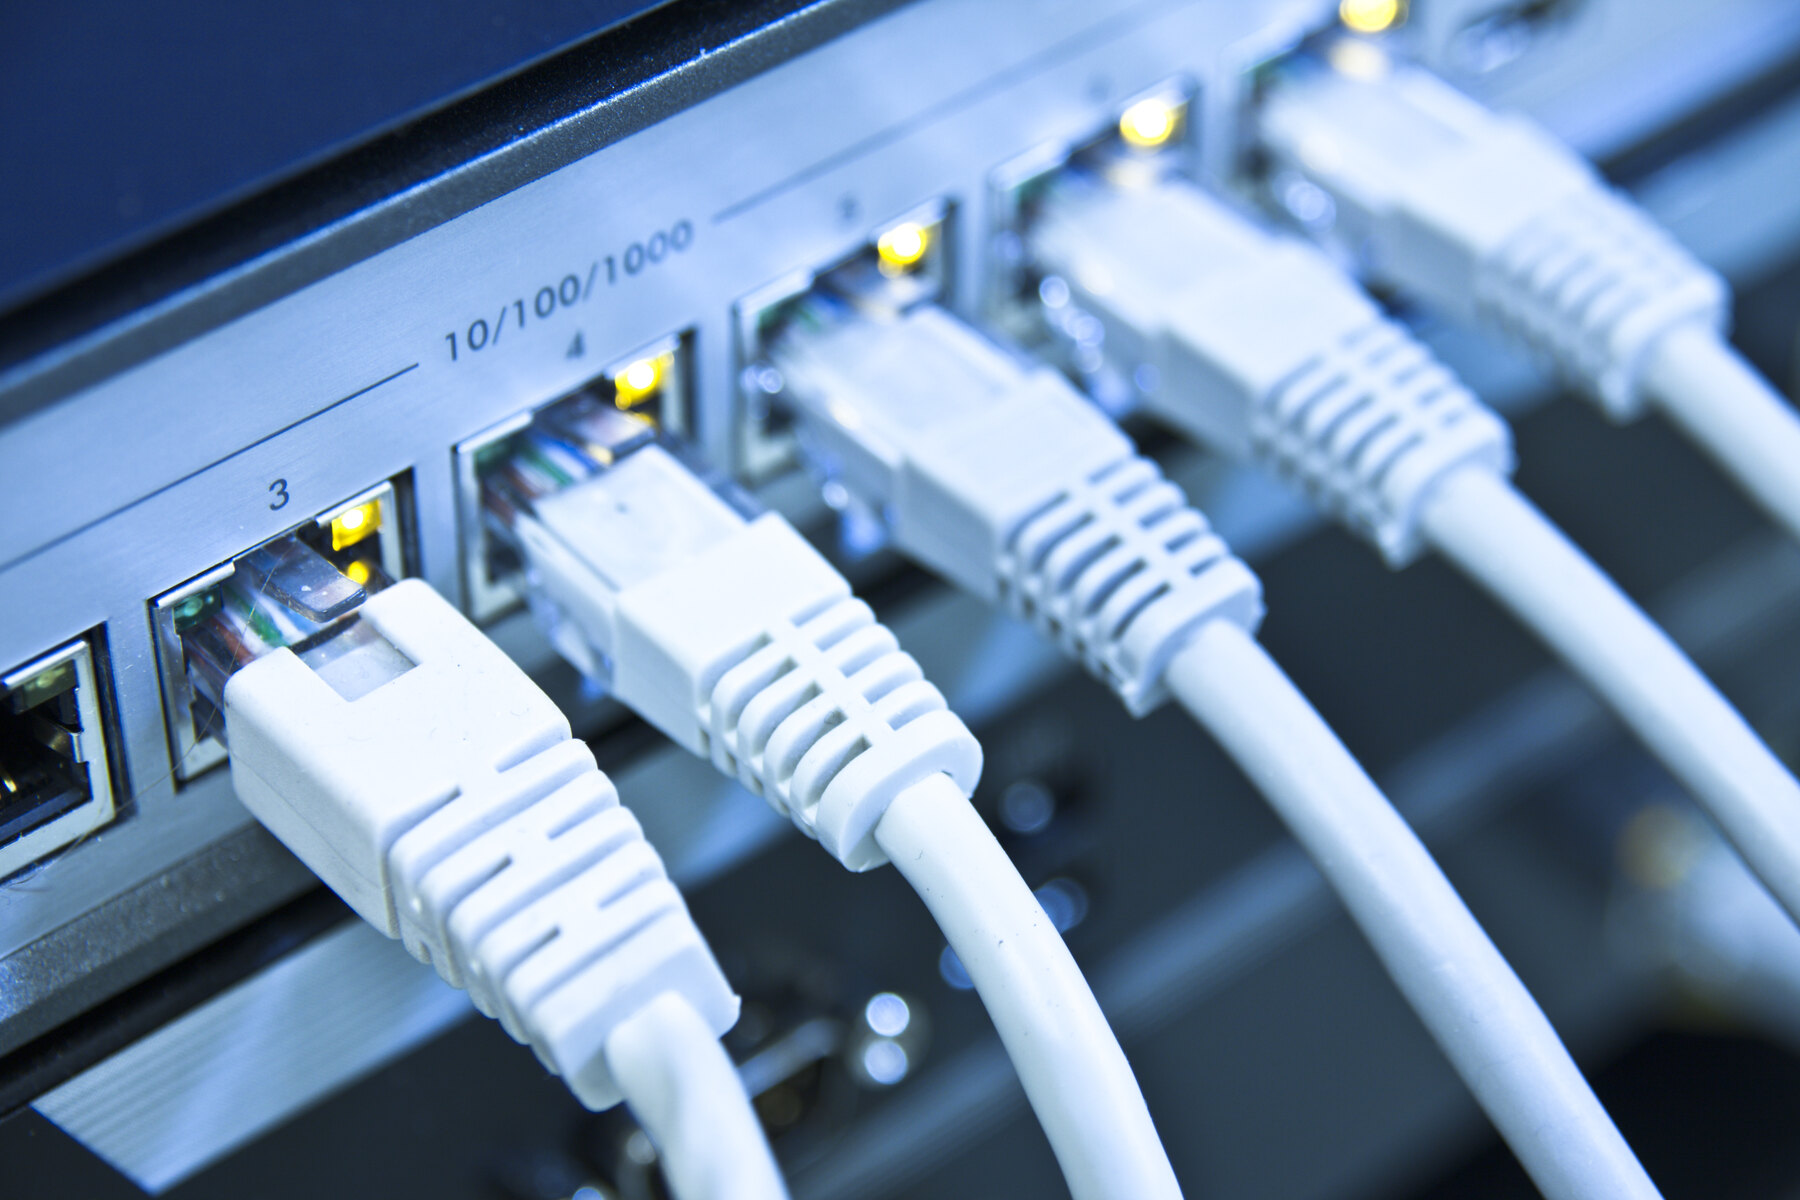
- WAN port: This is the port that connects your router to your internet service provider (ISP) via an Ethernet cable.
- LAN ports: These ports allow you to connect wired devices such as desktop computers and gaming consoles to your router.
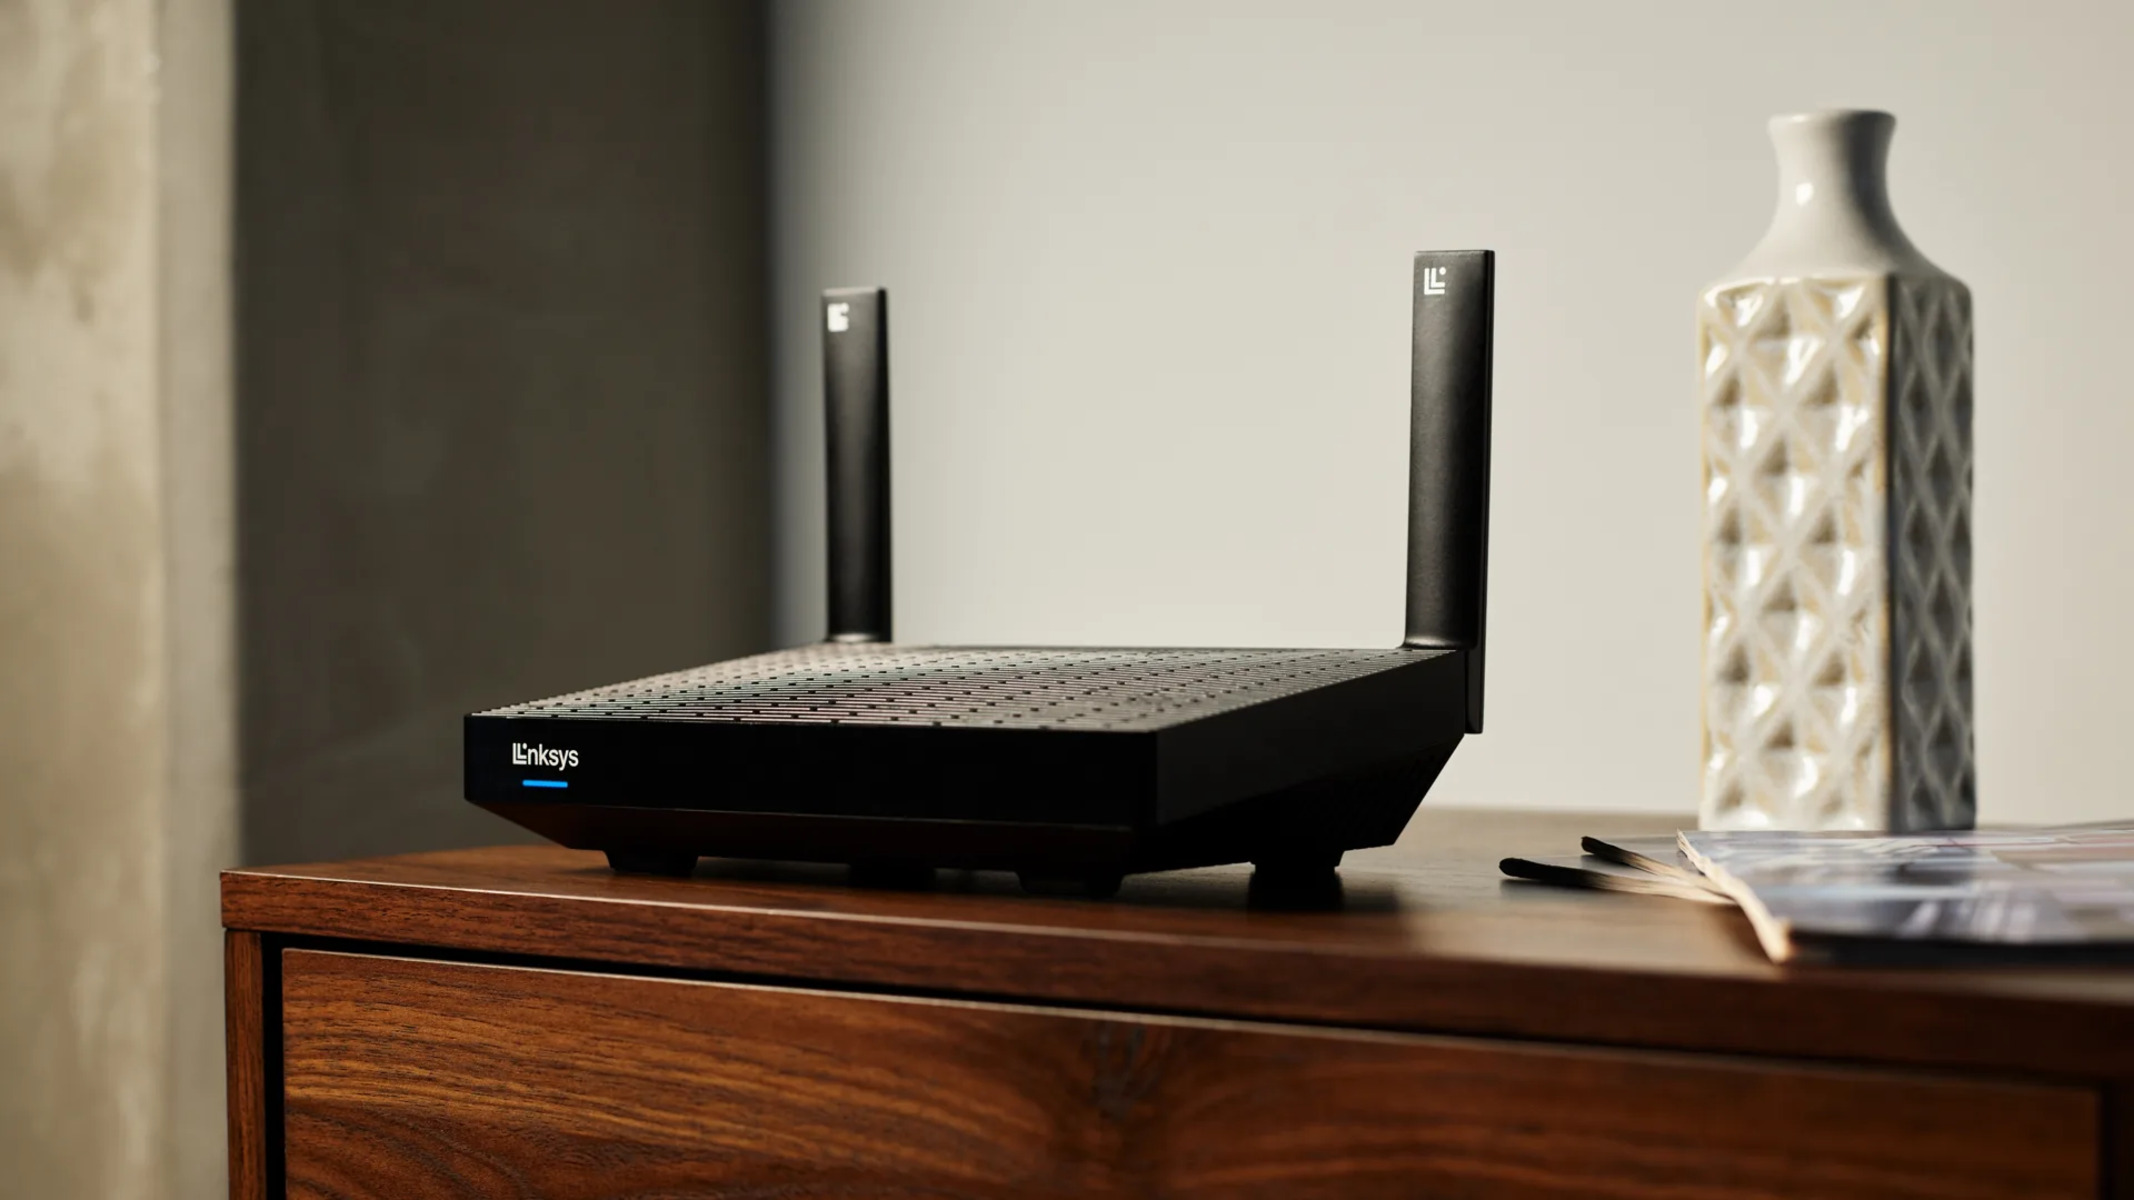
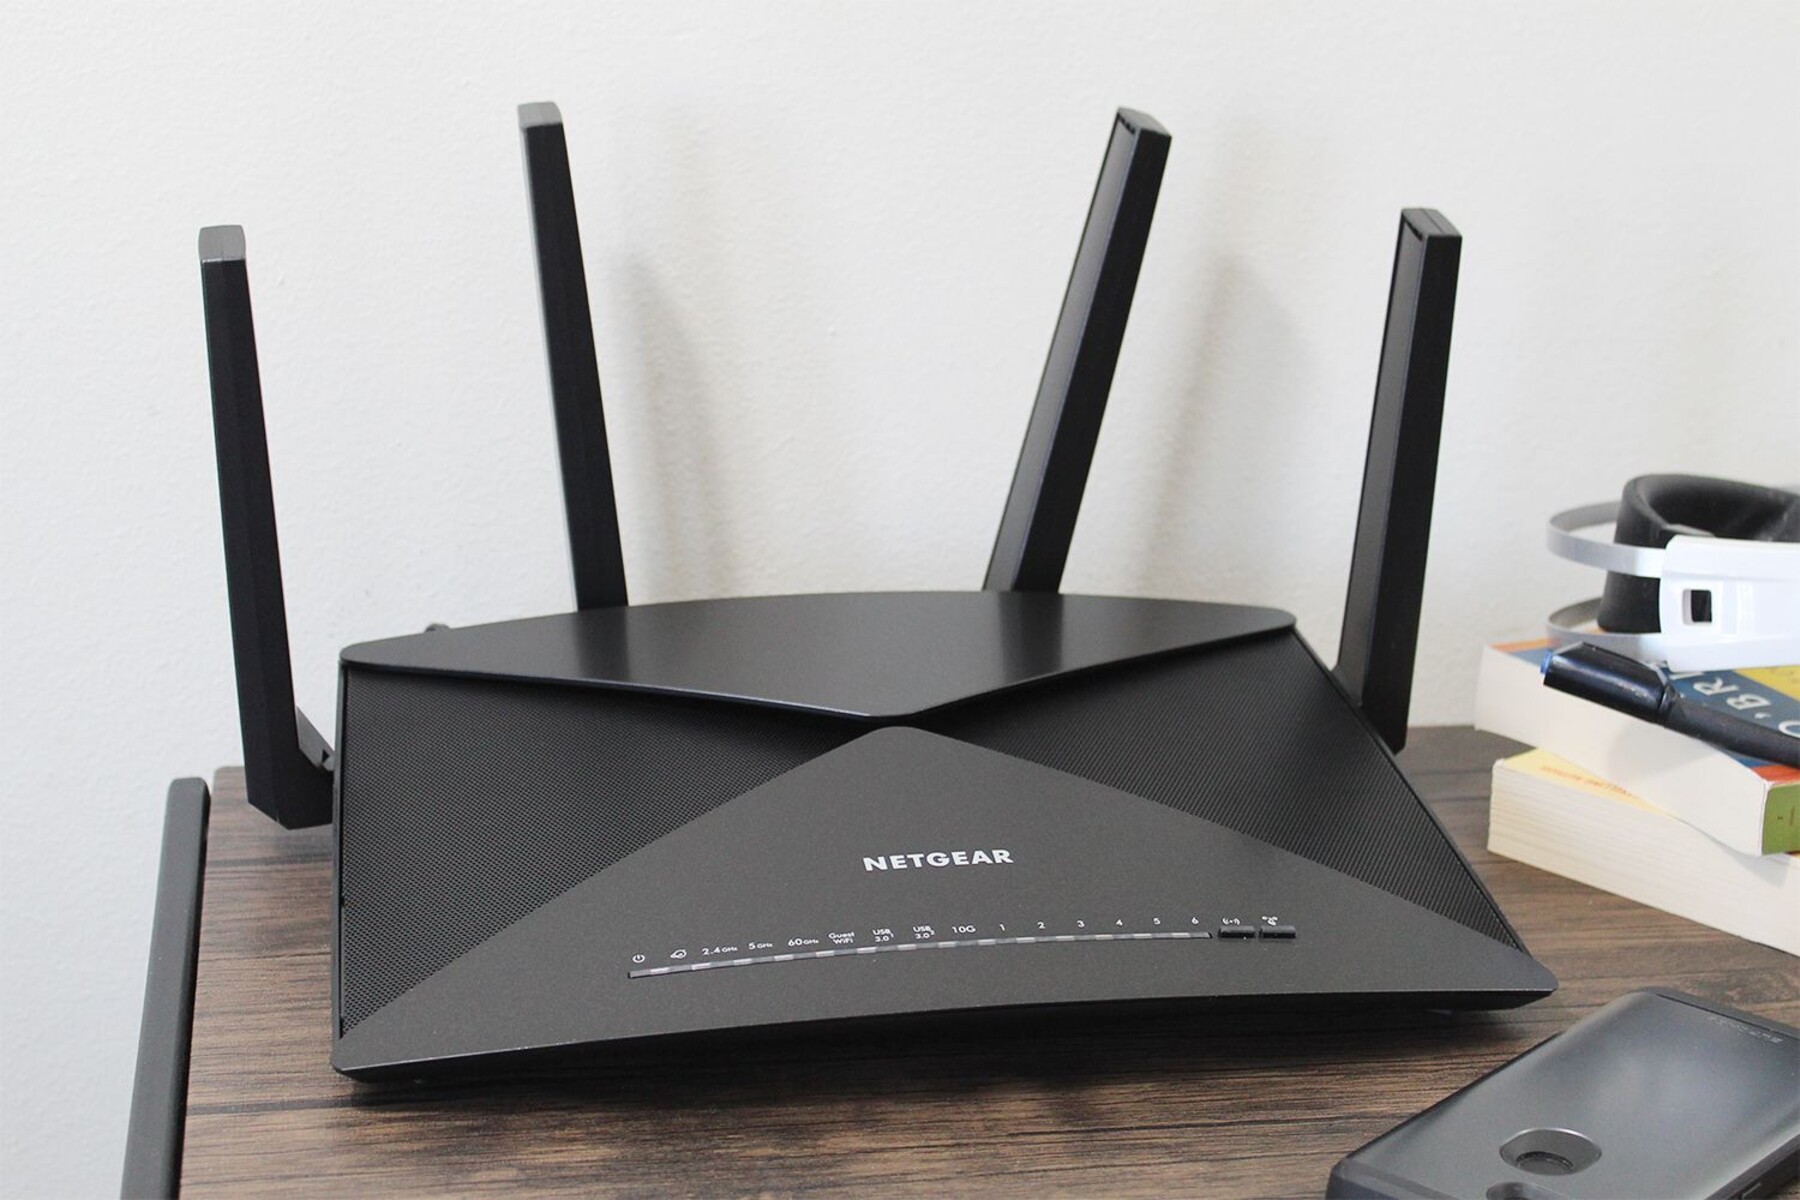
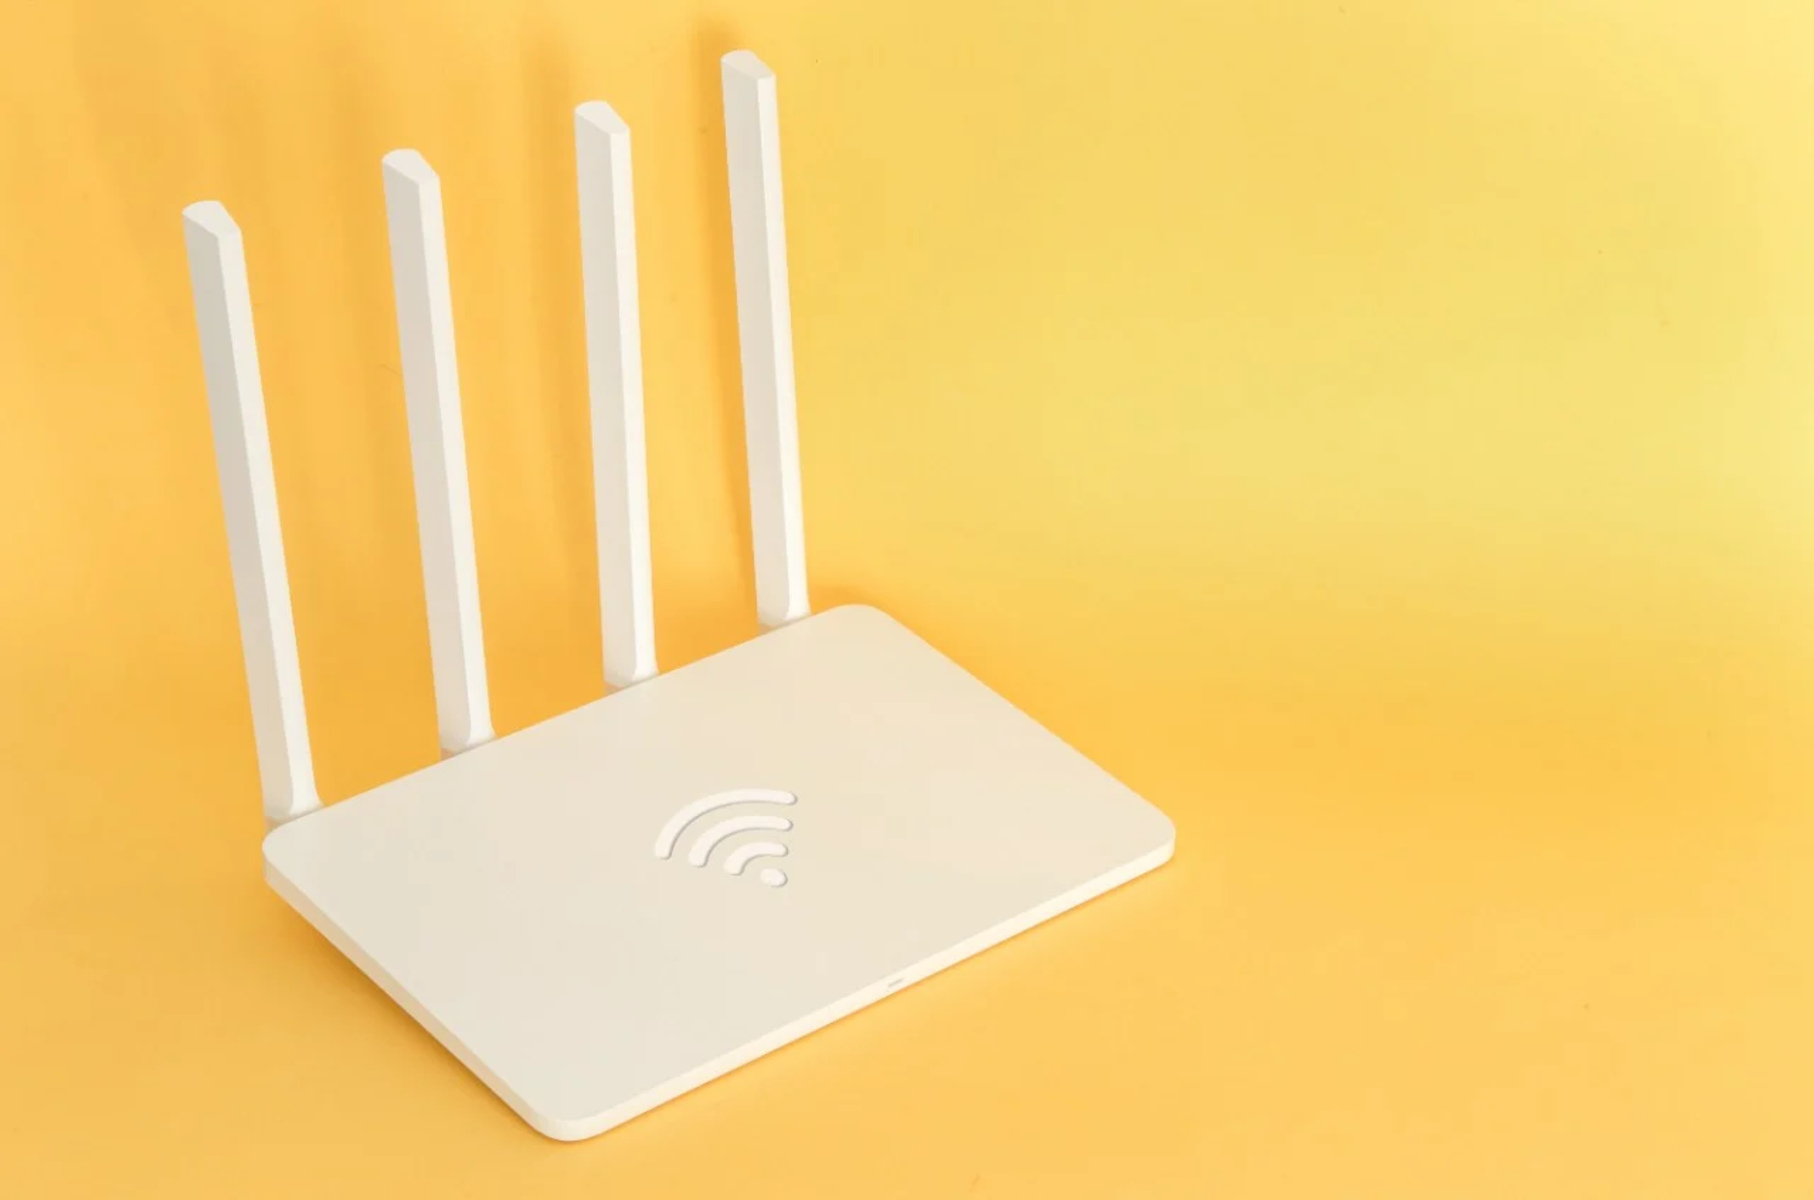
- Wireless antennas: These antennas transmit and receive wireless signals, enabling your devices to connect to the internet without the need for physical cables.
- User interface: This is the graphical interface or web-based control panel that allows you to access and configure your router’s settings.
Understanding the terminology associated with wireless routers is also crucial. Here are some key terms:
- SSID: The Service Set Identifier (SSID) is the name of your wireless network. It’s the name you see when you’re searching for available Wi-Fi networks on your devices.
- Encryption: Wireless networks can be secured with encryption protocols like WPA2 (Wi-Fi Protected Access 2) to prevent unauthorized access.
- MAC address filtering: This feature allows you to specify which devices are allowed to connect to your network based on their unique MAC addresses.
- Guest network: Some routers offer the option to create a separate network for guests, allowing them to access the internet without accessing your main network.
By understanding the components and terminology associated with wireless routers, you’ll be better equipped to navigate their settings and optimize your network.
Connecting to your wireless router
Now that you have a basic understanding of your wireless router, it’s time to connect to it and start managing your network. Here’s a step-by-step guide on how to connect to your wireless router:
- Power on your wireless router by plugging it into a power outlet. Wait for the router to fully boot up.
- Locate the WAN (Wide Area Network) port on your router. This port should be clearly labeled and is typically colored differently from the other ports.
- Using an Ethernet cable, connect one end of the cable to the WAN port of your router and the other end to the modem provided by your ISP.
- Make sure your modem is also powered on and connected to the internet.
- Once the physical connections are established, it’s time to connect your devices to the wireless network. On your computer or smartphone, navigate to the network settings and search for available Wi-Fi networks.
- You should see the SSID (network name) of your router listed. Select it and enter the passphrase or network key if prompted. This information is usually found on a sticker on the router or provided by your ISP. If you’re not sure, refer to the user manual or contact your ISP for assistance.
- After entering the correct network credentials, your device will connect to the wireless network. You should now have internet access on your connected devices.
It’s worth noting that some routers have a WPS (Wi-Fi Protected Setup) feature, which allows devices to connect to the network with the push of a button. If your router supports WPS, you can simply press the WPS button on the router and follow the instructions on your device to establish a connection.
Once connected, you can begin accessing your router’s user interface to configure various settings and customize your network according to your needs. In the next section, we’ll explore how to access the router’s user interface and navigate its features.
Accessing the router’s user interface
In order to configure and manage your wireless router, you need to access its user interface. This is a web-based control panel that allows you to customize various settings and options. Here’s how to access the router’s user interface:
- Make sure that your device is connected to the wireless network of the router. This can be done by connecting to the network name (SSID) you specified during the initial setup.
- Open a web browser of your choice (e.g., Chrome, Firefox, Safari) on the connected device.
- In the address bar of the web browser, type the default IP address of your router. This address varies depending on the manufacturer, but it is commonly “192.168.1.1” or “192.168.0.1”. You can find the specific IP address in the router’s user manual or by checking the manufacturer’s website.
- Press Enter or Return on your keyboard to access the router’s login page.
The login page will prompt you for a username and password to authenticate your access to the router’s user interface. By default, the username and password are usually “admin” or “admin” for both fields. However, it is highly recommended to change these login credentials for security reasons. If you don’t remember the username and password, you can reset the router to its factory settings by pressing the reset button on the back of the router for about 10 seconds.
Once you have entered the correct credentials, you will gain access to the router’s user interface, which is generally organized into different sections or tabs. Here, you can configure various settings, including network name (SSID), password, wireless channels, security protocols, and parental controls.
It’s important to note that the user interface may vary depending on the router model and brand. Some routers have a simple interface with basic settings, while others offer advanced options and features. Refer to the router’s user manual or online documentation for specific instructions on how to navigate and customize your router’s settings.
Now that you know how to access the router’s user interface, let’s move on to the next section, where we’ll discuss logging in and securing your router.
Logging in to the router’s user interface
Once you’ve accessed the router’s user interface, the next step is to log in using your credentials. Logging in allows you to make changes to the router’s settings and customize your network. Here’s how to log in to the router’s user interface:
- Open a web browser and type the default IP address of your router into the address bar. Common default IP addresses are “192.168.1.1” or “192.168.0.1”. If you’re not sure, refer to the router’s user manual or the manufacturer’s website.
- Press Enter or Return on your keyboard to access the login page of the router’s user interface.
- You will be prompted to enter a username and password. By default, these are often set to “admin” or “admin” for both fields. However, it’s important to change these default credentials to enhance the security of your router. If you’ve forgotten the login details, you can reset the router to its factory settings by pressing the reset button on the back of the router for about 10 seconds.
- After entering the correct login credentials, click on the “Login” or “Submit” button to proceed.
Once you’ve successfully logged in, you will be directed to the main dashboard or control panel of the router’s user interface. From here, you can navigate through different sections or tabs to configure and customize various settings according to your preferences.
It’s essential to secure your router’s user interface by changing the default login credentials. This helps protect your network from unauthorized access and ensures that only authorized users can make changes to the router’s settings.
Additionally, consider implementing other security measures such as enabling a strong encryption protocol, setting up a guest network, and enabling MAC address filtering. These steps can further enhance the security of your wireless network and help safeguard your personal data.
Now that you’re logged in and ready to configure your router’s settings, let’s move on to the next section where we’ll discuss how to set up basic and advanced configurations for your wireless network.
Configuring basic settings
Once you’ve logged in to your router’s user interface, it’s time to configure the basic settings that will define the functioning of your wireless network. These settings include the network name (SSID), network password, and security protocols. Here’s how to configure the basic settings of your router:
- Locate the section or tab in the user interface that allows you to configure the basic wireless settings.
- Set a unique and memorable network name (SSID) for your wireless network. Avoid using personal information or easily identifiable names that may compromise your security.
- Create a strong and secure password for your wireless network. A strong password should be at least 8 characters long and include a combination of uppercase and lowercase letters, numbers, and special characters.
- Select the appropriate security protocol for your network. It is highly recommended to use WPA2 (Wi-Fi Protected Access 2) as it offers the highest level of security. Avoid using older or less secure protocols like WEP (Wired Equivalent Privacy).
- Save the changes and wait for the router to apply the new settings. Once the settings are saved, all devices connected to the network will need to re-enter the new network name and password to connect.
Configuring these basic settings helps ensure the security of your wireless network and prevents unauthorized access. It’s important to periodically review and update these settings to maintain a secure environment.
In addition to the basic wireless settings, you may also find other options in the user interface that allows you to configure parameters such as DHCP (Dynamic Host Configuration Protocol) settings, IP address allocation, and DNS (Domain Name System) settings. These settings help manage the allocation of IP addresses to devices connecting to your network and ensure smooth communication between devices and the internet.
By configuring the basic settings of your router, you can create a secure and customized wireless network that meets your needs. In the next section, we’ll delve into configuring advanced settings, which will further enhance the performance and capabilities of your wireless network.
Configuring advanced settings
After setting up the basic configurations of your wireless router, you may want to explore the advanced settings to further customize and optimize your network. These advanced settings offer additional features and options to enhance the performance and security of your wireless network. Let’s take a look at some of the common advanced configurations:
- Port Forwarding: Port forwarding allows you to redirect incoming internet traffic to a specific device or application on your network. This is useful for hosting servers or accessing devices remotely.
- Quality of Service (QoS): QoS allows you to prioritize specific devices or applications on your network, ensuring that they receive sufficient bandwidth and network resources for optimal performance. This is especially useful for activities such as video streaming or online gaming.
- Firewall settings: Configuring the firewall settings on your router can help protect your network from unauthorized access and malicious activities. You can customize firewall rules to allow or block specific types of incoming and outgoing connections.
- VPN (Virtual Private Network) support: If you need a secure and private connection to access your network remotely or protect your online activities, you can explore the VPN settings on your router. VPNs encrypt your internet traffic and provide a secure connection to prevent eavesdropping.
- Guest network: Many routers offer the option to create a separate guest network. This allows visitors to connect to the internet without accessing your main network and ensures the security of your personal devices.
- Parental controls: If you want to manage and restrict the internet access of certain devices or users, parental control settings can come in handy. This allows you to set time limits and filter content based on specific categories.
These are just a few examples of the advanced settings available in most wireless routers. The exact features and options may vary depending on your router model and manufacturer.
When configuring advanced settings, it’s important to refer to the user manual or online documentation provided by the router manufacturer. This ensures that you have the necessary information and guidance to make the right choices and optimize the performance of your network.
By exploring and configuring these advanced settings, you can tailor your wireless network to meet your specific needs and make the most out of your router’s capabilities.
Now that you have an understanding of both basic and advanced settings, let’s move on to the next section where we’ll discuss how to set up your wireless network.
Setting up wireless network
Now that you have configured the basic and advanced settings of your wireless router, it’s time to set up your wireless network. This involves fine-tuning the wireless settings to ensure optimal performance and coverage. Here’s how to set up your wireless network:
- Access the wireless settings section in your router’s user interface.
- Choose the appropriate wireless channel. By default, routers often select the channel automatically, but you can manually select a less congested channel for improved performance.
- Configure the wireless mode. Most routers support both 2.4 GHz and 5 GHz frequency bands. You can choose whether to use one or both of these bands for your network, depending on your devices’ capabilities and your specific needs.
- Set the maximum connection speed. If you have older devices that only support slower Wi-Fi standards, you can limit the maximum speed to ensure compatibility and stability.
- Enable or disable SSID broadcasting. By default, routers broadcast their network name (SSID), allowing devices to easily discover and connect to the network. However, you have the option to hide the SSID for added security, although it may make connecting new devices more difficult.
- Adjust the transmit power. Some routers allow you to control the signal strength. Depending on the size of your home or office, you can increase or decrease the transmit power to optimize the coverage and avoid interference from neighboring networks.
- Save the changes and wait for the router to apply the new settings. Your router will reboot and the wireless network will be reconfigured.
Once your wireless network is set up, it will begin broadcasting and devices within range will be able to detect and connect to it. Remember to update the network name (SSID) and password for connected devices if you made any changes during the setup process.
It’s worth noting that wireless performance may be affected by various factors such as physical obstructions, distance from the router, and interference from other electronic devices. Consider placing your router in a central location and minimizing obstructions to maximize signal strength and coverage. You may also want to explore Wi-Fi range extenders or mesh Wi-Fi systems to extend your network’s coverage in larger spaces.
By following these steps and optimizing your wireless network settings, you can enjoy a reliable and fast wireless connection throughout your home or office.
In the next section, we’ll address some common troubleshooting tips to help you resolve any issues you may encounter with your wireless router and network.
Troubleshooting common issues
While setting up and managing your wireless network, you may come across certain issues that can disrupt your internet connectivity or cause network performance problems. Here are some common issues you might encounter and troubleshooting steps to resolve them:
- Slow or unstable connection: If you’re experiencing a slow or unstable connection, try restarting your router and modem. Additionally, ensure that you are within the range of your router and minimize potential sources of interference like other electronic devices or physical obstructions.
- No internet access: If you are unable to access the internet, check if your internet service provider is experiencing any outages in your area. You can also try rebooting your router, modem, and devices connected to the network. Ensure that the WAN connection between the router and modem is properly established.
- Unable to connect to the network: If you’re facing difficulties connecting to your wireless network, ensure that you’re entering the correct network name (SSID) and password. You can also try restarting your device and resetting the network settings. Consider updating your wireless adapter drivers as well.
- Intermittent disconnections: If your devices are frequently disconnecting from the network, check for any firmware updates for your router and perform them if available. Adjusting the channel or changing the location of your router may also help mitigate interference issues.
- Forgotten router login credentials: If you have forgotten the login credentials to access your router’s user interface, you can perform a factory reset by pressing the reset button on the router’s back panel. This will restore the router to its default settings, including the default username and password.
- Issues with specific devices: If one or a few devices are experiencing connectivity issues while others work fine, try restarting those particular devices. You can also check if there are any firmware updates or driver updates available for those devices.
If you have exhausted all troubleshooting steps and the issues persist, it may be worth contacting your internet service provider or the manufacturer’s customer support for further assistance. They can provide specific guidance based on your router model and network setup.
Remember, troubleshooting steps may vary depending on your router model and the specific issue you are experiencing. Always refer to the user manual or online documentation for detailed instructions tailored to your router.
By following these troubleshooting steps, you can overcome common wireless network issues and ensure a stable and reliable internet connection.
Now that you’re equipped with troubleshooting knowledge, let’s conclude this guide on accessing and managing your wireless router with some final thoughts.
Conclusion
Congratulations! You’ve reached the end of this guide on accessing and managing your wireless router. By now, you should have a solid understanding of how to connect to your router, access its user interface, and configure both basic and advanced settings to customize your wireless network.
Remember, a well-configured wireless network provides you with the convenience and flexibility to connect multiple devices without the constraints of wired connections. It allows you to access the internet from anywhere within range, enhancing your productivity and entertainment.
Throughout this guide, we covered the importance of understanding your wireless router’s components and terminology, connecting devices to your network, accessing the router’s user interface, configuring basic and advanced settings, setting up the wireless network, and troubleshooting common issues. Armed with these skills, you are now empowered to manage and optimize your wireless connection.
It’s essential to regularly review and update your network settings to ensure security, enhance performance, and accommodate changes in your technological needs. Keep an eye on firmware updates for your router and take advantage of new features and security patches offered by the manufacturer.
If you encounter any difficulties or need further assistance, don’t hesitate to consult the user manual or reach out to the manufacturer’s customer support. They can provide specific guidance based on your router model and help you resolve any issues you may have.
Now that you’re equipped with the knowledge and skills to access and manage your wireless router, go ahead and take control of your network. Enjoy a seamless and secure internet experience, connecting all your devices and exploring the endless possibilities that this wireless world has to offer!