Introduction
Setting up a Cisco wireless router can seem like a daunting task, especially if you’re not familiar with networking and technology. However, with a little guidance and the right steps, you can easily connect your Cisco wireless router and get your devices connected to the internet wirelessly.
A wireless router allows you to connect multiple devices, such as smartphones, laptops, and tablets, to your home or office network without the need for messy cables. It provides a seamless and convenient way to access the internet and share files and resources among devices.
In this article, we will walk you through the step-by-step process of connecting your Cisco wireless router. We will cover everything from powering on the router to setting up a secure wireless network with a password. By following these instructions, you’ll be able to enjoy the benefits of a wireless connection in no time.
Whether you’re a novice or have some experience with networking, our guide will provide you with clear instructions and tips to ensure a seamless setup process. So, grab your Cisco wireless router and let’s get started!
Step 1: Connecting the Power
The first step in setting up your Cisco wireless router is to connect it to a power source. To do this, follow these simple steps:
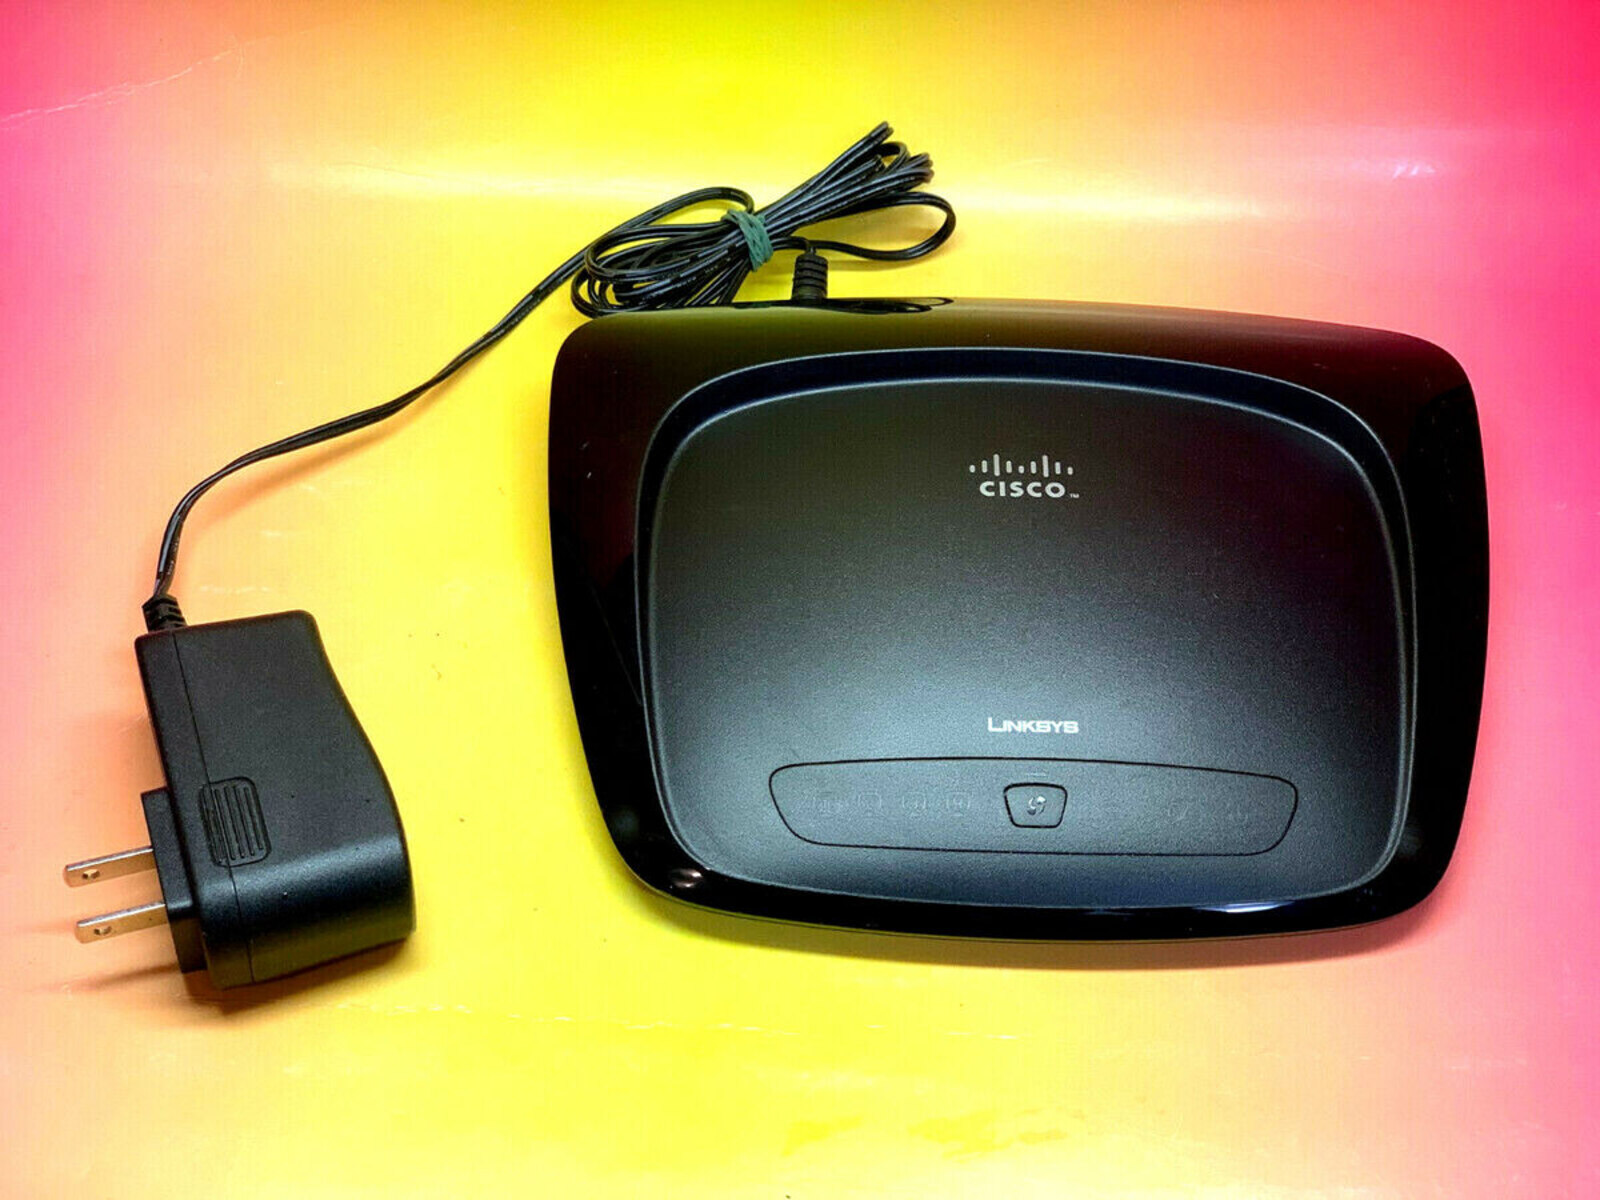
- Locate the power adapter that came with your Cisco wireless router. It should have a cable with a power plug at one end and a connector at the other end.
- Connect the power plug to the power adapter and then plug it into a nearby electrical outlet. Make sure the outlet is easily accessible and not obstructed.
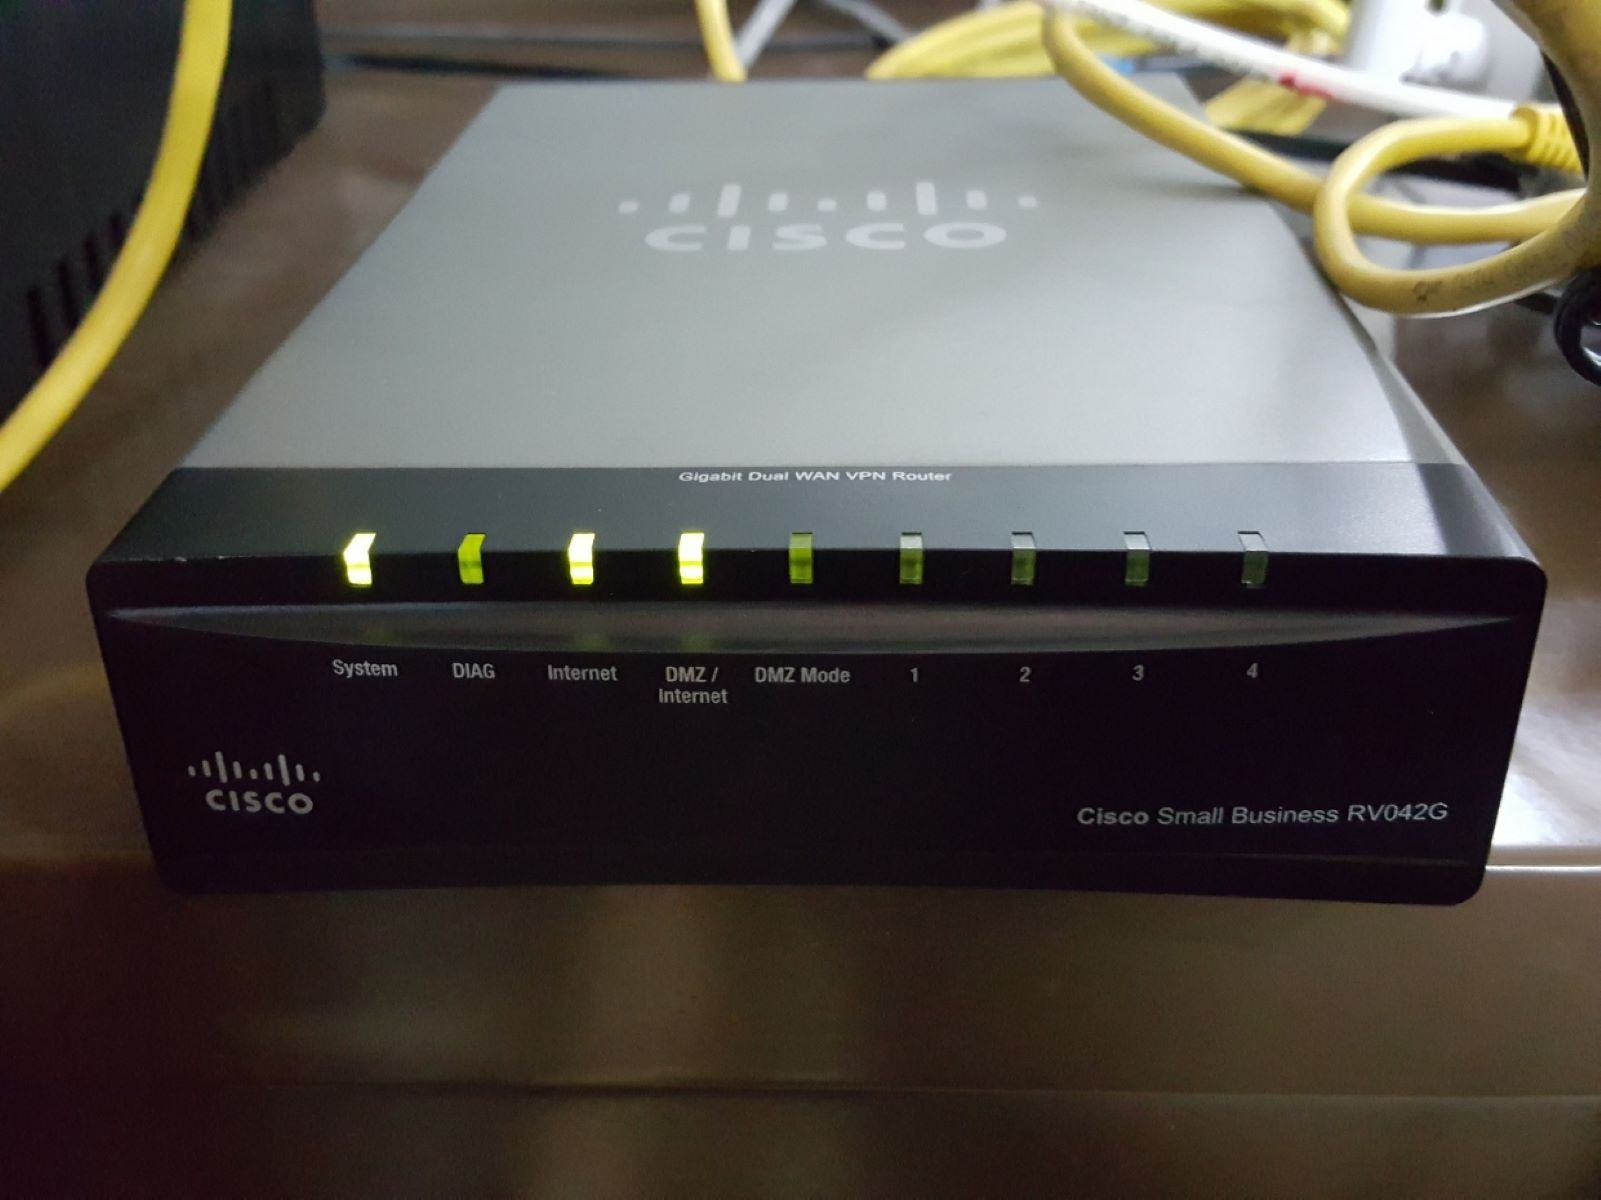
- Check the power LED on your Cisco wireless router. The LED should light up, indicating that the device is receiving power.
- Locate the Ethernet port on the back of your Cisco wireless router. It is usually labeled as “Internet”, “WAN”, or “Ethernet”.
- Take one end of the Ethernet cable and insert it into the Ethernet port on your router. Make sure the connector is securely inserted into the port.
- Locate the Ethernet port on your modem or ISP device. This port is typically labeled as “Ethernet”, “LAN”, or “Internet”.
- Take the other end of the Ethernet cable and insert it into the Ethernet port on your modem or ISP device. Again, ensure that the connector is securely inserted.
- Open a web browser on a device connected to the router’s network. It can be a computer, laptop, smartphone, or tablet.
- In the address bar of the web browser, type in the default IP address of the Cisco router. The default IP address is usually “192.168.1.1” or “192.168.0.1”.
- Press Enter or Return on your keyboard to access the router’s configuration page.
- A login prompt will appear on the screen. Enter the default username and password for your Cisco router. If you haven’t changed the default credentials, you can find them in the router’s user manual or on the manufacturer’s website.
- After successful authentication, you will be directed to the router’s configuration page.
- On the router’s configuration page, navigate to the wireless settings or wireless setup section. This may vary depending on the router model and firmware version.
- Locate the wireless network name (SSID) field. Enter a unique and recognizable name for your wireless network. This is the name that will be visible to devices when they search for available wireless networks.
- Select the appropriate wireless security option. It is recommended to use WPA2 encryption, as it provides the highest level of security. Enter a strong and unique password for your wireless network.
- Adjust other wireless settings as desired, such as the wireless channel and transmission power. These settings can help optimize the performance and range of your wireless network.
- Once you have made the necessary changes, click on the Save or Apply button to save the wireless settings.
- On the router’s configuration page, navigate to the wireless security settings or wireless password section.
- Choose the security mode that supports WPA2 encryption. This offers the highest level of security for your wireless network.
- Enter a unique and strong password in the password field. Your password should be at least 8 characters long and include a combination of uppercase and lowercase letters, numbers, and special characters.
- Once you have entered the password, click on the Save or Apply button to save the settings.
- On the device you want to connect, such as a laptop, smartphone, or tablet, navigate to the Wi-Fi settings or network settings.
- Your device will display a list of available wireless networks. Look for the wireless network name (SSID) that you configured on your Cisco router.
- Select the wireless network and enter the wireless network password that you set up in the previous step.
- Click on the Connect or Join button, and your device will attempt to connect to the wireless network.
- Once connected, your device will have access to the internet and other devices on the network.
- Repeat these steps for each device you want to connect to your Cisco wireless router.
- Connecting the power: Plug in the power adapter and ensure the router is receiving power.
- Connecting the Ethernet cable: Establish a wired connection between the router and modem or ISP device.
- Accessing the router’s configuration page: Use a web browser to access the router’s configuration page and login using the default credentials.
- Configuring the wireless settings: Customize the wireless network name (SSID), security options, and other settings to your preferences.
- Setting up a wireless network password: Secure your network by setting a strong and unique password for your wireless network.
- Connecting wireless devices: Connect your devices to the Wi-Fi network using the correct network name and password.
It’s important to note that the power LED may have different colors or behavior depending on the model of your Cisco wireless router. Refer to the user manual for specific details about the LED status.
Once you’ve connected the power, your Cisco wireless router will start booting up and initializing its internal components. This process may take a few moments, so be patient and wait for the router to fully start up.
Now that your Cisco wireless router is powered on, you’re ready to move on to the next step: connecting the Ethernet cable.
Step 2: Connecting the Ethernet Cable
The next step in setting up your Cisco wireless router is to connect the Ethernet cable. The Ethernet cable is used to establish a wired connection between your router and the modem or internet service provider (ISP) device. Follow these steps to connect the Ethernet cable:
Once the Ethernet cable is connected to both the router and modem or ISP device, the two devices will establish a wired connection. This connection allows your router to receive internet connectivity from the modem or ISP device.
It’s important to note that if you have a modem with a built-in router, you may skip this step and directly connect your devices to the modem’s wireless network. However, if you want to use the advanced features and capabilities of the Cisco wireless router, connecting it via Ethernet is recommended.
With the Ethernet cable properly connected, you’re now ready to move on to the next step: accessing the router’s configuration page.
Step 3: Accessing the Router’s Configuration Page
To configure and customize the settings of your Cisco wireless router, you need to access its configuration page. This page is where you can make changes to the network settings, security options, and other advanced features. Here’s how you can access the router’s configuration page:
Once you’re on the configuration page, you’ll have access to various settings that allow you to customize your network according to your preferences. From here, you can set up the wireless network name (SSID), enable or disable security features like WPA2 encryption, and manage connected devices.
It’s crucial to change the default username and password of your router to enhance the security of your network. This prevents unauthorized access and helps protect your personal information.
Now that you’ve gained access to the router’s configuration page, you’re ready to move on to the next step: configuring the wireless settings.
Step 4: Configuring the Wireless Settings
Configuring the wireless settings is an important step in setting up your Cisco wireless router. It allows you to customize your wireless network and ensure optimal performance and security. Follow these steps to configure the wireless settings:
By configuring the wireless settings, you are ensuring that your network is secure and accessible only to authorized users. The wireless network name (SSID) and password will be required for devices to connect to your network.
Remember to choose a strong password that combines letters, numbers, and special characters to enhance the security of your wireless network. Avoid using common passwords or personal information that can be easily guessed or hacked.
Now that you have configured the wireless settings, you can move on to the next step: setting up a wireless network password.
Step 5: Setting up a Wireless Network Password
Setting up a wireless network password is essential to secure your Cisco wireless router and prevent unauthorized access to your network. Follow these steps to set up a strong and secure wireless network password:
It’s important to choose a password that is not easily guessable and does not contain personal information. Avoid using common passwords or dictionary words, as they are vulnerable to hacking attempts.
Remember to store your wireless network password in a safe place and avoid sharing it with unauthorized individuals. This will help maintain the security and privacy of your network.
By setting up a wireless network password, you are ensuring that only authorized users can connect to your network and access the internet. This protects your personal information and prevents others from using your bandwidth.
Now that you have set up a wireless network password, you can move on to the final step: connecting wireless devices to your Cisco wireless router.
Step 6: Connecting Wireless Devices
Now that you have set up your Cisco wireless router and configured the wireless settings, it’s time to connect your wireless devices to the network. Follow these steps to connect your devices:
It’s important to ensure that the devices you want to connect have Wi-Fi capabilities and are within range of the router’s wireless signal. If you encounter any connection issues, try moving closer to the router or restarting your devices.
Once your devices are successfully connected to the wireless network, you can enjoy the benefits of wireless internet access. You can browse the web, stream videos, play online games, and connect other devices to the network seamlessly.
Remember to periodically check for firmware updates for your Cisco wireless router. Firmware updates can provide important security patches, bug fixes, and performance enhancements.
Congratulations! You have successfully connected your wireless devices to your Cisco wireless router. Enjoy the convenience and freedom of a wireless network!
Conclusion
Setting up a Cisco wireless router may initially seem like a complex task, but by following the step-by-step instructions outlined in this guide, you can easily connect your devices to the internet wirelessly. Here’s a brief recap of the steps:
By following these steps, you can enjoy the benefits of wireless connectivity, such as accessing the internet, sharing files, and connecting multiple devices.
Throughout the setup process, it’s important to prioritize security by changing the default router credentials, enabling encryption, and using a strong password for your wireless network. This helps protect your network from unauthorized access and keeps your personal information secure.
Remember to keep your router firmware up to date by regularly checking for updates from the Cisco website. Firmware updates often include important security patches and performance improvements.
With your Cisco wireless router successfully set up, you can now enjoy the convenience and flexibility of a wireless network. Whether you’re working, gaming, streaming, or simply browsing the web, your devices can stay connected and keep you connected to the digital world.
Thank you for following this guide, and we hope it has been helpful in setting up your Cisco wireless router. If you have any further questions or need assistance, refer to the user manual or reach out to Cisco’s customer support for additional guidance.