Introduction
In today’s interconnected world, maintaining the security of your network is of utmost importance. One crucial aspect of network security is regularly changing the password of your Cisco wireless router. By changing the password periodically, you can significantly reduce the risk of unauthorized access and keep your network safe from potential threats.
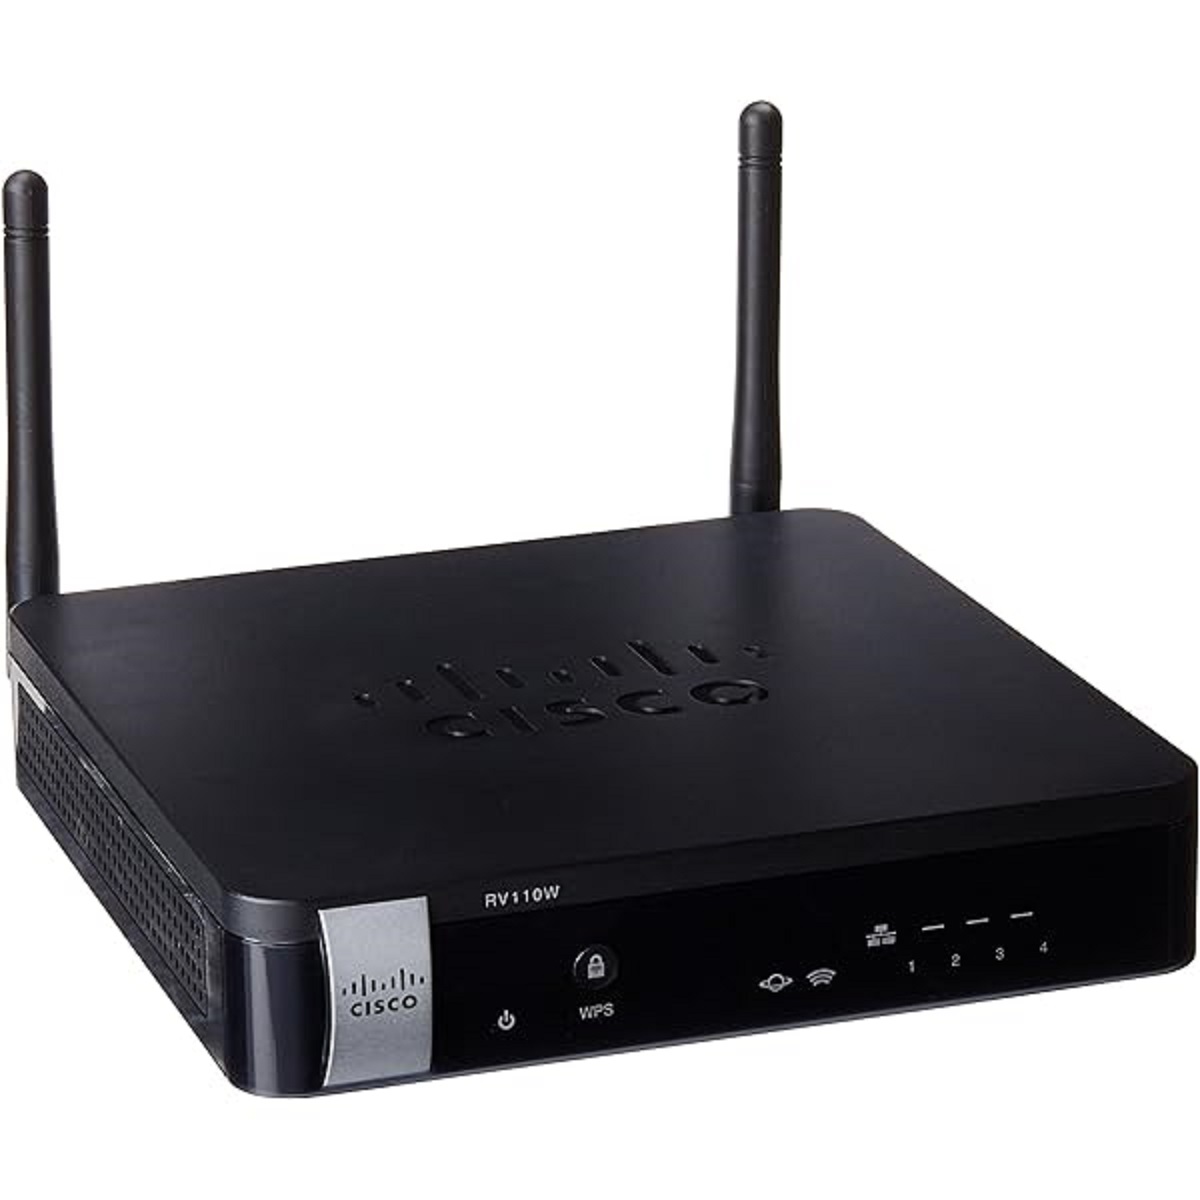
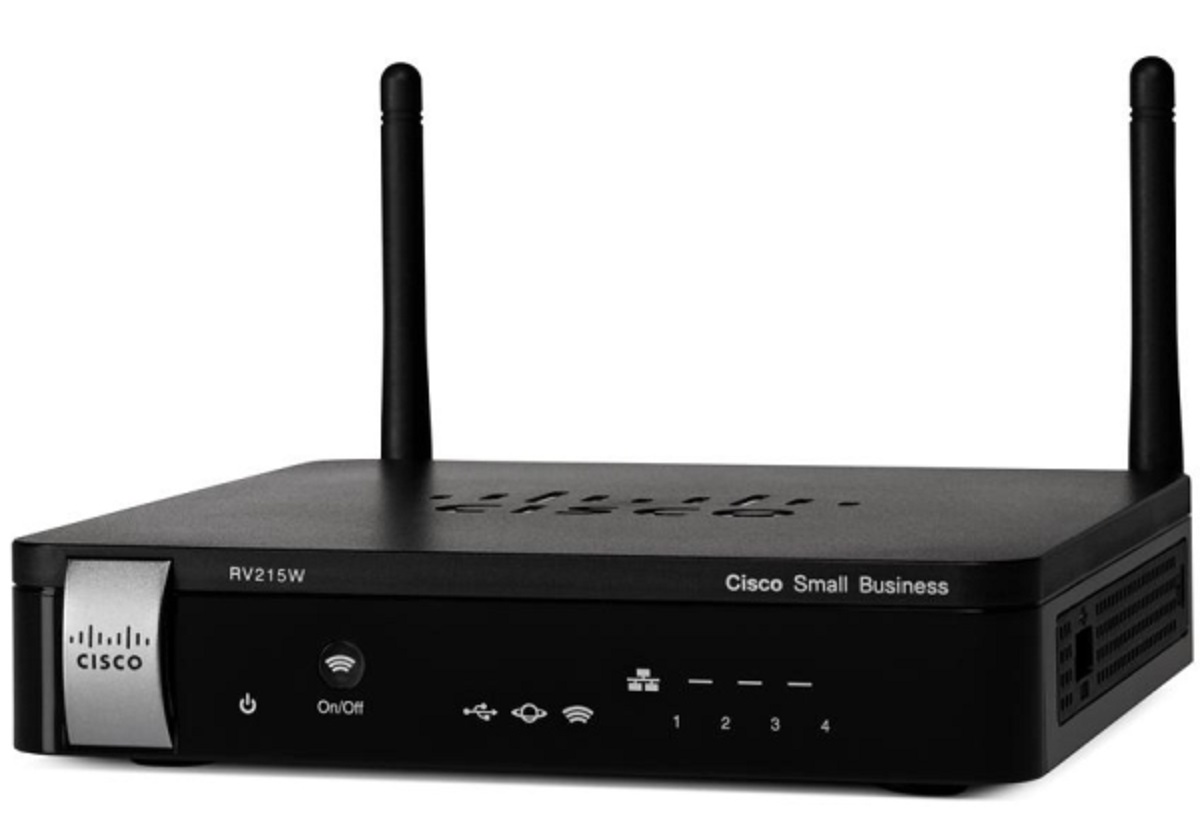
A Cisco wireless router provides a web-based interface that allows you to access and configure various settings, including the ability to change the password. In this guide, we will walk you through the step-by-step process of changing the password on a Cisco wireless router.
Please note that the exact steps might vary slightly depending on the model and firmware version of your Cisco router. However, the general process remains similar across most Cisco routers.
Before we dive into the password changing process, it is essential to ensure that you have the necessary credentials and access to the router’s web interface. You will need the router’s IP address, a username, and the current password to log in and make any changes.
Once you have gathered all the required information, you are ready to embark on the journey of securing your network by changing the password on your Cisco wireless router. Follow the steps outlined in this guide, and you will be able to safeguard your network and enjoy a peace of mind knowing that your router is protected from unauthorized access.
Step 1: Accessing the Router’s Web Interface
To change the password on your Cisco wireless router, you first need to access the router’s web interface. The web interface is a user-friendly graphical interface that allows you to configure various settings on your router. Here’s how you can access it:
1. Connect your computer or device to the same network as your Cisco router.
2. Open a web browser on your computer, such as Google Chrome, Mozilla Firefox, or Microsoft Edge.
3. In the address bar, type in the IP address of your Cisco router. The default IP address is usually “192.168.1.1” or “192.168.0.1,” but it may vary depending on your router model. If you’re unsure of the IP address, you can check the router’s documentation or contact your network administrator.
4. Press Enter or click Go to navigate to the router’s login page.
Once you have accessed the router’s web interface, you are one step closer to changing the password and enhancing the security of your network. In the next step, we will guide you through the process of logging into the router using your credentials.
Step 2: Logging into the Router
Now that you have successfully accessed the router’s web interface, the next step is to log in using your credentials. Here’s how you can log into your Cisco router:
1. On the router’s login page, you will be prompted to enter your username and password. If you have never changed the default credentials, the default username is often “admin,” and the default password is typically “admin” or “password.” However, it is highly recommended to change the default username and password for better security.
2. Enter your username and password in the designated fields. Make sure to enter them correctly, as they are case-sensitive.
3. Click on the Login or Sign In button to proceed.
If the username and password you entered are correct, you will be granted access to the router’s administrative interface. Congratulations! You are now logged into your Cisco router and ready to proceed with changing the password.
In case you are unsure of your username and password, you can try resetting the router to factory defaults. Please note that resetting the router will erase all the configuration settings and restore the router to its default state. Refer to your router’s documentation or contact the manufacturer’s support for instructions on how to perform a factory reset.
Once you have successfully logged into the router, it’s time to navigate to the security settings where you can change the password. Let’s move on to the next step to learn how to do that.
Step 3: Navigating to the Security Settings
After logging into your Cisco router, the next step is to navigate to the security settings where you can change the password. The location of the security settings may vary slightly depending on the firmware version of your router, but the general process remains the same. Follow these steps to find the security settings:
1. Once you are logged into the router’s administrative interface, look for a tab or menu named “Settings,” “Administration,” or “Advanced settings.” This menu typically contains various options related to the router’s configuration.
2. Click on the tab or menu to expand it and reveal additional settings.
3. Look for a sub-menu or option related to “Security,” “Wireless Security,” or “Password Settings.” This menu is where you will find the options to change the password.
4. Click on the sub-menu or option to access the security settings.
If you are unable to find the security settings or are unsure about the location, refer to your router’s documentation or consult the manufacturer’s support website for specific instructions based on your router model and firmware version.
Once you have successfully navigated to the security settings, you are ready to proceed with changing the password. In the next step, we will guide you through the process of locating the password change option.
Step 4: Locating the Password Change Option
Now that you have accessed the security settings, the next step is to locate the option that allows you to change the password on your Cisco wireless router. Here’s how you can find the password change option:
1. Look for a section or menu titled “Wireless Security,” “Password settings,” or something similar. This is where you will find the option to change the password.
2. Within the security settings, there will be a field or option labeled “Password” or “Passphrase.” This field is where you can enter your new password.
3. Some routers may require you to enter the current password before allowing you to change it. If prompted, enter the current password in the designated field.
4. Take note of any additional settings or options related to the password. For instance, you may have the option to choose the type of encryption (WEP, WPA, WPA2) for your wireless network. Select the appropriate encryption type based on your preferences or network compatibility.
If you are unable to locate the password change option or are unsure about the process, consult your router’s documentation or visit the manufacturer’s support website for detailed instructions specific to your router model and firmware version.
Once you have found the password change option, you are now ready to proceed with the actual password change. In the next step, we will guide you through the process of changing the password on your Cisco wireless router.
Step 5: Changing the Password
Now that you have located the password change option in the security settings of your Cisco wireless router, it’s time to change the password. Follow these steps to change the password:
1. In the password field, delete the existing password and enter your new desired password. Make sure to choose a strong password that combines uppercase and lowercase letters, numbers, and special characters. Avoid using easily guessable passwords or personal information.
2. Some routers may have additional fields such as “Confirm Password” or “Re-enter Password.” If prompted, enter your new password again to ensure accuracy.
3. If there are any other fields or options related to the password, review and adjust them as necessary. These additional settings might include password timeouts, password complexity requirements, or password hints. Customize these settings according to your preferences and security needs.
4. Take a moment to verify that all the entered information is correct and double-check for any typos. Ensuring accuracy is crucial to avoid login issues or confusion in the future.
5. Before saving the new password, consider enabling the option to “Show Password” if available. This will display the characters you are entering, allowing you to confirm the accuracy of the password without any typos or mistakes.
6. Once you are confident that everything is correct, click the “Save” or “Apply” button to save the changes and update the password on your Cisco wireless router.
It is important to remember your new password and keep it secure. Consider using a password manager or writing it down in a safe and confidential location. Avoid sharing the password with unauthorized individuals to maintain the security of your network.
With the password changed successfully, you have taken an important step towards strengthening the security of your Cisco wireless router. In the next step, we will guide you through the process of saving the new password.
Step 6: Saving the New Password
After changing the password on your Cisco wireless router, the final step is to save the new password to ensure that the changes take effect. Follow these steps to save the new password:
1. Once you have clicked the “Save” or “Apply” button to change the password, wait for a few moments while the router saves the new settings.
2. Do not interrupt or turn off the router during this process, as it may lead to configuration errors or inconsistencies.
3. After the changes have been successfully saved, you will typically see a confirmation message or notification indicating that the new password has been applied.
4. Take a moment to confirm that your new password is working correctly. Test it by disconnecting and reconnecting to your wireless network using the new password on your devices.
5. If you encounter any issues or cannot connect to the network, double-check the password and ensure that it was entered correctly. In case of concerns, repeat the password change process and carefully enter the new password again.
6. Once you have confirmed that the new password is working correctly, make sure to update any devices or applications that were previously connected to your wireless network with the old password. This will ensure uninterrupted connectivity and avoid any login failures in the future.
By saving the new password, you have successfully completed the process of changing the password on your Cisco wireless router. This simple yet crucial step helps protect your network from unauthorized access and enhances the security of your wireless connection.
Remember to periodically change your password to maintain a high level of security. Additionally, consider implementing other security measures on your network, such as enabling network encryption, disabling remote administration, and regularly updating your router’s firmware.
Congratulations! You have successfully changed the password on your Cisco wireless router and taken an important step towards securing your network.
Conclusion
Changing the password on your Cisco wireless router is a crucial step in maintaining the security of your network. By following the step-by-step guide outlined in this article, you have learned how to access the router’s web interface, log in using your credentials, navigate to the security settings, locate the password change option, change the password, and save the new password.
Regularly changing the password on your router helps protect your network from unauthorized access and potential security threats. It is essential to choose a strong and unique password, combining different characters and avoiding easily guessable information.
Remember to keep your new password secure and avoid sharing it with unauthorized individuals. If needed, use a password manager to store and manage your passwords securely.
In addition to changing the password, consider implementing other security measures on your Cisco wireless router, such as enabling network encryption, disabling remote administration, and keeping the firmware up to date.
By taking these steps to improve the security of your network, you can enjoy a safe and protected wireless connection, giving you peace of mind knowing that your data and privacy are safeguarded.
Stay vigilant and regularly revisit your network settings to ensure that your router’s security features are optimized. By prioritizing network security, you can create a safer and more secure digital environment for yourself and those connected to your wireless network.
Remember, securing your network is an ongoing process, and it is important to stay informed about the latest security practices and updates from Cisco and other network equipment manufacturers.
Thank you for following this guide to change the password on your Cisco wireless router. We hope that the information provided has been helpful and that you feel more confident in securing your network.