Introduction
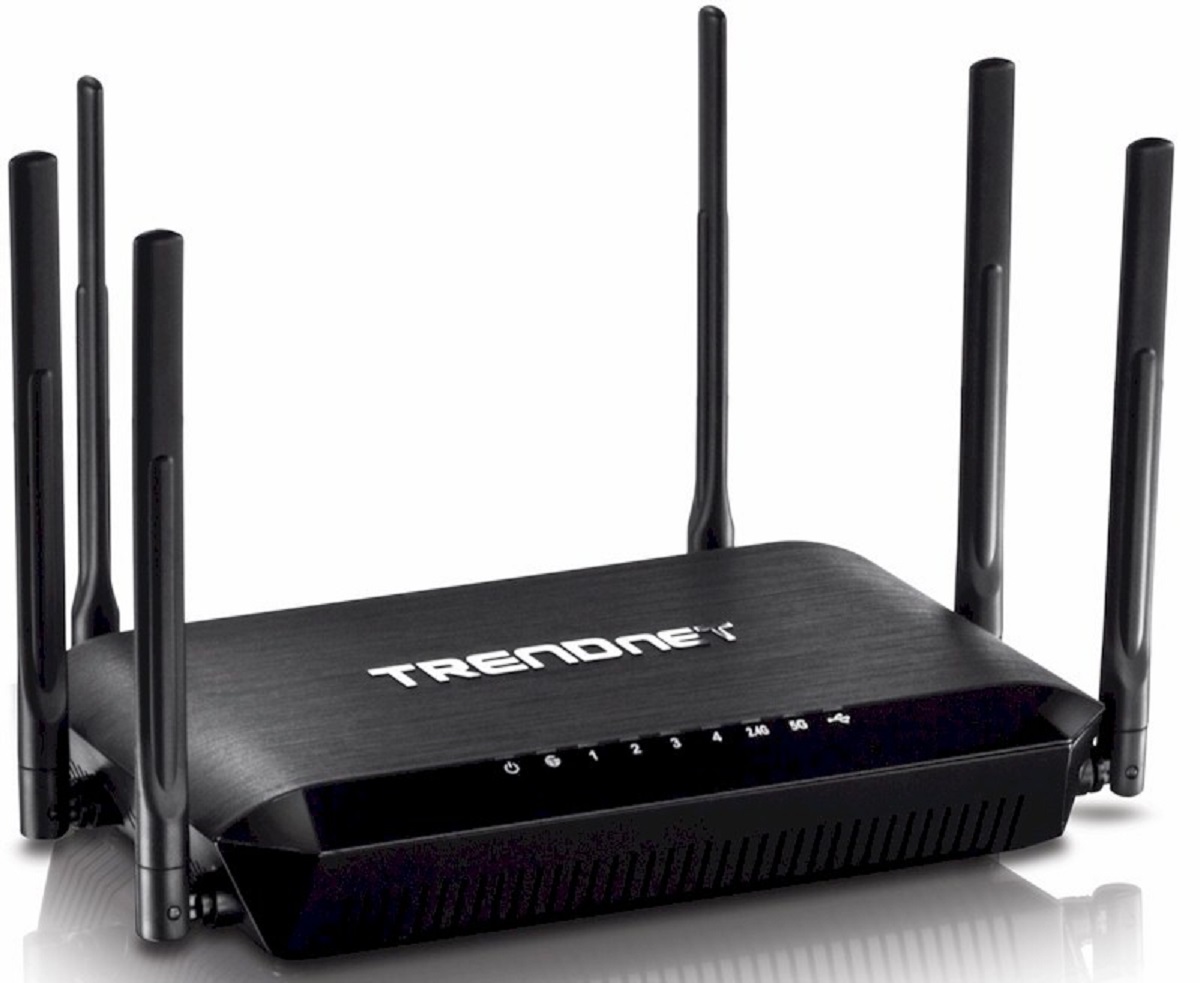
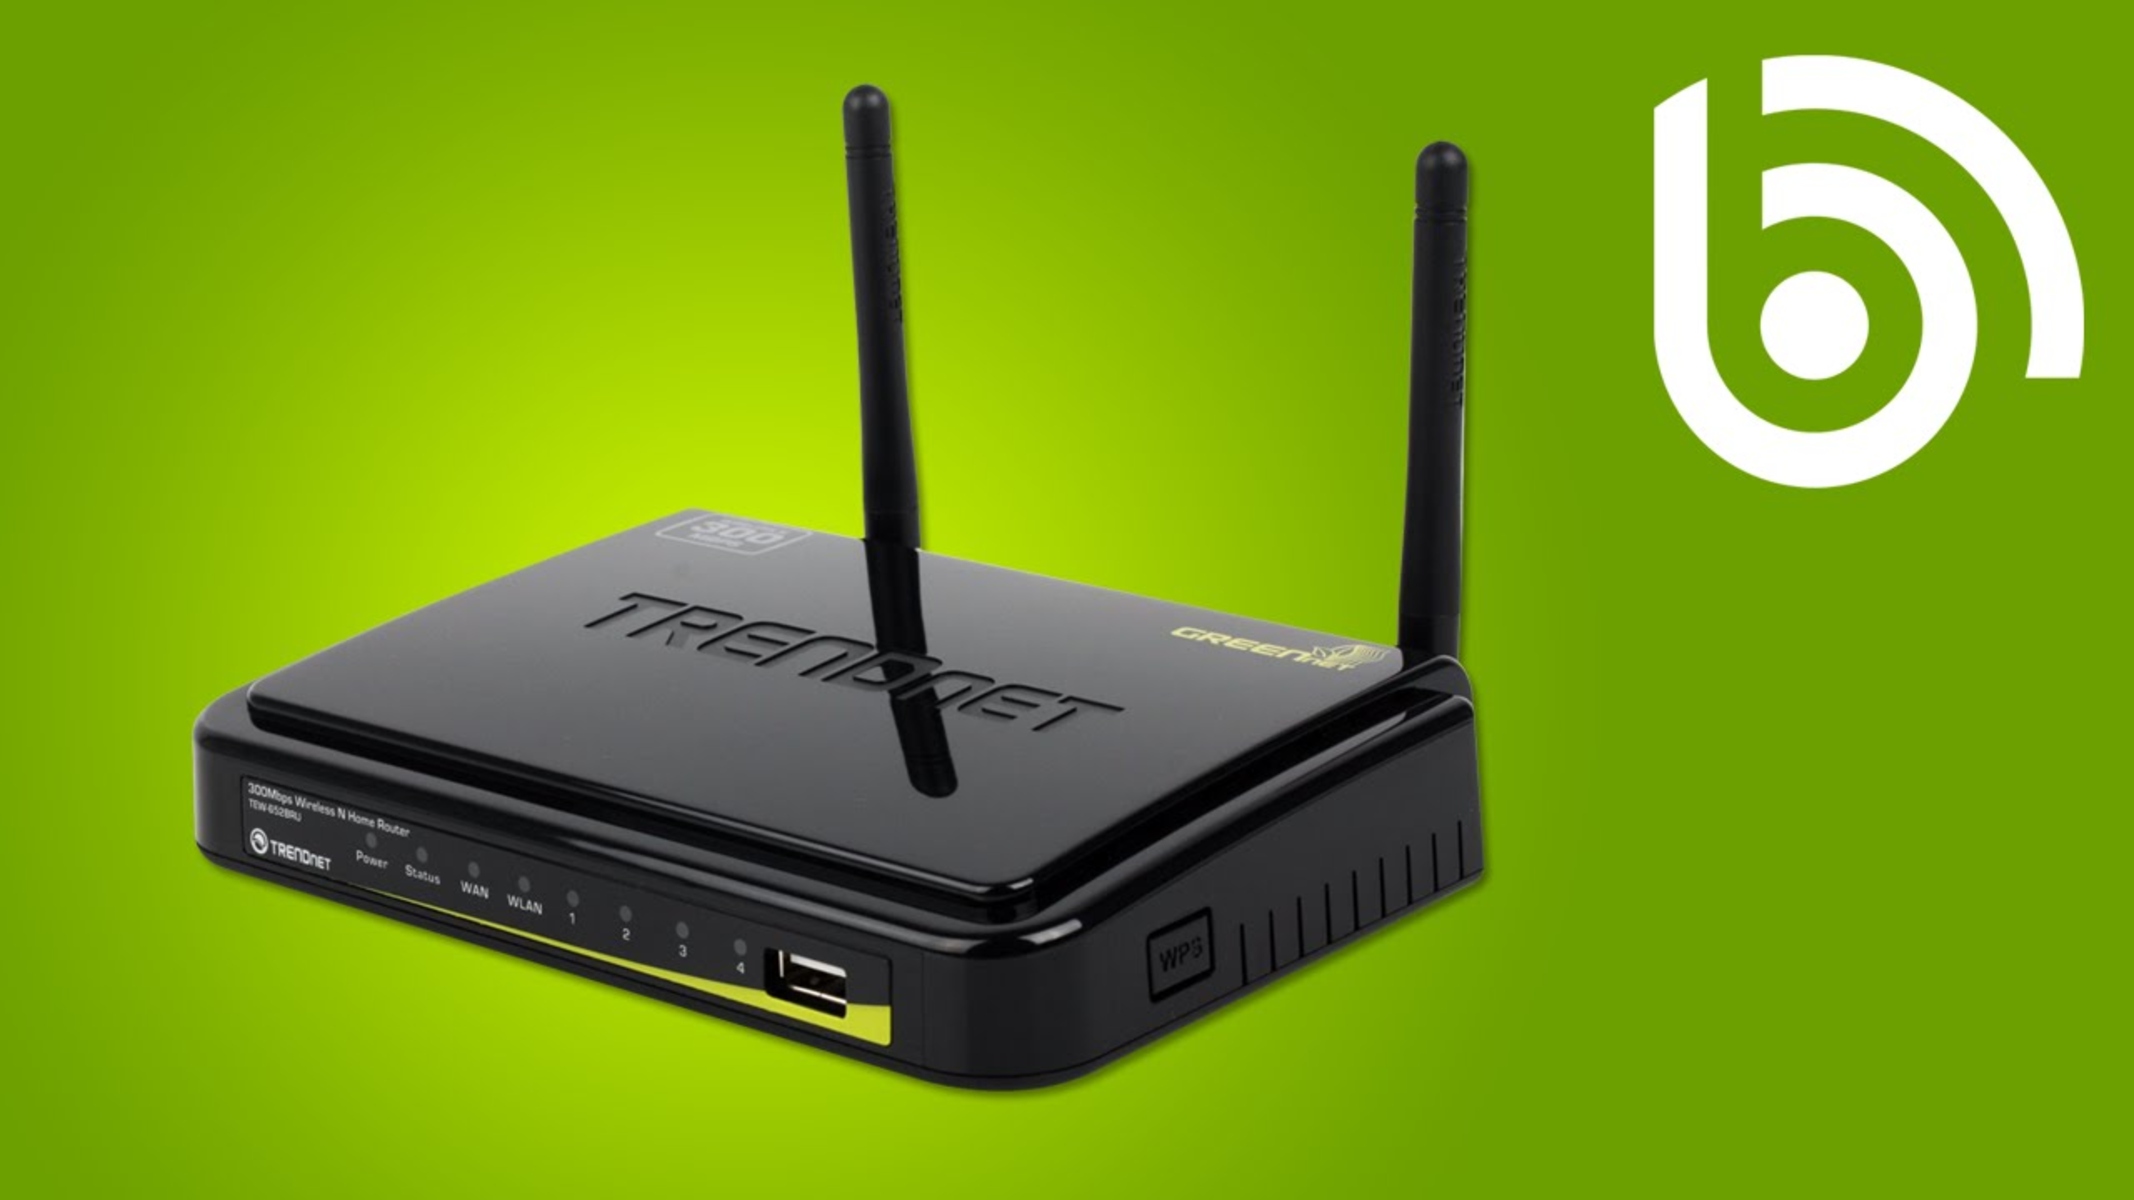
Welcome to this guide on how to configure your Trendnet wireless router! Setting up a wireless router can seem like a daunting task, but with the right guidance, it can be a straightforward and hassle-free process. In this article, we will take you through each step from connecting to the router to configuring advanced settings.
A wireless router is a crucial device that allows you to connect multiple devices to your home or office network without the need for messy cables. It provides a seamless and convenient way to access the internet, share files, and stream media throughout your space. However, before you can start enjoying the benefits of a wireless network, you must first properly set up and configure your router.
Throughout the following steps, we will cover everything from accessing the router’s settings page to setting up your internet connection and configuring advanced settings. By the end of this guide, you will have a fully functional and secure wireless network that meets your specific requirements.
It is essential to note that the steps outlined in this guide are specific to Trendnet wireless routers. While the general concept of router configuration applies to other brands as well, some settings and options may differ. We recommend consulting your router’s user manual or checking the Trendnet support website for model-specific instructions if you encounter any difficulties during the configuration process.
Now, without further ado, let’s get started with the first step: connecting to the router. You will need a computer or mobile device connected to the router to access its settings page and make the necessary configurations.
Step 1: Connect to the Router
The first step in configuring your Trendnet wireless router is to establish a connection between your computer or mobile device and the router itself. This connection is necessary to access the router’s settings page and make any necessary configuration changes. Follow the steps below to connect to your router:
- Ensure that your computer or mobile device is connected to the router. You can do this by either connecting it via an Ethernet cable to one of the LAN ports on the router or connecting to the router’s wireless network.
- If you choose to connect via Ethernet cable, simply plug one end of the cable into your computer or mobile device and the other end into one of the LAN ports on the back of the router.
- If you prefer to connect wirelessly, access the list of available networks on your computer or mobile device. Locate and select the wireless network name (SSID) of your Trendnet router. You can find the SSID on a sticker attached to the router or in the router’s manual.
- Once connected, open a web browser on your computer or mobile device. In the address bar, enter the default IP address of your Trendnet router. The default IP address is typically “192.168.0.1” or “192.168.1.1”.
- Press Enter or Return to access the router’s login page. You may be prompted to enter a username and password. Consult your router’s manual or check the default login credentials provided by Trendnet to enter the appropriate information.
After successfully entering the login credentials, you should now be connected to your Trendnet router and ready to access its settings page. In the next step, we will guide you through the process of accessing the router’s settings page, where you can make various configuration changes to customize your wireless network.
Step 2: Accessing the Router’s Settings Page
Now that you are connected to your Trendnet wireless router, it’s time to access the router’s settings page. This web-based interface allows you to make configuration changes and customize various settings for your wireless network. Follow the steps below to access the router’s settings page:
- Open a web browser on your computer or mobile device that is connected to the router.
- In the address bar of your web browser, enter the default IP address of the Trendnet router. The default IP address is typically “192.168.0.1” or “192.168.1.1”. Press Enter or Return.
- You will be directed to the login page of the router’s web interface. Enter the username and password for your router. If you have not changed the default credentials, consult the router’s manual or the documentation provided by Trendnet to find the default login information.
- After successfully entering the login credentials, you will be granted access to the router’s settings page. This page serves as a control center for managing and configuring your wireless network.
- Take a moment to familiarize yourself with the different sections and settings available on the router’s interface. You will find options to modify wireless network settings, security features, internet connection settings, and more.
- It is worth noting that the layout and organization of the settings page can vary between different models of Trendnet routers. However, the basic functionality and available options should remain consistent.
Once you have accessed the router’s settings page, you are ready to move on to the next step: setting up the internet connection. This step is essential to ensure your router is properly configured to connect to the internet. We will guide you through this process in the following section.
Step 3: Setting up the Internet Connection
After accessing the settings page of your Trendnet wireless router, the next step is to set up the internet connection. This step ensures that your router can establish a connection to your internet service provider (ISP) and enable internet access for your devices. Follow the steps below to configure your internet connection:
- Navigate to the internet or WAN settings section within your router’s settings page. This section may be labeled differently depending on your router model.
- Check if your ISP requires a specific type of internet connection, such as PPPoE or DHCP. If so, select the appropriate option and enter the necessary information provided by your ISP.
- If your ISP uses Dynamic IP addressing (most common), you can usually leave the settings at the default configuration, as the router will automatically obtain IP address information from the ISP.
- Alternatively, if your ISP requires Static IP addressing or you have been provided with specific IP address details, you will need to enter those details in the appropriate fields within the settings page. Make sure to enter the IP address, subnet mask, gateway IP, and DNS server information correctly.
- Save the changes and apply the settings. Your router will now attempt to establish a connection to your ISP using the configured internet settings.
- To verify that the internet connection has been successfully established, check the status or connection information displayed on the router’s settings page. It should indicate a valid and active internet connection.
By setting up the internet connection on your Trendnet wireless router, you have paved the way for seamless internet access on your connected devices. In the next step, we will guide you through modifying the wireless network settings, allowing you to customize and optimize your wireless network for optimal performance and security.
Step 4: Modifying the Wireless Network Settings
With the internet connection established, it’s time to modify the wireless network settings on your Trendnet wireless router. This step allows you to customize various aspects of your wireless network, such as the network name (SSID), channel, and security settings. Follow the steps below to modify the wireless network settings:
- Navigate to the wireless settings section within your router’s settings page. This section may be labeled as “Wireless Settings” or “Wi-Fi Settings”.
- Locate the Network Name (SSID) field and enter a unique name for your wireless network. This name will be visible to devices when they search for available networks to connect to.
- Choose the appropriate wireless channel for your network. By default, the router may be set to “Automatic” channel selection, but you can manually select a channel to minimize interference from other nearby networks.
- Set the wireless mode to match the capabilities of your devices. If you have older devices that only support 2.4GHz wireless connections, select the appropriate mode (e.g., “802.11n mixed”, “802.11g/n”, etc.). If you have newer devices that support faster speeds on the 5GHz band, enable the appropriate mode (e.g., “802.11ac/n”, “802.11a/n/ac”, etc.). Some routers may have separate settings for each frequency band.
- Choose a strong and secure wireless security option, such as WPA2-PSK (AES). This ensures that unauthorized users cannot access your network without the correct password.
- Set a strong and unique passphrase for your wireless network. This passphrase will be required when connecting devices to your network. Avoid using common or easily guessed passwords to maintain the security of your network.
- Save the changes and apply the settings. Your router will apply the new wireless network settings, and any connected devices will need to reconnect using the updated information.
By modifying the wireless network settings on your Trendnet wireless router, you have personalized your network to suit your preferences and enhance security. In the next step, we will guide you through enabling security features to further protect your wireless network from unauthorized access.
Step 5: Enabling Security Features
Ensuring the security of your wireless network is essential to protect your data and prevent unauthorized access. Your Trendnet wireless router offers several security features that you can enable to enhance the protection of your network. Follow the steps below to enable these security features:
- Access the security settings section within your router’s settings page. This section may be labeled “Security” or “Firewall”.
- Enable the firewall feature on your router. A firewall acts as a barrier between your network and the internet, filtering incoming and outgoing network traffic to protect against potential threats.
- Consider enabling MAC address filtering. The Media Access Control (MAC) address is a unique identifier assigned to each device’s network interface. By enabling MAC address filtering, you can specify which devices are allowed to connect to your network based on their MAC addresses.
- Enable the Intrusion Detection System (IDS) or Intrusion Prevention System (IPS) if available. These features help identify and block potential malicious activity on your network.
- Enable remote management only if necessary and ensure it is protected by a strong password. Remote management allows you to access your router’s settings remotely, but it can also pose a security risk if left unprotected.
- Regularly update the firmware of your router. Firmware updates often include security patches and bug fixes that help protect your network against vulnerabilities. Check the Trendnet website periodically for firmware updates specific to your router model.
By enabling these security features on your Trendnet wireless router, you are taking proactive steps to safeguard your network and personal information. In the next step, we will guide you through configuring advanced settings, allowing you to optimize your network’s performance and customize additional features.
Step 6: Configuring Advanced Settings
Configuring advanced settings on your Trendnet wireless router provides you with added flexibility and customization options to optimize your network’s performance and access advanced features. Follow the steps below to configure these advanced settings:
- Access the advanced settings section within your router’s settings page. This section may be labeled as “Advanced Settings” or “Administration”.
- Adjust the Quality of Service (QoS) settings to prioritize specific types of network traffic. For example, you can prioritize video streaming or online gaming to ensure a smooth and uninterrupted experience.
- Explore the parental control options if you have children or want to restrict access to certain websites or services. You can set up filters or schedules to limit access to inappropriate content or manage internet usage.
- Configure port forwarding if you need to allow specific applications or services to bypass the router’s firewall and reach devices on your network. Port forwarding is commonly used for online gaming, remote access, or hosting servers.
- If your router supports guest network functionality, consider setting up a separate guest network with limited access to your main network. This allows visitors to connect to the internet without compromising the security of your main network.
- Customize wireless transmission power to optimize coverage within your desired range. Increasing the transmission power may extend the range, but it can also lead to increased interference and reduced performance.
- Consider enabling IPv6 if your ISP supports it. IPv6 provides a larger address space and improved security compared to the older IPv4 protocol.
- Take advantage of any other advanced settings or features available on your particular router model. These may include VPN pass-through, dynamic DNS, or virtual LAN (VLAN) support.
By configuring these advanced settings on your Trendnet wireless router, you can personalize your network’s performance, enhance security, and access additional features tailored to your specific needs. With all the necessary configurations in place, you can now enjoy a fully optimized and secure wireless network.
Conclusion
Congratulations! You have successfully configured your Trendnet wireless router, setting up a secure and customized wireless network tailored to your needs. Throughout this guide, we walked you through each step of the process, from connecting to the router and accessing its settings page to modifying the wireless network settings and enabling security features.
By following these steps, you have established a solid foundation for a reliable and protected wireless network. Remember to periodically check for firmware updates for your router to ensure you have the latest security patches and feature enhancements.
With your wireless network up and running, you can now enjoy seamless internet access, share files and media, and connect various devices throughout your home or office.
If you encounter any issues or have further questions, refer to the router’s user manual or consult the support resources provided by Trendnet. Their website offers comprehensive documentation and support channels to assist you in resolving any challenges you may face.
Thank you for choosing Trendnet, and we hope this guide has been helpful in configuring your wireless router. Enjoy your secure, fast, and reliable wireless network!