Why Set Up a Smart TV Without Internet?
Smart TVs have become an integral part of our entertainment systems, offering endless possibilities for streaming movies, browsing the web, and accessing various online services. However, there may be instances when connecting your smart TV to the internet might not be feasible or necessary. Let’s explore some of the reasons why you may choose to set up a smart TV without internet.
1. Limited Internet Access: If you live in an area with unreliable or limited internet connectivity, attempting to connect your smart TV to the internet might be frustrating. In such cases, setting up and using your smart TV without internet becomes a practical solution.
2. Secure Viewing Experience: While smart TVs provide access to a wide array of online content, some users may opt to restrict their internet usage due to privacy or security concerns. By setting up a smart TV without internet, you can still enjoy the benefits of a smart TV while maintaining a more secure environment.
3. Cost Savings: Internet service providers may charge additional fees for connecting multiple devices to the internet. If you have a limited data plan or want to avoid incurring extra expenses, setting up a smart TV without internet keeps you from exceeding your data allowance or paying for additional internet connections.
4. Personal Preference: Not everyone uses the internet extensively on their smart TVs. If you primarily use your smart TV for cable or satellite television, playing DVDs or Blu-rays, or gaming consoles, connecting to the internet may not be a priority for you.
5. Remote Locations: If you have a smart TV in a remote location like a vacation home or cabin, where internet connectivity is scarce or non-existent, setting up the TV without internet allows you to enjoy your favorite content without relying on an internet connection.
It’s important to note that while setting up a smart TV without internet provides certain advantages, you may miss out on certain features and functionalities that require an internet connection. However, if your primary objective is to access local content, enjoy cable or satellite television, or use the TV for gaming, setting up your smart TV without internet can be a viable option.
What You Will Need
Before setting up your smart TV without internet, there are a few essential items you will need to ensure a smooth installation process. Here’s a list of what you’ll need:
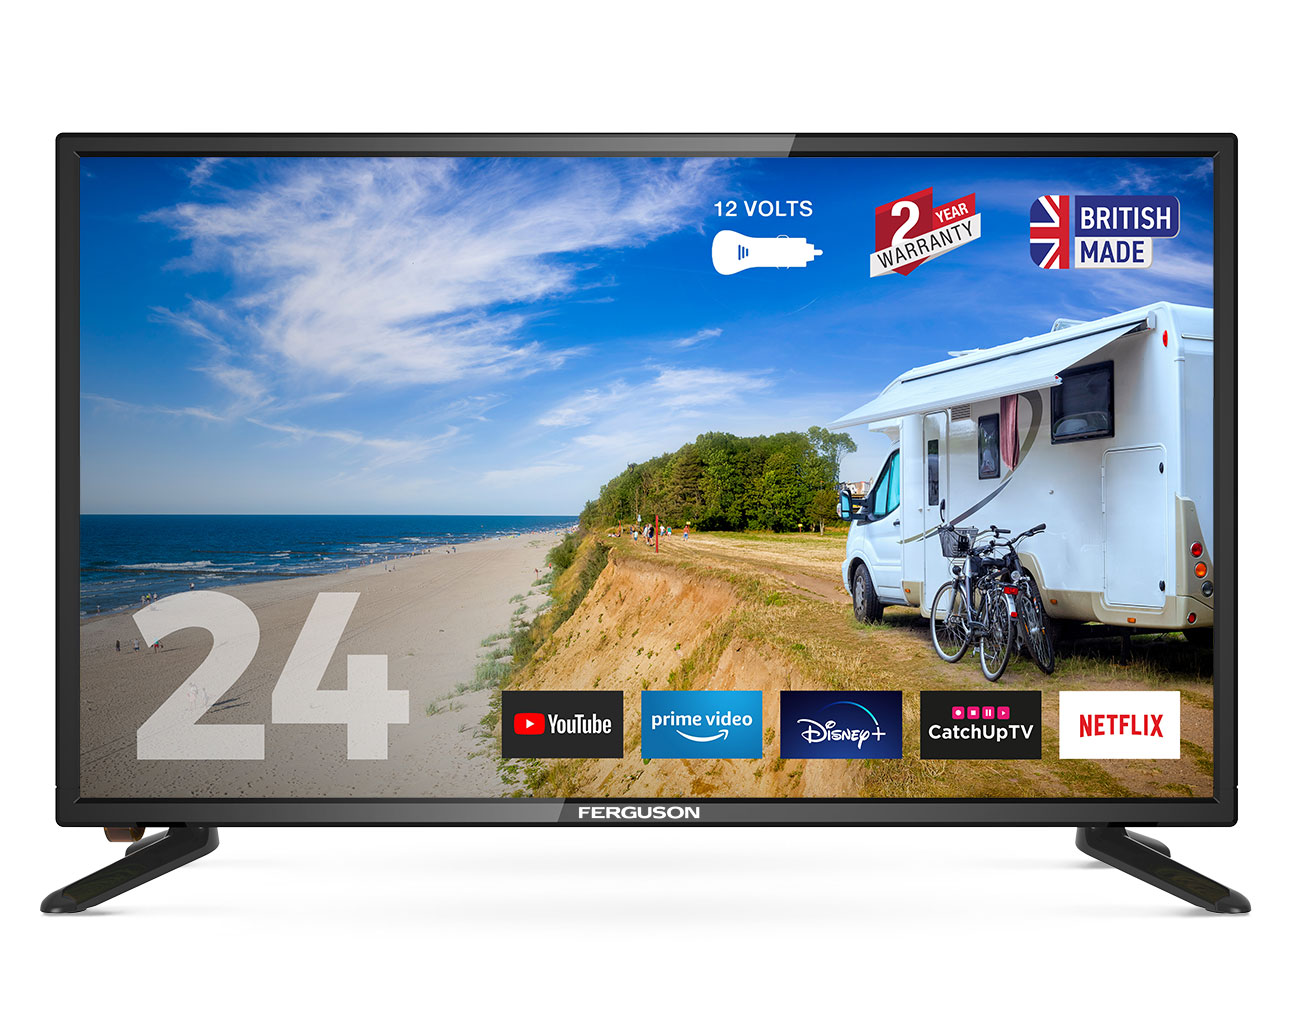
- A Smart TV: Ensure that you have a smart TV capable of connecting to the internet, even if you choose not to use that capability for now. Smart TVs come in various models and sizes, so select one that fits your preferences and budget.
- A Power Outlet: Make sure you have a power outlet near the location where you plan to set up your smart TV. Smart TVs require a stable power source to function properly.
- A Power Cable: Your smart TV should come with a power cable that connects the TV to the power outlet. Ensure that the cable is in good condition and compatible with your specific TV model.
- An Antenna or Cable Connection: If you want to access over-the-air channels, you will need an antenna or a cable connection. An antenna allows you to receive local broadcast channels, while a cable connection provides access to a wider range of channels through a cable subscription.
- External Devices: Consider any additional devices you may want to connect to your smart TV, such as a DVD/Blu-ray player, gaming console, or sound system. Check if you have the necessary cables to connect these devices to your smart TV.
- Mobile Devices: While not mandatory, having a smartphone or tablet can enhance your viewing experience. You can utilize these devices to cast or stream content to your smart TV, even without an internet connection.
Having these items ready will ensure that you have all the necessary components to set up your smart TV without internet. Additionally, it’s a good idea to familiarize yourself with the user manual or online guides provided by the TV manufacturer for specific instructions on setting up your smart TV model.
Step 1: Unboxing and Placing Your Smart TV
The first step in setting up your smart TV without internet is to unbox it and find the perfect spot in your home. Follow these steps to ensure a successful installation:
1. Unbox the TV: Carefully remove your smart TV from its packaging. Take note of any accessories or cables included in the box, as you’ll need them later in the setup process.
2. Find a Suitable Location: Choose the ideal spot for your smart TV, considering factors such as viewing angle, room lighting, and accessibility to power outlets. Ensure that the location provides a stable and sturdy surface to place the TV.
3. Clear the Area: Make sure the area where you’ll place your smart TV is free from any clutter or obstructions that may interfere with the TV’s operation or cause overheating. Keep a distance from walls or other heat sources to prevent potential damage.
4. Mount the TV (optional): If you plan to mount your smart TV on the wall, follow the manufacturer’s instructions for wall mounting. Ensure that you use the appropriate mounting brackets and securely attach the TV to prevent accidents.
5. Connect the Stand (if applicable): If your smart TV comes with a stand, assemble it according to the instructions provided. Ensure that it is properly attached and stable before placing the TV on it.
6. Place the TV: Carefully place your smart TV on the chosen spot, taking care not to damage the screen or any other sensitive components. Adjust the TV’s position to achieve the desired viewing angle.
7. Organize Cables: Neatly arrange the cables coming from your smart TV to avoid tangling and make future connections easier. Use cable ties or cable management solutions to keep them organized and out of sight.
8. Connect Power: Place the power cable into the power outlet and connect the other end to the designated port on your smart TV. Ensure that the connection is secure.
By following these steps, you will have successfully unboxed and placed your smart TV in the desired location. Next, we will move on to connecting the necessary cables and configuring the audio and video settings of your smart TV.
Step 2: Connecting the Power Cable
Once you have placed your smart TV in the desired location, the next step is to connect the power cable. Follow these steps to ensure a proper power connection:
1. Locate the Power Port: Identify the power port on your smart TV. It is usually located on the back or side of the TV, near the bottom.
2. Attach the Power Cable: Take the power cable that came with your smart TV and plug one end into the power port of the TV. Make sure it fits securely.
3. Connect to the Power Outlet: Plug the other end of the power cable into a nearby power outlet. Ensure that the outlet is easily accessible and provides a stable power source.
4. Check the Power Indicator: Once connected, check if there is a power indicator on your smart TV. It can be a small LED light located near the power port or on the front of the TV. This indicator will confirm that the TV is receiving power.
5. Power On the TV: Locate the power button, usually located on the front or side of the TV, or on the TV’s remote control. Press the power button to turn on your smart TV.
6. Configure Initial Settings: Follow the on-screen prompts or instructions provided by your smart TV to configure any initial settings, such as language preferences, time zone, or any other basic setup options.
7. Test the TV’s Functionality: Once the TV powers on and the initial setup is complete, test the functionality of your smart TV by navigating through the menu or using the remote control. Ensure that the TV responds to commands and displays a clear picture.
By following these steps, you will have successfully connected the power cable and powered on your smart TV. The next step is to set up the antenna or cable connection if you want to access over-the-air channels or cable/satellite television.
Step 3: Setting Up Antenna/Cable Connection (for Over-the-Air Channels)
If you want to access over-the-air channels or receive cable/satellite television on your smart TV, you will need to set up the antenna or cable connection. Follow these steps to ensure a proper setup:
1. Locate the Antenna/Cable Port: Identify the antenna/cable port on your smart TV. It is usually labeled as “ANT” or “CABLE” and can be found on the back or side of the TV.
2. Connect the Antenna: If you are using an antenna to receive over-the-air channels, connect the antenna’s coaxial cable to the antenna port on your smart TV. Make sure it is securely attached.
3. Connect the Cable: If you have a cable or satellite subscription, connect the coaxial cable from the cable/satellite provider to the cable port on your smart TV. Ensure a secure connection.
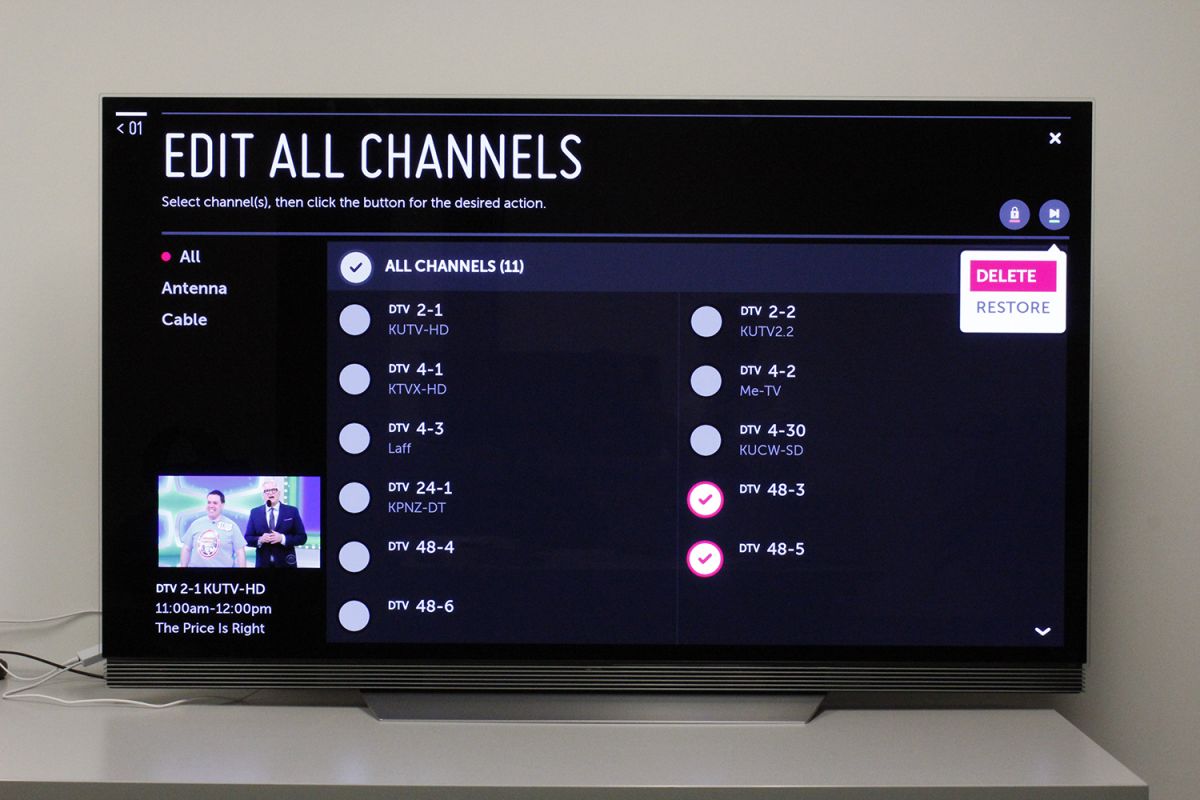
4. Configure Channel Settings: Once the antenna or cable is connected, access the channel settings on your smart TV. This can usually be done through the TV’s menu or settings options.
5. Scan for Channels: In the channel settings, select the option to scan for available channels. This will initiate a search for over-the-air channels or cable/satellite channels, depending on your setup.
6. Follow On-Screen Prompts: During the scanning process, follow any on-screen prompts or instructions that may appear. These prompts may include selecting your location, confirming your cable/satellite provider, or adjusting antenna positions.
7. Save Channels: Once the scan is complete and your smart TV has found the available channels, save the channels to your TV’s memory. This will allow you to access them easily without scanning again in the future.
8. Test Channel Reception: After saving the channels, navigate through the list and test the reception of each channel. Ensure that the channels are clear and that you can access them without any issues.
By following these steps, you will have successfully set up the antenna or cable connection on your smart TV, allowing you to access over-the-air channels or cable/satellite television. The next step is to configure the audio and video settings of your smart TV.
Step 4: Configuring Audio and Video Settings
Once you have set up the antenna or cable connection on your smart TV, it’s time to configure the audio and video settings to ensure an optimal viewing experience. Follow these steps to customize the audio and video settings:
1. Access the Settings Menu: Using your smart TV remote, navigate to the settings menu. It is usually represented by a gear or wrench icon on the remote or can be found on the TV’s home screen.
2. Audio Settings: In the settings menu, locate the audio settings options. Here, you can adjust settings like volume, sound mode, equalizer, and audio output options. Select the desired settings based on your preferences and the capabilities of your audio equipment.
3. Video Settings: Within the settings menu, find the video or display settings options. Here, you can adjust settings like picture mode, brightness, contrast, color, sharpness, and aspect ratio. Customize these settings to your liking and based on the lighting conditions of your viewing area.
4. Picture Mode: Select the appropriate picture mode based on your preferences and the type of content you are watching. Common picture modes include Standard, Cinema, Sports, and Vivid. Experiment with different modes to find the one that provides the best picture quality for your viewing experience.
5. Calibrate Image: Some smart TVs offer built-in calibration tools to help optimize the display settings. Follow the on-screen instructions for calibrating the image, which may involve adjusting brightness, contrast, and color settings to achieve accurate and natural-looking visuals.
6. Sound Output: If you plan to connect external audio devices like soundbars or speakers, navigate to the sound output settings. Select the appropriate audio output option to ensure that the sound is routed to the connected devices seamlessly.
7. Test the Audio and Video: After configuring the audio and video settings, play various types of content, such as movies, TV shows, and music, to test the changes you made. Adjust the settings further if necessary to achieve the desired audio and video quality.
By following these steps, you will have successfully configured the audio and video settings of your smart TV, enhancing your overall viewing experience. The next step is to connect any external devices, such as DVD/Blu-ray players or gaming consoles, to your smart TV.
Step 5: Connecting External Devices (e.g., DVD/Blu-ray Player, Gaming Console)
To expand the functionality of your smart TV, you can connect external devices such as DVD/Blu-ray players, gaming consoles, or streaming devices. Follow these steps to connect external devices to your smart TV:
1. Identify the Ports: Locate the appropriate input ports on your smart TV for connecting external devices. Common ports include HDMI, USB, component, and AV ports. Refer to your TV’s user manual or documentation to identify the specific ports available.
2. Connect the Device: Using the appropriate cables, connect the external device to the corresponding input port on your smart TV. For example, HDMI cables are commonly used for connecting DVD/Blu-ray players and gaming consoles.
3. Power Up the Device: Ensure that the connected external device is powered on and ready for use. Some devices may require separate power connections in addition to the video and audio cables.
4. Select the Input Source: On your smart TV remote or from the TV’s menu, select the input source or input button to switch to the connected device. This allows your TV to receive video and audio signals from the external device.
5. Test the Connection: Once the input source is selected, test the connection by using the external device. Play a DVD, insert a Blu-ray disc, or start a game on your gaming console to ensure that the audio and video signals are being transmitted correctly.
6. Adjust Settings (if necessary): Depending on the specific device, you may need to adjust certain settings on both the external device and your smart TV. Refer to the user manuals or documentation for each device to configure the settings to your preference.
7. Repeat for Additional Devices: If you have multiple external devices to connect, repeat the process for each device, connecting them to available input ports on your smart TV.
By following these steps, you will be able to connect external devices to your smart TV, expanding its functionality and allowing you to enjoy different types of content. The next step is to adjust basic settings on your smart TV to personalize your viewing experience.
Step 6: Adjusting Basic Settings
Adjusting the basic settings on your smart TV helps personalize your viewing experience and ensures that the TV functions according to your preferences. Follow these steps to adjust the basic settings on your smart TV:
1. Display Settings: Navigate to the display settings menu on your smart TV. Here, you can adjust settings like brightness, contrast, color temperature, and backlight. Customize these settings to achieve your desired picture quality.
2. Audio Settings: Access the audio settings menu to adjust settings like volume, sound mode, balance, and equalizer. Set the audio settings to your preferred levels for an optimal sound experience.
3. Network Settings (optional): If you have chosen to set up your smart TV without internet, you can disregard this step. Otherwise, access the network settings to connect your TV to your home Wi-Fi network or wired connection.
4. Time and Date Settings: Configure the time and date settings on your smart TV to ensure accurate information and synchronize with time-zone settings in your region.
5. Language Settings: If your smart TV supports multiple languages, choose your preferred language for on-screen menus and subtitles.
6. Accessibility Settings: Customize accessibility settings based on your specific needs, such as closed captions, audio description, or screen magnification. These settings enhance accessibility for individuals with hearing or visual impairments.
7. Parental Controls: If you want to restrict content on your smart TV, access the parental control settings. Enable features like content ratings, password protection, or time restrictions to prevent unauthorized access to certain programs or channels.
8. Energy Saving Settings: Adjust the energy-saving settings to reduce power consumption. Choose between different power-saving modes based on your preferences and environmental considerations.
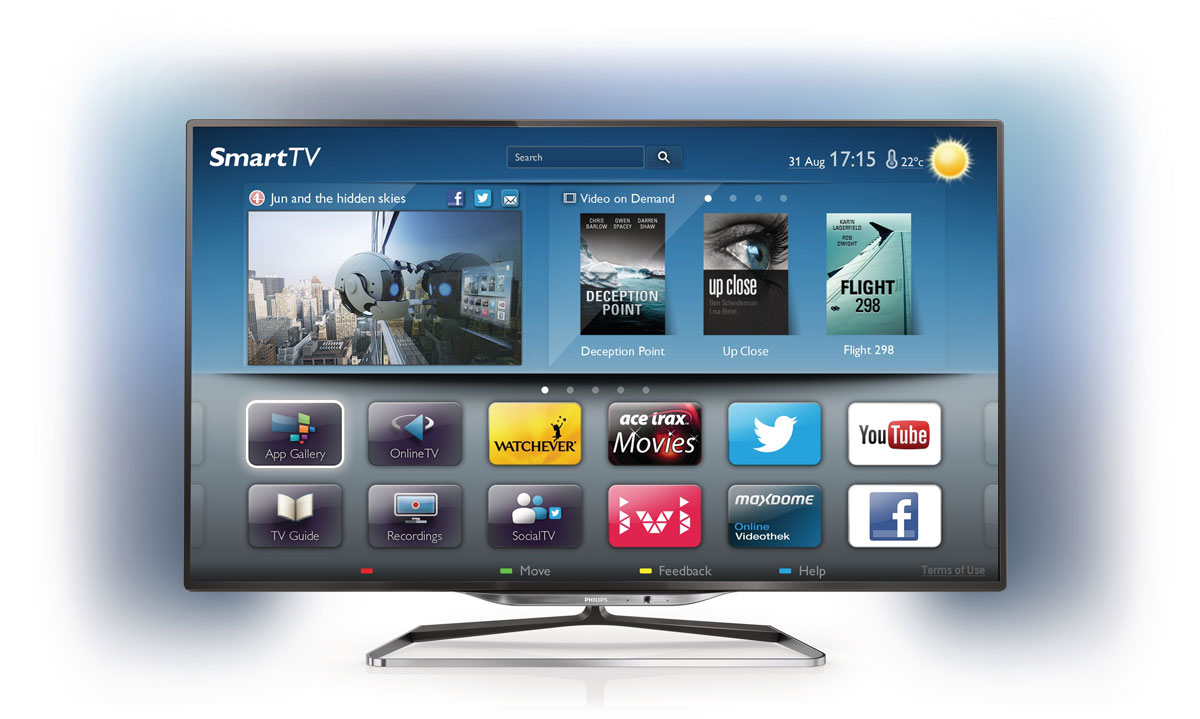
9. Personalize App Layout (optional): Many smart TVs allow you to customize the layout of apps on the home screen. Rearrange, remove, or add apps to create a personalized home screen and quick access to your favorite apps.
10. Save Changes: After adjusting the basic settings to your liking, save the changes to ensure your preferences are retained each time you power on your smart TV.
By following these steps, you can adjust the basic settings on your smart TV to personalize your viewing experience. The next step is to explore ways to cast or stream content from your mobile devices to your smart TV.
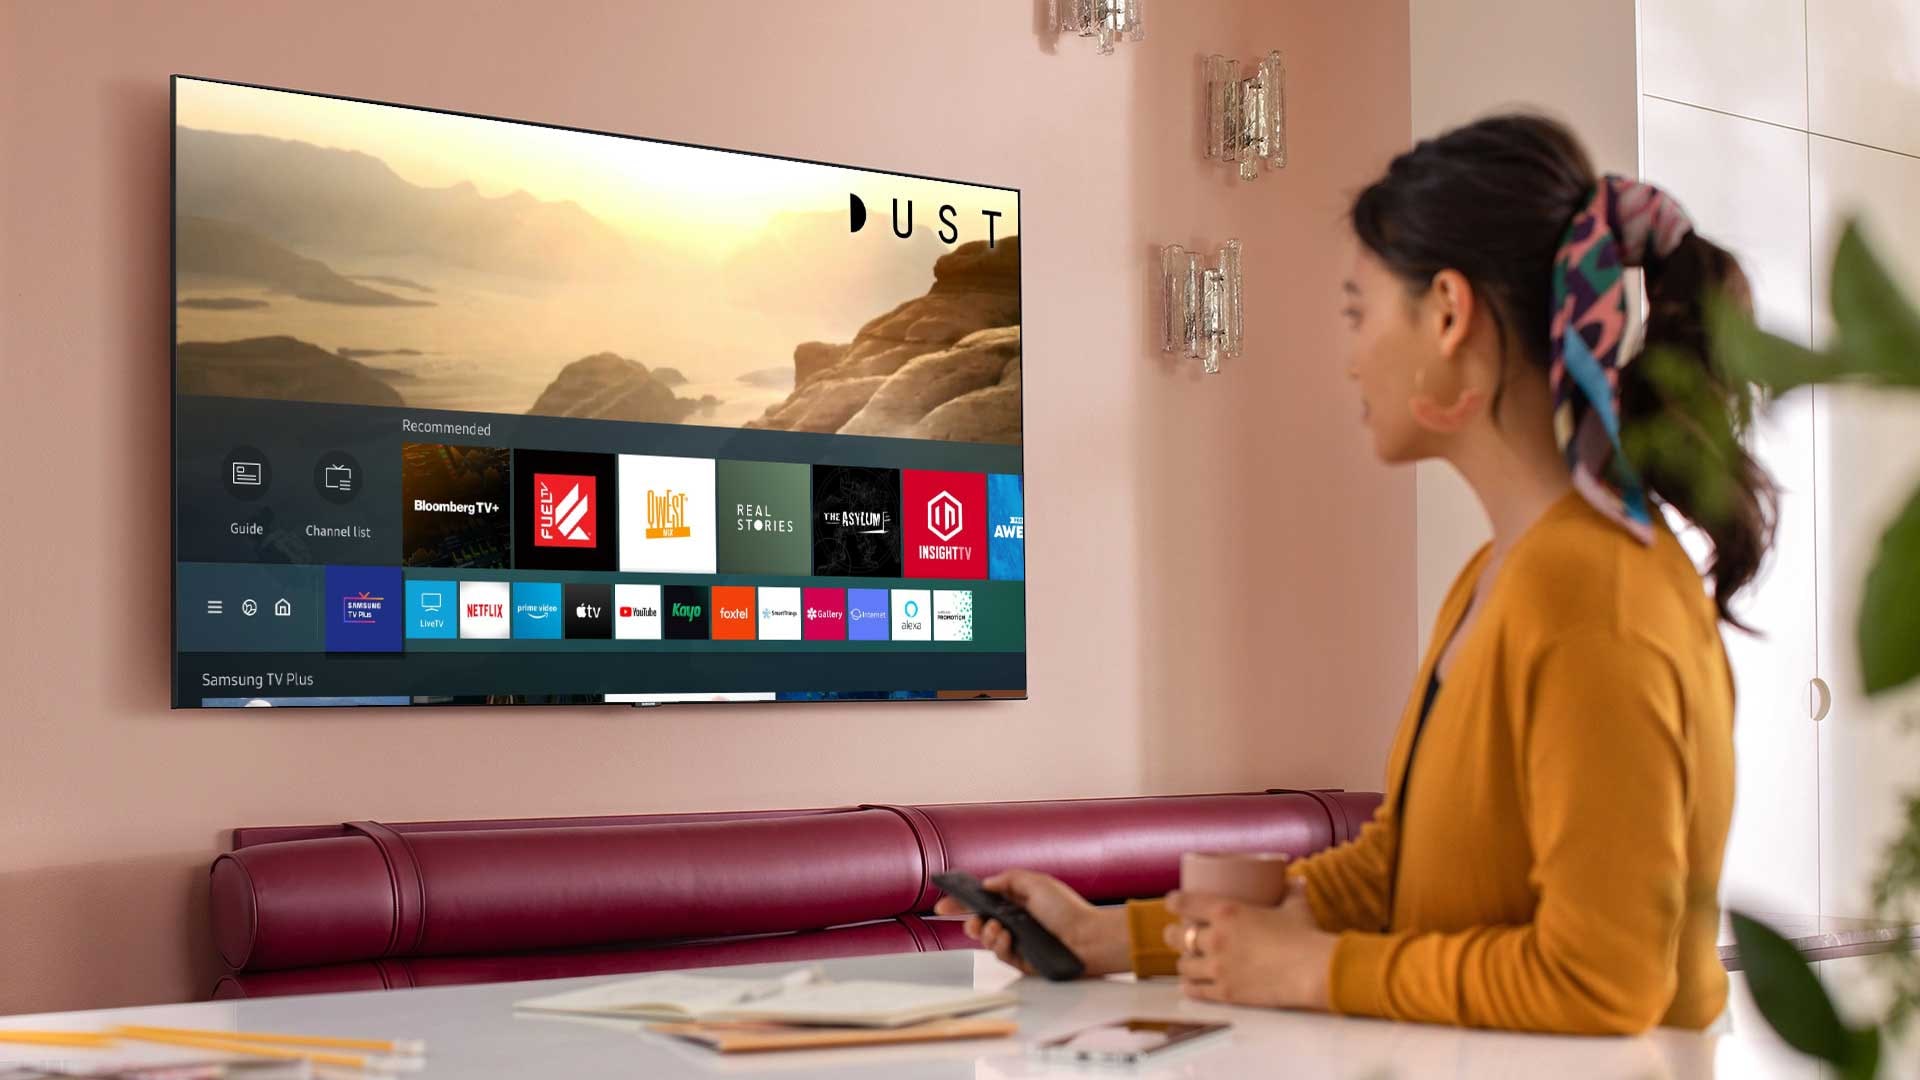
Step 7: Casting or Streaming Content via Mobile Devices
One of the advantages of having a smart TV is the ability to cast or stream content directly from your mobile devices. Follow these steps to cast or stream content to your smart TV:
1. Ensure Device Compatibility: Make sure that your smart TV and mobile device are compatible with the same casting or streaming technology. Common options include Google Chromecast, Apple AirPlay, or Miracast.
2. Connect to the Same Network: Connect your smart TV and mobile device to the same Wi-Fi network. This allows them to communicate and share content seamlessly.
3. Enable Screen Mirroring or Casting: On your mobile device, access the screen mirroring or casting option. This can usually be found in the device’s settings or control center. Enable screen mirroring or casting, and your mobile device will search for available devices.
4. Select Your Smart TV: From the list of available devices on your mobile device, select your smart TV. Confirm the connection when prompted.
5. Start Streaming or Casting: Open the app or content you want to stream or cast on your mobile device. Play the desired content, and it will be mirrored or cast onto your smart TV screen.
6. Control Playback: Once the content is streaming or casting, you can use your mobile device to control playback, adjust volume, or even browse through additional content. The changes made on your mobile device will be reflected on your smart TV.
7. Disconnect and Stop Casting: When you’re finished streaming or casting, you can disconnect by accessing the screen mirroring or casting option on your mobile device again. Select the “Disconnect” or “Stop Casting” option to end the connection.
8. Troubleshooting: If you encounter any issues during the casting or streaming process, ensure that both your smart TV software and mobile device apps are up to date. You can also try restarting both devices or, if needed, consult the user manuals or online resources for troubleshooting tips specific to your devices.
By following these steps, you can easily cast or stream content from your mobile devices to your smart TV. This allows you to enjoy your favorite movies, TV shows, photos, or music on a larger screen with the convenience of your mobile device. Next, we will explore some troubleshooting tips that can help resolve common issues that may arise during the setup or use of your smart TV.
Step 8: Troubleshooting Tips
While setting up and using your smart TV, you may encounter some common issues that can be easily resolved. Follow these troubleshooting tips to overcome common challenges:
1. Internet Connectivity: If you have chosen to set up your smart TV without internet, this step may not apply. However, if you are using internet-connected features, ensure that your smart TV is connected to a stable internet connection. Check your Wi-Fi settings and router connectivity if you experience any internet-related issues.
2. Power Related Issues: If your smart TV doesn’t power on or experiences intermittent power problems, ensure that the power cable is properly connected to both the TV and the power outlet. Try using a different power outlet or cable to rule out any power-related issues.
3. Audio and Video Issues: If you encounter issues with the audio or video on your smart TV, ensure that the cables are securely connected to both the TV and the external devices. Check the audio settings for proper configuration and adjust the video settings to optimize picture quality.
4. Remote Control Problems: If your smart TV’s remote control doesn’t function properly, check the batteries and replace them if needed. If the issue persists, ensure that there are no obstacles blocking the line of sight between the remote and the TV. If necessary, reset the remote control or contact the manufacturer for further assistance.
5. App Related Issues: If you are experiencing issues with specific apps on your smart TV, ensure that the apps are up to date. Check for any available firmware or software updates for your smart TV, as outdated software can cause compatibility issues with certain apps.
6. External Device Compatibility: If you are encountering issues with connecting or using external devices, ensure that the devices are compatible with your smart TV. Verify that you are using the correct cables and that the devices are set up properly. Consult the user manuals or contact the device manufacturers for specific troubleshooting steps.
7. Firmware or Software Updates: Periodically check for firmware or software updates for your smart TV. These updates often include bug fixes and improvements that can address various issues. Follow the manufacturer’s instructions to update your smart TV’s firmware or software.
8. Factory Reset: If all troubleshooting tips fail to resolve the issues, you can try performing a factory reset on your smart TV. Keep in mind that a factory reset will erase all personalized settings and return the TV to its original state. Refer to the user manual or contact the manufacturer for instructions on how to perform a factory reset.
By following these troubleshooting tips, you can resolve common issues that may arise when setting up or using your smart TV. If you still encounter persistent problems, it is recommended to consult the user manual or contact the manufacturer’s support for further assistance.
Conclusion
Setting up a smart TV without internet is a viable option in various scenarios, such as limited internet access, security preferences, cost savings, or when using the TV in remote locations. By following the step-by-step guide outlined in this article, you can successfully set up and enjoy your smart TV without an internet connection.
We started with the importance of understanding why you may choose to set up your smart TV without internet. By considering your specific circumstances and needs, you can make an informed decision that aligns with your preferences.
We then discussed the necessary items you will need, including a smart TV, power outlet, power cable, antenna or cable connection, external devices, and mobile devices for casting or streaming content.
Through each step, we explained how to unbox and place your smart TV, connect the power cable, set up the antenna or cable connection for over-the-air channels, configure audio and video settings, connect external devices, adjust basic settings, and cast or stream content via mobile devices.
We also provided troubleshooting tips to assist you in resolving common issues that may arise during the setup or use of your smart TV.
Remember, while setting up your smart TV without internet provides certain advantages, it may limit access to certain features and functionalities that require an internet connection. However, by following the steps outlined in this guide, you can still enjoy a fulfilling entertainment experience on your smart TV.
Take the time to explore and personalize your smart TV settings based on your preferences and make the necessary adjustments to optimize your viewing experience. Whether you use your smart TV for watching movies, playing games, or streaming content from external devices, setting up your smart TV without internet can offer convenience and flexibility.
Now that you have reached the end of this guide, you are ready to embark on your journey of enjoying your smart TV without the need for an internet connection. Remember, by following the steps and troubleshooting tips provided, you can overcome any challenges and make the most of your smart TV experience. Happy watching!