Introduction
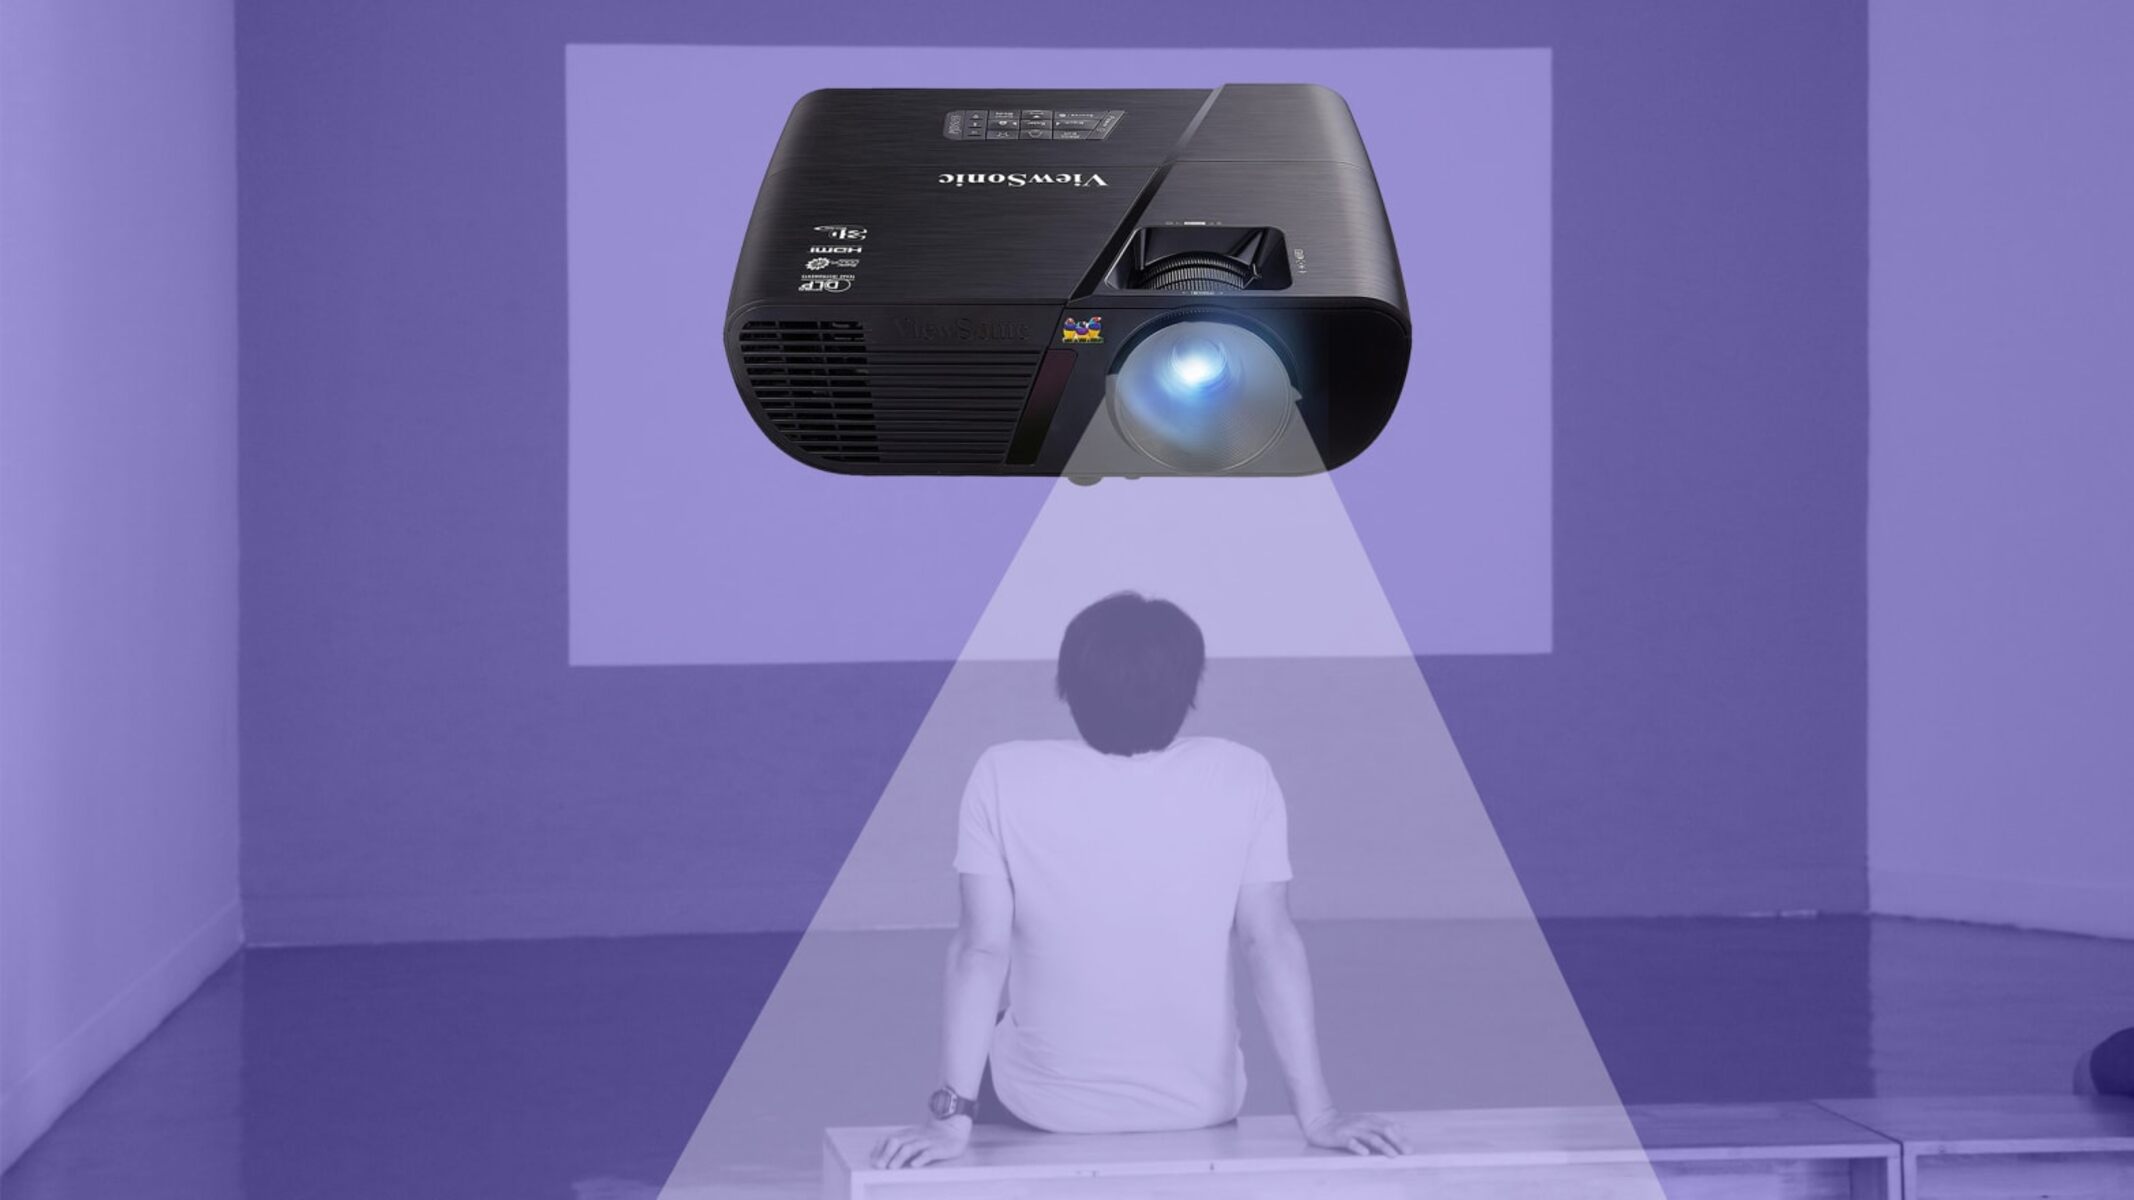
Have you ever wanted to bring the movie theater experience into the comfort of your own home? One way to achieve this is by creating your own projector. Building a projector may seem like a daunting task, but with the right components and a little bit of know-how, you can create your very own home theater system.
In this guide, we will walk you through the step-by-step process of making a projector from scratch. From selecting the right components to assembling the electronics and testing the final product, we will cover everything you need to know.
Before we dive into the details, it’s important to understand that building a projector requires basic knowledge of electronics and some DIY skills. However, don’t be intimidated! With some patience and the right guidance, anyone can successfully create their own projector.
Note: This guide focuses on building a simple projector for personal use. While it may not match the quality of high-end commercial projectors, it can still provide an enjoyable and immersive viewing experience.
So, if you’re ready to embark on this DIY adventure, let’s get started on building your very own projector! But first, let’s talk about selecting the right components.
Selecting the Right Components
Before you begin constructing your projector, it’s crucial to select the right components to ensure optimal performance. Here are the key components you’ll need:
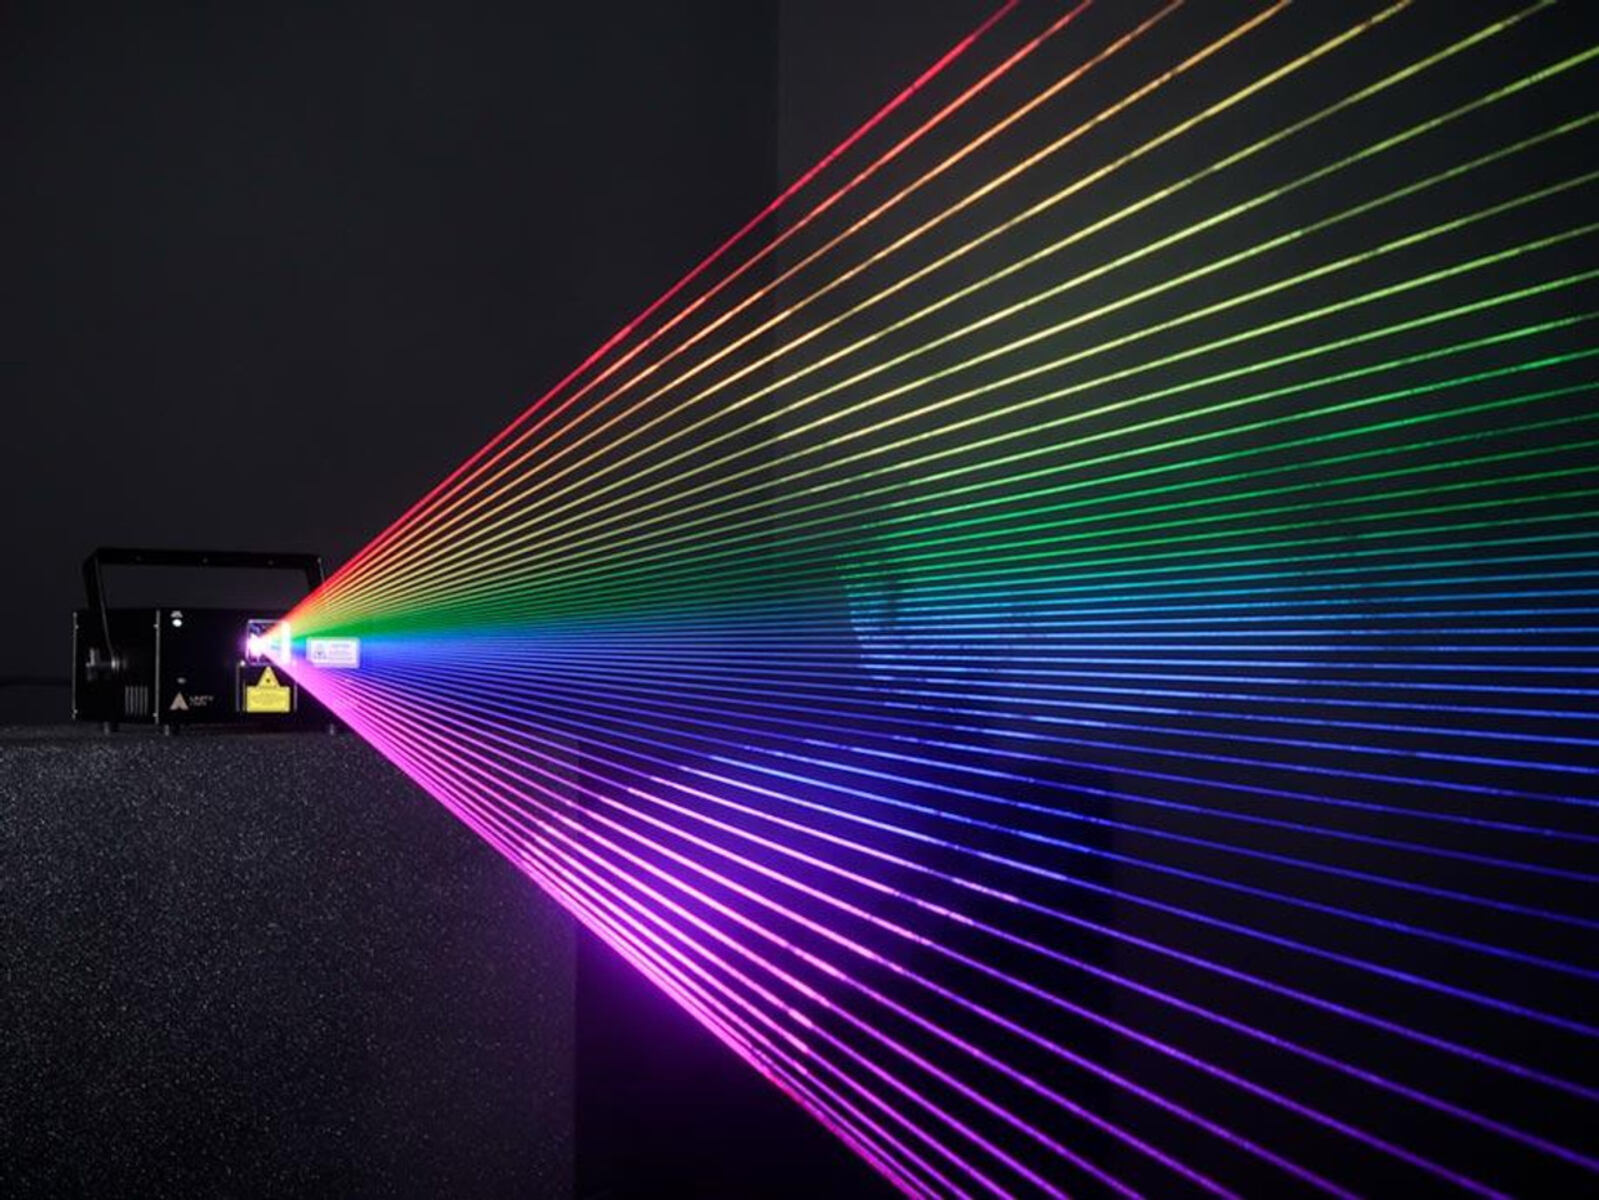
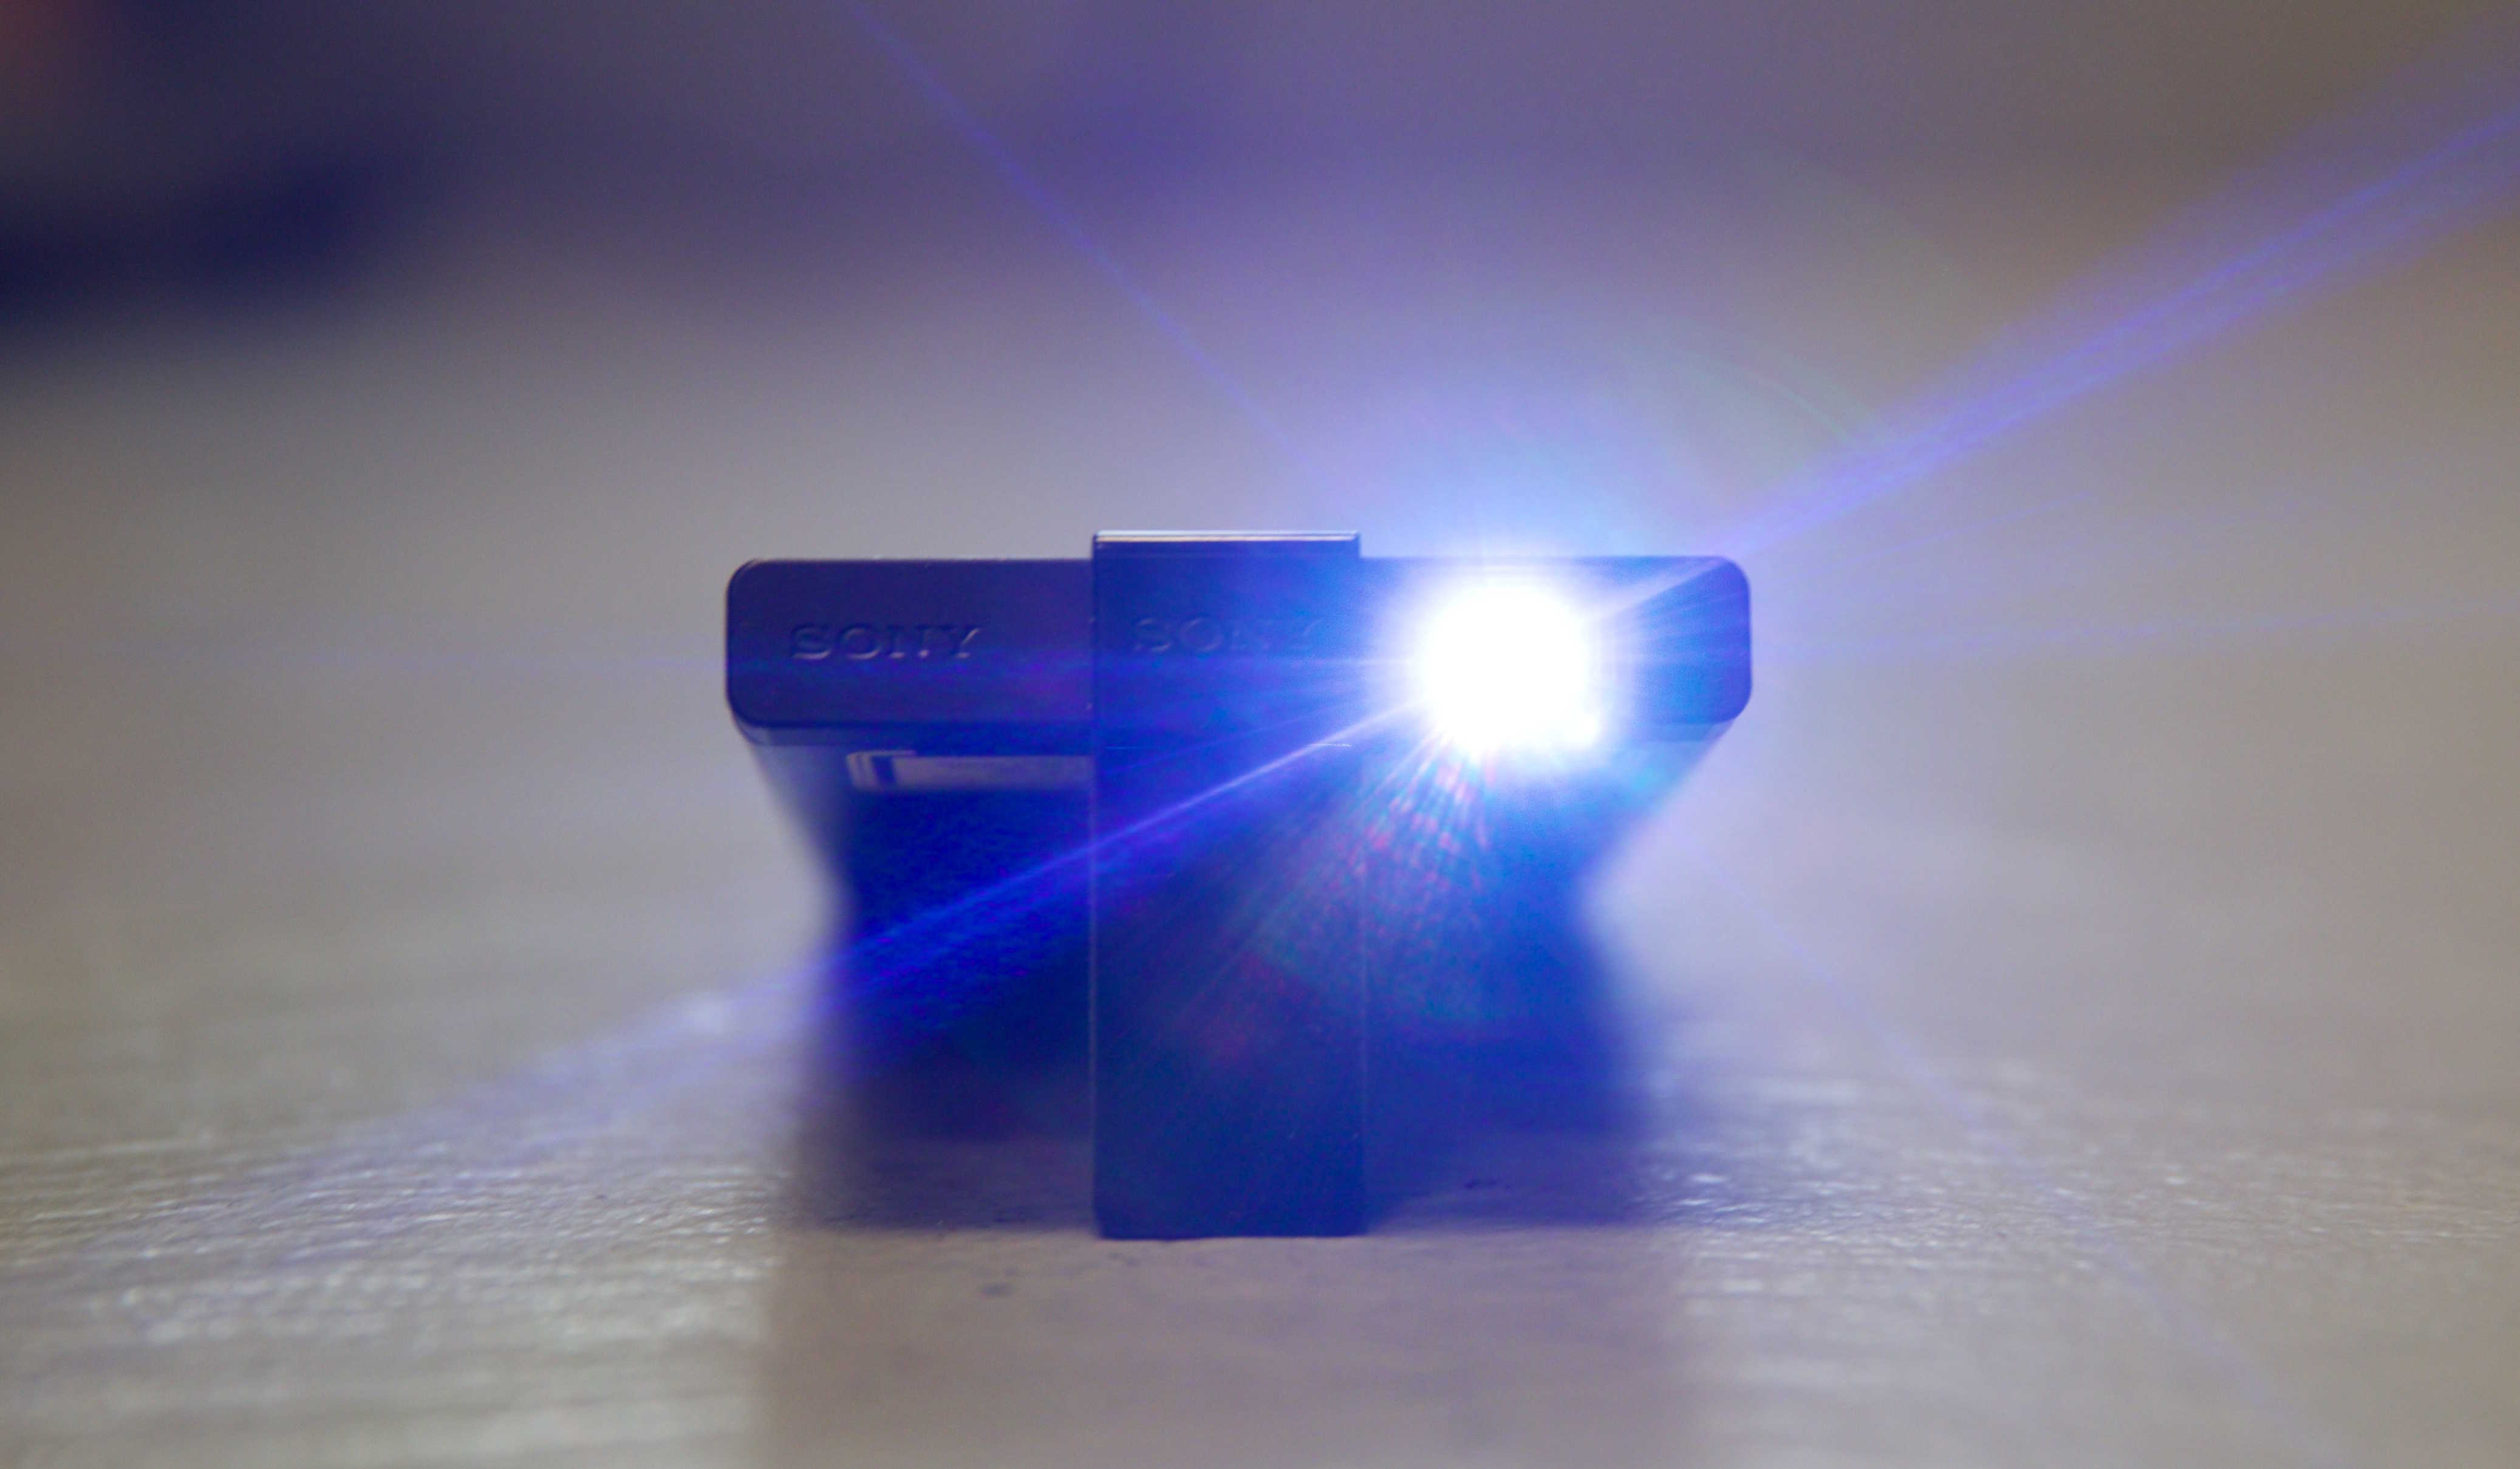
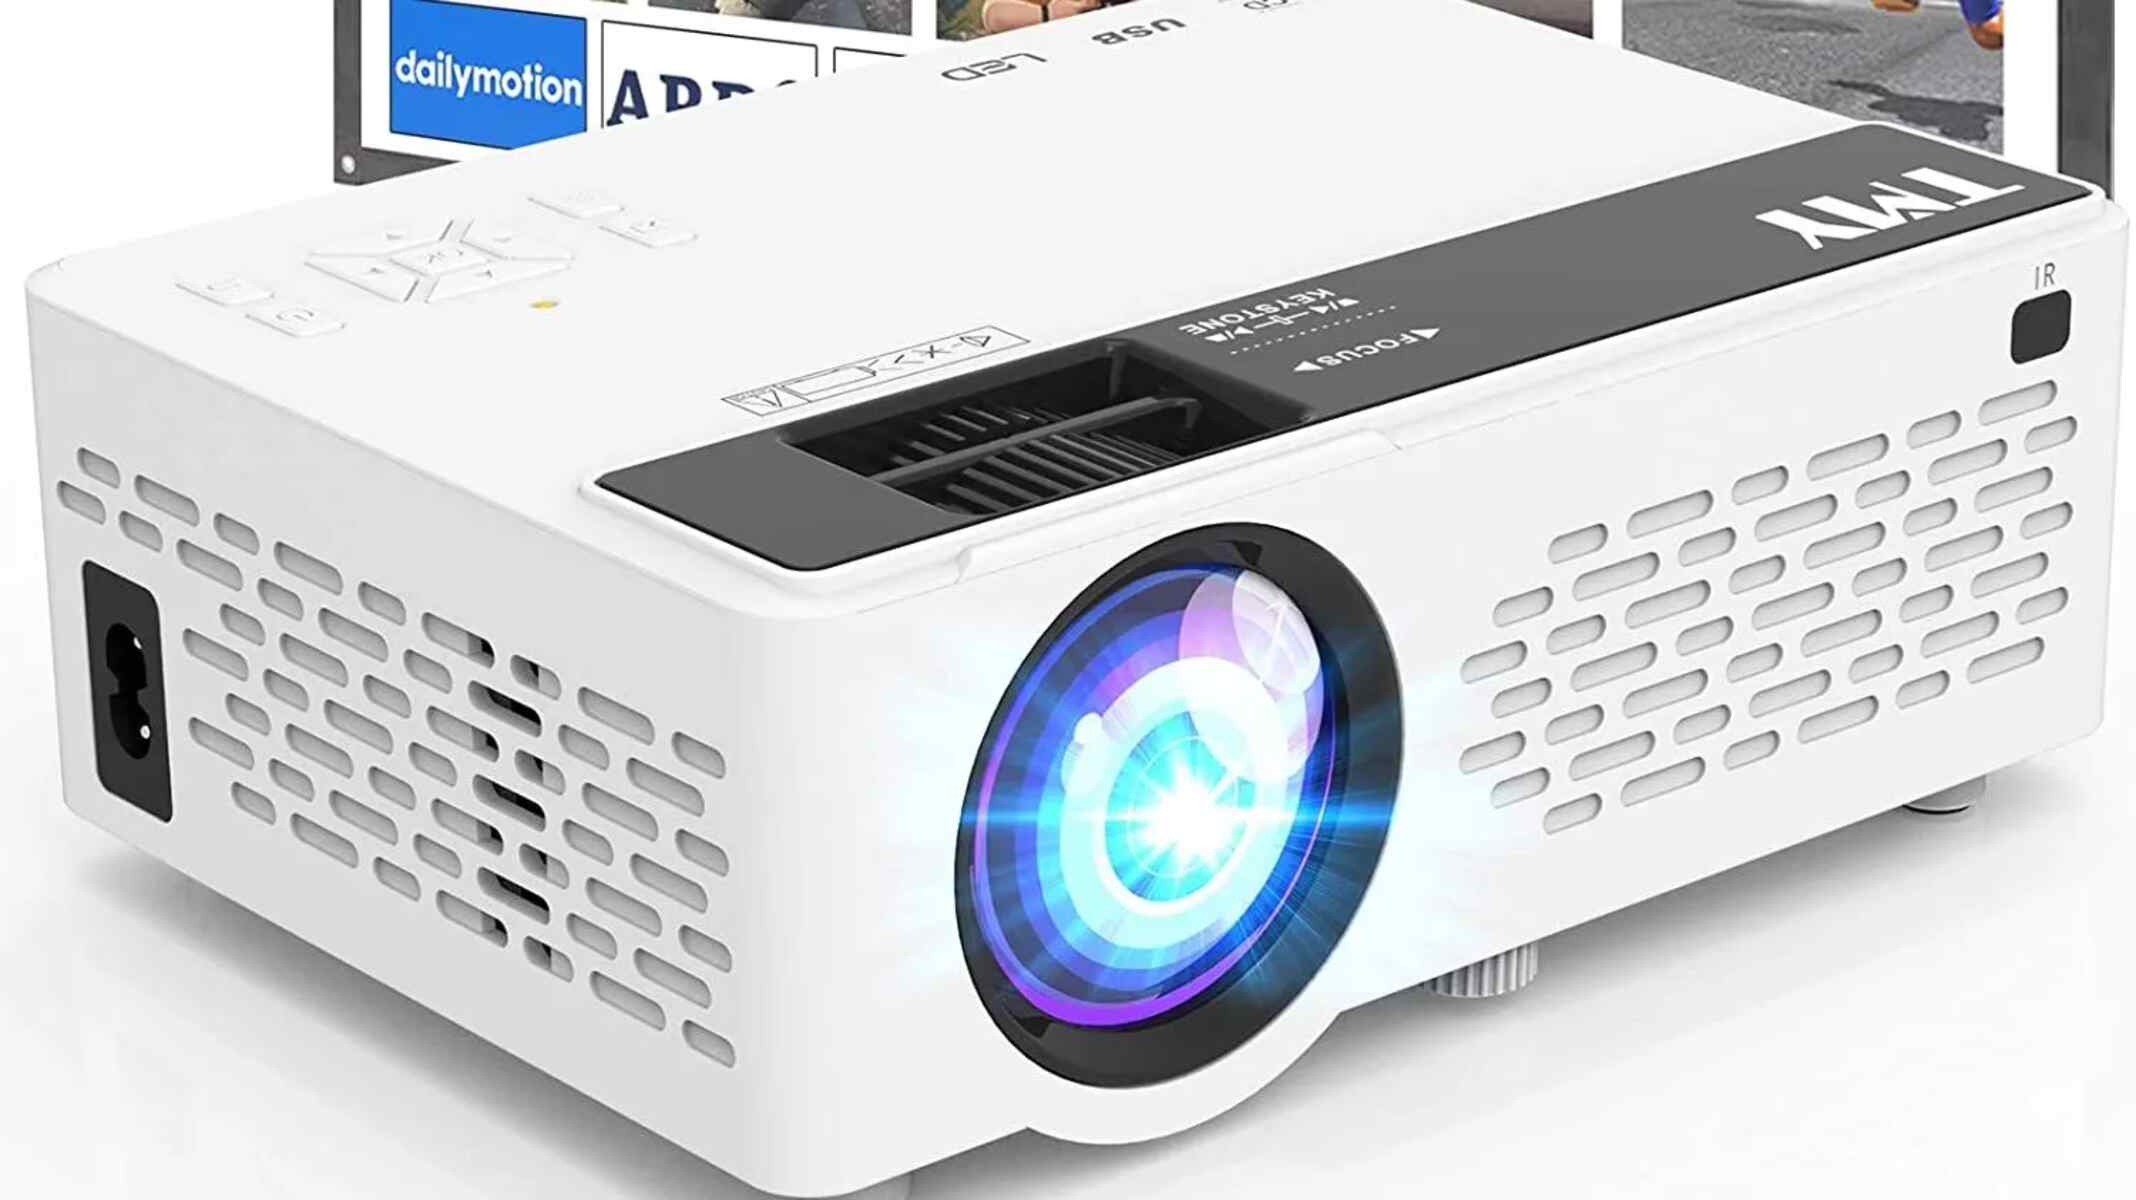
- Light Source: The light source is an essential element of any projector. One common option is an LED light, as it provides a long lifespan and energy efficiency. Alternatively, you can choose a halogen or metal halide lamp for brighter projection.
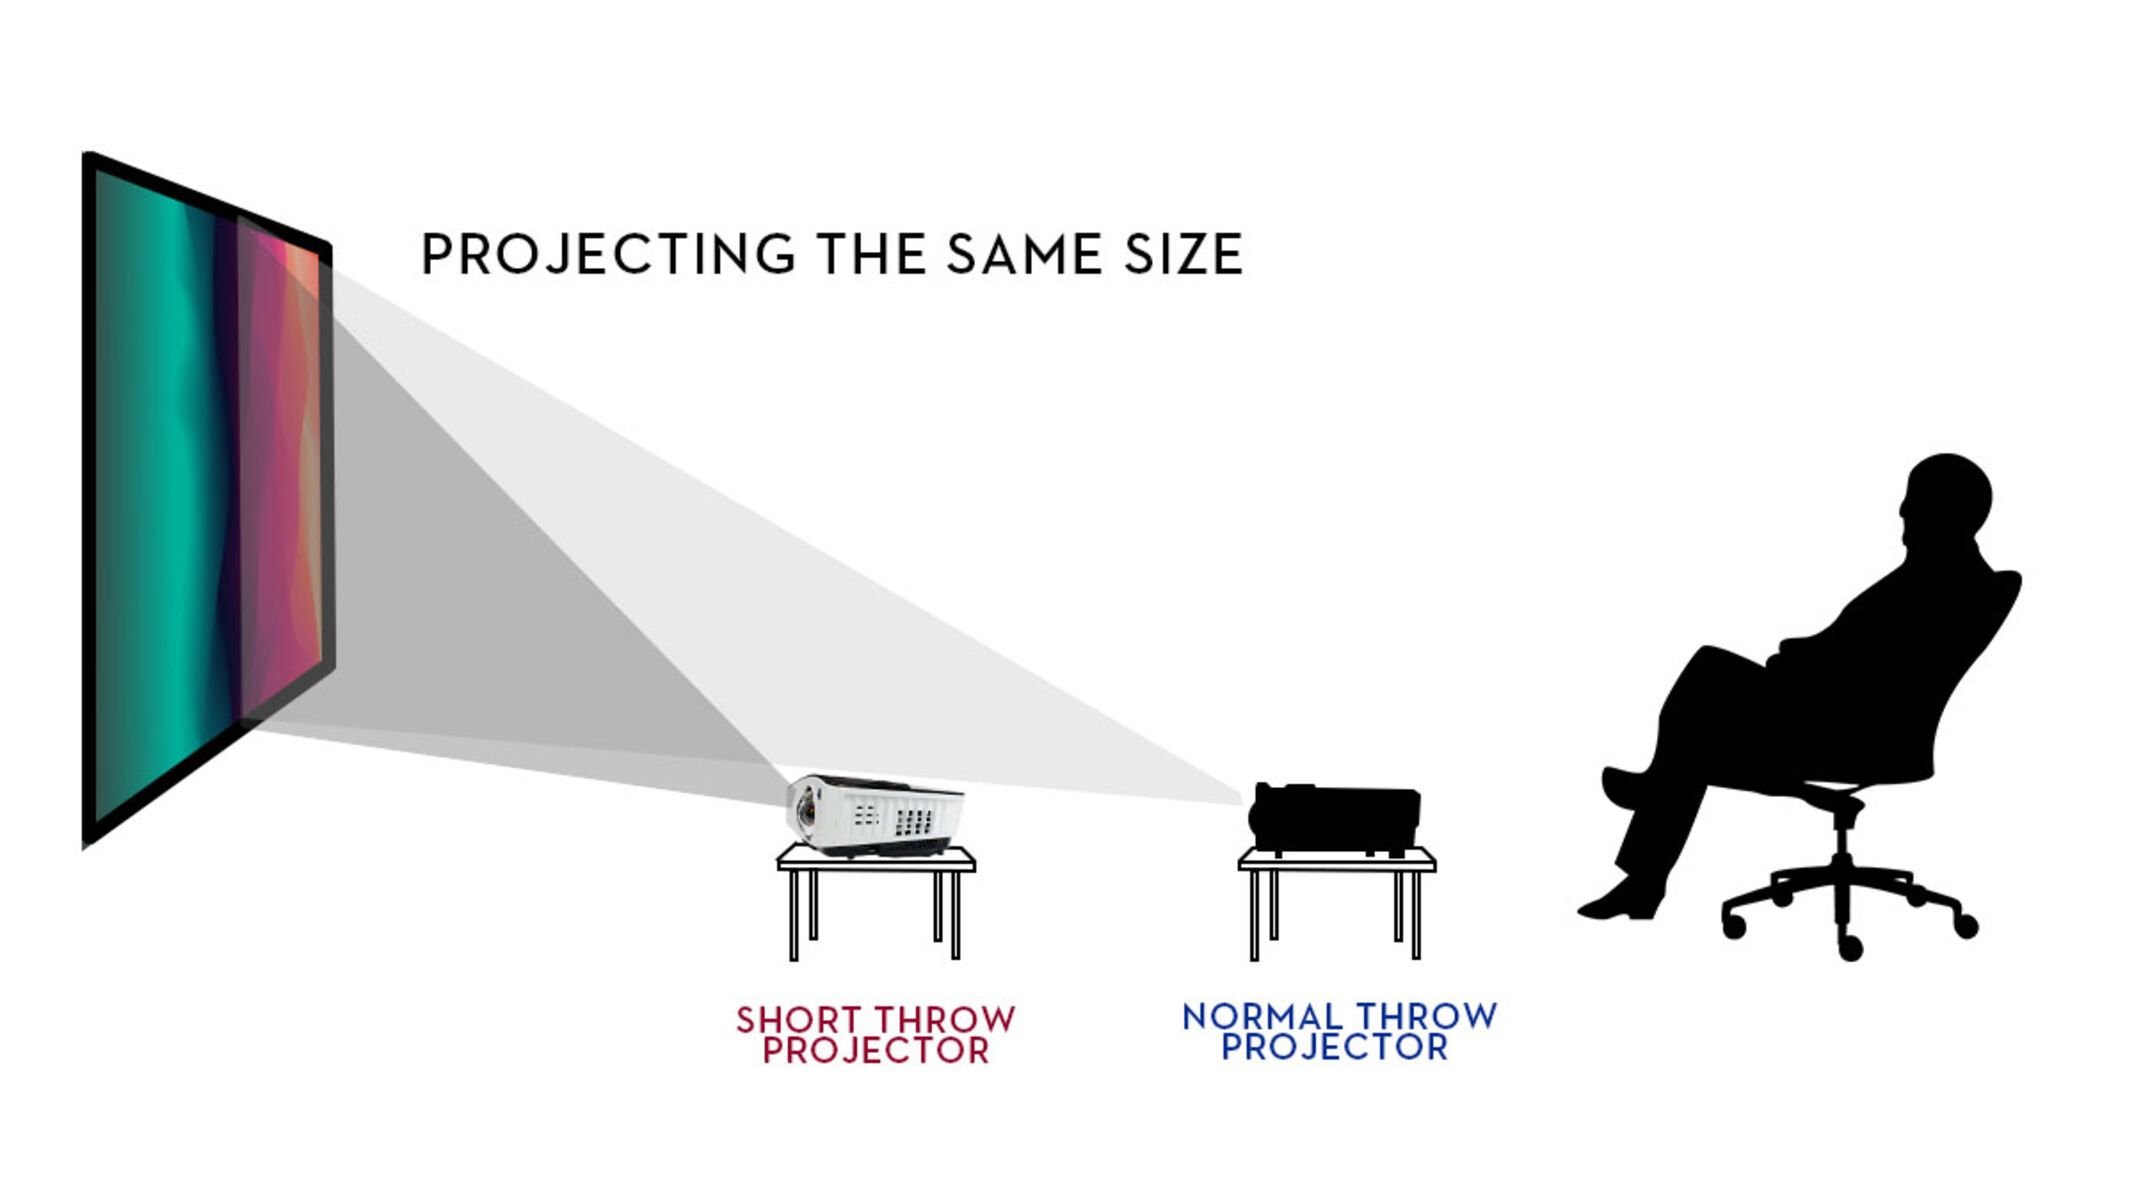
- Projection Lens: The quality of your projection will greatly depend on the lens you choose. Look for a lens with a suitable throw ratio for your desired screen size. Additionally, consider factors such as zoom capability and lens shift for flexibility in focus and positioning.
- LCD or DLP Technology: LCD (Liquid Crystal Display) and DLP (Digital Light Processing) are the two main technologies used in projectors. LCD projectors provide excellent color accuracy, while DLP projectors offer superior contrast. Consider your preferences and budget when deciding which technology to go for.
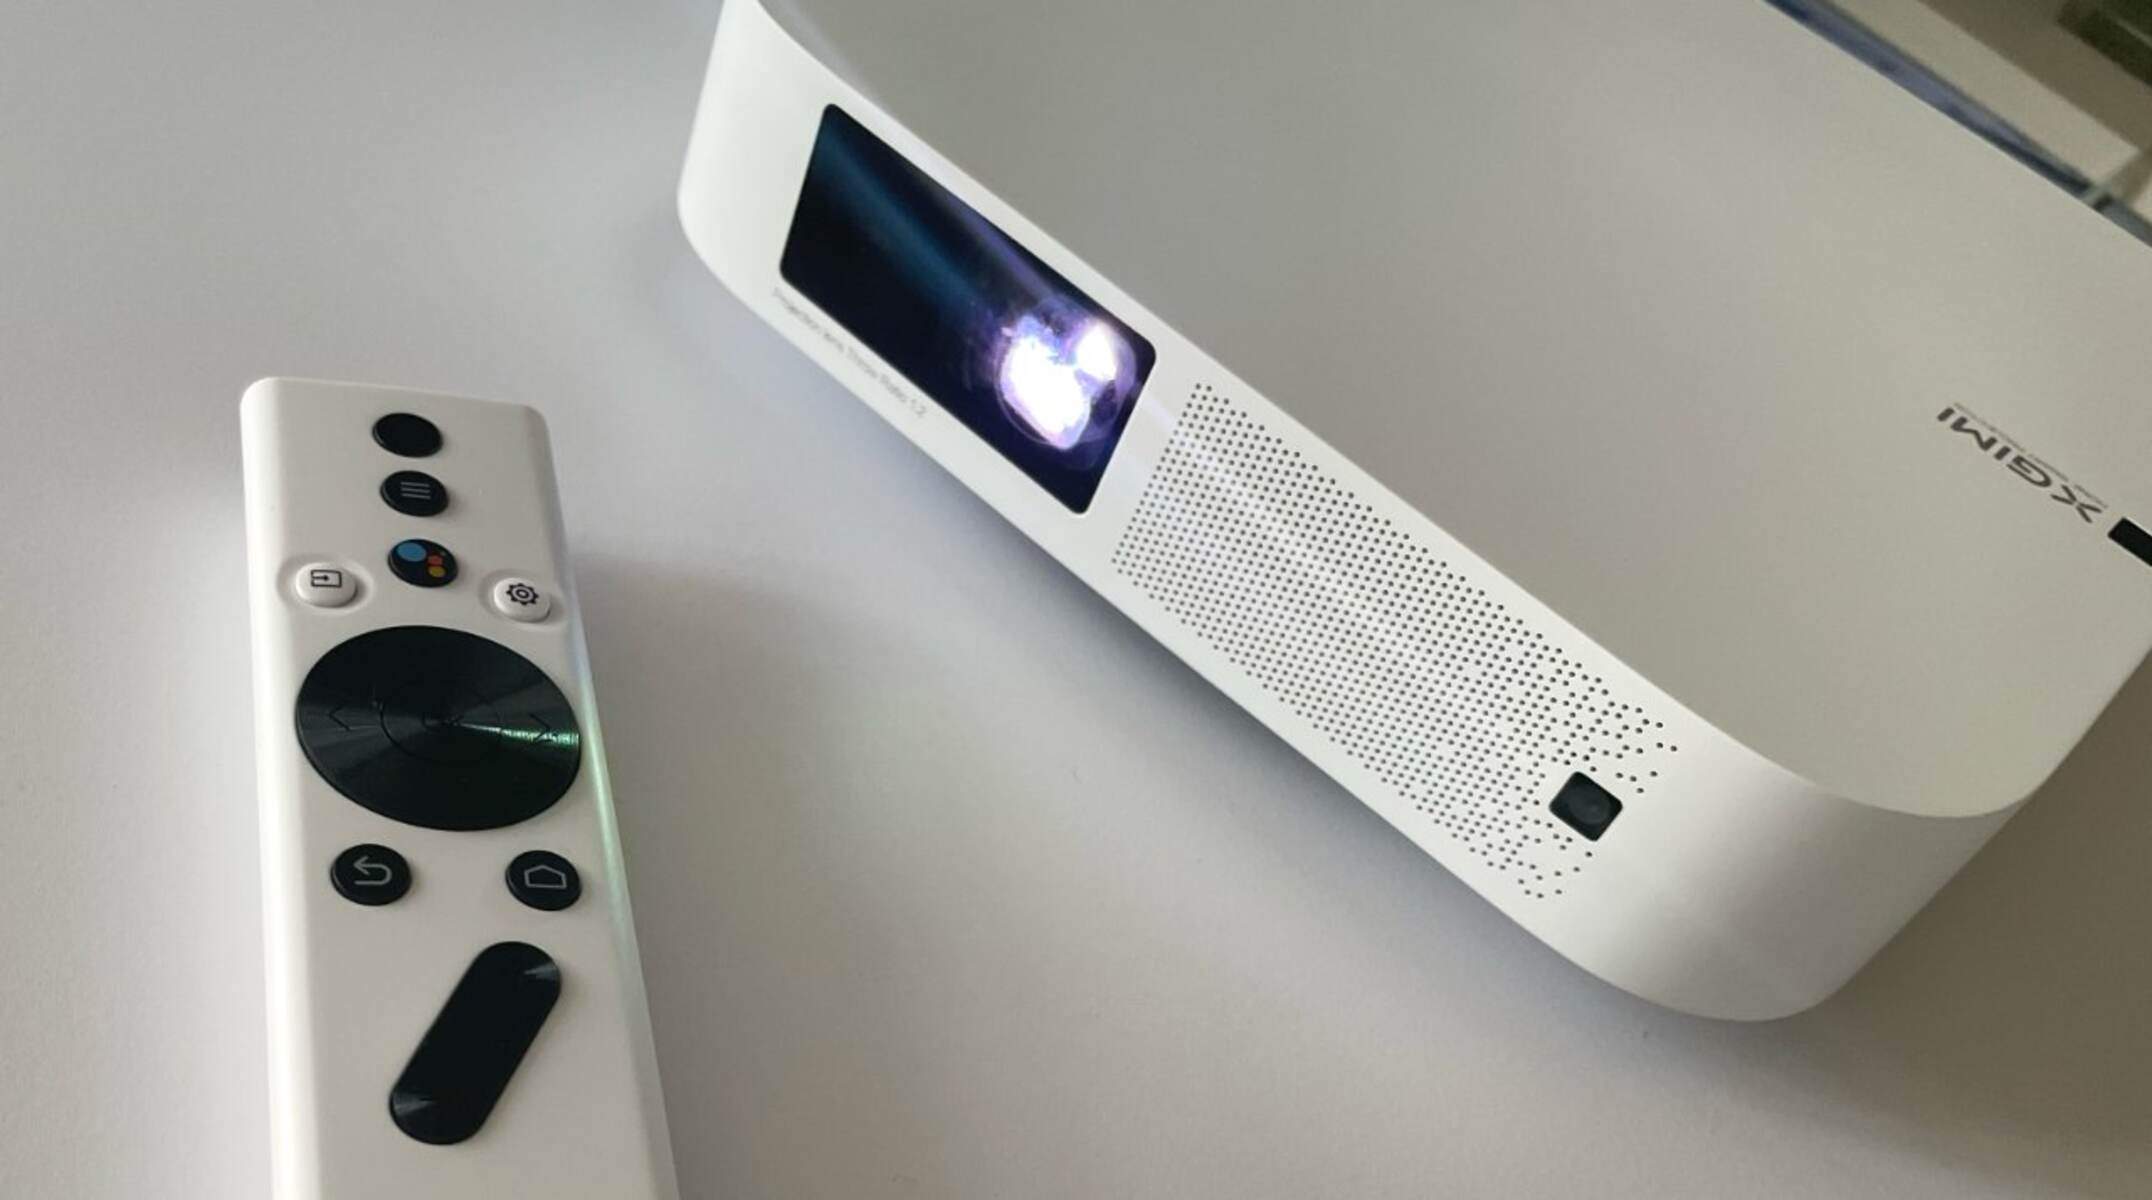
- Controller Board: A controller board is essential for processing the video signal and controlling various functions of the projector. Ensure compatibility with the chosen components and look for a board that offers suitable inputs and connectivity options.
- Power Supply: The power supply provides the necessary electricity to operate the components. Choose a stable and reliable power supply that can handle the wattage requirements of your projector.
- Enclosure: Building an enclosure for your projector will not only protect the internal components but also enhance the aesthetics. Consider using materials that are lightweight and easy to work with, such as acrylic or wood.
When selecting these components, it’s crucial to consider your specific requirements and budget. Conduct thorough research, read reviews, and compare different options to ensure you make an informed decision.
Now that you have an understanding of the essential components, let’s move on to the next step: building the base of your projector.
Building the Base
Once you have selected the right components for your projector, the next step is to build a sturdy base to hold everything together. Follow these steps to construct the base:
- Select a Base Material: Choose a material that is strong, lightweight, and easy to work with, such as plywood or acrylic sheets. Measure and cut the base material to your desired dimensions.
- Secure the Components: Place the selected components on the base material and mark their positions. Use screws or adhesive to securely attach them to the base, ensuring a stable and secure fit.
- Create Ventilation Openings: To prevent overheating, it’s important to provide adequate ventilation for your projector. Use a drill or a rotary tool to create ventilation openings on the base, allowing hot air to escape.
- Add Mounting Points: Depending on the type of projector you’re building, you may need to add mounting points for the lens and any additional accessories. Use screws or brackets to securely attach these components to the base.
- Organize Cables: To ensure neatness and ease of use, organize the cables by using cable management solutions such as clips, ties, or cable sleeves. This will prevent tangling and make maintenance easier.
Throughout the construction process, make sure to align the components properly and take measurements to ensure a precise fit. Remember, a stable and well-built base is crucial for the overall durability and functionality of your projector.
With the base constructed, you’re one step closer to completing your DIY projector. The next section will guide you through assembling the electronics, so let’s dive right in!
Assembling the Electronics
Now that you have built the base of your projector, it’s time to assemble the electronics and bring your projector to life. Follow these steps to ensure a successful assembly:
- Follow Wiring Diagrams: Refer to the wiring diagrams provided by the component manufacturers or do thorough research online. Make sure you understand the connections and follow the diagrams carefully to avoid any mistakes or issues.
- Connect the Light Source: Connect the chosen light source to the power supply and controller board as per the manufacturer’s instructions. Ensure the connections are secure and properly insulated.
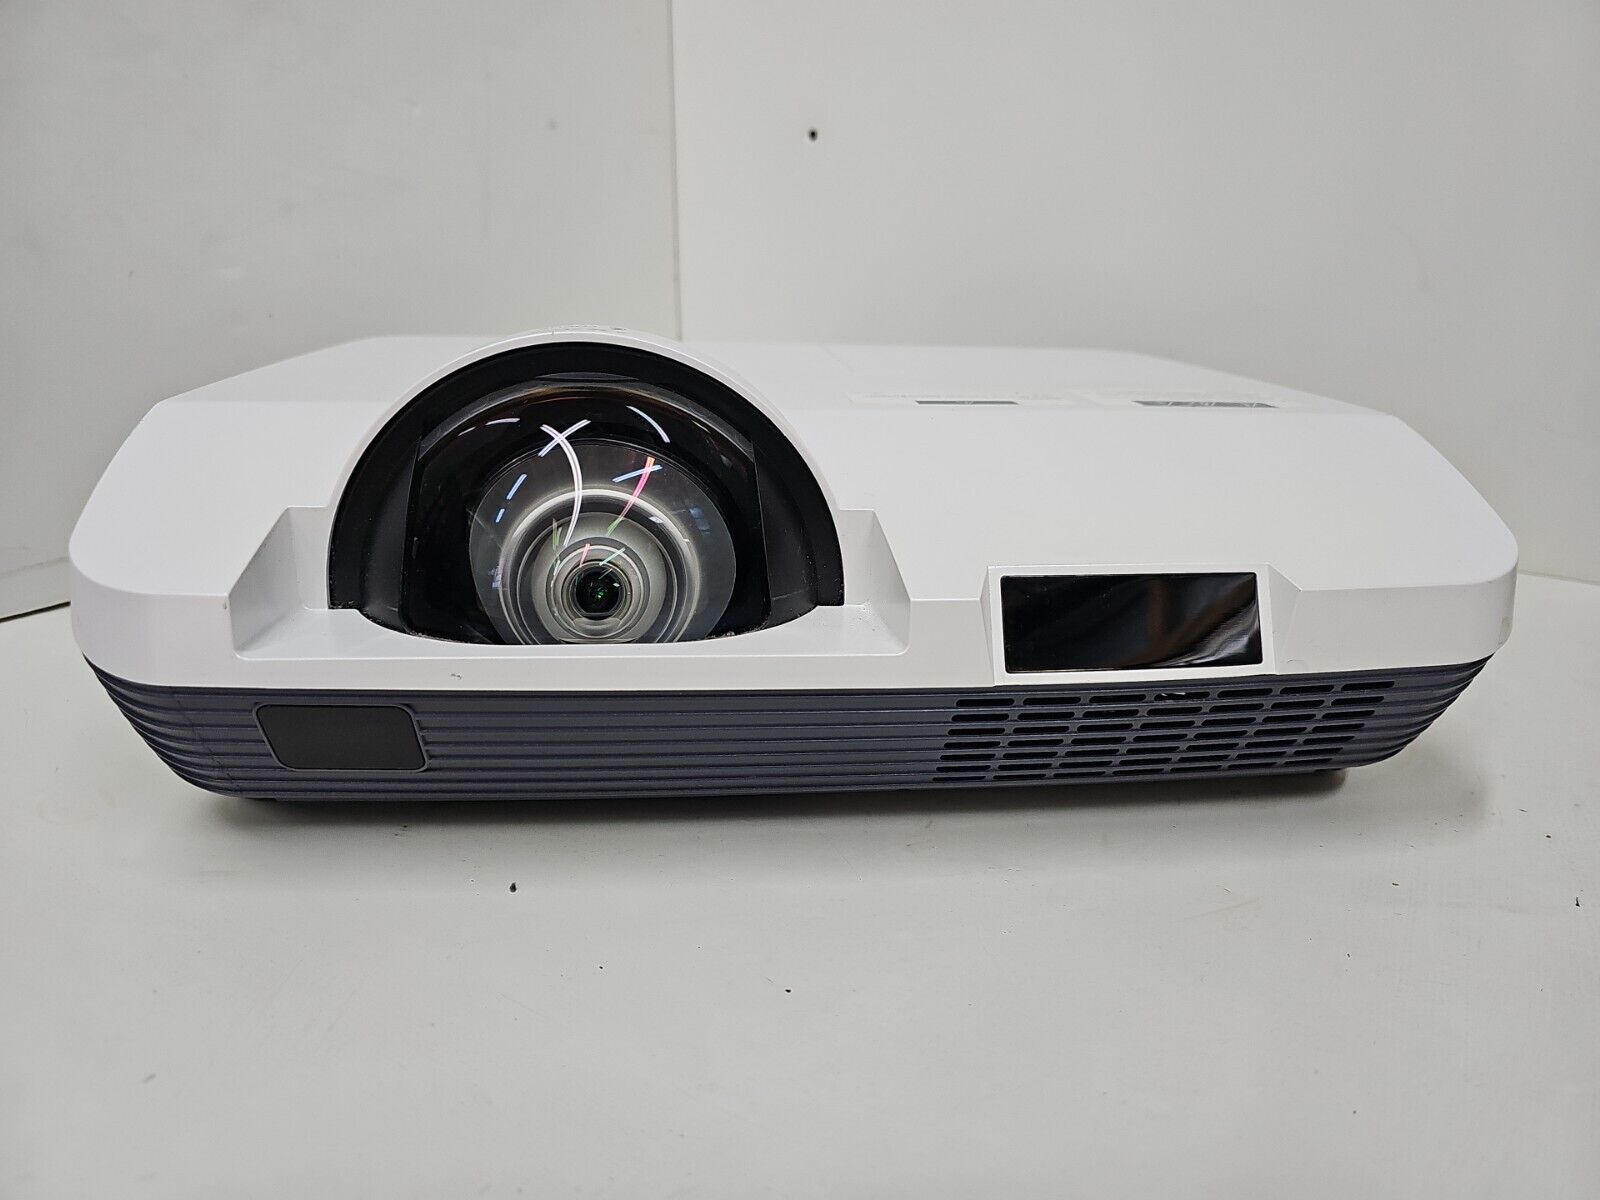
- Attach the Projection Lens: Mount the projection lens onto the base, following the guidelines provided by the manufacturer. Ensure the lens is securely attached and properly aligned for optimal projection quality.
- Connect the Video Source: Depending on the controller board you are using, connect the video source, such as a laptop or media player, to the board using the appropriate cables. Ensure the video signal is properly transmitted.
- Test the Electronics: Before finalizing the assembly, perform a test run to ensure that all the electronic components are functioning correctly. Check the projection quality, brightness, and color accuracy to make any necessary adjustments.
While assembling the electronics, it’s important to handle the components with care and follow safety guidelines. Take your time and double-check all the connections to ensure a high-quality and reliable projector.
With the electronics assembled, it’s time to move on to the next step: mounting the lens. This will determine the clarity and focus of your projector’s projection, so let’s dive in!
Mounting the Lens
The mounting of the lens plays a crucial role in the overall quality and focus of your projected image. Follow these steps to properly mount the lens on your DIY projector:
- Choose the Mounting Location: Determine the ideal mounting location for your lens on the base of the projector. This will depend on the throw ratio of the lens and the desired screen size.
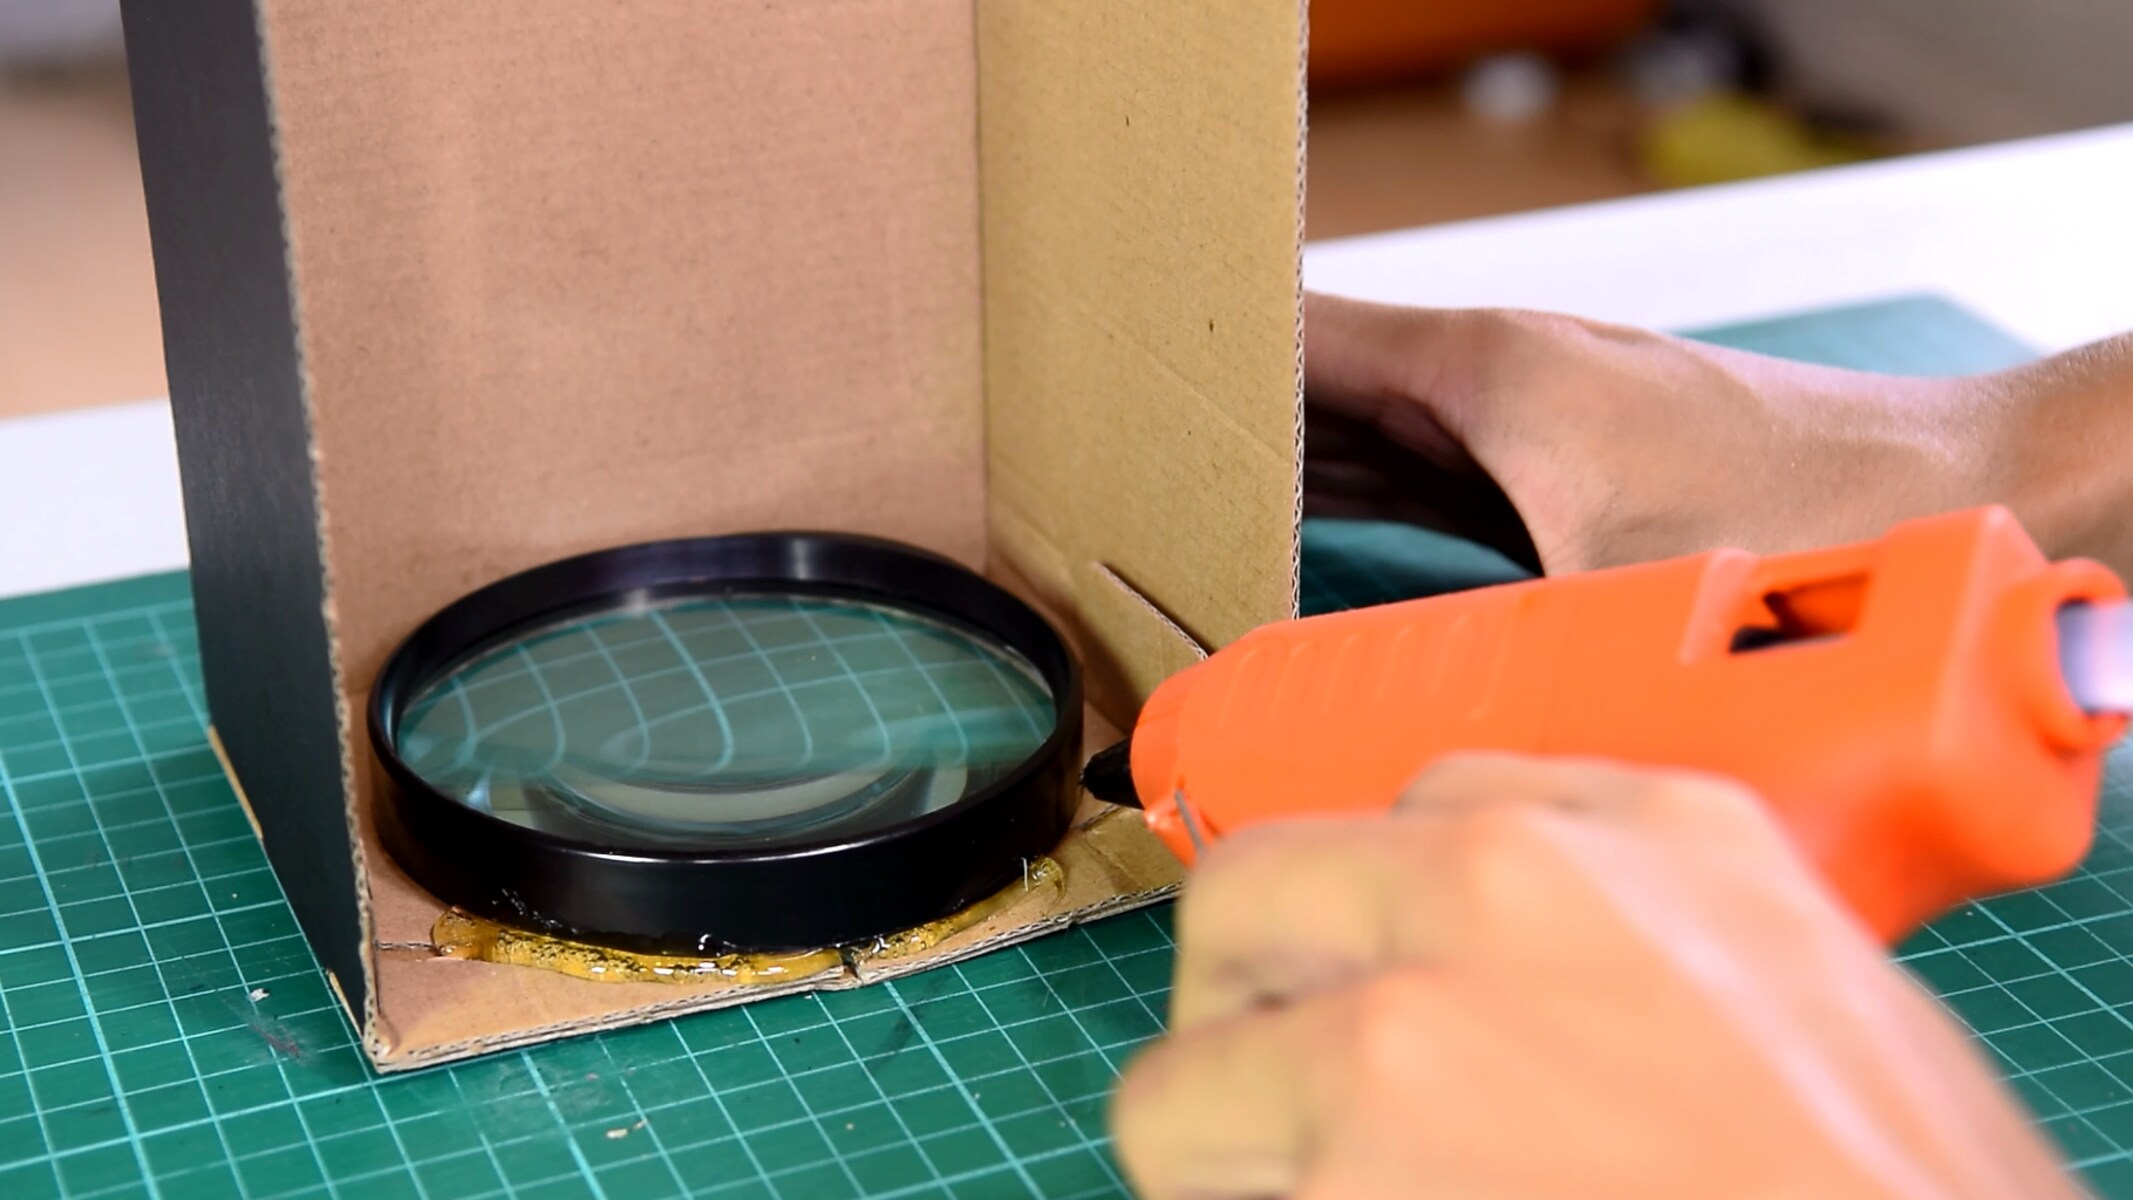
- Secure the Lens Bracket: Use screws or adhesive to secure a lens bracket onto the base, ensuring it aligns with the chosen mounting location. The bracket should provide a stable and adjustable platform for the lens.
- Attach the Lens: Carefully attach the lens to the lens bracket, ensuring it is secured firmly. Ensure that the lens does not block the light path and is positioned correctly for optimal focus.
- Adjust the Lens Position: Depending on your desired screen size and focus, adjust the position of the lens on the bracket. Follow the manufacturer’s guidelines or experiment with trial and error to achieve the desired projection quality.
- Secure the Lens in Place: Once you have determined the optimal lens position, securely fasten the lens in place using screws or locking mechanisms, ensuring it remains stable during operation.
Throughout the mounting process, pay attention to alignment and make any necessary adjustments to ensure the projected image is sharp and focused. Test the projection after mounting to ensure optimal clarity and adjust if needed.
Now that you have successfully mounted the lens, it’s time to connect the power and bring your DIY projector to life. Let’s move on to the next section!
Connecting the Power
Now that the major components of your DIY projector are in place, it’s time to connect the power and bring it to life. Follow these steps to ensure a safe and proper power connection:
- Verify Power Requirements: Check the power requirements of each component, including the light source, controller board, and any additional accessories. Ensure that the power supply you have chosen can handle the total wattage needed.
- Connect the Power Supply: Connect the power supply to the controller board, ensuring that the positive and negative terminals are correctly aligned. Use proper insulation and secure the connections to prevent any loose or exposed wires.
- Plug In the Power Cord: Connect the power cord of the power supply to a reliable and grounded electrical outlet. Ensure that the outlet can handle the power load and is accessible for easy maintenance.
- Test the Power Connection: Before fully assembling your projector, perform a power test to ensure that all the components receive the necessary power. Check for any issues such as flickering lights or overheating, and address them accordingly.
- Ensure Safety Precautions: Consider implementing safety measures such as a fuse or surge protector to protect your DIY projector from power fluctuations or surges. This will help prevent damage to the components and ensure a longer lifespan.
While connecting the power, always prioritize safety. Double-check all the connections, ensure proper insulation, and follow electrical safety guidelines. If you’re uncertain about any aspect of the power connection, consult a professional or seek the guidance of an experienced DIY enthusiast.
Now that the power is connected, it’s time to move on to the final step: testing and fine-tuning your DIY projector. Let’s see how it all comes together!
Testing and Fine-tuning
With your DIY projector fully assembled and powered up, it’s time to test and fine-tune its performance. Follow these steps to ensure optimal projection quality:
- Adjust the Focus: Use the focus adjustment mechanism, if available, to fine-tune the sharpness of the projected image. Experiment with different settings until you achieve the desired focus.
- Check for Image Alignment: Project an alignment test pattern or grid onto a flat surface and verify if the image is properly aligned and squared. Adjust the lens and mount if necessary to achieve a straight and symmetrical projection.
- Adjust Brightness and Contrast: Access the settings on your controller board or video source to adjust the brightness, contrast, and color settings to your preference. Calibration may be necessary to achieve optimal image quality.
- Test Different Content: Project various types of content, such as movies, photos, or presentations, to gauge the overall performance of your DIY projector. Pay attention to color accuracy, detail clarity, and overall viewing experience.
- Seek Feedback: Invite friends or family members to critique the projected image quality and provide feedback. This can help you identify any areas for improvement or adjustment.
During the testing and fine-tuning phase, take your time to make adjustments and refinements as needed. It’s normal to undergo several iterations before achieving the desired projection quality. Enjoy the process and use it as an opportunity to learn and improve your DIY skills.
Now that you have successfully tested and fine-tuned your DIY projector, you’re ready to sit back, relax, and enjoy your very own home theater experience!
Conclusion
Congratulations on successfully building your very own projector! By selecting the right components, building a sturdy base, assembling the electronics, mounting the lens, connecting the power, and fine-tuning the performance, you have created a DIY projector that can provide you with a unique and immersive viewing experience.
Remember, building a projector from scratch requires some technical knowledge and DIY skills, but the effort is worth the reward. While your DIY projector may not match the quality of commercial projectors, it can still deliver an enjoyable home theater experience.
Throughout the process, it’s important to experiment, make adjustments, and seek feedback to improve the quality and performance of your projector. Don’t hesitate to explore additional resources, forums, and communities dedicated to DIY projectors for inspiration and guidance.
With your DIY projector complete, you now have the freedom to enjoy movies, sports, video games, or any other content on a larger screen, right in the comfort of your own home. Gather your friends and family, dim the lights, and immerse yourself in the magic of a personalized home theater experience.
Keep in mind that building a DIY projector is an ongoing project. As technology evolves and your skills improve, you may decide to upgrade or tweak your projector setup. Embrace the journey and let your creativity guide you to further enhance your viewing pleasure.
Now that you have all the knowledge and steps to embark on this DIY adventure, it’s time to put it into action. Grab your tools, gather your components, and let your creativity shine as you build your very own projector.
Enjoy the process, learn from the challenges, and revel in the satisfaction of creating something unique that brings joy and entertainment to your life.