Introduction
Welcome to our guide on how to cancel your Amazon Music subscription. Amazon Music is a popular streaming service that offers a wide selection of songs, albums, and playlists for its users. While many users enjoy the benefits of having access to unlimited music, there may come a time when you no longer wish to continue your subscription. Whether you’ve found an alternative music streaming service or simply no longer require a paid subscription, we’re here to help you navigate the process of canceling your Amazon Music subscription.
Canceling a subscription can sometimes be confusing, especially if you’re not familiar with the platform’s settings. However, we have simplified the process into easy-to-follow steps to ensure that you can cancel your Amazon Music subscription hassle-free.
Before we dive into the steps, it’s worth noting that canceling your Amazon Music subscription will result in the loss of unlimited access to their extensive music library. However, you can still enjoy the songs you have purchased or downloaded while using the service.
Step 1: Log in to your Amazon account
The first step in canceling your Amazon Music subscription is to log in to your Amazon account. This ensures that you have the necessary access and permissions to manage your subscription settings.
To log in, open a web browser and visit the Amazon website. Click on the “Account & Lists” option located on the top right corner of the page. This will bring up a dropdown menu. From the menu, select the “Sign In” option.
If you already have an Amazon account, enter your email address and password in the provided fields, then click on the “Sign In” button. If you don’t have an Amazon account, you will need to create one before proceeding with the cancellation process.
Once you are successfully signed in, you will be redirected to your Amazon account dashboard. Here, you can manage various settings and subscriptions, including your Amazon Music subscription.
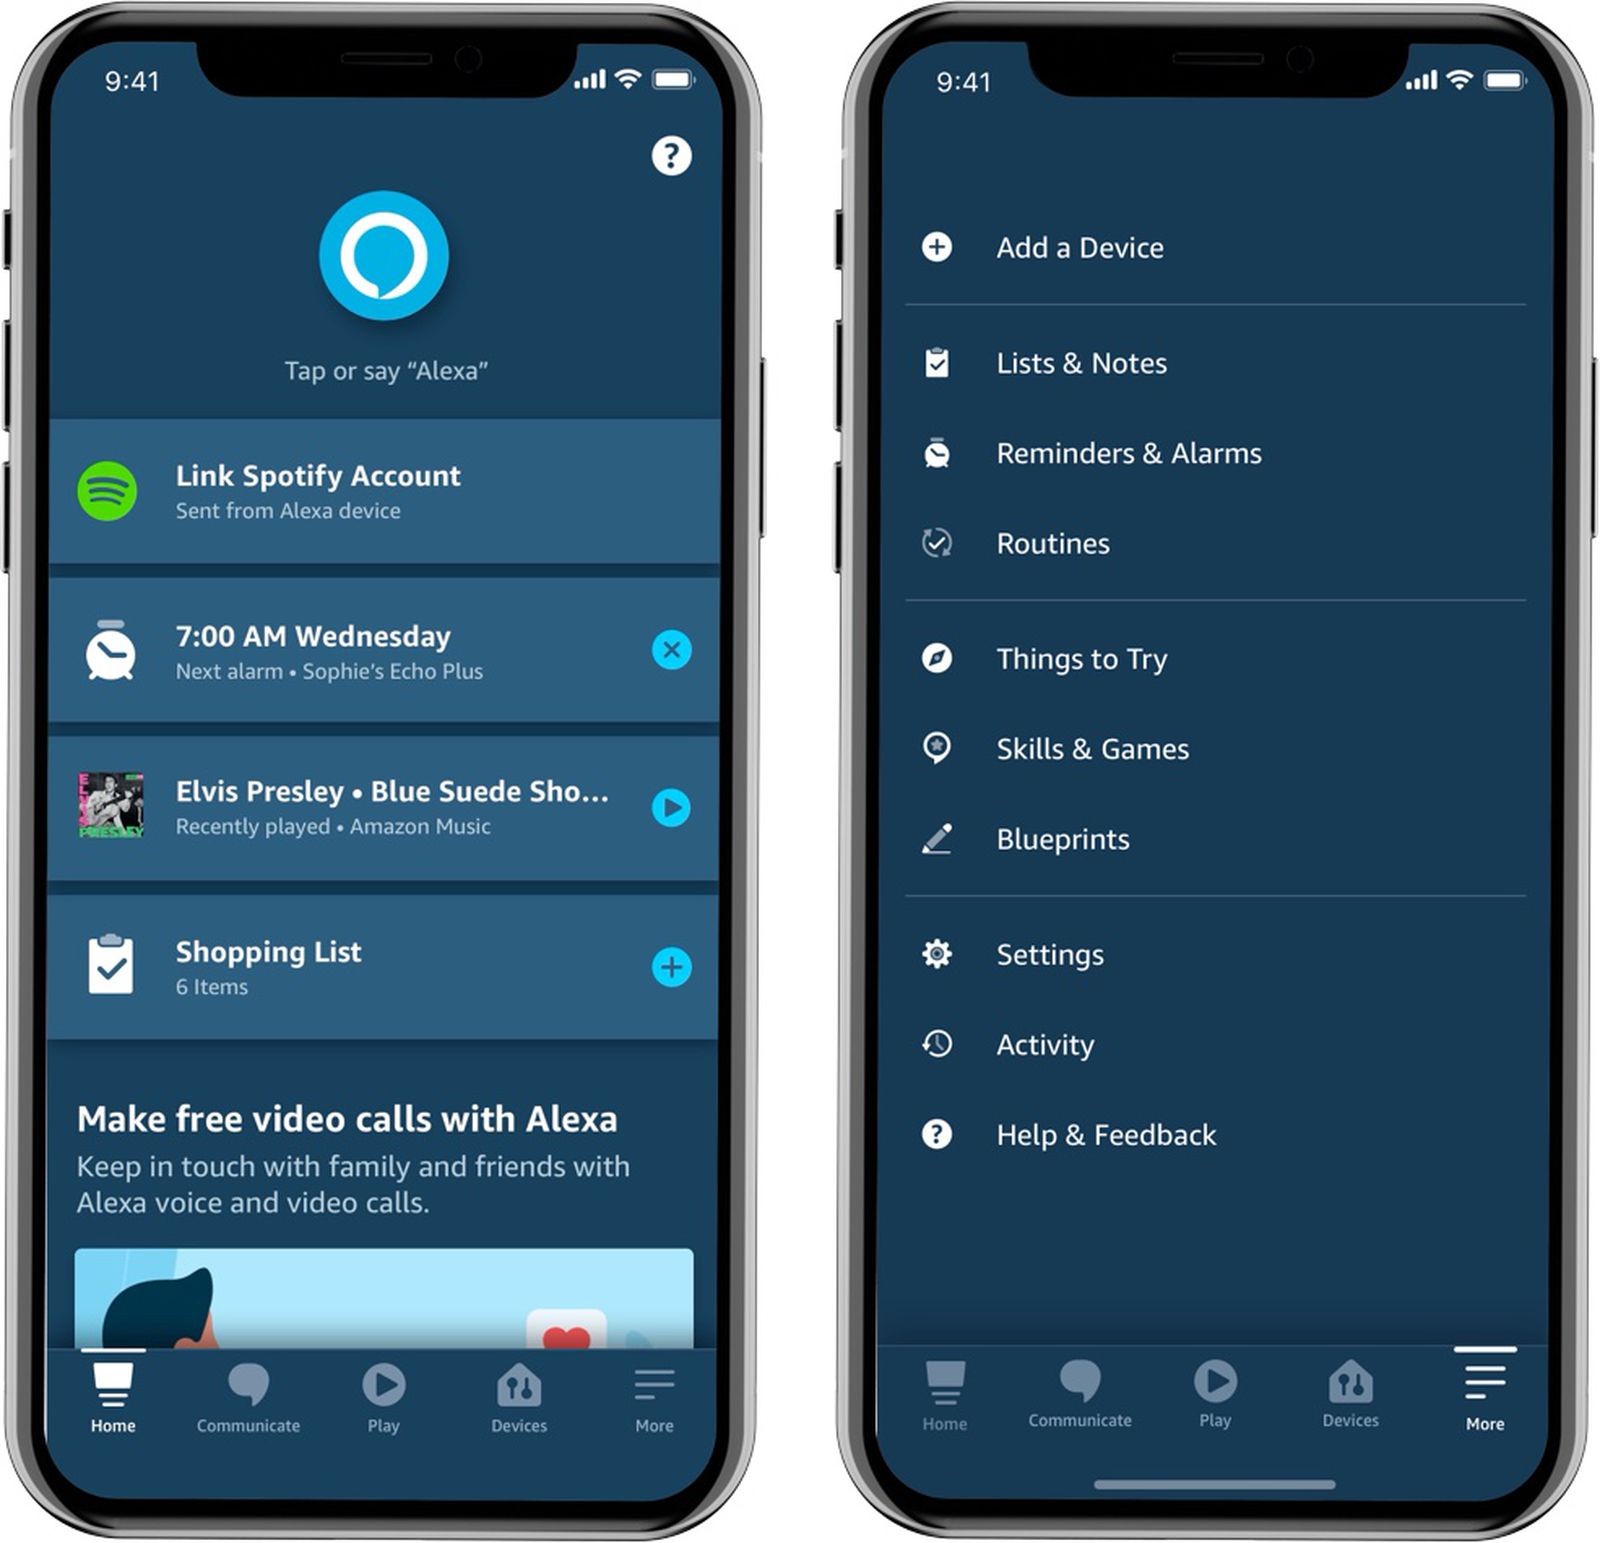
Note that if you are using the Amazon Music app on your mobile device, you will need to open the app and sign in with your Amazon account credentials to proceed with the cancellation process.
By logging in to your Amazon account, you have taken the first step towards canceling your Amazon Music subscription. Now, let’s move on to the next step.
Step 2: Go to the Amazon Music settings
Now that you are logged in to your Amazon account, it’s time to navigate to the Amazon Music settings. This is where you will find the options to manage and cancel your subscription.
On the Amazon website, locate the menu icon (three horizontal lines) in the top left corner of the page. Click on this icon to expand the menu.
From the expanded menu, scroll down and locate the “Prime Music” or “Amazon Music” option. Click on it to access the Amazon Music settings.
If you are using the Amazon Music app on your mobile device, you may need to tap on the “Your Library” or similar option to access the settings.
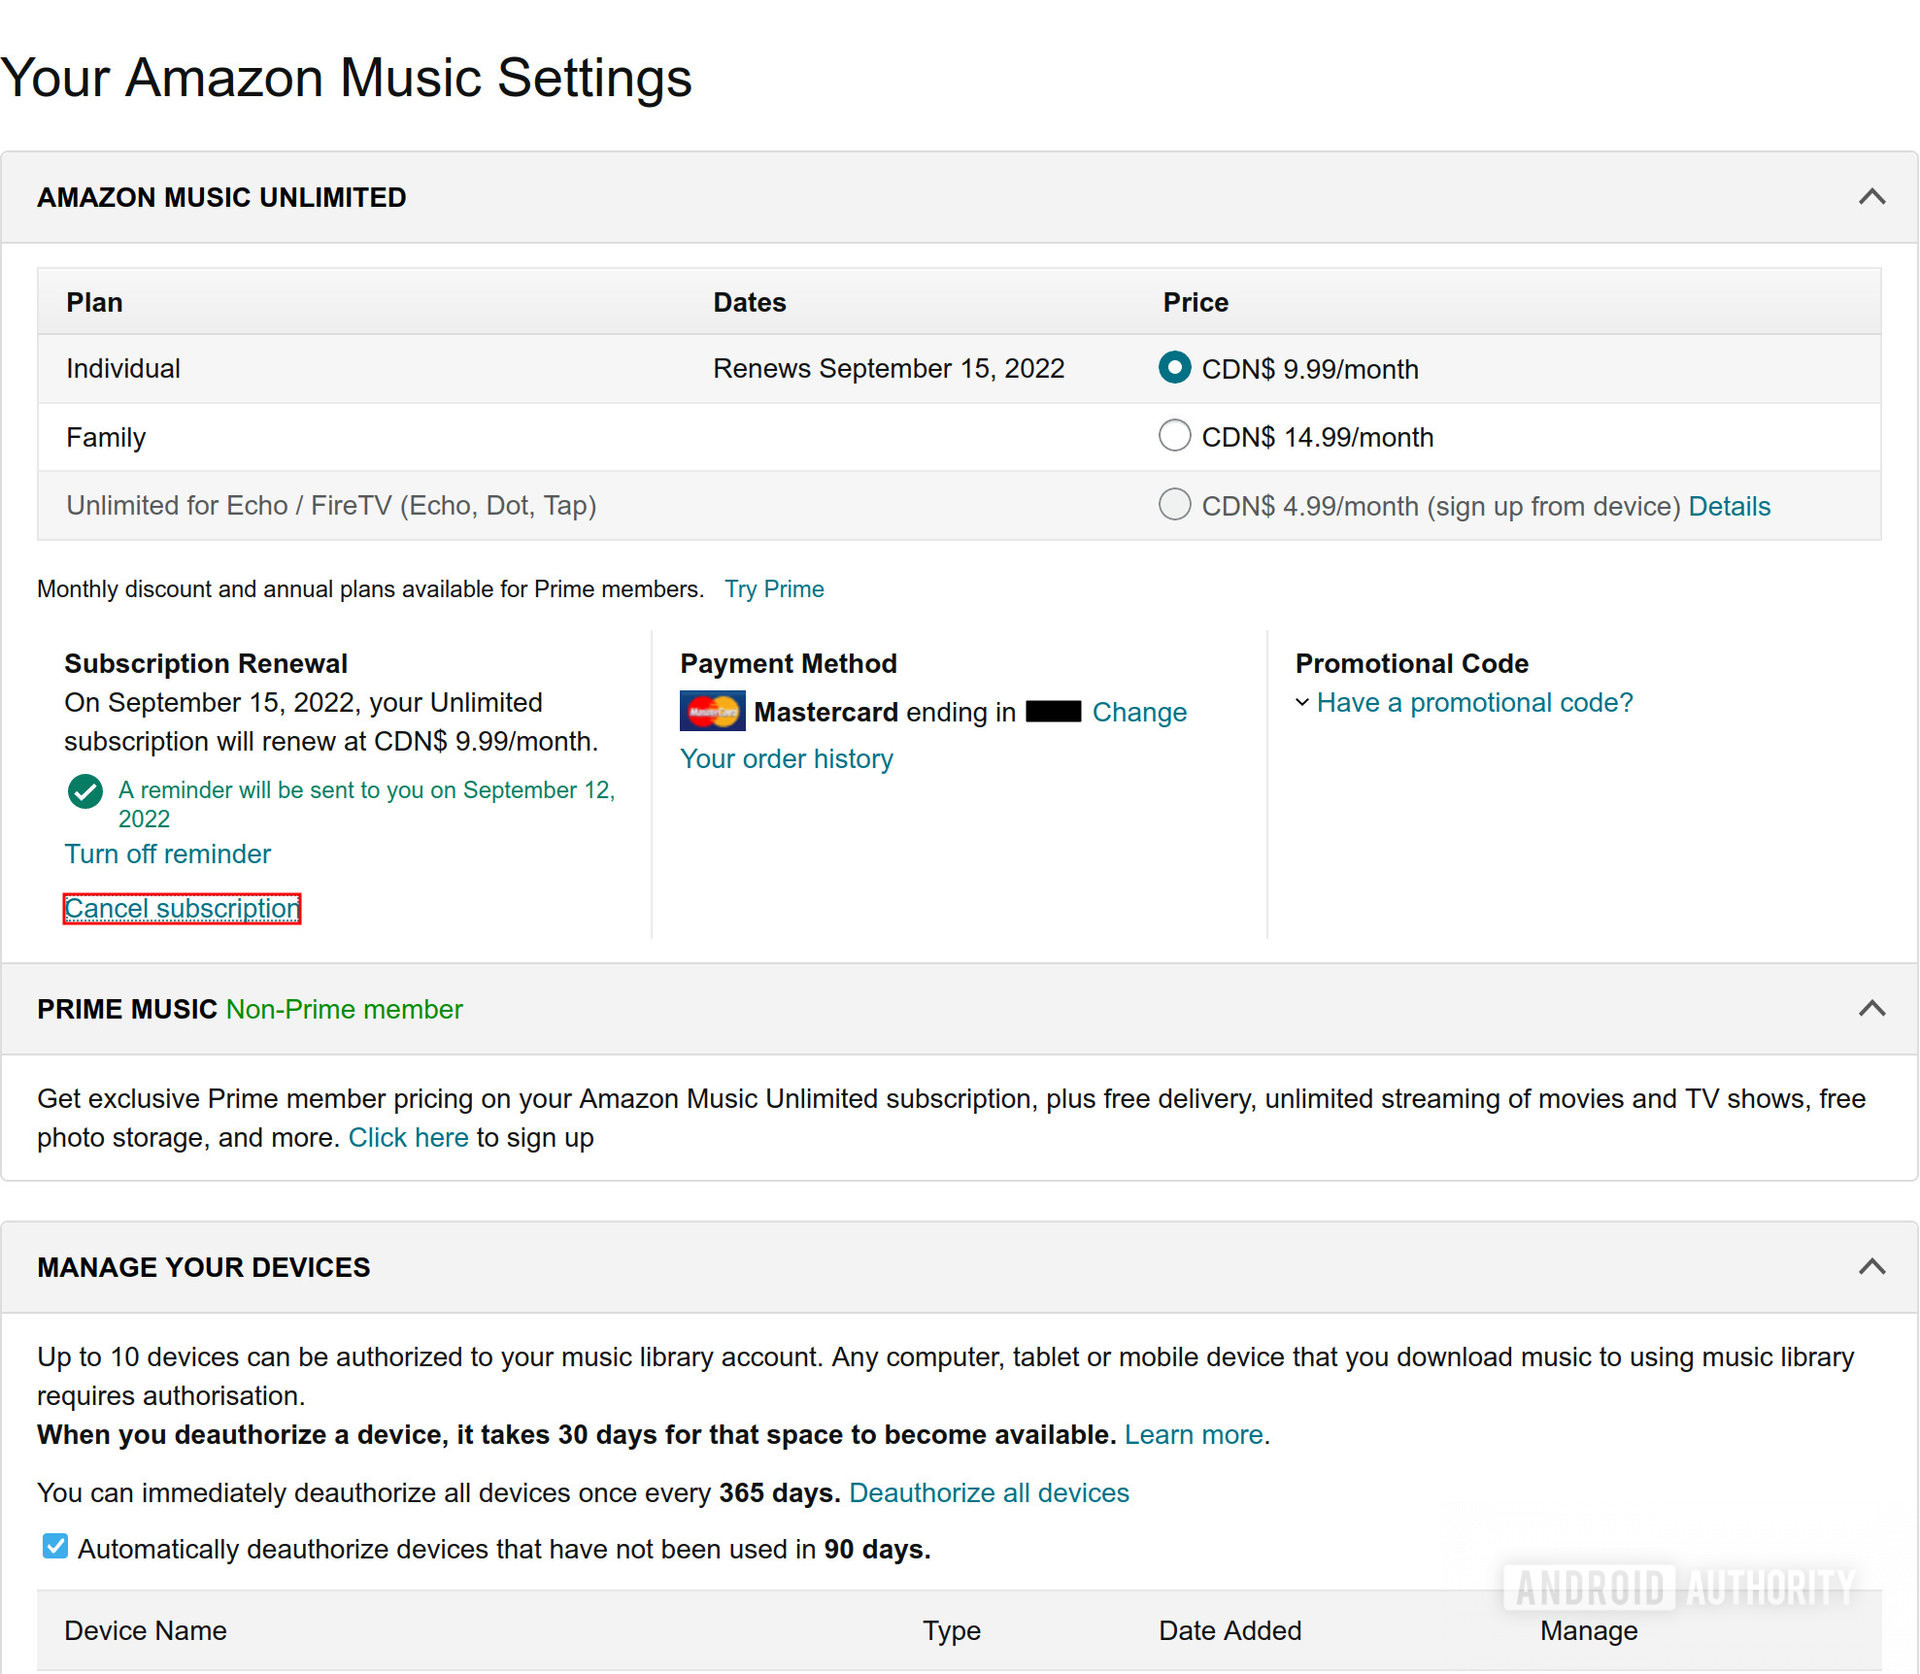
Once you are in the Amazon Music settings, you will see various options and tabs related to your subscription. This is where you can manage your membership, change your payment method, and, of course, cancel your subscription.
Take a moment to familiarize yourself with the settings page and ensure that you are in the correct section to cancel your Amazon Music subscription.
With step 2 completed, you are one step closer to canceling your Amazon Music subscription. Next, we will move on to step 3.
Step 3: Manage your subscription
Now that you have accessed the Amazon Music settings, it’s time to manage your subscription. This step involves navigating to the specific section where you can make changes to your subscription, including canceling it.
In the Amazon Music settings, look for the “Membership & Subscription” or similar option. Click on it to access the subscription management page.
On this page, you will see detailed information about your subscription, such as the type of subscription you have, the billing details, and the next billing date.
To cancel your Amazon Music subscription, locate the “Cancel Subscription” or similar button. It may be displayed prominently on the page or might be found under a drop-down menu.
Clicking on the “Cancel Subscription” button will take you to a confirmation page where Amazon will provide you with some information about the consequences of canceling your subscription.
It’s important to take note of any important details or benefits you might lose by canceling your subscription. If you still wish to proceed, click on the “Continue to Cancel” or similar button.
At this point, Amazon may attempt to retain you as a customer by offering alternatives or discounts. Evaluate these offers and make a decision based on your needs and preferences.
Once you have made your decision, confirm the cancellation of your Amazon Music subscription by clicking on the “Confirm Cancellation” or similar button.
Congratulations! You have successfully managed your Amazon Music subscription. In the next step, we will finalize the cancellation process.
Step 4: Cancel your Amazon Music subscription
Now that you have reached the final step of the cancellation process, it’s time to officially cancel your Amazon Music subscription. This step ensures that your subscription is terminated and you will no longer be billed for the service.
On the confirmation page, you will be prompted to provide a reason for canceling your subscription. You can select the reason that best fits your situation from the provided options or choose the “Other” option if none of the listed reasons apply.
After selecting the reason, click on the “Cancel Subscription” or similar button to proceed.
Amazon will then process your cancellation request and you will receive a confirmation message indicating that your subscription has been successfully canceled.
It’s important to note that after canceling your subscription, you will still be able to access any purchased or downloaded music from your Amazon Music account. However, you will lose access to the unlimited streaming and new releases offered by the paid subscription.
Make sure to take note of any remaining subscription duration or benefits that may still be active until the end of your current billing cycle. This will help you make the most of the service before the cancellation takes effect.
With step 4 completed, you have officially canceled your Amazon Music subscription. Now, let’s move on to the final step for confirmation.
Step 5: Confirm the cancellation
After canceling your Amazon Music subscription, it’s important to take a moment to confirm that the cancellation has been successfully processed. This step ensures that you have successfully ended your subscription and will no longer be billed for the service.
Once you receive the confirmation message that your subscription has been canceled, take a moment to review your Amazon Music settings to ensure that the cancellation has been reflected accurately.
On the Amazon Music settings page, check for any indications or notifications that confirm the cancellation. This may include a message stating that your subscription has been canceled or that your membership has expired.
Additionally, make sure to verify that your billing information has been updated to reflect the cancellation and that you will no longer be charged for the Amazon Music service.
If you are using the Amazon Music app on your mobile device, you can also check the app settings to confirm the cancellation.
By confirming the cancellation, you can have peace of mind knowing that you have successfully ended your Amazon Music subscription and will no longer be charged for the service.
With step 5 completed, you have reached the end of the process for canceling your Amazon Music subscription. We hope this guide has been helpful in assisting you through the cancellation process.
If you ever decide to resubscribe to Amazon Music in the future, you can easily do so by following the steps outlined in their subscription renewal process.
Thank you for using our guide, and we hope you enjoy your music streaming experience, whether it’s with Amazon Music or another service of your choice!
Conclusion
Cancelling your Amazon Music subscription doesn’t have to be a daunting task. By following the steps outlined in this guide, you can successfully navigate the process and end your subscription with ease.
We started by logging into your Amazon account, ensuring that you have the necessary access and permissions to manage your subscription. Then, we moved on to accessing the Amazon Music settings, where you can find the options to manage and cancel your subscription.
Next, we discussed how to manage your subscription, understanding the details of your membership and ultimately making the decision to cancel. We then proceeded to the final step of confirming the cancellation, ensuring that the process was completed successfully.
While canceling your subscription means losing unlimited access to the Amazon Music library, you can still enjoy the songs you have purchased or downloaded while using the service.
If you ever decide to resubscribe to Amazon Music or explore other music streaming services, you can easily do so at any time.
We hope that this guide has been helpful in assisting you through the cancellation process. If you have any further questions or concerns, don’t hesitate to reach out to Amazon’s customer support for assistance.
Thank you for trusting us with your guide on how to cancel your Amazon Music subscription. We wish you the best in your music streaming journey!