Introduction
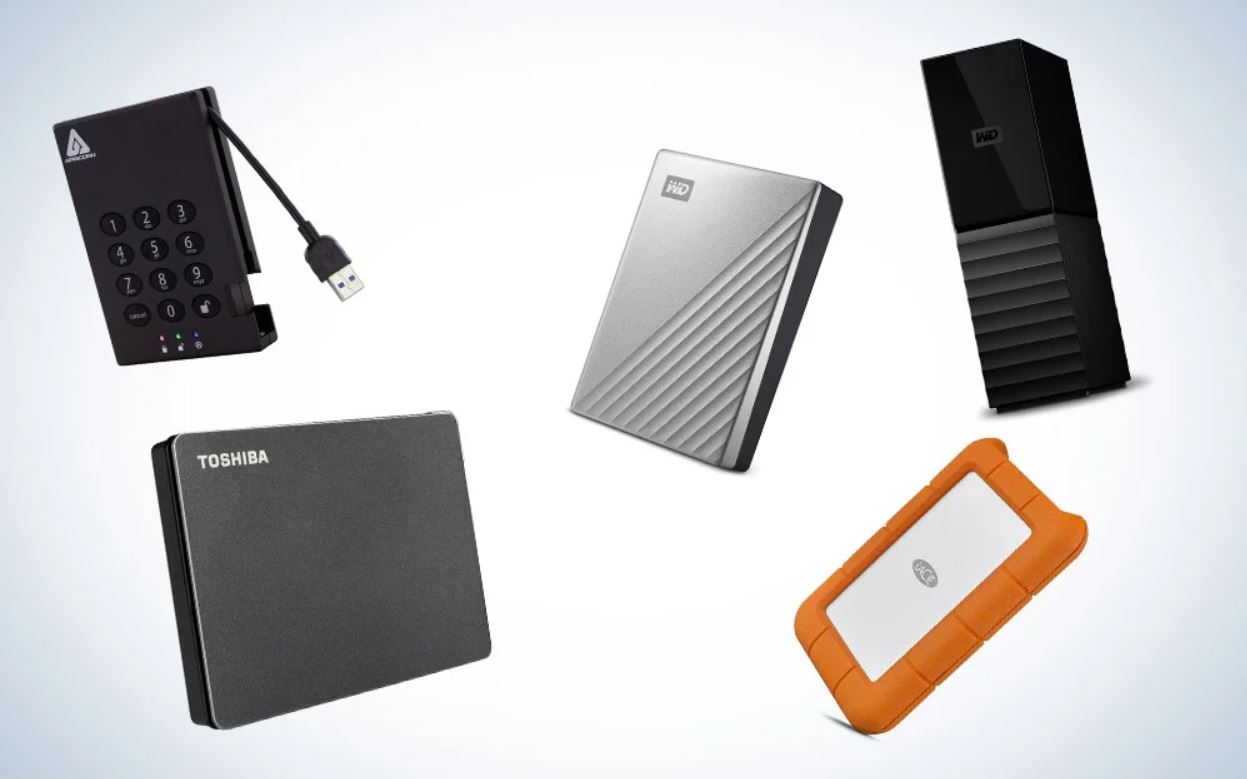
Using an external hard drive for storage and backup is a great way to keep your important files and documents safe. Toshiba external hard drives are widely known for their reliability and storage capacity, making them a popular choice among Mac users. If you’re wondering how to use your Toshiba external hard drive on your Mac, you’ve come to the right place.
In this guide, we will walk you through a step-by-step process on how to format the Toshiba external hard drive for Mac, connect it to your Mac, transfer files to the external hard drive, and safely eject it from your Mac. Whether you’re a seasoned Mac user or new to the world of external storage, this article will provide you with the necessary instructions and tips to seamlessly integrate your Toshiba external hard drive with your Mac.
Before we dive into the specifics, it’s important to note that Mac computers use a different file system than Windows computers. By default, Toshiba external hard drives come formatted in NTFS, which is compatible with Windows but might not work seamlessly with your Mac. However, with a few simple steps, you can reformat your Toshiba external hard drive to make it compatible with your Mac’s file system.
Now, let’s get started on how to use your Toshiba external hard drive on your Mac. Follow the steps outlined in this guide, and you’ll be effortlessly transferring files and enjoying the benefits of additional storage space in no time.
Step 1: Formatting the Toshiba External Hard Drive for Mac
The first step to using your Toshiba external hard drive on your Mac is to format it in a compatible file system. By default, Toshiba external hard drives come pre-formatted in NTFS, which is designed for Windows. However, Mac computers use the Apple File System (APFS) or the macOS Extended (Journaled) file system.
To format your Toshiba external hard drive, follow these steps:
- Connect your Toshiba external hard drive to your Mac using the USB cable.
- Open the “Finder” application on your Mac by clicking on the blue smiley face icon in your dock.
- In the Finder window, navigate to the “Applications” folder and open the “Utilities” folder.
- Find and open the “Disk Utility” application.
- In the Disk Utility window, you will see a list of connected storage devices. Locate your Toshiba external hard drive in the left sidebar and select it.
- Click on the “Erase” button at the top of the Disk Utility window.
- A dialog box will appear. Choose a name for your hard drive and select either “APFS” or “Mac OS Extended (Journaled)” as the format.
- Verify that the format, name, and other settings are correct, and then click on the “Erase” button. Please note that this process will erase all data on the Toshiba external hard drive, so make sure you have a backup if needed.
- Once the erasing process is complete, your Toshiba external hard drive will be formatted for use with your Mac.
Now that you’ve successfully formatted your Toshiba external hard drive to the appropriate file system, you’re ready to connect it to your Mac and start transferring files. In the next step, we will guide you on how to properly connect the Toshiba external hard drive to your Mac for seamless data transfer.
Step 2: Connecting the Toshiba External Hard Drive to Your Mac
Now that you have formatted your Toshiba external hard drive for Mac, it’s time to connect it to your computer. Follow these simple steps to establish a connection:
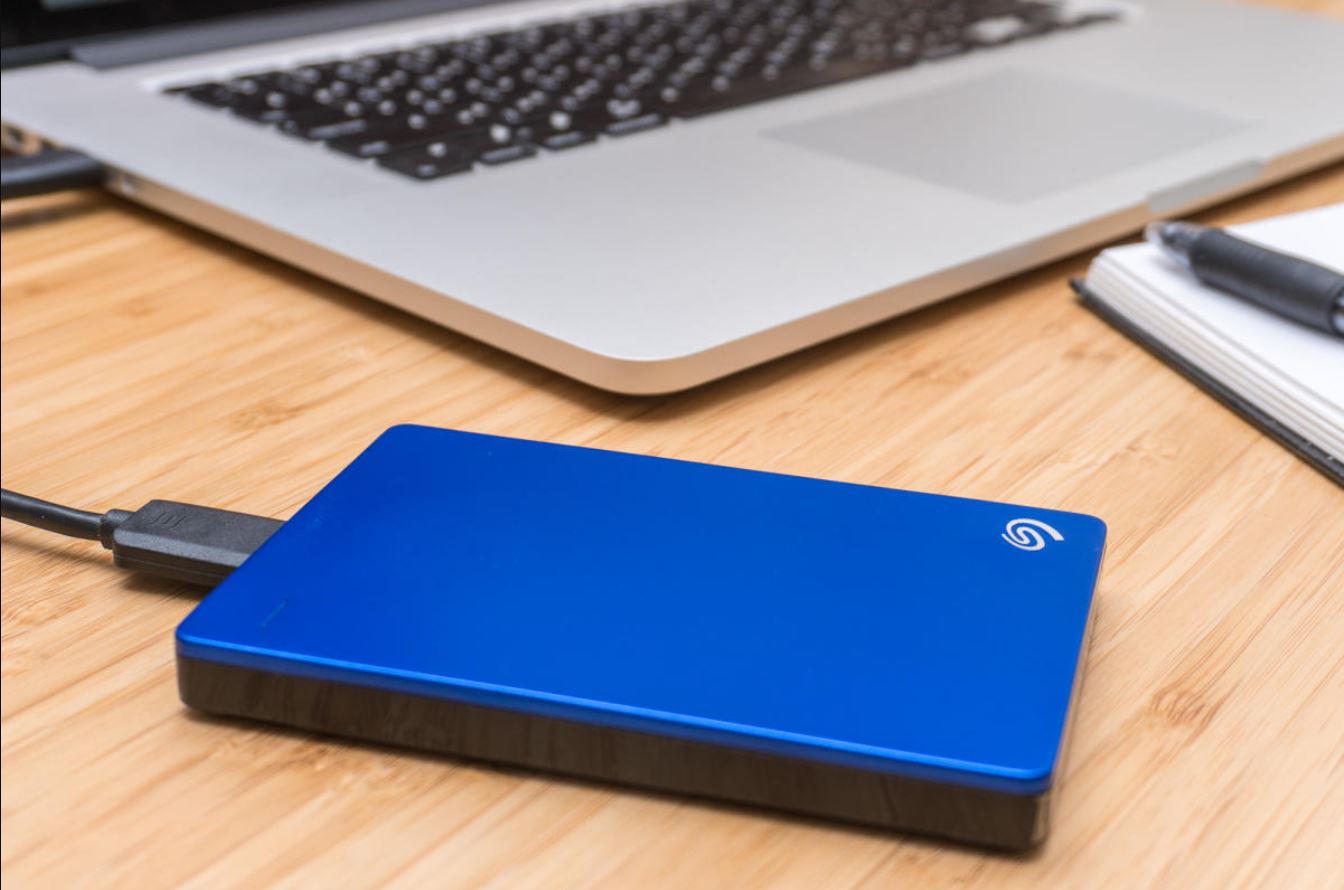
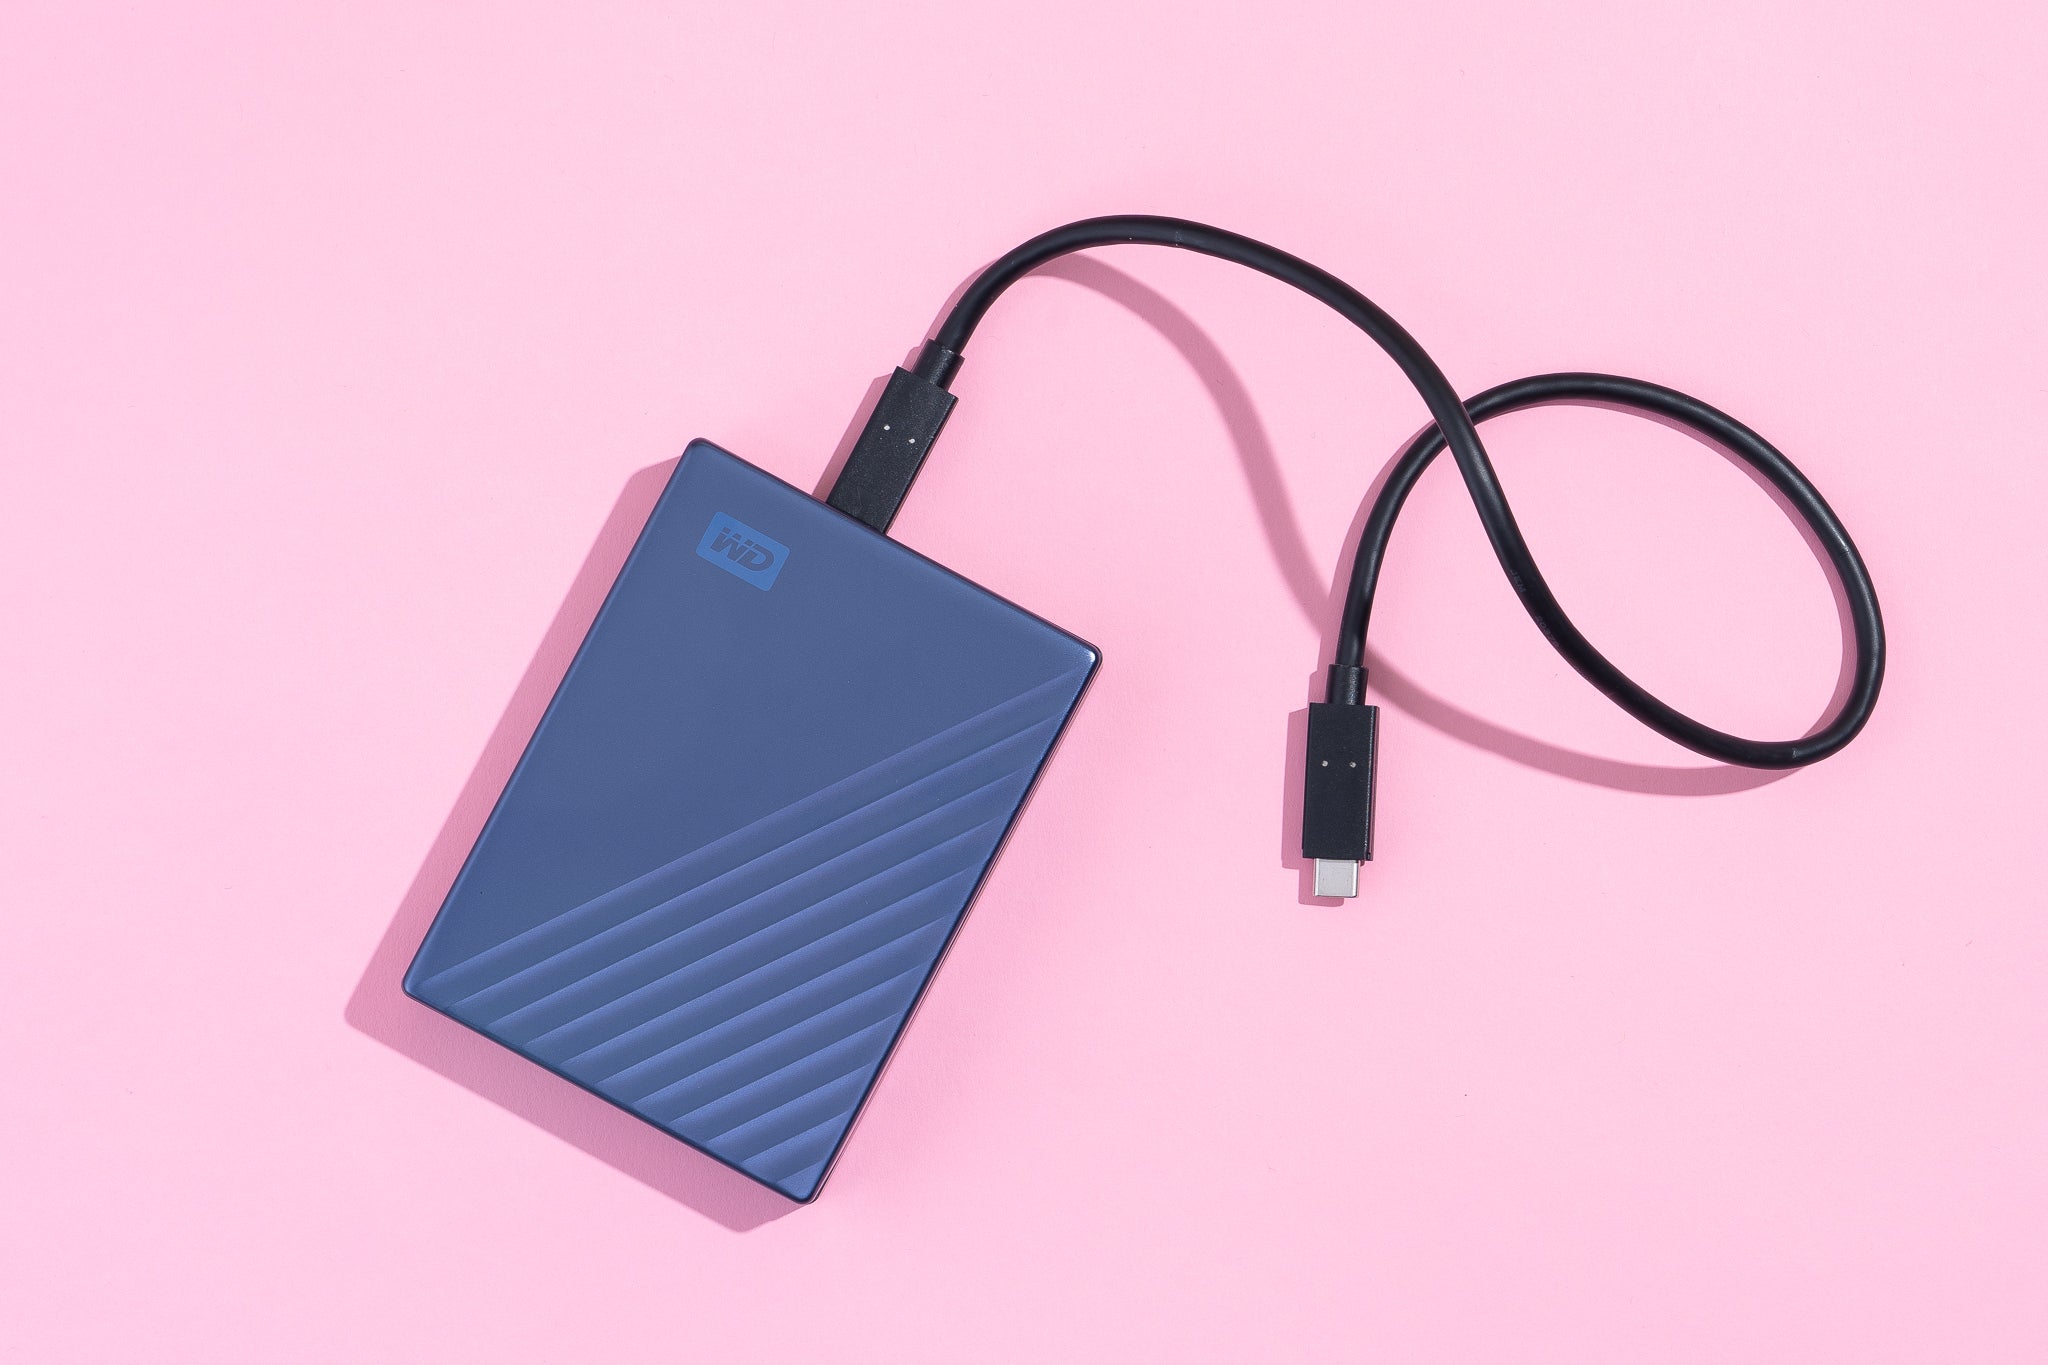
- Locate the USB port on your Mac. The newer Macs are equipped with USB Type-C ports, while older models might have USB-A ports. Ensure that you have the appropriate cable to connect your Toshiba external hard drive to your Mac.
- Take the USB cable that came with your Toshiba external hard drive and insert one end into the USB port of your Mac.
- Take the other end of the USB cable and plug it into the USB port of your Toshiba external hard drive.
- Once both ends of the cable are securely connected, you’ll notice that the Toshiba external hard drive light starts blinking, indicating that it is powered on and connected to your Mac.
- Wait for a few seconds to allow your Mac to recognize the external hard drive. You might see a notification or icon pop up on your screen, indicating that a new device has been connected.
- To access the Toshiba external hard drive, open a Finder window by clicking on the blue smiley face icon in your dock.
- In the left sidebar of the Finder window, under the “Devices” section, you should see the Toshiba external hard drive listed. Click on it to open and explore its contents.
Congratulations! You have successfully connected your Toshiba external hard drive to your Mac. Now you’re ready to transfer your files and take advantage of the additional storage space. In the next step, we will guide you on how to transfer files to the Toshiba external hard drive.
Step 3: Transferring Files to the Toshiba External Hard Drive
Now that you have successfully connected your Toshiba external hard drive to your Mac, it’s time to transfer your files onto it. Follow these steps to seamlessly transfer your files:
- Open a Finder window by clicking on the blue smiley face icon in your dock.
- In the left sidebar of the Finder window, under the “Devices” section, you will see the Toshiba external hard drive listed. Click on it to open its contents.
- Locate the files or folders on your Mac that you want to transfer to the Toshiba external hard drive.
- Select the files or folders you want to transfer by clicking on them while holding down the “Command” key on your keyboard. You can select multiple files or folders at once.
- Once you have selected the desired files or folders, simply drag and drop them onto the open Toshiba external hard drive window.
- Alternatively, you can right-click on the selected files or folders and choose the “Copy” option. Then, navigate to the Toshiba external hard drive window, right-click again, and select “Paste” to transfer the files.
- Your files will begin to transfer, and a progress bar may appear to show you the status of the transfer. The time it takes will depend on the size of the files and the speed of the connection.
- Once the transfer is complete, you can safely disconnect your Toshiba external hard drive by following the steps outlined in the next section.
That’s it! You have successfully transferred your files to the Toshiba external hard drive. You can now enjoy the extra storage space and have your important documents, photos, and videos readily accessible whenever you need them. In the following step, we will guide you on how to safely eject the Toshiba external hard drive from your Mac.
Step 4: Ejecting the Toshiba External Hard Drive from Your Mac
Before you disconnect your Toshiba external hard drive from your Mac, it’s important to properly eject it to avoid any potential data loss or corruption. Follow these steps to safely eject your Toshiba external hard drive:
- Ensure that all file transfer activities involving the Toshiba external hard drive are complete.
- Locate the Toshiba external hard drive icon on your desktop or in a Finder window.
- Click on the eject icon next to the Toshiba external hard drive icon. Alternatively, you can right-click on the Toshiba external hard drive icon and choose the “Eject” option from the context menu.
- Wait for a few seconds while your Mac unmounts and disconnects the Toshiba external hard drive. You will see the Toshiba external hard drive icon disappear from your desktop or Finder window, indicating that it has been successfully ejected.
- You can now safely disconnect the USB cable from your Mac and the Toshiba external hard drive.
Ejecting the Toshiba external hard drive properly ensures that all data has been written to the drive and no files are in use, reducing the risk of data corruption or loss. It is a crucial step to maintain the integrity of your files and the health of your external hard drive.
Remember, it’s always a good practice to safely eject any external storage device before physically disconnecting it from your computer. This ensures that your files are protected and prevents any potential damage to your Toshiba external hard drive.
Congratulations! You have successfully learned how to use your Toshiba external hard drive on your Mac. By following these steps to format, connect, transfer files, and safely eject the hard drive, you can seamlessly integrate it into your Mac workflow and enjoy the benefits of extra storage space for all your important files and data.
Conclusion
Using a Toshiba external hard drive on your Mac can greatly expand your storage options and provide a convenient way to back up your important files. By following the steps outlined in this guide, you can easily format, connect, transfer files, and safely eject your Toshiba external hard drive with confidence.
We started by formatting the Toshiba external hard drive to make it compatible with the Mac’s file system. This ensures seamless file transfer and compatibility between your Mac and the external hard drive. Then, we walked you through the process of connecting the Toshiba external hard drive to your Mac, allowing you to access and manage your files effortlessly.
Next, we discussed how to transfer files to the Toshiba external hard drive, giving you the flexibility to organize and store your data as needed. Finally, we emphasized the importance of safely ejecting the external hard drive to prevent data loss and maintain the integrity of your files.
By following these steps and best practices, you can make the most of your Toshiba external hard drive and effectively manage your data on your Mac. Remember, always keep a backup of your important files and ensure you safely remove the external hard drive to avoid any potential issues.
Now that you have the knowledge and the tools necessary, you can confidently use your Toshiba external hard drive on your Mac. Enjoy the convenience, security, and expanded storage capacity that it brings to your digital life!


