Introduction
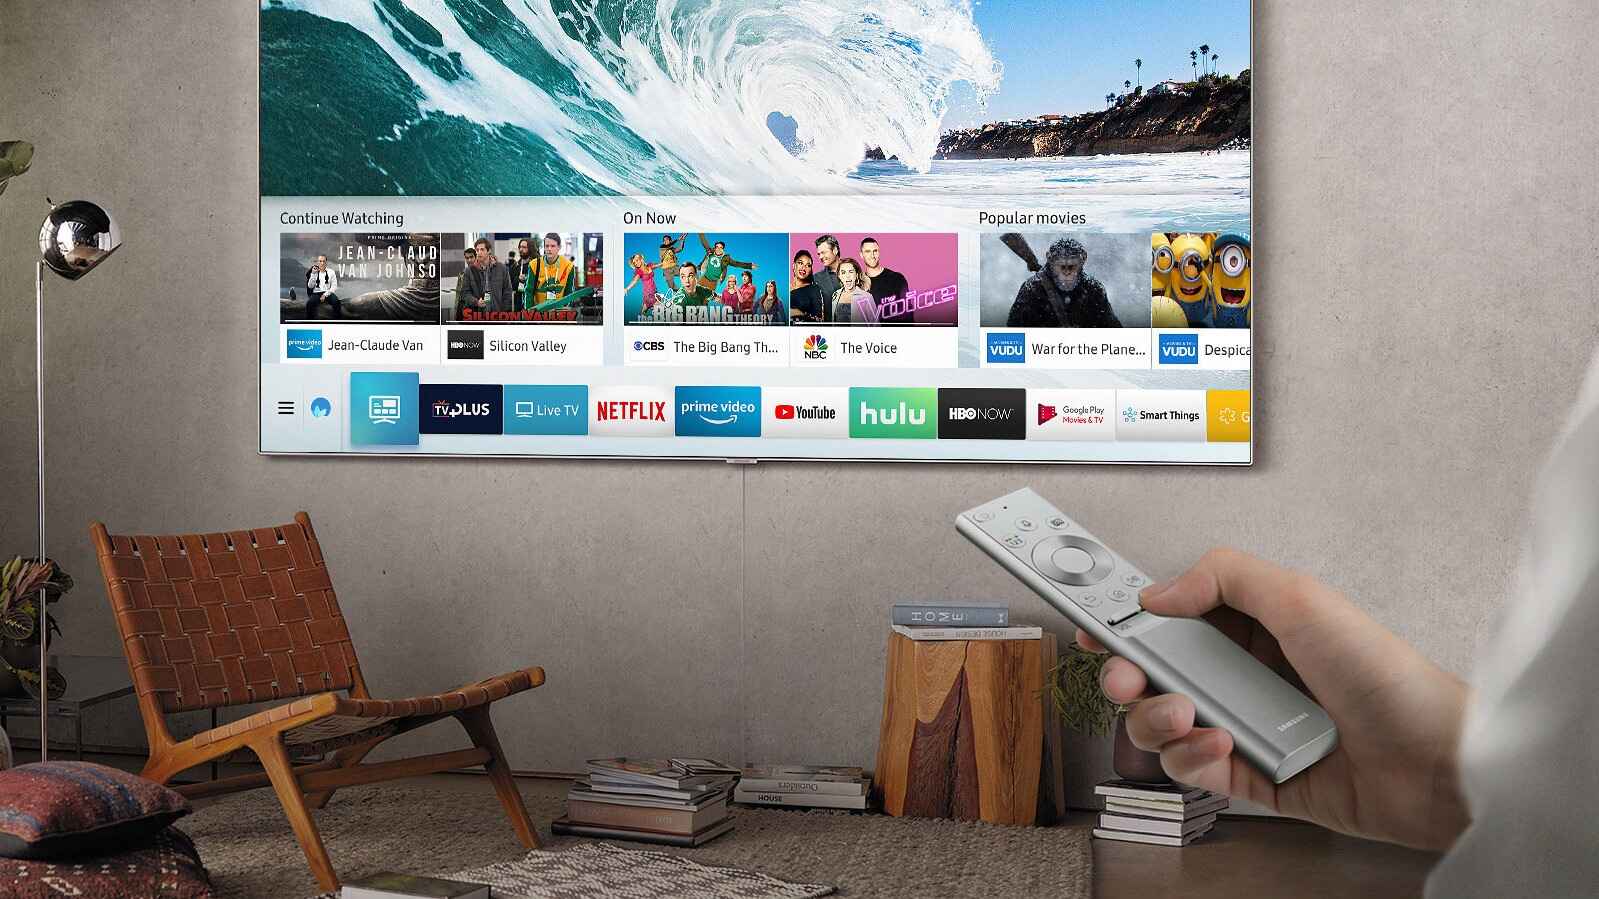
Welcome to the world of smart TVs! With the incredible advancements in technology, televisions have evolved far beyond just being a screen to watch your favorite shows and movies. Smart TVs offer a range of exciting features that can enhance your entertainment experience.
These modern devices allow you to connect to the internet, stream content from various platforms, browse the web, and even connect with other smart devices in your home. However, setting up a smart TV can be a bit overwhelming, especially if you’re new to this technology.
This article will guide you through the process of setting up your smart TV so that you can quickly start enjoying its amazing features. From choosing the right smart TV for your needs to troubleshooting common issues, we’ll cover it all.
Whether you’re upgrading from a traditional television or purchasing your first smart TV, this article is here to help you make the most of your new device. So let’s dive in and explore the world of smart TVs!
Choosing the Right Smart TV for Your Needs
When it comes to choosing a smart TV, there are a few factors to consider to ensure you find the perfect fit for your needs. Here are some key points to keep in mind:
Screen Size: Determine the optimal screen size for your viewing area. Consider the distance between the TV and the seating area to ensure a comfortable viewing experience.
Resolution: Look for a smart TV with at least a Full HD (1080p) resolution, or consider a 4K Ultra HD TV for even sharper and more detailed visuals.
Operating System: Different smart TVs come with different operating systems, such as Android TV, Roku TV, or webOS. Consider the user interface, app availability, and compatibility with other devices when choosing an operating system.
Connectivity: Ensure that the smart TV has ample connectivity options, including HDMI ports, USB ports, and Wi-Fi capabilities. This will allow you to connect external devices and enjoy seamless wireless streaming.
Smart Features: Look for smart TVs that offer a wide range of features, such as voice control, built-in streaming apps, screen mirroring, and compatibility with virtual assistants like Amazon Alexa or Google Assistant.
Budget: Determine your budget range. Consider what features are essential to you and find a smart TV that fits within your price range without compromising on quality.
By considering these factors, you can narrow down your options and choose a smart TV that aligns with your preferences and requirements. Take your time to research different brands, read reviews, and compare specifications to make an informed decision.
Remember, the right smart TV will provide you with an immersive and enjoyable viewing experience, so it’s worth investing time and effort in finding the perfect one. Once you’ve chosen your ideal smart TV, it’s time to unbox it and set it up for use.
Unboxing and Setting Up Your Smart TV
Now that you have your new smart TV, it’s time to unbox it and set it up for use. Follow these steps to ensure a smooth and hassle-free setup:
Step 1: Unbox the TV: Carefully open the packaging, making sure not to damage the TV or any accessories included. Remove the protective packaging and place the TV on a flat surface.
Step 2: Attach the Base or Wall Mount: Depending on your preference, attach the base stand to the TV by following the manufacturer’s instructions. Alternatively, if you plan to wall mount the TV, consult the user manual for proper installation methods and ensure you have the necessary wall-mounting kit.
Step 3: Connect the Power Cable: Plug one end of the power cable into the back of the TV and the other end into a power outlet. Ensure the cable is securely connected and that the TV’s power indicator lights up.
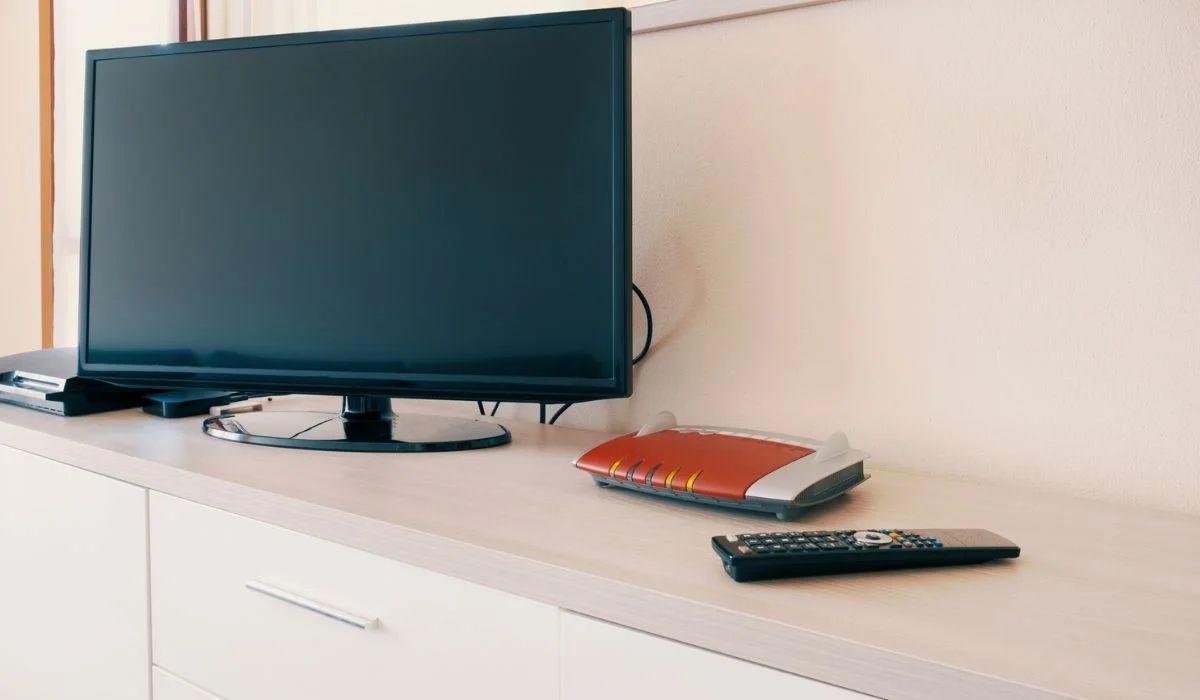
Step 4: Connect External Devices: If you have external devices such as a cable/satellite box, gaming console, or media player, connect them to the TV using HDMI cables. Plug one end of the HDMI cable into the device and the other end into the appropriate HDMI port on the TV. Repeat this step for each device.
Step 5: Turn on the TV: Using the remote control or the power button on the TV, turn on the smart TV. You may be prompted to select the language and region settings; follow the on-screen instructions to make your selections.
Step 6: Connect to Wi-Fi: Navigate to the TV’s settings menu and locate the Wi-Fi section. Select your Wi-Fi network, enter the password if required, and wait for the TV to establish a connection. You can also use an Ethernet cable for a more stable and faster connection if available.
Step 7: Update the Firmware: Check for any available firmware updates for your smart TV and install them. Firmware updates often bring bug fixes, feature enhancements, and improved performance, ensuring you have the latest software for optimal performance.
Step 8: Follow On-screen Setup: Depending on the TV model, you may be guided through a series of on-screen setup steps. Follow the prompts to customize settings such as picture quality, audio preferences, and automatic channel scanning.
Step 9: Sign in or Create Accounts: If you plan to use streaming apps or connect your TV to online services, you may need to sign in or create accounts. Follow the on-screen instructions to log in to existing accounts or create new ones.
Step 10: Enjoy your Smart TV: Once you’ve completed the setup process, you’re ready to enjoy all the features and entertainment options offered by your smart TV. Explore the pre-installed apps, stream your favorite shows, or connect with other devices in your home.
Setting up your smart TV might take a bit of time and patience, but by following these steps, you’ll have your TV up and running in no time. Now that your smart TV is set up, let’s move on to the next step – connecting it to the internet.
Connecting Your Smart TV to the Internet
One of the key features of a smart TV is its ability to connect to the internet, allowing you to access a world of online content. To connect your smart TV to the internet, follow these steps:
Step 1: Access the Network Settings: Navigate to the settings menu on your smart TV using the remote control. Look for the network or Wi-Fi settings options.
Step 2: Choose Wi-Fi or Wired Connection: Depending on your preference and available options, select either the Wi-Fi or wired connection. If you choose Wi-Fi, ensure your television is within range of your Wi-Fi network.
Step 3: Scan for Available Networks: Your smart TV will scan for available Wi-Fi networks. Select your network from the list of options. If your network is hidden, you may need to manually enter the network name (SSID) and password.
Step 4: Enter Password (if required): If your Wi-Fi network is password-protected, enter the correct network password using the on-screen keyboard. Double-check for any typos to ensure the correct password is entered.
Step 5: Establish a Connection: After entering the password, your smart TV will attempt to establish a connection to your Wi-Fi network. Wait for a moment as the TV connects to the network. On some TVs, you may need to press a button or confirm the connection.
Step 6: Test the Connection: Once the connection is established, your smart TV may provide an option to test the internet connection. This will ensure that your TV is successfully connected and can access online content.
Step 7: Wired Connection (Optional): If you prefer a more stable and reliable connection, you can connect your smart TV directly to your router using an Ethernet cable. Simply plug one end of the cable into the Ethernet port on your TV and the other end into an available port on your router.
Step 8: Update Software (if needed): After connecting to the internet, check for any software updates for your smart TV. Keeping the software up to date will ensure you have access to the latest features and improvements.
Once your smart TV is connected to the internet, you can start exploring a wide range of online content. Stream your favorite movies and TV shows, access streaming platforms, browse the web, and even use various smart features like voice control or home automation.
It’s important to note that some smart TVs may have different network setup processes, so refer to your TV’s user manual for specific instructions. With internet connectivity, your smart TV opens up a world of possibilities, so enjoy the seamless streaming and enhanced entertainment experience it offers.
Updating Your Smart TV’s Firmware
Keeping your smart TV’s firmware up to date is essential for optimal performance, bug fixes, and accessing new features. Firmware updates are typically released by the TV’s manufacturer to improve functionality and address any known issues. Here’s how you can update your smart TV’s firmware:
Step 1: Check for Available Updates: Access the settings menu on your smart TV using the remote control. Look for the ‘System’ or ‘Settings’ option and navigate to the ‘Software Update’ or ‘Firmware Update’ section.
Step 2: Check for Updates: In the software update menu, select the ‘Check for Updates’ or ‘Update Now’ option. Your smart TV will connect to the manufacturer’s server and check if any new firmware updates are available.
Step 3: Download and Install Updates: If there are updates available, your smart TV will prompt you to download and install them. Follow the on-screen instructions to start the update process. Depending on the size of the update, it may take some time to download and install.
Step 4: Do Not Turn off the TV: During the update process, it’s crucial not to turn off or unplug your smart TV. Interrupting the update can lead to software errors and potentially damage your TV. Wait patiently until the update is complete.
Step 5: Restart the TV: Once the firmware update is successfully installed, your smart TV may automatically restart. If it doesn’t reboot automatically, you can manually restart the TV to ensure the changes take effect.
Step 6: Verify the Update: After restarting, go back to the software update menu and check for updates again to verify that your smart TV is now up to date. It’s recommended to periodically check for updates to ensure you’re always running the latest firmware version.
If you encounter any issues during the update process, such as a failed download or installation, refer to the manufacturer’s support documentation or website for troubleshooting steps specific to your TV model.
By regularly updating your smart TV’s firmware, you’ll ensure your TV is running smoothly, with the latest features, bug fixes, and security enhancements. Firmware updates can often bring performance improvements and new functionalities, enriching your overall smart TV experience.
Now that your smart TV is up to date, it’s time to explore and configure its settings to customize the experience to your liking. In the next section, we’ll guide you through the process of configuring your smart TV’s settings.
Configuring Your Smart TV’s Settings
Configuring your smart TV’s settings allows you to customize various aspects of your viewing experience and optimize the performance of your device. Here are some key settings to consider:
Picture Settings: Access the picture settings menu on your smart TV to adjust brightness, contrast, color, sharpness, and other picture parameters. You can use preset picture modes or manually fine-tune the settings to suit your preferences.
Audio Settings: Customize the audio settings to enhance the sound quality of your smart TV. Adjust options like equalizer settings, surround sound, and volume control to match your preferences and maximize your audio experience.
Network Settings: In the network settings menu, you can configure various connection options. You may have the ability to set up a wired connection, adjust Wi-Fi settings, and manage network settings such as IP configuration and DNS settings.
Parental Controls: If you have children at home or want to restrict certain content, explore the parental control settings. Set up PIN codes and customize content restrictions to ensure a safe and age-appropriate viewing experience.
Accessibility Settings: Adjust accessibility settings on your smart TV to accommodate specific needs. Enable features like closed captions, audio descriptions, and voice guidance to make content more accessible for individuals with hearing or visual impairments.
App Management: Many smart TVs allow you to manage installed apps and customize their settings. Rearrange app icons, remove unwanted apps, and check for updates within the app management settings.
Screen Mirroring and Casting: Explore the screen mirroring or casting settings on your smart TV to connect and display content from your mobile devices or computer on the TV screen. Configure settings for seamless mirroring or casting experiences.
Energy Saving Options: Reduce power consumption and save energy by enabling energy-saving features on your smart TV. Adjust settings like automatic power-off timers, screen brightness, and backlight control to optimize energy efficiency.
Other Settings: Your smart TV may have additional settings to explore, such as language preferences, time and date settings, sleep timers, and more. Take your time to navigate through the settings menu and configure options as desired.
Keep in mind that the exact settings and options available may vary depending on your smart TV model and manufacturer. Refer to the user manual or on-screen instructions for specific guidance.
By configuring your smart TV’s settings, you can tailor the viewing experience to meet your preferences and ensure optimal performance. Take some time to experiment with the settings and fine-tune them to your liking.
Now that you’ve configured your smart TV’s settings, it’s time to explore the world of apps and entertainment. In the next section, we’ll discuss how to install and manage apps on your smart TV.
Installing and Managing Apps on Your Smart TV
One of the major advantages of a smart TV is the ability to download and enjoy a wide variety of apps right on your television screen. Here’s a step-by-step guide on how to install and manage apps on your smart TV:
Step 1: Access the App Store: Open the app store or app marketplace on your smart TV. The exact name and location may vary based on your TV’s operating system.
Step 2: Browse or Search for Apps: Explore the available categories or use the search function to find specific apps. Popular options may include streaming services, social media apps, gaming apps, and more.
Step 3: Select and Install Apps: Once you’ve found an app you want to install, select it and choose the “Install” or “Download” option. The app will begin downloading and installing on your smart TV. Depending on the size of the app and your internet connection speed, this process may take a few moments.
Step 4: Launch and Sign-In: After the app installation is complete, you can launch the app directly from the app store or from your TV’s home screen. Follow any on-screen instructions to sign in or create an account if needed.
Step 5: Organize App Icons: As you install more apps, you may want to organize their placement on the TV’s home screen. Use the remote control or applicable settings to rearrange app icons as desired for easy access.
Step 6: Update Apps: Just like your smartphone, apps on your smart TV may require periodic updates. Check the app store periodically for any available updates and install them to ensure you have the latest features and bug fixes.
Step 7: Manage Installed Apps: Over time, you may want to remove or uninstall apps that you no longer use. Access the app management settings on your smart TV to uninstall unwanted apps and free up storage space.
Step 8: Explore App Settings: Many apps offer customizable settings to enhance your experience. Within each app, navigate to the settings menu to adjust preferences, change notification settings, or personalize your app experience.
Step 9: Discover Recommended Apps: Some smart TVs provide recommendations for new or popular apps based on your viewing habits. Explore these suggestions to discover exciting apps you may enjoy.
Remember to review the terms and conditions, privacy policies, and any associated costs before installing and using apps on your smart TV. Pay attention to any permissions or access settings required by the apps and make informed decisions.
By installing and managing apps on your smart TV, you can access a wide range of entertainment, stay connected with friends and family, and enjoy interactive content right from your television screen.
Now that you know how to install and manage apps, let’s move on to the next section, which covers connecting external devices to your smart TV.
Connecting External Devices to Your Smart TV
One of the great features of a smart TV is its ability to connect and integrate with various external devices, expanding your entertainment options. Here’s a step-by-step guide on how to connect external devices to your smart TV:
Step 1: Identify Available Ports: Take a look at the back or side panel of your smart TV to identify the available ports. Common ports include HDMI, USB, Ethernet, component, and AV ports.
Step 2: Select the Device: Choose the external device you want to connect to your smart TV. This could be a cable/satellite box, gaming console, Blu-ray player, soundbar, or any other compatible device.
Step 3: Use HDMI for High-Quality Video and Audio: For the best video and audio quality, use an HDMI cable to connect your device to the HDMI port on your smart TV. HDMI cables support high-definition video and audio signals.
Step 4: Connect the Cable: Plug one end of the HDMI cable into the HDMI port on your smart TV and the other end into the HDMI output on your external device. Make sure the cable is securely connected for a stable connection.
Step 5: Power on the Device: Power on the external device you connected to your smart TV. Use the device’s remote control or power button to turn it on.
Step 6: Switch Input Source: On your smart TV’s remote or control panel, locate the Input or Source button. Press it to access the list of input sources. Choose the corresponding input source that matches the HDMI port you connected the device to.
Step 7: Adjust Display and Audio Settings: Once the device is successfully connected, you may need to adjust the display and audio settings on your smart TV. Navigate to the TV’s settings menu or options and customize the settings according to your preferences.
Step 8: Repeat for Additional Devices: If you have more external devices to connect, repeat the steps for each device using available ports on your smart TV. You may need to switch between different input sources when using different devices.
Step 9: Test the Connection: After connecting an external device, test the connection by accessing the device’s content through your smart TV. Play a video game, watch a movie, or stream content to ensure everything is working properly.
Step 10: Optional Connectivity Options: Depending on your smart TV and devices, you may have additional connectivity options. These could include Bluetooth, USB ports for media playback, or Wi-Fi direct for wirelessly connecting compatible devices.
Connecting external devices to your smart TV opens up a world of possibilities, allowing you to enjoy gaming, streaming, and other media experiences on a larger screen with enhanced audio. Experiment with different devices and explore the capabilities of your smart TV.
Now that you have successfully connected external devices to your smart TV, it’s time to troubleshoot any common issues that may arise. In the next section, we’ll discuss troubleshooting tips for your smart TV.
Troubleshooting Common Smart TV Issues
While smart TVs offer incredible features and convenience, occasionally you may encounter some common issues. Here are some troubleshooting tips to help resolve these issues and get your smart TV back on track:
No Power or No Display: If your smart TV won’t turn on or has no display, ensure that it is securely plugged into a power outlet. Check the power cord for any damage and make sure the outlet is functioning properly. If the issue persists, consult the manufacturer’s support or seek professional assistance.
Poor Wi-Fi Signal or Connection: If you’re experiencing a weak Wi-Fi signal or connection issues, try moving the router closer to your smart TV or use a Wi-Fi extender for better coverage. Make sure your smart TV is not too far from the router and eliminate any obstructions that may interfere with the signal.
App Freezing or Crashing: If an app freezes or crashes on your smart TV, try closing the app and reopening it. If the issue persists, uninstall and reinstall the app to ensure you have the latest version. If multiple apps are affected, it may be a software issue that requires a firmware update or contacting the manufacturer’s support for guidance.
Poor Audio or No Sound: If you’re experiencing audio issues, check the TV’s volume settings and make sure it is not set to mute. Verify that the audio cables are connected securely and that the correct audio input source is selected. Additionally, check the audio settings for the specific app or device that you’re using.
Remote Control Problems: If your smart TV remote control isn’t working, first check the batteries and replace them if necessary. Ensure there are no obstructions between the remote and the TV. If the issue persists, try resetting the remote control or using the TV’s control panel buttons temporarily. Consider contacting the manufacturer for guidance or obtaining a replacement remote if needed.
Slow Performance: If your smart TV is running slowly or experiencing lag, try clearing the cache and temporary files. You can usually find this option within the TV’s settings menu. Additionally, ensure that your smart TV’s firmware is up to date, as firmware updates often include performance improvements.
Image or Video Quality Issues: If you notice poor image quality, check the picture settings on your smart TV and adjust them accordingly. Make sure the resolution and display settings are appropriate for the content you’re viewing. If you’re connected to external devices, ensure they are set to output a high-quality signal.
Factory Reset: If all else fails and your smart TV continues to experience issues, you can consider performing a factory reset. Keep in mind that this will erase all settings and personal data, so make sure to back up any important information before proceeding. Consult the user manual or contact the manufacturer’s support for instructions on how to perform a factory reset on your specific smart TV model.
If you encounter any other persistent problems with your smart TV, it’s recommended to refer to the manufacturer’s support documentation, online forums, or contact their customer support for further assistance. They can provide specific troubleshooting steps or arrange repairs if necessary.
By following these troubleshooting tips, you can resolve common smart TV issues and ensure a seamless and enjoyable viewing experience.
Now that you’re familiar with troubleshooting common issues, let’s move on to the next section, where we’ll discuss how to make the most of the features offered by your smart TV.
Enjoying the Features of Your Smart TV
Now that you’ve set up and configured your smart TV, it’s time to fully immerse yourself in its exciting features and enjoy the benefits it offers. Let’s explore some of the key features that make smart TVs a game-changer in home entertainment:
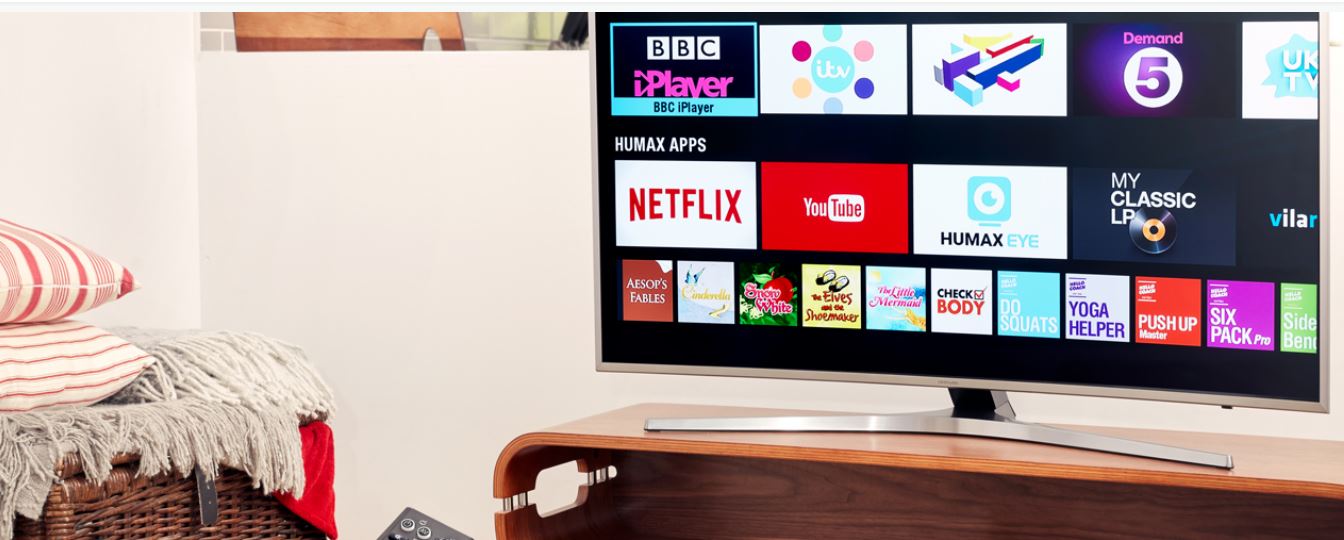
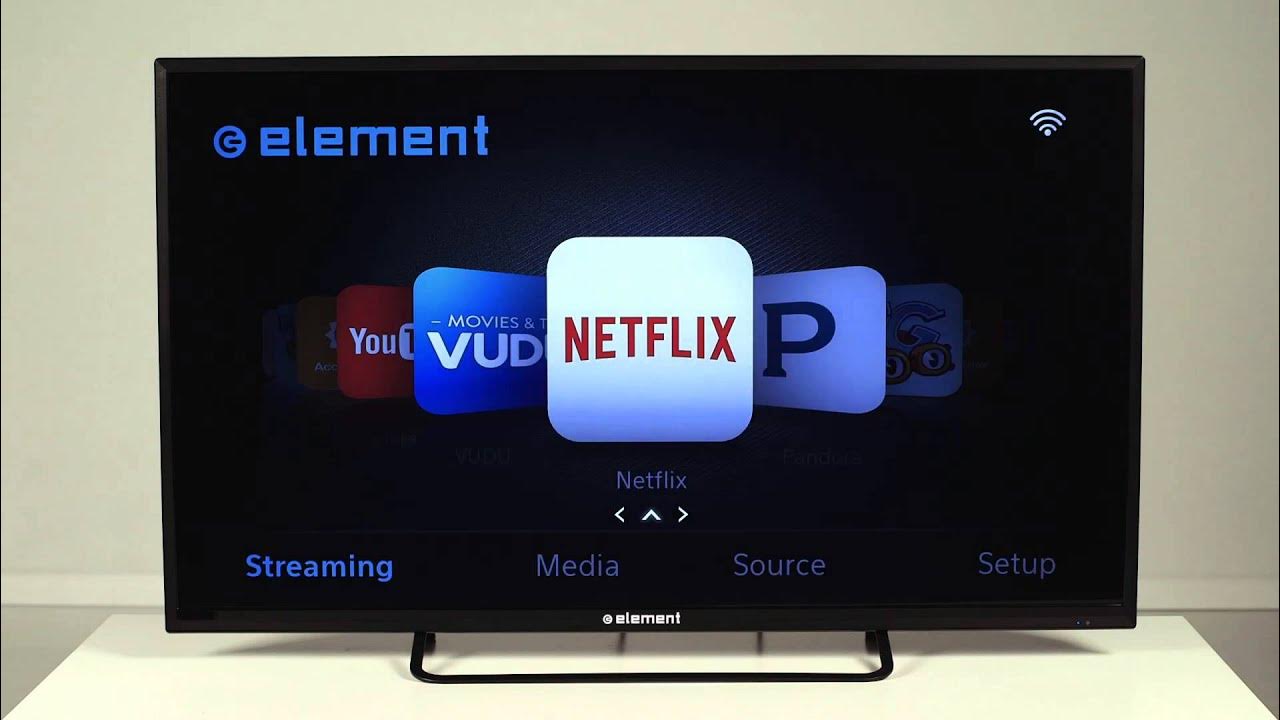
1. Streaming Content: Access popular streaming platforms like Netflix, Amazon Prime Video, and Hulu right from your smart TV. Stream your favorite movies, TV shows, and original series in high-definition or 4K Ultra HD for a cinematic experience at home.
2. Web Browsing: Browse the internet directly on your smart TV using the built-in web browser. Stay updated with the latest news, check social media, or browse your favorite websites – all from the comfort of your couch.
3. App Selection: Discover a vast selection of apps available for download on your smart TV. From entertainment and lifestyle apps to fitness and gaming, there’s something for everyone. Explore new apps, try different games, and personalize your smart TV experience.
4. Voice Control: Many smart TVs offer voice control options, allowing you to navigate through menus, search for content, and control various functions using your voice. Simply speak a command into your remote control or through a voice-assistant-compatible device.
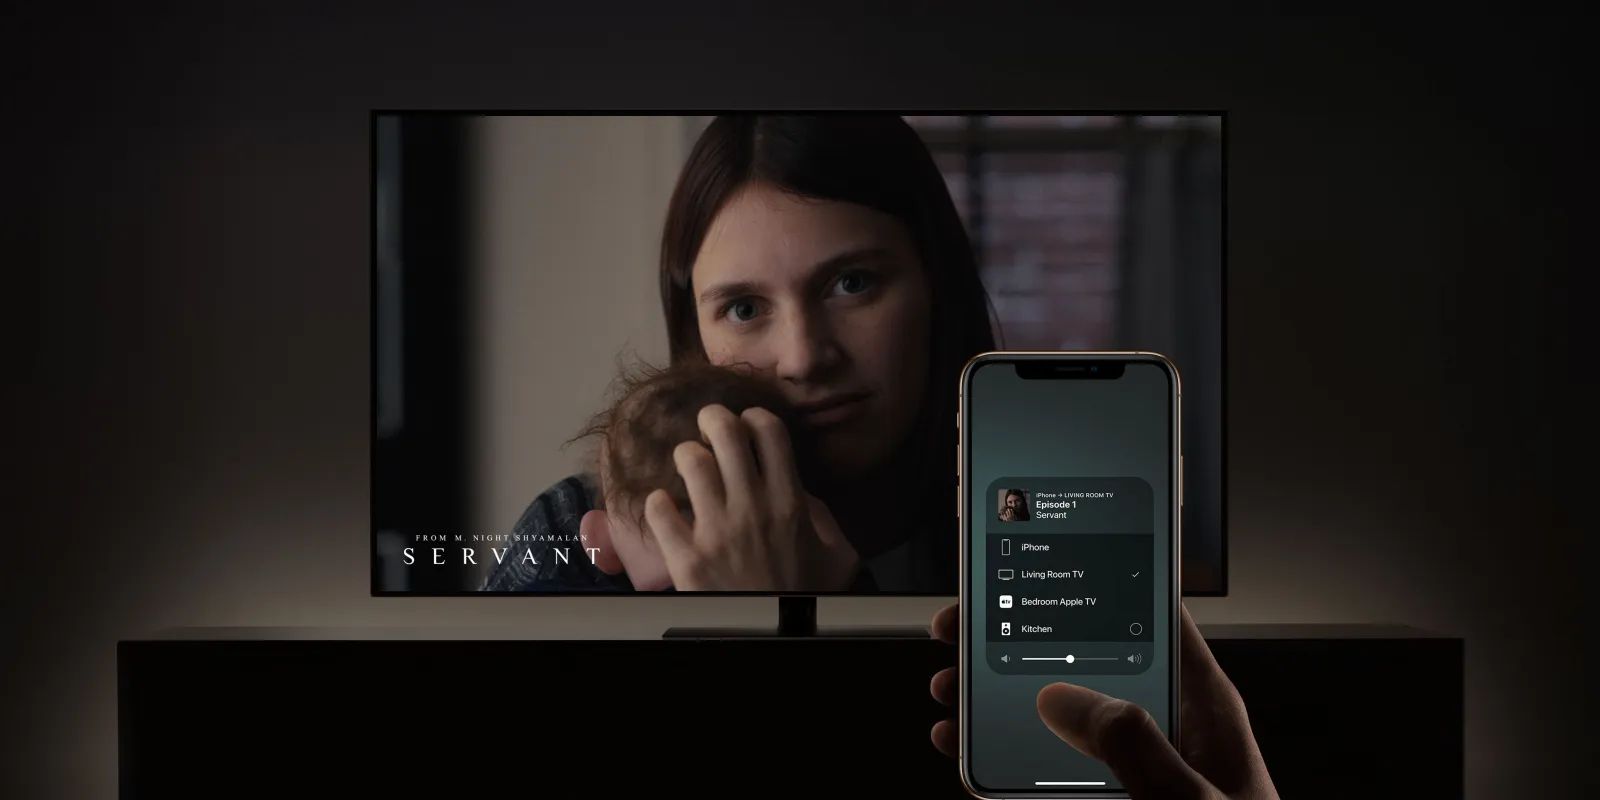
5. Screen Mirroring: Share multimedia content from your smartphone, tablet, or computer directly on your smart TV screen through screen mirroring or casting. Enjoy photos, videos, and presentations on a larger display for a better viewing experience.
6. Virtual Assistants: Connect your smart TV to virtual assistants like Amazon Alexa or Google Assistant for hands-free control. Use voice commands to turn the TV on or off, adjust volume, change channels, or search for content without picking up the remote control.
7. Gaming Capabilities: Many smart TVs support gaming, allowing you to enjoy popular video games on the big screen. Connect a gaming console or play casual games directly on your smart TV using the available app store.
8. Home Automation Integration: Control smart home devices from your smart TV, creating a centralized hub for your home automation. Dim the lights, adjust the thermostat, or check your security cameras without leaving your couch.
9. Personalized Recommendations: Over time, your smart TV learns your viewing preferences and provides personalized recommendations based on your watching habits. Discover new content and explore different genres tailored to your interests.
10. Multi-Device Integration: Connect your smart TV with other devices in your home network for a seamless multimedia experience. Access media files stored on your computer or network-attached storage (NAS) device and enjoy them directly on your smart TV.
Take the time to explore these features and discover all the possibilities your smart TV has to offer. Experiment with different apps, try out voice commands, and make the most of the advanced features that enhance your entertainment experience.
As you continue to use your smart TV, stay up to date with firmware updates and app updates to ensure you have the latest features, security enhancements, and performance improvements.
With a smart TV, you have a powerful tool for entertainment, connectivity, and convenience right in your living room. Embrace the technology, explore the possibilities, and enjoy the exciting features of your smart TV!
Conclusion
Setting up and using a smart TV may initially seem overwhelming, but with the right guidance and understanding, it becomes a gateway to a world of endless entertainment possibilities. In this article, we’ve covered the essential steps to help you navigate the process successfully.
From selecting the right smart TV for your needs to unboxing and setting it up, connecting it to the internet, updating the firmware, configuring settings, installing and managing apps, connecting external devices, troubleshooting common issues, and finally, enjoying the remarkable features of your smart TV – we’ve covered it all.
As you explore your smart TV, remember to continue learning and experimenting with its features. Stay updated with firmware updates, explore new apps, and personalize your settings to optimize your viewing experience.
If you encounter any difficulties or have questions, refer to the user manual provided by the manufacturer or seek assistance from their support team. They are equipped to provide you with specific guidance for your smart TV model.
With a smart TV, the world of entertainment is at your fingertips. Stream your favorite movies and TV shows, browse the web, play games, connect with virtual assistants, and integrate your smart home devices – all from the comfort of your living room.
Embrace the technology, enjoy the convenience, and make the most of the features that your smart TV offers. Enhance your entertainment experience, expand your access to content, and immerse yourself in a new level of interactivity and connectivity.
Now that you’re equipped with the knowledge and steps to set up and optimize your smart TV experience, it’s time to sit back, relax, and enjoy the entertainment journey that awaits you. Happy viewing!


