Introduction
Welcome to the world of smart plugs! In this digital era, where connectivity is key and convenience is paramount, smart plugs have emerged as a game-changer in home automation. Gone are the days when you had to manually switch on/off your devices or worry about leaving them on while you’re away.
A smart plug is a compact device that connects to your regular electrical outlets and allows you to control your devices remotely. With the help of a smartphone app or even voice commands, you can easily turn on/off your lights, coffee maker, or any other plugged-in appliance with just a tap or a voice command. Isn’t that amazing?
But it doesn’t stop there. Smart plugs offer a plethora of benefits that go beyond just convenience. By setting up automated schedules or timers, you can optimize energy usage and reduce your utility bills. Imagine coming home to a well-lit house or waking up to the aroma of freshly brewed coffee, all thanks to the magic of smart plugs.
Before we dive into the nitty-gritty of setting up a smart plug, let’s first understand the benefits it can bring to your life.
What is a Smart Plug?
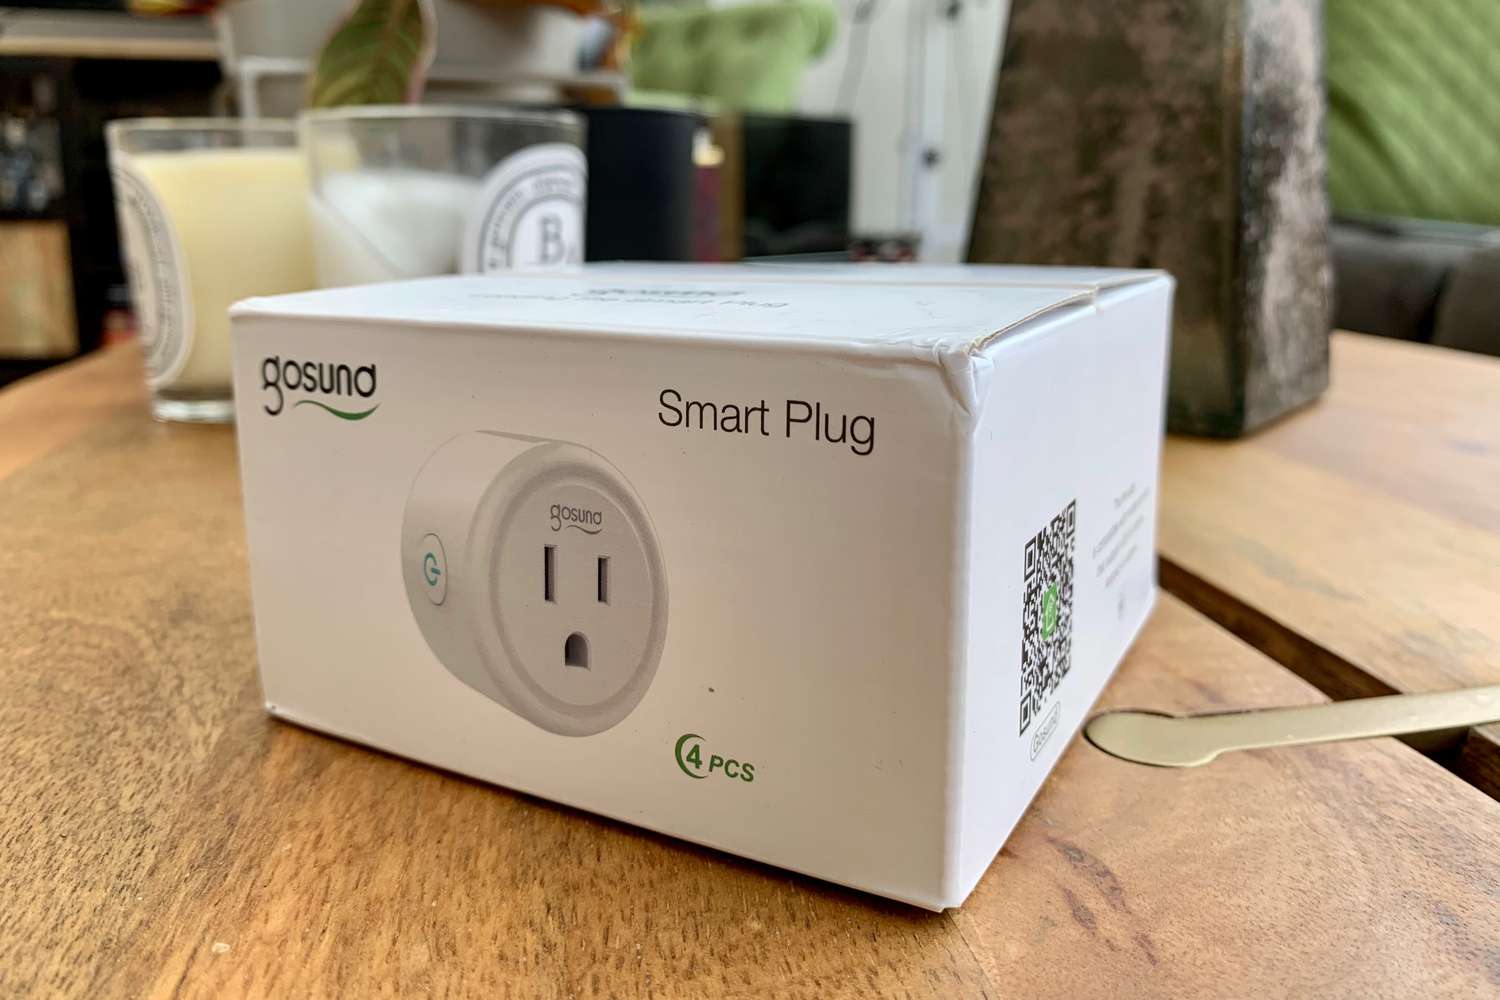
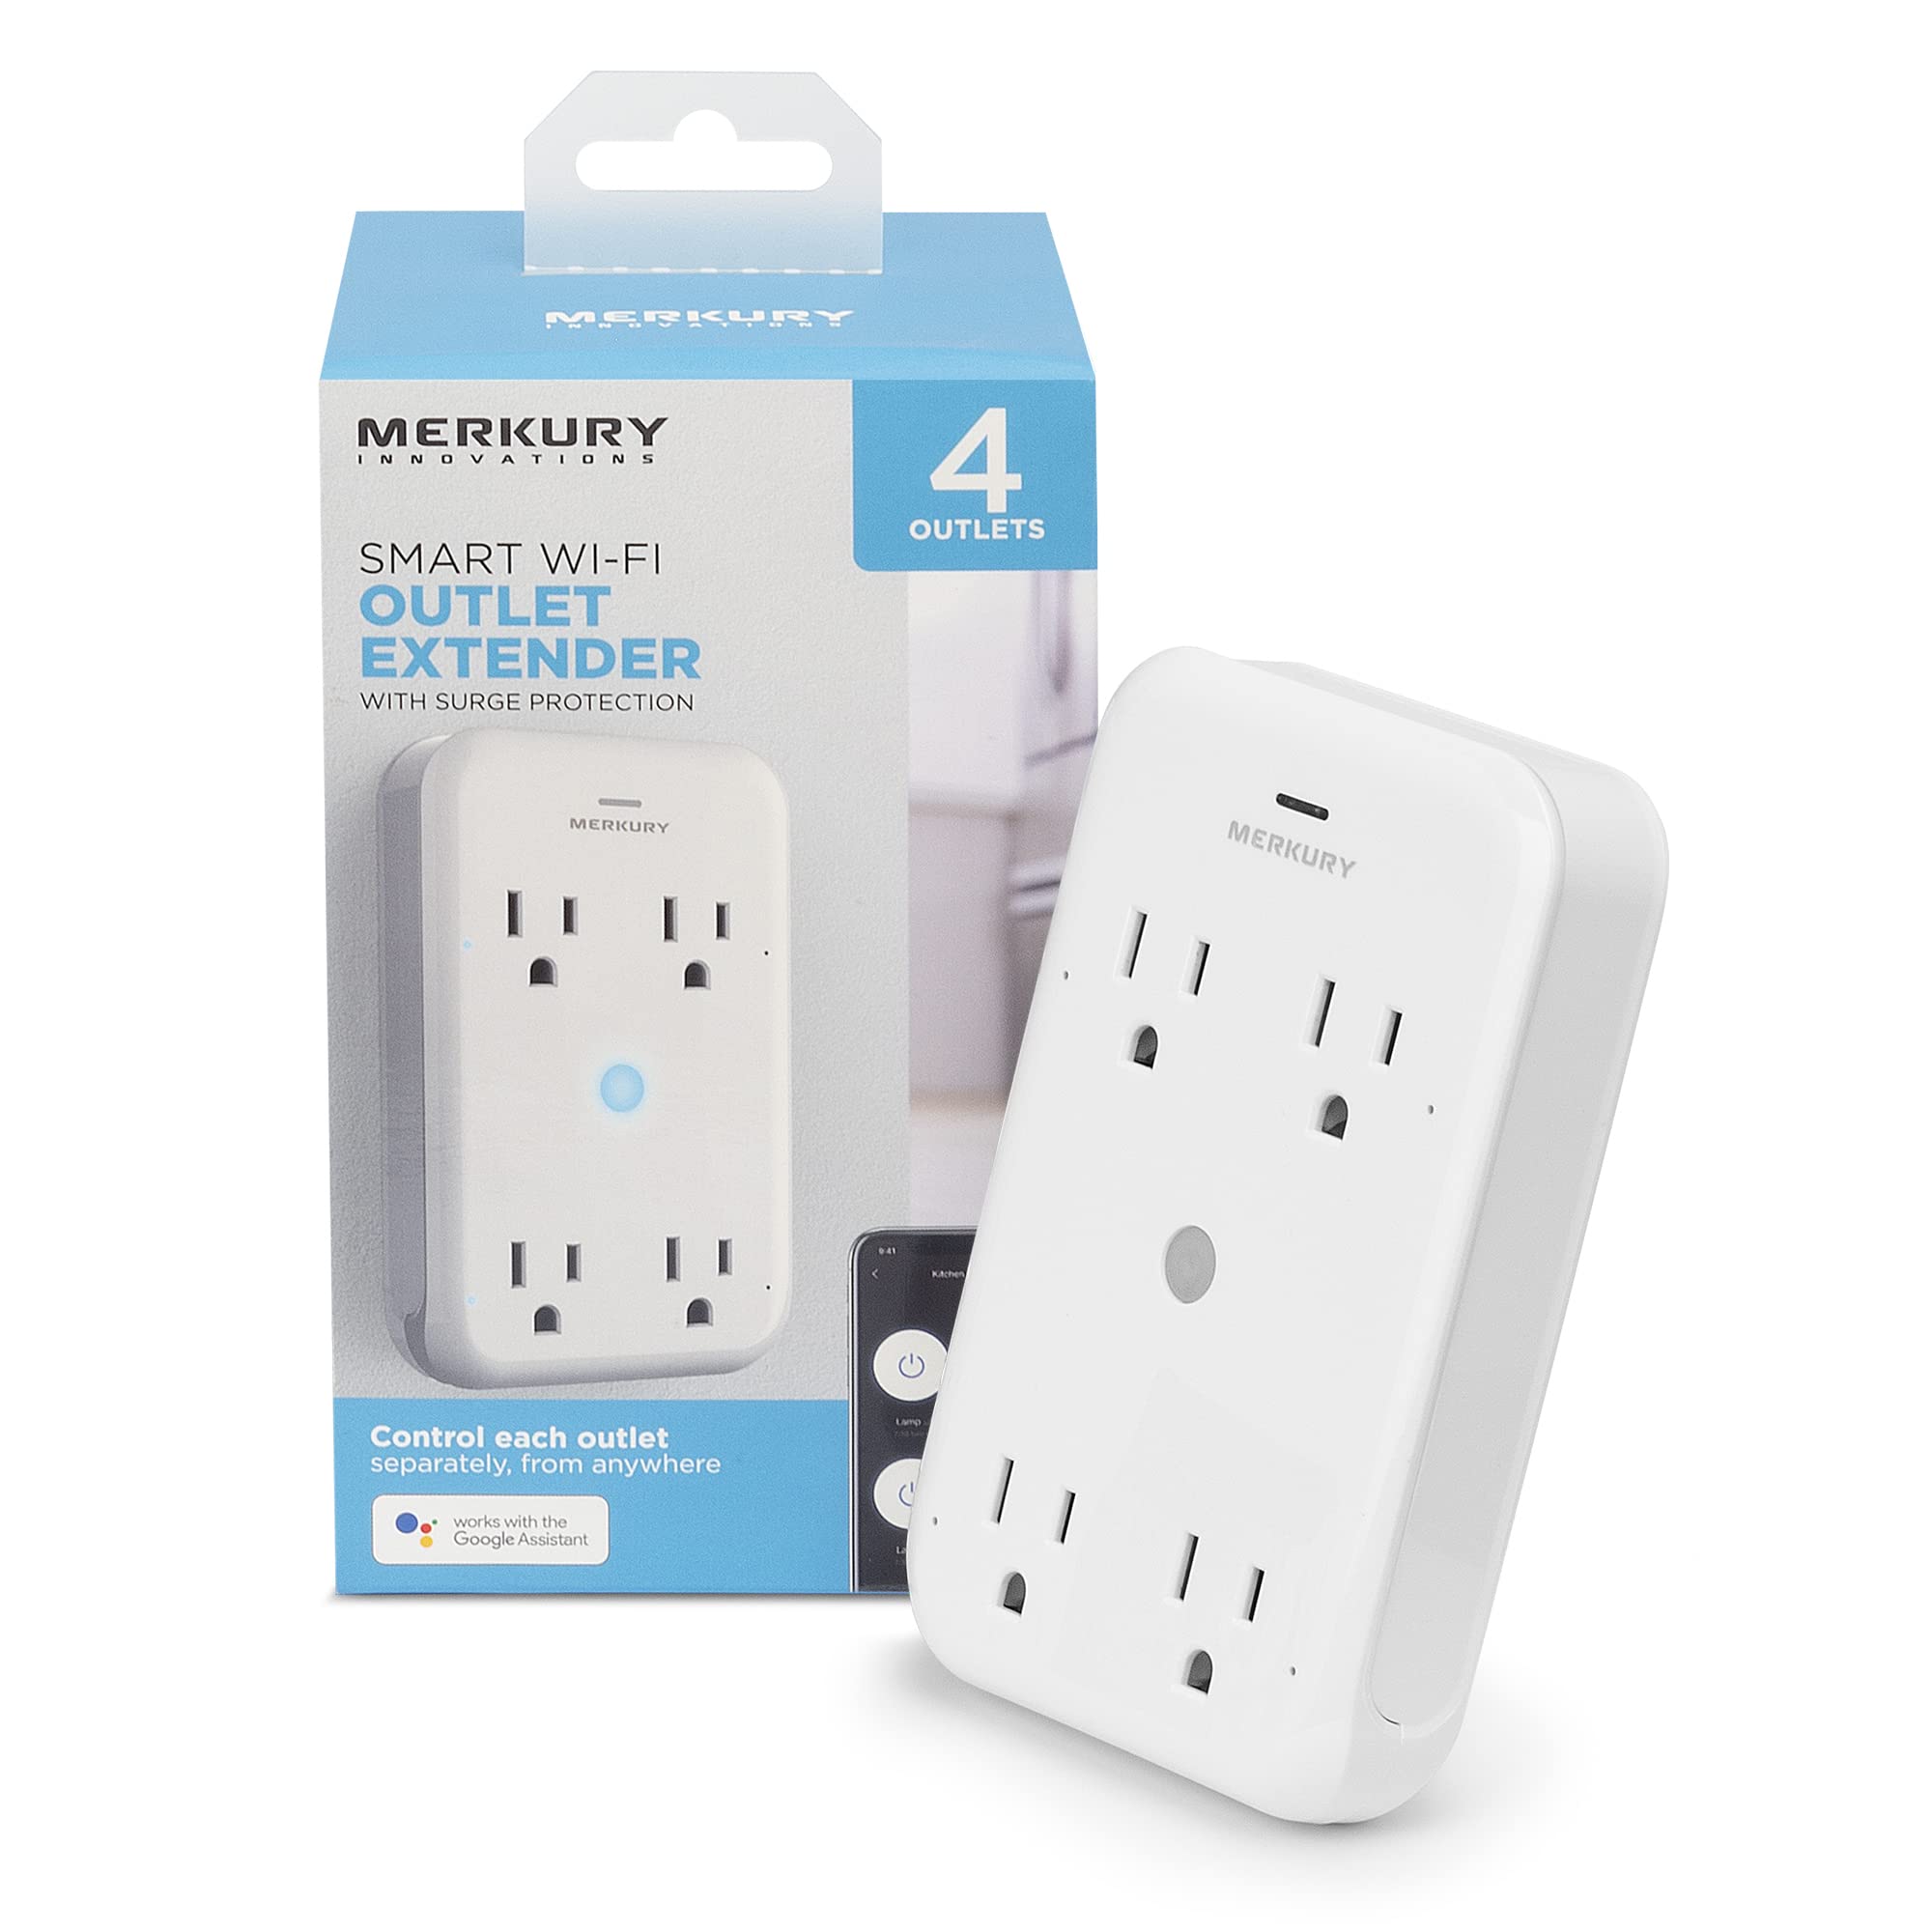
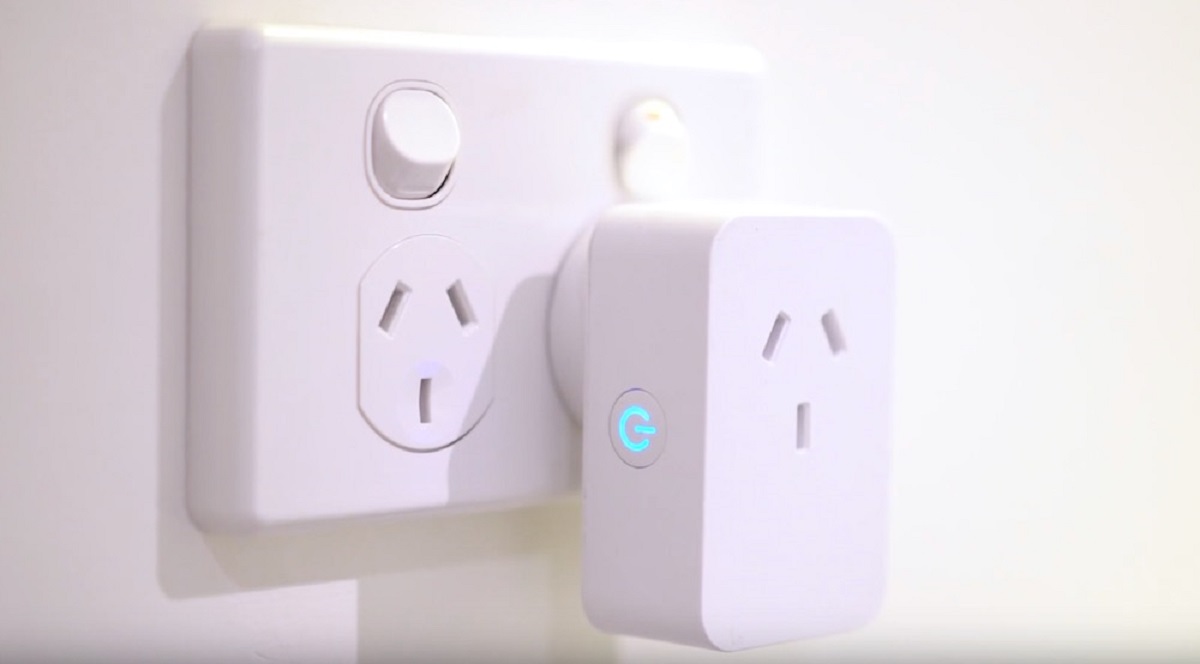
A smart plug is a versatile device that allows you to turn your regular appliances into smart devices. It plugs into a standard electrical outlet and provides you with the ability to control and automate your devices remotely. By connecting the smart plug to your home’s Wi-Fi network, you can manage your devices through a dedicated smartphone app or even voice assistants like Amazon Alexa or Google Assistant.
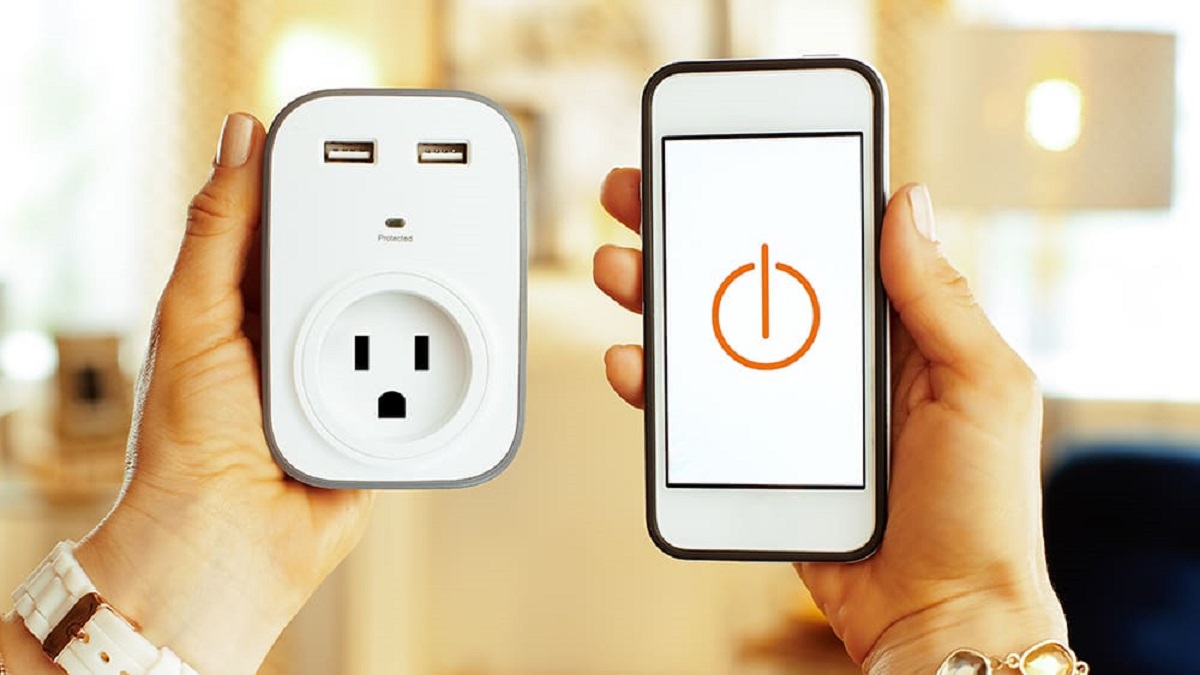
One of the key features of a smart plug is its ability to turn devices on and off remotely. Whether you’re at home, at work, or on vacation, you can easily control your appliances with just a few taps on your smartphone. Forgot to turn off the lights when you left the house? No problem. With a smart plug, you can switch them off from wherever you are, saving both energy and money.
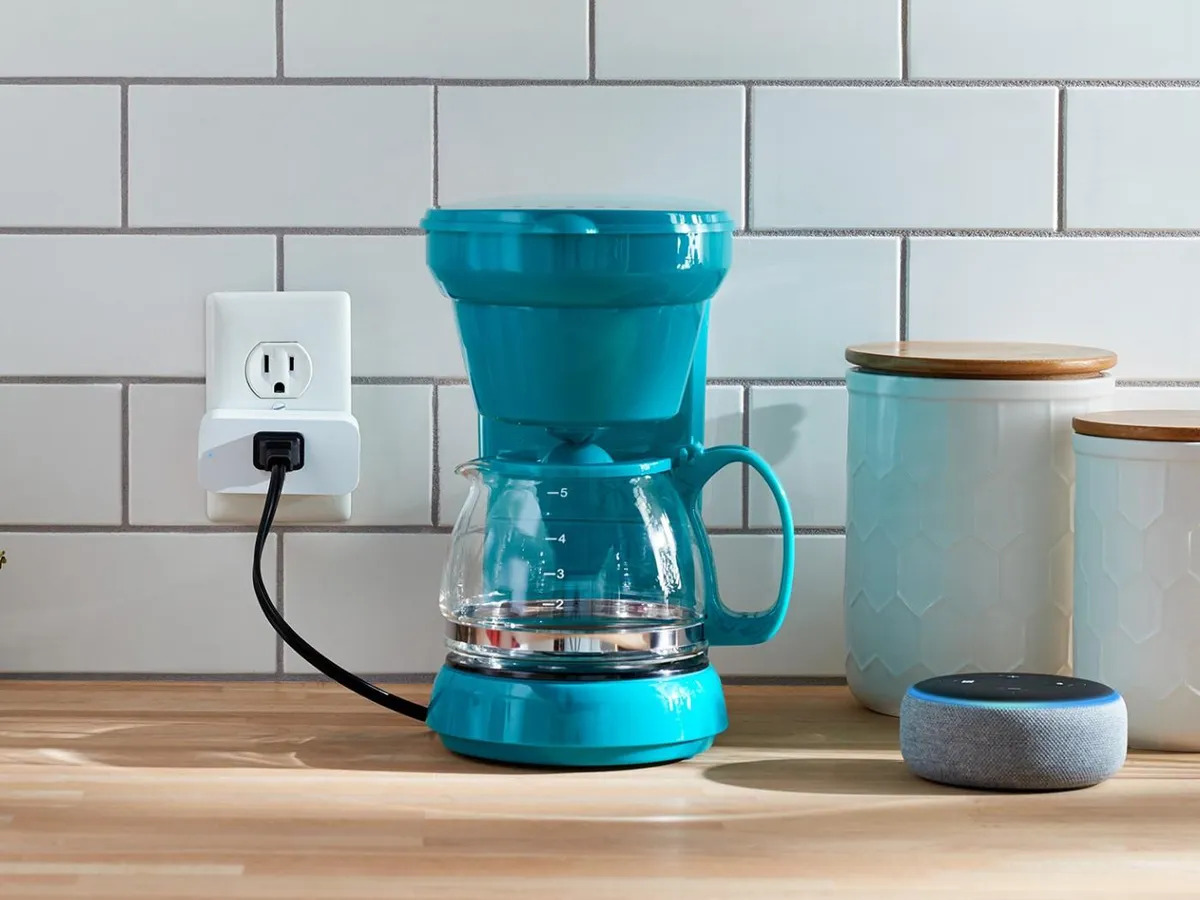
But the functionality of smart plugs doesn’t end there. Many smart plugs offer additional features like scheduling and automation. This means you can set timers for your appliances to turn on or off at specific times of the day. For example, you can schedule your coffee maker to start brewing a fresh pot of coffee in the morning, just in time for your wake-up routine. Or you can automate your lights to turn on when you’re away to give the appearance that someone is home, enhancing your home security.
Moreover, smart plugs can be integrated with other smart home devices, creating a seamless and interconnected ecosystem. You can set up routines or scenes that trigger multiple devices simultaneously. For instance, saying “Goodnight” to your voice assistant can turn off the lights, lower the thermostat, and lock the doors, all with a single command.
Overall, smart plugs provide an effortless way to enhance the functionality and convenience of your home. They offer energy-saving benefits, remote control capabilities, and integration with other smart devices. Whether you want to simplify your daily routines, save on energy costs, or add a touch of automation to your home, a smart plug is the perfect addition to your smart home ecosystem.
Benefits of Using Smart Plugs
Using smart plugs in your home can bring a multitude of benefits that enhance both your daily routines and overall lifestyle. Let’s explore some of the key advantages of incorporating smart plugs into your smart home ecosystem:
- Convenience: The ability to control your devices remotely with just a tap on your smartphone or a voice command offers unparalleled convenience. Whether you forgot to turn off the lights or want to switch on a device before you arrive home, smart plugs make it effortless to manage your appliances from anywhere.
- Energy Saving: With smart plugs, you have the power to optimize energy usage by scheduling your devices to turn on and off at specific times. This ensures that devices are not left running unnecessarily, saving both energy and money on your utility bills. Additionally, you can easily monitor and track energy consumption through the smartphone app, allowing you to make informed choices and adopt more energy-efficient habits.
- Home Security: Smart plugs serve as a valuable tool in enhancing your home security. By automating lights, fans, or even radios to turn on and off at random intervals, they give the impression that someone is home, thereby deterring potential burglars. This added layer of security can provide peace of mind, whether you’re on a vacation or simply away for the day.
- Safety: Smart plugs offer safety benefits by allowing you to remotely monitor and control devices. If you accidentally leave an iron or a curling iron plugged in, for example, you can turn it off remotely, eliminating the risk of fire hazards. Additionally, many smart plugs come equipped with surge protection, safeguarding your valuable electronics from power fluctuations and voltage spikes.
- Integration with Smart Home Ecosystem: Smart plugs seamlessly integrate with other smart home devices, enabling you to create customized routines or scenes. By connecting your smart plugs with voice assistants like Amazon Alexa or Google Assistant, you can control multiple devices simultaneously with a single command. This integration adds a new level of convenience and efficiency to your smart home ecosystem.
By leveraging the convenience, energy-saving capabilities, enhanced home security, safety features, and integration with other smart devices, smart plugs can significantly improve your daily life and transform your home into a smarter, more efficient space.
Compatibility and Requirements
Before diving into setting up a smart plug, it’s important to ensure compatibility with your existing devices and meet the necessary requirements. Here are some key considerations:
1. Wi-Fi Connectivity: Smart plugs rely on a stable Wi-Fi connection to communicate with your smartphone app or voice assistant. Make sure you have a reliable Wi-Fi network available in the area where you plan to use the smart plug.
2. Smartphone or Tablet: To control and manage your smart plugs, you’ll need a compatible smartphone or tablet. Most smart plugs have dedicated apps available for iOS and Android devices. Ensure that your device meets the app’s minimum system requirements for optimal functionality.
3. Voice Assistant Compatibility: If you plan to control your smart plugs using voice commands, ensure they are compatible with your preferred voice assistant, such as Amazon Alexa or Google Assistant. Keep in mind that not all smart plugs support every voice assistant, so check the product specifications before making a purchase.
4. Device Compatibility: Check if the devices you want to connect to the smart plug are compatible. Most smart plugs are designed to work with standard electrical devices like lamps, fans, coffee makers, and televisions. However, there may be specific limitations or compatibility issues with certain devices, such as high-powered appliances or devices with non-standard plugs.
5. Smart Home Integration: If you have an existing smart home ecosystem, ensure that the smart plug is compatible and can integrate seamlessly with your other smart devices. This will allow you to create automated routines and scenes that include your smart plugs in the overall control of your smart home.
6. Installation Requirements: Smart plugs are designed to fit standard electrical outlets, but it’s always a good idea to check if the dimensions and form factor are suitable for your specific outlets. Additionally, be aware of any specific installation or setup instructions provided by the manufacturer.
It’s essential to review the compatibility and requirements of your smart plug before making a purchase to ensure a smooth setup process and optimal functionality. By understanding these considerations, you’ll be able to choose the right smart plug and make the most of its features with your existing devices and smart home ecosystem.
Step 1: Choose the Right Smart Plug
Choosing the right smart plug is crucial to ensure compatibility, functionality, and seamless integration with your devices and smart home ecosystem. Here’s what you need to consider when selecting a smart plug:
1. Compatibility: Ensure that the smart plug you choose is compatible with your specific devices and the operating system of your smartphone or tablet. Check if the smart plug supports the necessary protocols, such as Wi-Fi or Zigbee, to ensure smooth connectivity.
2. Power Capacity: Consider the power capacity requirements of your devices. Some smart plugs are designed for low-power devices like lamps or fans, while others can handle higher-power appliances like refrigerators or air conditioners. Be sure to choose a smart plug that can handle the power load of the devices you intend to connect.
3. Energy Monitoring: If you’re interested in monitoring energy consumption and tracking the usage of your devices, look for a smart plug that offers energy monitoring features. This allows you to gain insights into your energy usage patterns and make informed decisions about energy conservation.
4. App Features: Check the features and functionalities offered by the smart plug’s companion app. Look for a user-friendly interface, customizable settings, scheduling options, and compatibility with voice assistants if you plan to control your smart plug by voice commands.
5. Brand Reputation and Reviews: Do some research on different brands and read customer reviews to gauge the reliability and performance of the smart plug. It’s a good idea to choose a reputable brand that has positive customer feedback and provides reliable customer support.
6. Price and Budget: Consider your budget and the price range of smart plugs available in the market. While it’s important to find a smart plug that fits your budget, keep in mind that cheaper options may have limited features or potential reliability issues.
7. Additional Features: Consider any additional features or functionalities that may enhance your user experience. This could include compatibility with smart home ecosystems, surge protection, USB ports for charging devices, or even compatibility with IFTTT (If This Then That) for advanced automation capabilities.
By considering these factors, you can choose the right smart plug that aligns with your specific needs and requirements. Remember to compare different options and make an informed decision based on compatibility, features, reliability, and affordability. With the right smart plug in hand, you’ll be ready to proceed to the next steps of setting it up and enjoying the convenience and automation it brings to your everyday life.
Step 2: Set Up the Smart Plug App
Once you have chosen the right smart plug, the next step is to set up the accompanying smartphone app. The app is a vital component in controlling and managing your smart plug’s functionalities. Follow these steps to set up the smart plug app:
1. Download the App: Start by downloading the smart plug’s dedicated app from the App Store (for iOS) or Google Play Store (for Android). Search for the app using the brand name of your smart plug or check the product packaging or manufacturer’s website for the app download link.
2. Create an Account: Launch the app and create an account if prompted. This may involve providing your email address, creating a password, and agreeing to the app’s terms and conditions. Some apps may allow you to sign in with your existing accounts, such as Google or Facebook.
3. Connect to Wi-Fi: Follow the on-screen instructions to connect the app to your home’s Wi-Fi network. Usually, you’ll need to enter your Wi-Fi network name (SSID) and password. Make sure you enter the correct credentials to establish a reliable connection between the smart plug, app, and your home network.
4. Pairing Process: Depending on the smart plug model, you may need to initiate the pairing process. This typically involves pressing and holding a button on the smart plug until it enters a pairing mode. Refer to the manufacturer’s instructions for the specific pairing process of your smart plug.
5. Add the Smart Plug: Once the app recognizes the smart plug, follow the app’s instructions to add it to your device list. This usually involves giving your smart plug a unique name (e.g., “Living Room Lamp”) and selecting the appropriate device category (e.g., lights, appliances).
6. Firmware Updates: Check for any firmware updates for your smart plug. Manufacturers often release updates to improve performance, security, and add new features. If an update is available, follow the app’s instructions to download and install the latest firmware.
7. Test the Connection: After completing the setup process, test the connection between the smart plug and the app. Use the app to turn your smart plug on and off to ensure it responds correctly. If any issues arise, refer to the troubleshooting section of the app or consult the manufacturer’s documentation for assistance.
8. Explore App Features: Familiarize yourself with the features and capabilities of the smart plug app. This often includes setting up schedules, creating automation routines, monitoring energy usage, and managing multiple smart plugs if you have more than one. Take some time to explore the app’s settings and customize it to your preferences.
Once you have successfully set up the smart plug app, you’re ready to move on to the next steps of connecting the smart plug to your Wi-Fi network and controlling your devices remotely. The app acts as the central hub to manage your smart plug’s functionalities, offering convenience and control at your fingertips.
Step 3: Connect the Smart Plug to Wi-Fi
Once you have set up the smart plug app, the next step is to connect the smart plug to your Wi-Fi network. This allows you to control your devices remotely and establish a seamless connection with the app. Follow these steps to connect the smart plug to Wi-Fi:
1. Open the Smart Plug App: Launch the smart plug app on your smartphone or tablet.
2. Access Wi-Fi Settings: Within the app, locate the Wi-Fi settings or network settings option. This is typically found in the app’s main menu or settings section.
3. Enable Pairing Mode: Put the smart plug into pairing mode. The process for entering pairing mode will differ between smart plug models, so refer to the manufacturer’s instructions. In most cases, you’ll need to press and hold a button on the smart plug until it begins flashing or enters a specific mode.
4. Connect to Smart Plug’s Wi-Fi: Once in the app’s Wi-Fi settings, look for the network name (SSID) of the smart plug. It will typically appear as “SmartPlug” or something similar. Tap on the smart plug’s network name to establish a connection.
5. Enter Wi-Fi Network Credentials: After connecting to the smart plug’s network, you’ll be prompted to enter the credentials for your home Wi-Fi network. Select your Wi-Fi network from the list and enter the Wi-Fi password when prompted. Make sure to enter the correct credentials to establish a successful connection.
6. Wait for Connection: After entering the Wi-Fi credentials, wait for the smart plug to establish a connection to your home Wi-Fi network. This may take a few moments, and the smart plug’s status light may flash or change color to indicate the connection process.
7. Connection Successful: Once the smart plug is successfully connected to your Wi-Fi network, the app should indicate that the connection is established. You may receive a notification or see a confirmation message within the app.
8. Test the Connection: To ensure a successful connection, use the app to turn the smart plug off and then back on. Verify that the smart plug responds correctly to your commands. If any issues arise, refer to the troubleshooting section of the app or consult the manufacturer’s documentation for guidance.
By following these steps, you can easily connect your smart plug to your home’s Wi-Fi network, enabling you to control your devices remotely and enjoy the convenience of home automation. Once the connection is established, you can proceed to the next step of connecting the smart plug to the app for seamless control and automation capabilities.
Step 4: Connect the Smart Plug to the App
After connecting the smart plug to your Wi-Fi network, the next step is to link it to the smart plug app on your smartphone or tablet. This allows you to control and manage the smart plug’s functionalities through the app’s user interface. Follow these steps to connect the smart plug to the app:
1. Launch the Smart Plug App: Open the smart plug app on your smartphone or tablet.
2. Sign In to Your Account: If you created an account during the app setup process, sign in using your credentials. Some smart plug apps offer the option to sign in with your Google or Facebook account for easier access.
3. Select “Add Device” or Similar: Look for the option to add a new device within the app. This may be labeled as “Add Device,” “Pair Device,” “Connect Device,” or something similar. Tap on this option to begin the device pairing process.
4. Choose the Smart Plug Model: Select the appropriate smart plug model from the list of available devices within the app. If your smart plug model is not listed, there may be an option for “Other” or “Generic” devices.
5. Put the Smart Plug into Pairing Mode: Follow the instructions provided in the app to put the smart plug into pairing mode. This typically involves pressing and holding a button on the smart plug until it starts flashing or enters a specific mode. Refer to the manufacturer’s instructions for the exact method to enter pairing mode.
6. Connect to the Smart Plug: Once the app detects the smart plug in pairing mode, it will search for nearby devices. When the smart plug appears on the list, select it to initiate the connection process.
7. Verify the Connection: The app will attempt to establish a connection between the smart plug and your smartphone or tablet. This process may take a few moments as the devices establish communication. Once the connection is successful, you’ll receive a confirmation message within the app.
8. Customize Device Settings: After the smart plug is connected to the app, you can customize its settings according to your preferences. This may include assigning a unique name to the device, setting up schedules or timers, adjusting brightness or power levels, or creating automation routines. Explore the app’s features and settings to make the most of your smart plug’s capabilities.
By following these steps, you can successfully connect your smart plug to the dedicated app on your smartphone or tablet. This enables you to control and manage your devices with ease, customize settings, and take advantage of the app’s features for a seamless smart home experience. The app acts as a central hub for controlling your smart plug and exploring its functionalities, enhancing convenience and providing advanced automation options.
Step 5: Name and Organize Your Smart Plugs
Now that you have connected your smart plug to the app, it’s time to give each device a unique name and organize them for easy management. This step is crucial, especially if you have multiple smart plugs in different rooms or controlling various devices. Follow these steps to name and organize your smart plugs:
1. Access Device List: Open the smart plug app on your smartphone or tablet. Look for a section in the app where you can view all connected devices or a device list.
2. Select a Smart Plug: Tap on one of the smart plugs from the list to access its settings and details. This will allow you to customize the name and other relevant information.
3. Name the Smart Plug: Within the smart plug settings, you’ll find an option to edit the device name. Choose a descriptive and easily recognizable name for the smart plug. For example, you can name it according to the device it controls or the room it is located in (e.g., “Living Room Lamp” or “Kitchen Coffee Maker”).
4. Assign Device Categories or Groups: Some smart plug apps allow you to assign categories or groups to your devices. If this option is available, consider creating categories or groups like “Lights,” “Appliances,” or “Bedroom Devices.” This helps you to quickly identify and manage devices based on their functionality or location.
5. Repeat for Other Smart Plugs: Repeat the steps above for all other smart plugs connected to the app. Give each smart plug a unique name and assign it to the appropriate category or group.
6. Arrange Devices: If your smart plug app allows manual rearrangement, drag and drop the devices in the list to organize them according to your preference. For example, you can group devices by room or arrange them in the order of frequency of use.
7. Test Naming and Organization: To ensure you have named and organized your smart plugs correctly, test their functionality by controlling each device individually. Verify that the app responds appropriately and the correct device turns on or off when prompted.
By following these steps, you can easily name and organize your smart plugs in a manner that reflects their location and functionality. This makes it convenient to identify and control each device, especially when you have multiple smart plugs and devices throughout your home. With a well-organized app interface, you can navigate effortlessly and manage your smart home ecosystem with ease.
Step 6: Configure Schedule and Automation
One of the key benefits of smart plugs is the ability to automate and schedule the operation of your devices. Step 6 focuses on configuring schedules and automation to enhance convenience and energy efficiency. Follow these steps to set up schedules and automation in your smart plug app:
1. Open the Smart Plug App: Launch the smart plug app on your smartphone or tablet.
2. Access Device Settings: Navigate to the settings or options for the specific smart plug you want to configure. This may involve tapping on the device icon or selecting the device from a list of connected devices.
3. Explore Schedule Options: Look for a schedule or timer feature within the device settings section. This feature allows you to set specific times for your smart plug to turn on or off.
4. Set On and Off Times: Configure the schedule by selecting the desired days and times for the smart plug to turn on and off. For example, you may want your coffee maker to automatically turn on at 7 a.m. every weekday or your porch lights to turn on at sunset.
5. Customize Repeat Options: Most smart plug apps offer repeat options for daily, weekly, or custom schedules. Choose the appropriate repeat option for your desired schedule. This allows you to have different schedules for weekdays and weekends or create specific schedules for certain days of the week.
6. Enable Sunset/Sunrise Feature: Some smart plug apps have a sunset/sunrise feature that automatically adjusts the schedule based on your location and the time of sunrise and sunset. Enable this feature if available to ensure your smart plug adapts to changing daylight hours throughout the year.
7. Configure Automation Routines: Explore the automation features of your smart plug app. Set up routines that trigger multiple devices simultaneously based on certain events or conditions. For example, you can create a routine that turns on your lights, coffee maker, and radio when you wake up in the morning.
8. Test Schedules and Automation: Once you have set up the schedules and automation, test their functionality to ensure they work as intended. Verify that your devices turn on and off according to the scheduled times or when triggered by automation routines. Make adjustments as needed to fine-tune the settings.
By configuring schedules and automation, you can streamline your daily routines and enhance energy efficiency. Your smart plug app allows you to have full control over when your devices are powered on/off, eliminating the need for manual operation. Whether it’s starting your morning with a freshly brewed cup of coffee or coming home to a well-lit house, using schedules and automation can greatly simplify your life and make your home smarter.
Step 7: Control Your Devices Remotely
One of the key advantages of using smart plugs is the ability to control your devices remotely, even when you’re away from home. Step 7 focuses on how to control your devices using the smart plug app, providing you with convenience and peace of mind. Follow these steps to control your devices remotely:
1. Open the Smart Plug App: Launch the smart plug app on your smartphone or tablet.
2. Access Device List: Navigate to the device list or home screen within the app, where you’ll find a list of connected devices.
3. Select the Device to Control: Tap on the device you want to control remotely. This can be a specific smart plug controlling a device, such as a lamp or a coffee maker.
4. Turn On/Off the Device: Within the device settings, you’ll typically find a button or switch to turn the device on or off. Tap the corresponding button to control the device remotely. The app will send a command to the smart plug, which will then activate or deactivate the connected device.
5. Adjust Device Settings: Depending on the capabilities of your smart plug and the connected device, you may have additional settings to adjust remotely. This could include adjusting brightness levels, modifying power settings, or even setting custom modes or presets.
6. Use Voice Commands (if supported): If your smart plug app supports voice assistants like Amazon Alexa or Google Assistant, you can control your devices using voice commands. Simply activate your voice assistant and give the command to turn on or off the specific device connected to the smart plug.
7. Monitor Device Status: Some smart plug apps allow you to monitor the status of your devices remotely. This can include seeing whether a device is currently on or off, monitoring energy consumption, or receiving notifications if a device unexpectedly turns off or exceeds certain power levels.
8. Multiple Device Control: If you have multiple smart plugs and devices connected to the app, you can control them individually or create groups for simultaneous control. This allows you to control entire rooms or areas of your home with a few taps or voice commands.
By controlling your devices remotely, you have the power to manage your home’s energy usage, ensure security, and enjoy convenience no matter where you are. Whether you want to turn off forgotten appliances, create a cozy atmosphere before arriving home, or simply have peace of mind while you’re away, remote control through the smart plug app provides ultimate flexibility and control over your connected devices.
Step 8: Troubleshooting Tips
While setting up and using smart plugs is generally straightforward, you may encounter some challenges along the way. In Step 8, we’ll explore some troubleshooting tips to help you overcome common issues and ensure the smooth operation of your smart plugs. Follow these tips to troubleshoot any problems you may encounter:
1. Check Wi-Fi Connection: Ensure that your Wi-Fi network is stable and working properly. Weak or intermittent Wi-Fi signals can disrupt the communication between the smart plug and the app. Consider moving the smart plug closer to the wireless router or adding Wi-Fi extenders to improve signal strength.
2. Power Cycle the Smart Plug: If your smart plug is unresponsive, try power cycling it. Simply turn it off, wait for a few seconds, and then turn it back on. This can help in resolving temporary glitches or connectivity issues.
3. Restart the App and Device: If the smart plug app is not working as expected or the connected device is unresponsive, try force-closing the app and reopening it. Additionally, restart your smartphone or tablet to clear any temporary issues.
4. Verify Firmware Updates: Check if there are any firmware updates available for your smart plug. Keeping the firmware up to date can resolve known bugs and improve performance. Check the app settings or manufacturer’s website for firmware update instructions.
5. Reset and Reconfigure: If all else fails, you can try resetting the smart plug to factory settings and reconfiguring it from scratch. This may involve pressing and holding a reset button on the smart plug for a certain duration or following specific instructions provided by the manufacturer.
6. Check Compatibility: Ensure that your smart plug is compatible with your devices, smartphone or tablet, and the operating system. Make sure you are using the correct app or firmware version for optimal compatibility and performance.
7. Verify Wi-Fi Credentials: Double-check the Wi-Fi network name (SSID) and password entered in the smart plug app. Incorrect credentials can prevent the smart plug from connecting to Wi-Fi.
8. Troubleshoot Voice Control: If you are using voice assistants to control your smart plug, ensure that the app and voice assistant are properly linked. Check the voice assistant’s settings, enable the necessary skills or actions, and make sure the devices are properly named and recognized by the voice assistant.
9. Contact Customer Support: If you have exhausted all troubleshooting options and the issue persists, reach out to the smart plug manufacturer’s customer support. They can provide further assistance and guidance specific to your device.
By following these troubleshooting tips, you can overcome common challenges and ensure the smooth operation of your smart plugs. Remember to refer to the manufacturer’s documentation and support resources for device-specific troubleshooting recommendations. With a little patience and troubleshooting, you can get back to enjoying the convenience and automation that smart plugs bring to your home.
Conclusion
Setting up and using smart plugs can greatly enhance your home automation experience, providing convenience, energy efficiency, and remote control capabilities. By following the step-by-step process outlined in this guide, you can easily integrate smart plugs into your home and enjoy the benefits they offer.
From choosing the right smart plug and setting up the app to connecting the smart plug to Wi-Fi and controlling your devices remotely, every step plays a crucial role in simplifying your daily routines and optimizing energy usage.
With the ability to schedule and automate devices, you can effortlessly create a more efficient and comfortable living environment. Set your coffee maker to start brewing in the morning, ensure your lights are on when you come home, or even create custom routines that make your home appear occupied when you’re away.
Remember to take advantage of the app features, including customization options, energy monitoring, and integration with other smart home devices. This will allow you to maximize the functionality of your smart plugs and create a truly connected and automated smart home ecosystem.
If you encounter any issues during the setup process or while using your smart plugs, the troubleshooting tips provided can help you resolve common problems and ensure a seamless user experience.
Smart plugs offer endless possibilities, allowing you to control and automate your devices with ease. Save energy, simplify your life, and experience the convenience of a smart home by incorporating smart plugs into your daily routines. Begin your journey towards a smarter home today!