Introduction
Welcome to the world of smart home automation with the Amazon Smart Plug! This innovative device makes it easy to control your appliances and electronics with just your voice using the power of Alexa.
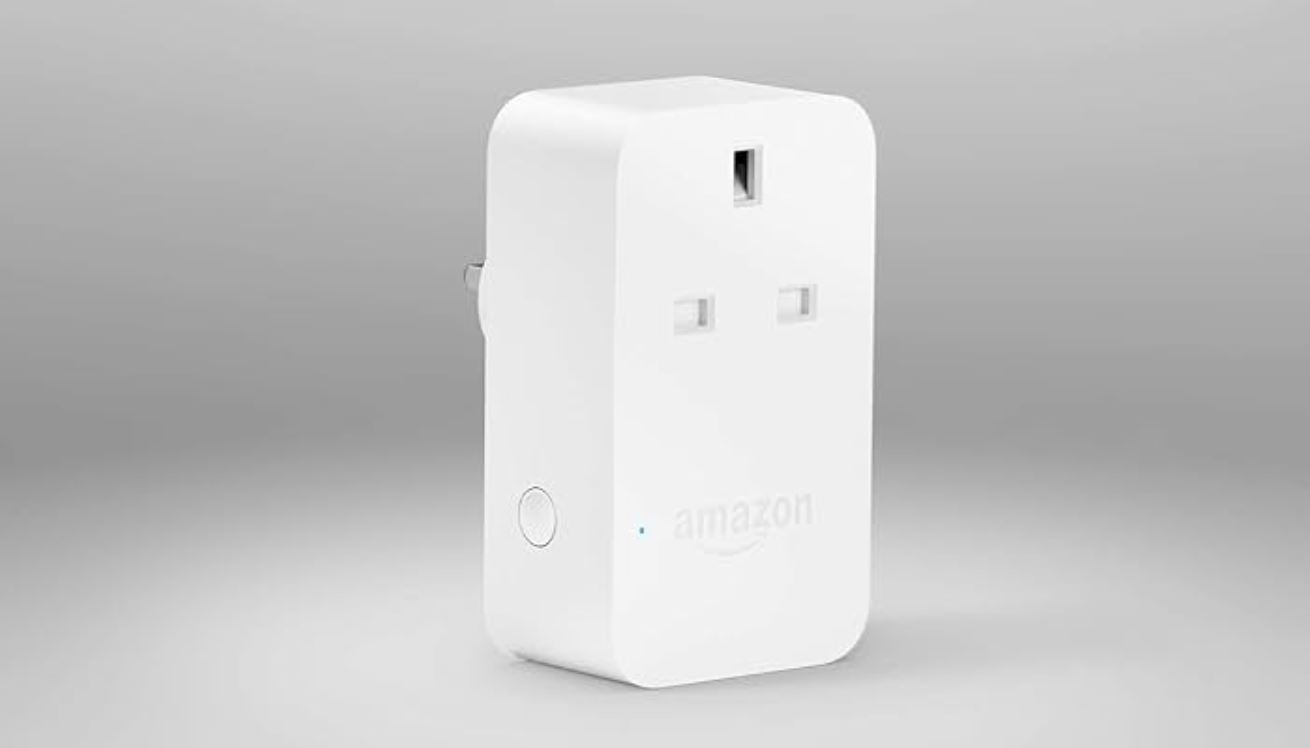
The Amazon Smart Plug is a compact and sleek device that works with any standard electrical outlet. It allows you to turn your devices on and off, set schedules, and even create routines to automate your daily tasks. Whether you want to turn on the coffee maker when you wake up, or switch off the lights after you leave the house, the Amazon Smart Plug has got you covered.
In this step-by-step guide, we will walk you through the process of setting up your Amazon Smart Plug and connecting it to the Amazon Alexa app. By the end of this tutorial, you’ll be able to control your appliances and electronics using just your voice commands.
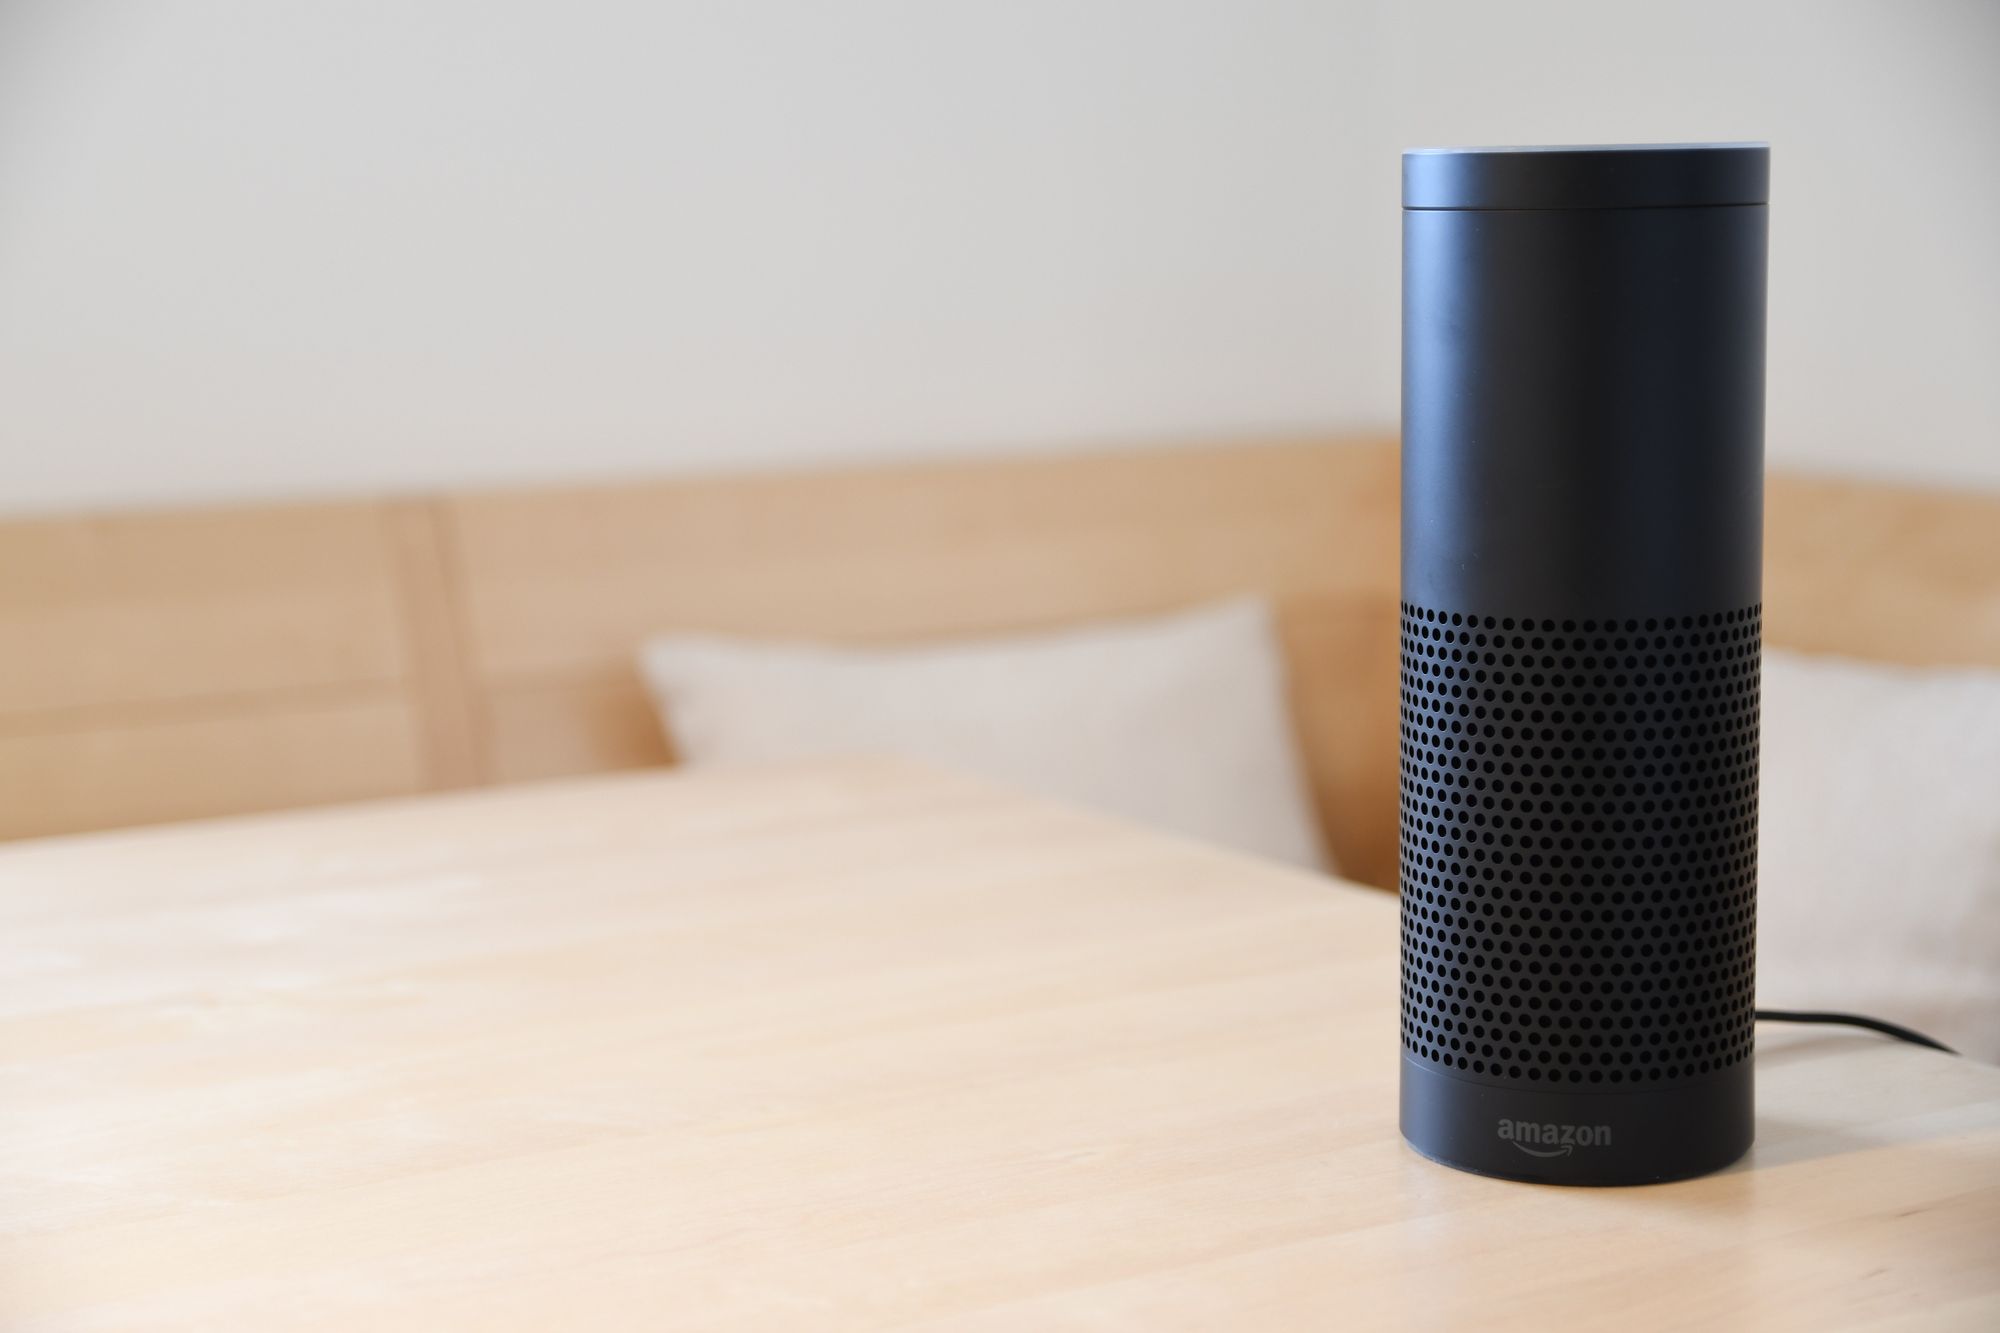
Before we dive into the setup process, make sure you have an Amazon account, an Amazon Echo device or any other Alexa-enabled device, and a stable internet connection.
Now, let’s get started and bring the convenience of voice-controlled automation to your home with the Amazon Smart Plug!
Step 1: Unboxing the Amazon Smart Plug
Congratulations on your purchase of the Amazon Smart Plug! In this first step, we will guide you through unboxing the device and getting it ready for setup.
Start by locating the package containing your Amazon Smart Plug. Carefully open the box and remove the contents. Inside, you will find the smart plug itself, along with any accompanying documentation.
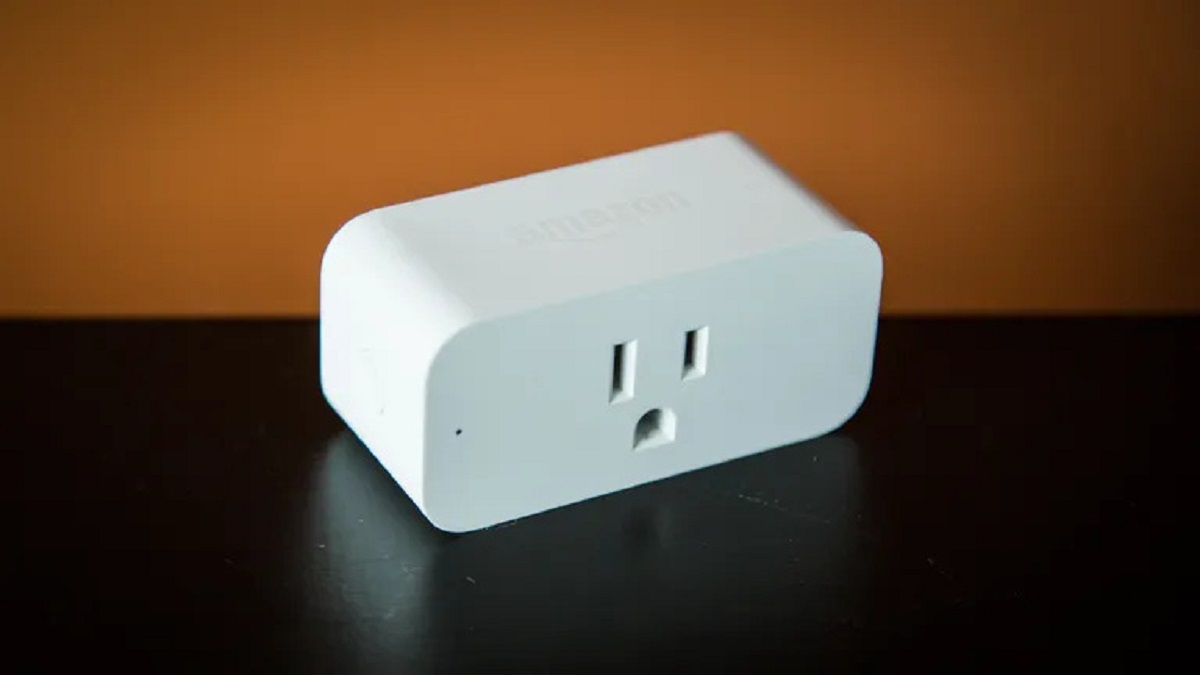
Take a moment to familiarize yourself with the design of the Amazon Smart Plug. It is a compact device that fits directly into a standard electrical outlet. It has a power button on the side, an LED indicator light, and a small status button. The device is made of high-quality materials and feels sturdy to the touch.
Inspect the included documentation, which usually consists of a quick start guide and safety information. Ensure that you read through these materials to familiarize yourself with important instructions and precautions.
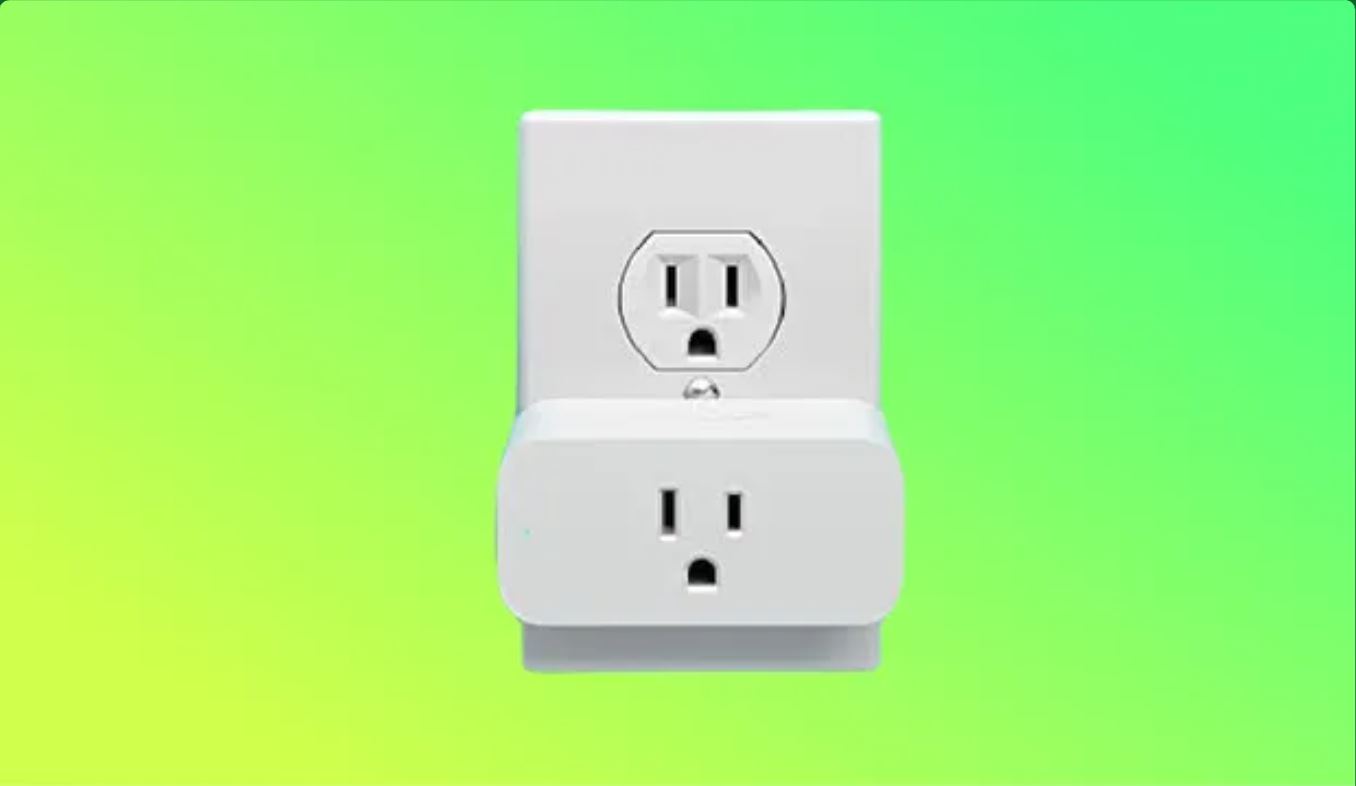
Once you have reviewed the documentation, plug your Amazon Smart Plug into an available electrical outlet. Make sure the outlet is properly grounded and functioning. The LED indicator on the front of the smart plug should light up, indicating that it is receiving power.
Now that you have unboxed and connected the Amazon Smart Plug, you are ready to move on to the next step: downloading the Amazon Alexa app. This app will serve as the control hub for your smart home devices, including the smart plug.
Continue to the next section to learn how to download the Amazon Alexa app and prepare for the setup process.
Step 2: Connecting the Smart Plug to the Power Outlet
Now that you have unboxed your Amazon Smart Plug in the previous step, it’s time to connect it to a power outlet for it to start functioning. Follow these simple instructions to ensure a successful connection:
1. Choose a suitable power outlet:
Before connecting your smart plug, make sure to select a power outlet that is easily accessible and within range of your Wi-Fi network. Avoid using power strips or surge protectors, as they can interfere with the connection and functionality of the smart plug.
2. Insert the Amazon Smart Plug:
Take the smart plug and carefully insert it into the chosen power outlet. Ensure that it is fully inserted and secure. You should hear a click sound when it is firmly in place.
3. Check the LED indicator light:
Once the smart plug is connected to the power outlet, the LED indicator light on the front should start blinking blue. This indicates that the smart plug is ready to be set up.
If the LED indicator doesn’t light up or is not blinking, double-check that the power outlet is functional and that the smart plug is inserted correctly. You may need to try a different power outlet, as the previous one may not be providing power.
4. Install the Amazon Alexa app:
While the smart plug is connected to the power outlet, proceed to the next step of downloading the Amazon Alexa app on your smartphone or tablet. This app is essential for setting up and controlling your smart plug.
That’s it! You have successfully connected your Amazon Smart Plug to a power outlet. In the next step, we will guide you through the process of downloading and setting up the Amazon Alexa app on your device.
Step 3: Downloading the Amazon Alexa App
In order to configure and control your Amazon Smart Plug, you’ll need to download the Amazon Alexa app. This app acts as the central hub for managing your smart home devices and connecting them to your Alexa-enabled devices.
Follow these steps to download the Amazon Alexa app on your smartphone or tablet:
1. Open your device’s app store:
Whether you’re using an iPhone, iPad, or Android device, open your respective app store. For Apple devices, go to the App Store, and for Android devices, go to the Google Play Store.
2. Search for “Amazon Alexa”:
Type “Amazon Alexa” into the search bar of your app store. Look for the official Amazon Alexa app, which is developed by Amazon Mobile LLC. It should have the familiar Amazon logo.
3. Tap on the app:
Once you locate the Amazon Alexa app, tap on it to select it. Make sure to read the app’s description, reviews, and ratings to learn more about its features and compatibility.
4. Download and install the app:
Click on the “Download” or “Install” button to start the downloading process. The app may require certain permissions and access to your device’s features. Accept these permissions to proceed with the installation.
5. Open the Amazon Alexa app:
After the app is successfully installed, tap on the “Open” button to launch the Amazon Alexa app on your device.
6. Sign in with your Amazon account:
If you already have an Amazon account, enter your login credentials (email and password) to sign in. If you don’t have an Amazon account, you’ll need to create one. Follow the prompts to complete the account creation process.
7. Grant necessary permissions:
Once you’re signed in, the Amazon Alexa app may request permission to access certain features on your device, such as location services and notifications. Grant the necessary permissions to allow the app to function properly.
That’s it! You have successfully downloaded the Amazon Alexa app onto your device. In the next step, we will guide you through the process of setting up your Amazon Smart Plug within the Alexa app.
Step 4: Setting Up the Smart Plug in the Alexa App
Now that you have downloaded the Amazon Alexa app on your device, it’s time to set up your Amazon Smart Plug within the app. The following steps will guide you through the setup process:
1. Open the Amazon Alexa app:
Launch the Amazon Alexa app on your smartphone or tablet. Log in with your Amazon account credentials if you haven’t done so already.
2. Tap on the menu icon:
In the top-left corner of the app, you’ll see a Menu icon (☰). Tap on it to open the main menu.
3. Select “Add Device”:
In the main menu, look for and tap on the option that says “Add Device.” This will open the device setup screen.
4. Choose your device type:
In the device setup screen, select the type of device you want to set up. In this case, choose “Plug” or “Smart Plug” as the device type.
5. Follow the on-screen prompts:
The Amazon Alexa app will now guide you through a series of on-screen prompts and instructions to complete the setup process. Make sure to carefully follow the instructions provided.
6. Enter setup mode on the smart plug:
Most smart plugs require you to put them into setup mode during the initial pairing process. Check the instructions provided with your specific smart plug to enter setup mode. This usually involves pressing and holding the device’s power or reset button for a certain duration until the LED indicator starts flashing rapidly.
7. Connect to the smart plug’s Wi-Fi network:
During the setup process, your device may prompt you to connect to the smart plug’s temporary Wi-Fi network. Follow the instructions in the app to do this. Once connected, return to the Amazon Alexa app.
8. Complete the setup process:
Follow the remaining prompts in the Amazon Alexa app to complete the setup of your smart plug. This may involve selecting your home Wi-Fi network, entering the network password, and allowing the smart plug to connect to your network.
That’s it! You have successfully set up your Amazon Smart Plug in the Alexa app. In the next step, we will cover the process of connecting the smart plug to your Wi-Fi network.
Step 5: Connecting the Smart Plug to your Wi-Fi Network
Now that you have set up your Amazon Smart Plug in the Alexa app, it’s time to connect it to your Wi-Fi network. Follow these steps to ensure a successful connection:
1. Open the Alexa app:
Launch the Amazon Alexa app on your device and sign in with your Amazon account credentials.
2. Access the device settings:
In the main menu of the app, tap on “Devices.” This will take you to the device settings screen.
3. Select your smart plug:
From the list of devices displayed, locate and tap on your smart plug. This will open the device settings and options.
4. Tap on “Wi-Fi Network”:
In the device settings, look for the option that says “Wi-Fi Network” or something similar. Tap on it to proceed to the Wi-Fi network setup.
5. Follow the on-screen instructions:
The Alexa app will now guide you through the process of connecting your smart plug to your Wi-Fi network. Follow the on-screen instructions provided to complete the process.
6. Select your home Wi-Fi network:
When prompted, choose your home Wi-Fi network from the list of available networks. If you do not see your network listed, tap on “Other” or “Add Network” and manually enter your network name (SSID).
7. Enter your Wi-Fi network password:
After selecting your network, enter the password associated with your Wi-Fi network. Make sure to enter the password correctly to ensure a successful connection.
8. Wait for the connection:
Once you have entered your Wi-Fi network password, the smart plug will attempt to establish a connection to your network. This may take a minute or two, so be patient and wait for the connection to be established.
9. Successful connection:
Once the smart plug is successfully connected to your Wi-Fi network, the LED indicator on the plug will stop blinking and remain solid, indicating a stable connection.
Congratulations! You have successfully connected your Amazon Smart Plug to your Wi-Fi network. In the next step, we will cover the process of naming and assigning the smart plug to a specific room in the Alexa app.
Step 6: Naming and Assigning the Smart Plug to a Room
After connecting your Amazon Smart Plug to your Wi-Fi network, it’s time to give it a name and assign it to a specific room in the Alexa app. This will help you easily identify and control the smart plug using voice commands. Follow these steps to complete this process:
1. Open the Alexa app:
Launch the Amazon Alexa app on your device and sign in with your Amazon account credentials.
2. Access the device settings:
In the main menu of the app, tap on “Devices.” This will take you to the device settings screen.
3. Select your smart plug:
From the list of devices displayed, locate and tap on your smart plug. This will open the device settings and options.
4. Tap on “Edit Name”:
In the device settings, look for the option that says “Edit Name” or something similar. Tap on it to proceed to the naming screen.
5. Enter a name for your smart plug:
On the naming screen, you have the option to give your smart plug a customized name. Choose a name that is easy to remember and relevant to the appliance or device connected to the smart plug. For example, “Living Room Lamp” or “Bedroom Fan”.
6. Assign the smart plug to a room:
After naming the smart plug, you can assign it to a specific room in your home. Tap on the “Room” field and select the appropriate room from the list provided, such as “Living Room,” “Kitchen,” or “Bedroom.” This will help you organize and control your devices more effectively.
7. Save the settings:
Once you have named the smart plug and assigned it to a room, tap on the “Save” or “Done” button to save the settings. The smart plug will now be labeled with its customized name and linked to the selected room.
8. Repeat for additional smart plugs:
If you have multiple smart plugs, repeat these steps for each one to give them individual names and assign them to their respective rooms.
That’s it! You have successfully named and assigned your Amazon Smart Plug to a specific room in the Alexa app. In the next step, we will cover the process of adding the smart plug to Alexa routines for more automated control.
Step 7: Adding the Smart Plug to Alexa Routines
With your Amazon Smart Plug set up and named, you can now enhance its functionality by adding it to Alexa routines. Routines allow you to automate a series of actions with a single voice command or at specific times of the day. Follow these steps to add your smart plug to Alexa routines:
1. Open the Alexa app:
Launch the Amazon Alexa app on your device and sign in with your Amazon account credentials.
2. Access the routines menu:
In the main menu of the app, tap on “Routines” or “Routines & Groups.” This will take you to the routines menu.
3. Create a new routine or select an existing one:
If you already have a routine that you want to add your smart plug to, select that routine from the list. Otherwise, tap on the “+” or “Create Routine” button to create a new routine.
4. Tap on “Add action”:
In the routine settings, look for the option that says “Add action” or something similar. Tap on it to open the actions menu.
5. Choose the action trigger:
Select the trigger that will activate the routine. This can be a specific voice command, a scheduled time, or an event such as sunrise or sunset.
6. Select “Smart Home” from the action options:
In the actions menu, scroll down and select “Smart Home” from the list of available action options. This will show a list of your connected smart home devices, including your smart plug.
7. Choose the smart plug action:
Locate and select your smart plug from the list of devices. You can choose to turn the smart plug on or off when the routine is triggered. You can also customize the brightness level or other settings, if applicable.
8. Save the routine:
Once you have configured the action for your smart plug, tap on the “Save” or “Done” button to save the routine. The smart plug will now be a part of your routine and will execute the specified action when the routine is triggered.
Repeat these steps for any additional routines you want to create or modify. You can create multiple routines with different triggers and actions to suit your specific needs.
That’s it! You have successfully added your Amazon Smart Plug to Alexa routines, allowing you to automate actions and control your devices more efficiently. In the next step, we will provide some troubleshooting tips to help you resolve any issues you may encounter.
Step 8: Troubleshooting Tips
While setting up and using your Amazon Smart Plug, you may encounter some common issues. Here are some troubleshooting tips to help you resolve them:
1. Check your Wi-Fi connection:
If you are experiencing connectivity issues, ensure that your Wi-Fi network is stable and working properly. Check if other devices can connect to the Wi-Fi network without any problems.
2. Restart your smart plug:
If your smart plug is unresponsive, try unplugging it from the power outlet and plugging it back in after a few seconds. This can help refresh the connection and resolve any minor glitches.
3. Restart your Alexa-enabled device:
If you’re unable to control your smart plug through the Alexa app or voice commands, restart your Alexa-enabled device. This can help refresh the connection between the device and the app.
4. Confirm power availability:
Ensure that the device connected to the smart plug has power and is in working condition. Make sure the power switch on the device is on or that it is plugged in properly.
5. Check for firmware updates:
Periodically check for firmware updates for your smart plug. Manufacturers often release updates to improve performance and fix any bugs. Check the manufacturer’s website or the app for any available updates.
6. Reset the smart plug:
If you are still experiencing issues with the smart plug, you may need to reset it to its factory settings. Consult the smart plug’s user manual or the manufacturer’s website for instructions on how to perform a reset.
7. Contact customer support:
If you have tried all troubleshooting steps and still cannot resolve the issue, reach out to the customer support team of the smart plug manufacturer or Amazon for further assistance. They will be able to provide specific troubleshooting guidance or offer a possible solution.
Remember, troubleshooting may vary depending on the specific make and model of your smart plug. Always refer to the user manual or the manufacturer’s website for device-specific troubleshooting instructions.
By following these troubleshooting tips, you should be able to resolve most common issues with your Amazon Smart Plug and ensure smooth and reliable operation.
Conclusion
Congratulations! You have successfully set up your Amazon Smart Plug and integrated it into your smart home ecosystem with the help of the Amazon Alexa app. By following the step-by-step guide in this article, you now have the ability to control your appliances and devices using just your voice commands, schedules, or automated routines.
The Amazon Smart Plug brings convenience and efficiency to your daily life. Whether you want to turn on your lights before entering a room, start brewing your coffee while still in bed, or schedule the switch off your devices when you leave the house, the possibilities are endless. With the power of Alexa, you can effortlessly manage your smart plug and other connected devices from anywhere in your home.
Remember to keep your smart plug and other smart devices up to date by checking for firmware updates periodically. This will ensure you have access to the latest features and improvements offered by the manufacturer.
If you ever encounter any issues or have questions about your Amazon Smart Plug, refer to the troubleshooting tips we provided in this guide or reach out to the customer support team of the device manufacturer or Amazon for assistance. They will be able to guide you through any problems you may encounter.
Enjoy the convenience and simplicity that the Amazon Smart Plug brings to your home automation experience. Embrace the power of voice control and automation to create a more comfortable and efficient living environment.
Thank you for choosing the Amazon Smart Plug, and we hope this guide has been helpful in getting you started on your smart home journey!