Introduction
Welcome to the world of smart home technology, where you can control various devices with just a few taps on your smartphone. One such device that can bring convenience and automation to your home is a smart plug.
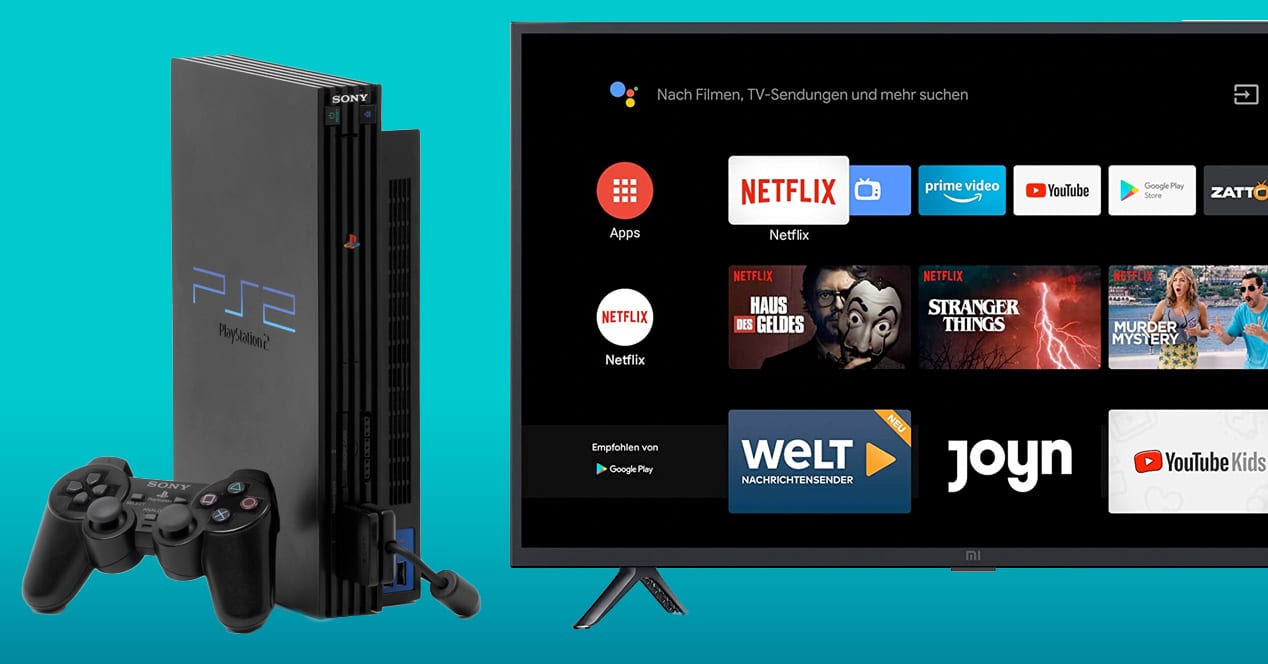
A smart plug allows you to remotely control the power supply to any device that is plugged into it. This means you can turn on or off your electronic devices, such as your TV, lamps, or even your coffee maker, from anywhere using a mobile app or voice command.
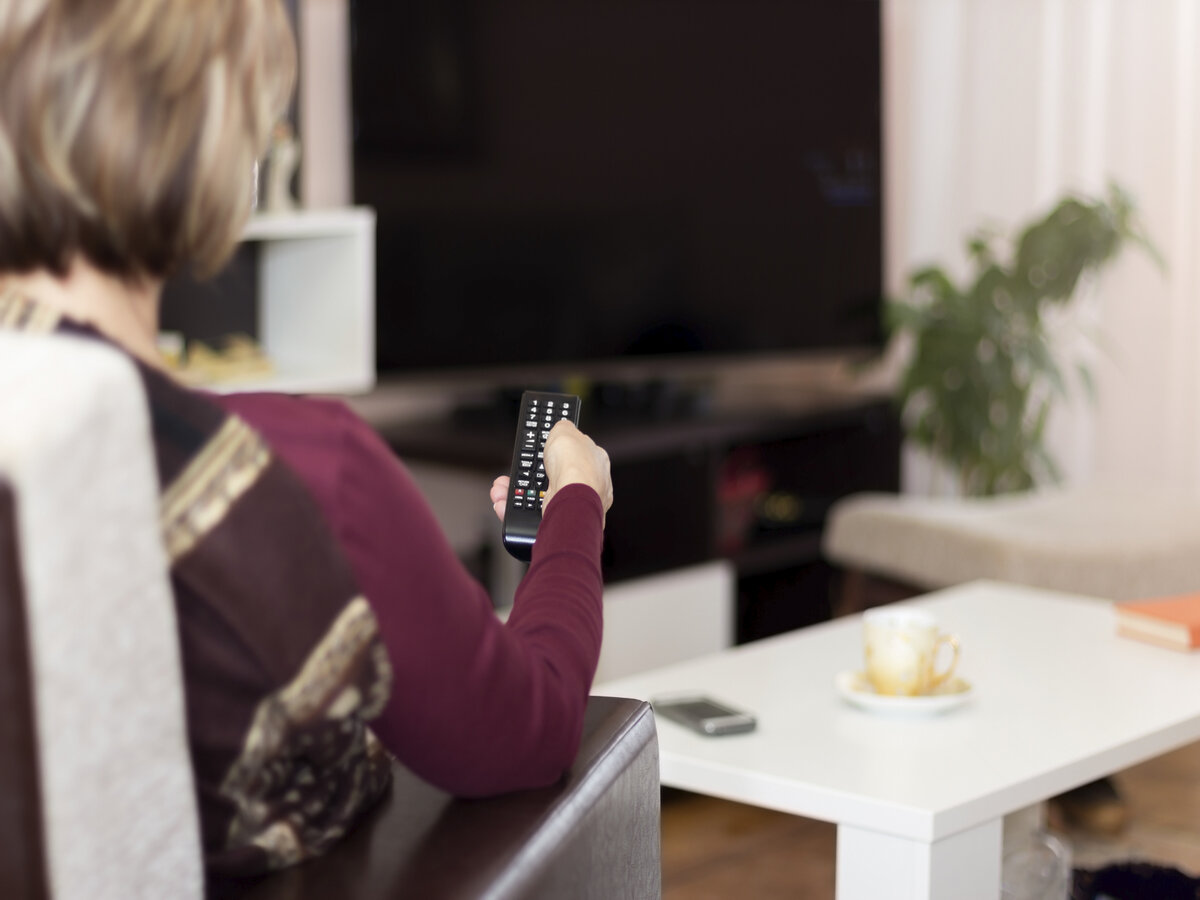
In this article, we will focus on how to get a smart plug to turn your TV on and off. Imagine the convenience of being able to power up your TV right from your couch without having to search for the remote or physically get up and press the power button. With a smart plug, you can effortlessly automate this process and make your TV-watching experience more enjoyable.
Before we dive into the steps, it’s important to note that not all smart plugs are compatible with every TV. Make sure you choose a smart plug that is compatible with your TV model and has the necessary features to meet your requirements. With that said, let’s get started on setting up your smart plug to turn your TV on and off!
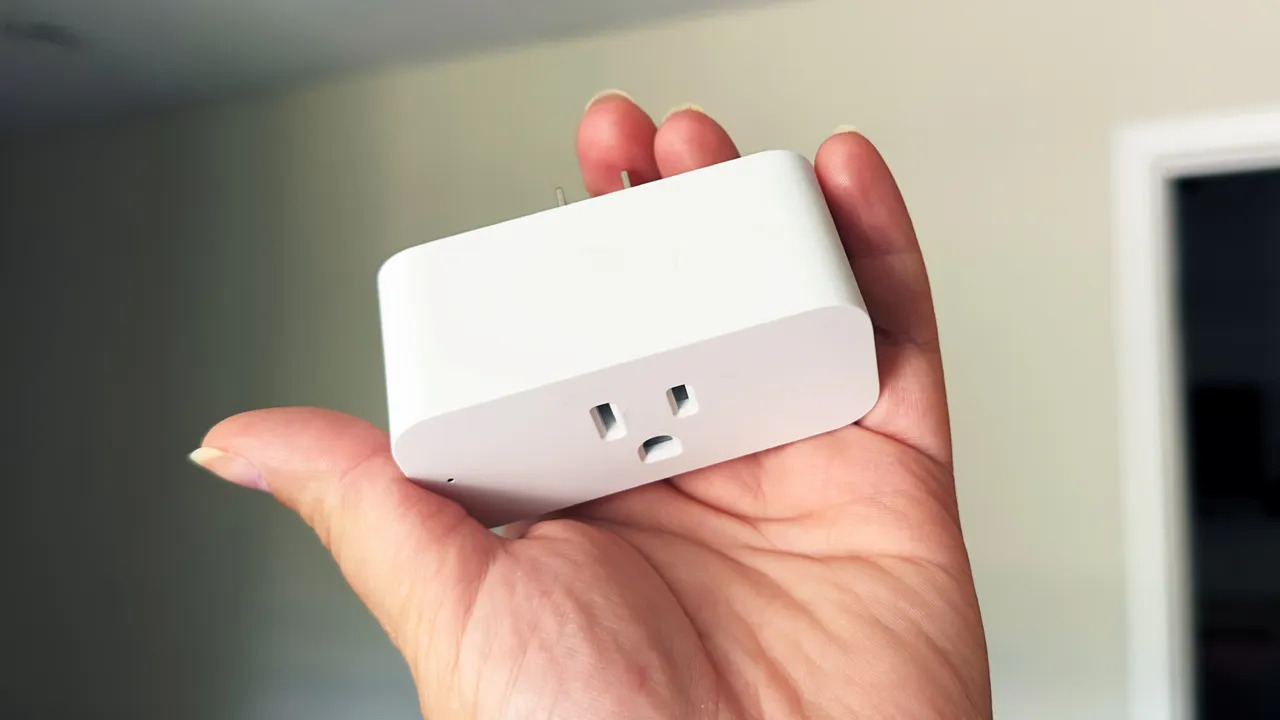
Step 1: Choose the Right Smart Plug
Choosing the right smart plug for your TV is crucial to ensure compatibility and seamless operation. Here are some factors to consider when selecting a smart plug:
- Compatibility: Before making a purchase, check if the smart plug is compatible with your TV. Some smart plugs work with specific TV brands or models, so it’s essential to verify compatibility.
- Power Capacity: Make sure the smart plug can handle the power requirements of your TV. Check the maximum power load the smart plug can support and ensure it is sufficient to handle your TV’s power consumption.
- Connectivity: Look for a smart plug that supports Wi-Fi connectivity. This allows you to control the plug remotely using a mobile app or voice commands.
- Mobile App Compatibility: Ensure the smart plug is compatible with the mobile app of your choice. Most smart plugs have their own dedicated apps, while others may be compatible with popular smart home platforms like Alexa or Google Home.
- Additiona l Features: Consider any additional features that may be beneficial for your needs. Some smart plugs come with energy monitoring capabilities, scheduling options, or even voice control compatibility.
Take some time to research and read reviews before making a purchase. Look for user feedback to ensure the smart plug you choose has a good reputation for reliability and ease of use. By selecting the right smart plug, you’ll have a solid foundation for seamlessly integrating your TV into your smart home ecosystem.
Step 2: Set Up the Smart Plug
Once you have chosen the right smart plug for your TV, it’s time to set it up. Here’s a step-by-step guide on how to do it:
- Unbox the Smart Plug: Remove the smart plug from its packaging and familiarize yourself with its components.
- Plug It In: Find an electrical outlet near your TV and plug in the smart plug.
- Connect the Device: Plug your TV’s power cord into the smart plug’s outlet. This allows the smart plug to control the power supply to your TV.
- Power On the Smart Plug: Turn on the smart plug by pressing the power button or following the manufacturer’s instructions. Some smart plugs may require you to hold the power button for a few seconds to initiate the setup mode.
- LED Indicators: Pay attention to the LED indicators on the smart plug. They may signal different states such as power on, connectivity status, or setup mode.
- Follow Manufacturer’s Instructions: Consult the user manual or follow the instructions provided by the smart plug manufacturer to continue with the setup process. Each smart plug may have a slightly different setup process, so it’s important to follow the specific instructions for your model.
- Connect your Smart Device: Depending on the smart plug, you may need to connect your smartphone or tablet to the smart plug’s Wi-Fi network. This will enable the initial setup and configuration.
- Set Up User Account: Create a user account if required by the smart plug’s mobile app. This step is necessary for accessing advanced features and remote control options.
Follow the on-screen prompts on the smart plug’s mobile app to complete the setup. Ensure that you provide any necessary information, such as your Wi-Fi credentials, to connect the smart plug to your home network.
Once the setup is complete, you are now ready to move on to the next step: connecting the smart plug to your Wi-Fi network.
Step 3: Connect the Smart Plug to Wi-Fi
Connecting your smart plug to your Wi-Fi network is an essential step in ensuring remote control and automation capabilities. Here’s how you can connect the smart plug to your Wi-Fi:
- Launch the Mobile App: Open the mobile app associated with your smart plug on your smartphone or tablet.
- Access Wi-Fi Settings: Navigate to the Wi-Fi settings within the app to begin the Wi-Fi connection process.
- Select Your Network: From the list of available Wi-Fi networks, select your home network.
- Enter Network Credentials: Depending on the smart plug, you may need to enter your Wi-Fi network password or any other necessary network credentials. Input the required information accurately.
- Connect to the Network: Once the correct network credentials are entered, the smart plug will attempt to connect to your Wi-Fi network. This process may take a few moments.
- Verify Connection: After successfully connecting to your Wi-Fi network, the mobile app will confirm the connection status. You may see a notification or visual indicator that the smart plug is now connected.
It’s important to ensure that your smart plug is within range of your Wi-Fi network for a stable and reliable connection. If you face any connectivity issues, try moving the smart plug closer to the Wi-Fi router or check if there are any potential obstacles causing interference.
Once the smart plug is connected to your Wi-Fi network, you’re now ready to move on to the next step: connecting your TV to the smart plug.
Step 4: Connect the TV to the Smart Plug
Now that your smart plug is connected to Wi-Fi, the next step is to connect your TV to the smart plug. This will allow you to control the power supply to your TV remotely. Follow these steps to connect your TV to the smart plug:
- Locate the TV Power Cord: Identify the power cord of your TV that is currently plugged into the electrical outlet.
- Unplug the TV Power Cord: Carefully unplug the power cord of your TV from the electrical outlet.
- Plug TV Power Cord into the Smart Plug: Take the power cord of your TV and plug it into the outlet on the smart plug. This ensures that the smart plug can control the power supply to your TV.
- Ensure Secure Connection: Make sure the TV power cord is securely plugged into the smart plug, ensuring no loose connections.
By connecting your TV to the smart plug, you have established the link necessary for remote control and automation. It’s important to note that the smart plug will act as a middleman between the power outlet and your TV, allowing you to control the power supply with ease.
Now that your TV is connected to the smart plug, you can move on to the next step: downloading and setting up the smart plug app on your smart device.
Step 5: Download and Set Up the Smart Plug App
In order to control your smart plug and manage its settings, you will need to download and set up the dedicated mobile app that corresponds to your smart plug brand. Follow these steps to download and set up the smart plug app:
- Identify the App: Find out the name of the mobile app associated with your smart plug. You can usually find this information in the product manual or on the manufacturer’s website.
- Download the App: Open your app store (such as the App Store for iOS devices or the Google Play Store for Android devices) and search for the smart plug app by name. Download and install the app on your smartphone or tablet.
- Launch the App: Once the installation is complete, open the smart plug app from your device’s app menu.
- Create an Account: Some smart plug apps may require you to create a user account. Follow the on-screen prompts to create an account if necessary. This step is usually necessary to access advanced features and remote control options.
- Connect to the Smart Plug: In the app, navigate to the settings or device setup section to initiate the process of connecting to your smart plug. Follow the app’s instructions to establish a connection.
- Verify Connection: Once the app successfully connects to your smart plug, you will usually see a confirmation message or indicator within the app. This verifies that your smart plug is now registered and ready for use.
- Explore the App Features: Take some time to familiarize yourself with the features and options available in the smart plug app. You may find additional functionalities such as scheduling, energy monitoring, or voice control settings that can enhance your smart home experience.
By downloading and setting up the smart plug app, you have gained the ability to control your TV and manage your smart plug settings through your smartphone or tablet. This brings convenience and flexibility to your fingertips, allowing you to easily automate the power control of your TV.
Now that you have set up the app, it’s time to move on to the next step: configuring the smart plug settings.
Step 6: Configure the Smart Plug Settings
After setting up the smart plug app, it’s time to configure the settings for your smart plug. By adjusting these settings, you can personalize your smart plug’s behavior and optimize its functionality. Follow these steps to configure the smart plug settings:
- Open the App: Launch the smart plug app on your smartphone or tablet.
- Access Device Settings: Navigate to the settings menu within the app to access the configuration options for your smart plug.
- Device Name: Assign a name to your smart plug that is easily identifiable, such as “Living Room TV.” This will make it easier to control specific devices if you have multiple smart plugs in your home.
- Scheduling: Explore the scheduling feature in the app, allowing you to set specific times for your TV to turn on or off automatically. This can be useful for creating a routine, saving energy, or setting up your TV to be ready before you arrive home.
- Energy Monitoring: If your smart plug supports energy monitoring, enable this feature to track your TV’s power consumption. It can help you identify energy-efficient patterns or detect any abnormal power usage.
- Voice Control: If your smart plug is compatible with voice assistants like Amazon Alexa or Google Assistant, you can link your smart plug to your preferred voice assistant and control your TV with voice commands.
- Notifications: Customize any notification settings based on your preferences. This may include receiving alerts when your TV turns on or off, power consumption exceeds a certain threshold, or any other specific events.
- Updates: Check for any firmware updates for your smart plug within the app. Updating to the latest firmware ensures you have the most up-to-date features and security enhancements.
Take the time to explore the various options and settings available in the smart plug app. Fine-tune the settings to suit your needs and preferences, allowing you to maximize the benefits of your smart plug.
With the smart plug settings configured, it’s time to move on to the final step: testing the smart plug with your TV.
Step 7: Test the Smart Plug with TV
The final step is to test your smart plug with your TV to ensure that everything is working correctly. This step will allow you to verify the remote control functionality and see the automation in action. Follow these steps to test the smart plug with your TV:
- Launch the Smart Plug App: Open the smart plug app on your smartphone or tablet.
- Locate the Smart Plug Device: Within the app, locate and select the smart plug device associated with your TV. It should be listed with the name you assigned during the configuration process.
- Power On: Press the “Power On” button or toggle within the app to turn on the smart plug and supply power to your TV. If everything is set up correctly, your TV should power on.
- Power Off: Similarly, press the “Power Off” button or toggle within the app to turn off the smart plug and cut off power to your TV. Your TV should now power off.
- Remote Control: Use the app to test the remote control functionality. Try turning your TV on or off from a different room or outside of your home network. If the commands are executed successfully, it means your smart plug is working correctly.
- Automation: If you have set up any scheduling or automation rules in the app, observe whether your TV turns on or off automatically based on the predefined schedule. This will ensure that your smart plug is properly configured for automation.
- Voice Control (Optional): If you have linked your smart plug with a voice assistant, such as Amazon Alexa or Google Assistant, test the voice control feature. Use the voice command associated with your TV to turn it on or off. If the voice assistant successfully controls the smart plug, it means your integration is functioning as expected.
By testing the smart plug with your TV, you can confirm that the remote control, automation, and any voice control features are working properly. If you encounter any issues, double-check your setup, connections, and app settings to ensure everything is configured correctly.
Congratulations! With your smart plug successfully tested, you now have the convenience of turning your TV on and off remotely or automating the power control according to your preferences.
Conclusion
Congratulations on successfully setting up and configuring your smart plug to control your TV! By following the steps outlined in this guide, you have transformed your TV into a more convenient and automated device within your smart home ecosystem.
With your smart plug, you can now turn your TV on or off remotely, effortlessly control it with voice commands, and even schedule power cycles according to your preferences. This level of control and automation enhances your TV-watching experience and simplifies your daily routine.
Remember to choose a smart plug that is compatible with your TV model, ensuring a seamless integration. Take the time to research and read reviews before making a purchase to ensure the reliability and performance of your chosen smart plug.
In this guide, we covered the essential steps, including choosing the right smart plug, setting it up, connecting it to Wi-Fi, linking it with your TV, and configuring the necessary app settings. By following these steps, you can enjoy the convenience and flexibility that smart plugs bring to your TV.
As technology continues to evolve, it’s exciting to see how smart home devices, like smart plugs, can transform our daily lives. Take advantage of the features and functionalities of your smart plug to customize and streamline your TV-watching experience.
Enjoy the convenience, automation, and control that your smart plug brings to your TV, and explore other ways to incorporate smart home technology into your everyday life. From lighting to security and beyond, the possibilities are endless!
Get ready to sit back, relax, and enjoy the endless entertainment options of your smart TV, now effortlessly powered on and off by your smart plug.