Introduction
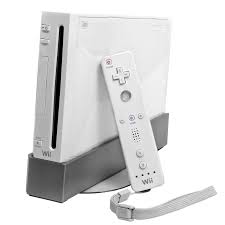
Welcome to the world of Wii gaming! The Wii console offers a unique gaming experience that combines motion controls with fun and interactive gameplay. To fully enjoy all the features and online capabilities of your Wii, it’s essential to connect it to your wireless router. In this article, we’ll guide you through the process of connecting your Wii to your wireless network.
With a simple Wi-Fi setup, you can access the Wii Shop Channel, play online multiplayer games, and enjoy streaming services like Netflix and Hulu. By connecting your Wii to the internet, you’ll unlock a whole new level of entertainment.
Before you start the setup process, it’s important to have a basic understanding of your home network and the components involved. Your wireless router acts as a gateway that allows your Wii and other devices to connect to the internet wirelessly. It’s crucial to ensure that your wireless router is compatible with the Wii console. Most modern routers support the necessary Wi-Fi standards, so compatibility is rarely an issue.
In the next sections, we’ll walk you through the step-by-step process of connecting your Wii to your wireless router. We’ll start by checking compatibility, followed by finding your wireless network name and gathering the network password. Finally, we’ll guide you through the connection process and offer troubleshooting tips for common connectivity issues.
By the end of this article, you’ll be able to successfully connect your Wii to your wireless router and access all the exciting online features and services. So, grab your Wii remote, put on your gaming hat, and let’s get started on this Wi-Fi connection journey!
Understanding the Wi-Fi Setup on your Wii
Before diving into the setup process, it’s crucial to understand the Wi-Fi setup options on your Wii console. The Wii supports both wired and wireless internet connections, but in this article, we’ll focus on connecting via Wi-Fi.
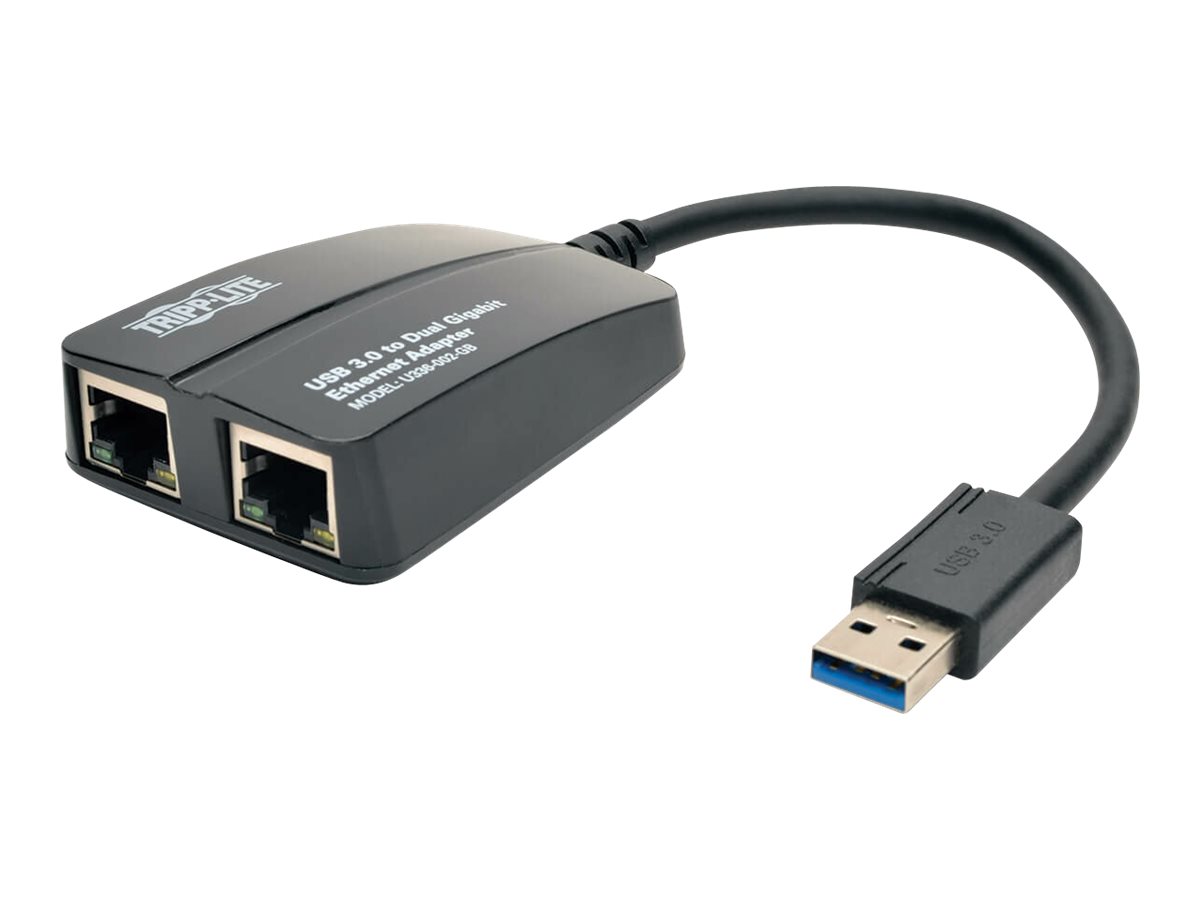
When setting up a wireless connection, you have two options: connecting to an existing wireless network or using a USB Wi-Fi adapter to create a new wireless network. The latter option is useful if you don’t have a wireless router or if you want to extend the Wi-Fi range for your Wii.
While the USB Wi-Fi adapter option provides flexibility, most users opt for connecting their Wii to an existing wireless network. This allows the Wii to connect to your home network and access the internet directly through your wireless router.
One important aspect to note is that the Wii console is capable of connecting to both 2.4GHz and 5GHz wireless networks. However, it’s essential to check your wireless router’s compatibility and select the appropriate network frequency when setting up the connection.
Another crucial consideration is the security protocol used by your wireless network. The Wii supports both WEP and WPA security protocols. WEP is an older and less secure option, while WPA provides enhanced security. It’s highly recommended to use WPA if your wireless router supports it.
Now that you have a better understanding of the Wi-Fi setup options on your Wii, you’re ready to move on to the next step: checking compatibility with your wireless router. Ensuring compatibility is essential to avoid any potential issues during the setup process and to ensure a smooth and stable connection.
Checking Compatibility with your Wireless Router
Before proceeding with the setup process, it’s crucial to ensure that your wireless router is compatible with the Wii console. This will help avoid any compatibility issues and ensure a smooth connection.
Most modern wireless routers support the necessary Wi-Fi standards that the Wii console requires. However, it’s a good practice to double-check the compatibility to prevent any surprises along the way.
To verify compatibility, start by identifying the Wi-Fi standards supported by your wireless router. The Wii console supports the 802.11b/g/n Wi-Fi standards, which are commonly supported by most routers. These standards provide the necessary bandwidth and range for a reliable connection.
If you’re unsure about the Wi-Fi standards supported by your router, consult the router’s manual or visit the manufacturer’s website for detailed specifications. You can also contact your internet service provider (ISP) for assistance in determining the compatibility of your router with the Wii console.
It’s worth mentioning that the Wii console does not support the newer 802.11ac Wi-Fi standard. However, this should not be a concern as most routers operate on multiple Wi-Fi standards simultaneously, allowing backward compatibility.
Additionally, it’s important to ensure that your router firmware is up to date. Router manufacturers regularly release firmware updates that improve performance, security, and compatibility. Check the manufacturer’s website for any available firmware updates for your specific router model and follow their instructions to update the firmware if necessary.
By verifying compatibility and updating your router’s firmware, you’ll be on the right track to establishing a successful connection between your Wii console and your wireless network. Once you’ve confirmed compatibility, it’s time to move on to the next step: finding your wireless network name, also known as the SSID, to proceed with the setup process.
Finding Your Wireless Network Name (SSID)
The next step in setting up your Wii’s wireless connection is to find your wireless network name, also known as the Service Set Identifier (SSID). The SSID is a unique alphanumeric identifier assigned to your wireless network.
To locate the SSID, begin by accessing the settings on your wireless router. This can usually be done by opening a web browser and entering your router’s IP address in the address bar. The IP address and login credentials can be found in your router’s manual or provided by your internet service provider.
Once you’ve accessed your router’s settings, look for the wireless settings or wireless network section. Here, you should find the SSID listed along with other information such as the network mode, channel, and security settings.
Take note of your SSID, as you will need to enter it later during the Wii’s setup process. Ensure that you record the SSID accurately, as it is case-sensitive. If your SSID is hidden, meaning it does not broadcast its name, you may need to enable SSID broadcasting temporarily to complete the setup process.
If you’re not able to access your router’s settings or are unsure about finding the SSID, there are alternative methods to locate it. One option is to check the bottom or back of your router, where the SSID is sometimes printed on a label along with the default password. Another option is to use a Wi-Fi analyzer app on your smartphone, which can display a list of nearby wireless networks, including yours.
Now that you’ve successfully located your wireless network name (SSID), it’s time to move on to the next step: gathering your wireless network password (WEP or WPA) to ensure a secure connection.
Gathering Your Wireless Network Password (WEP or WPA)
In order to establish a secure connection between your Wii and your wireless network, you’ll need to gather your wireless network password. This password is also referred to as the WEP (Wired Equivalent Privacy) or WPA (Wi-Fi Protected Access) key.
The WEP or WPA key acts as a security measure to prevent unauthorized access to your wireless network. It’s important to note that the specific steps to find your network password may vary depending on your router model and firmware version.
The first option to find your network password is through your router’s settings page. Access the same settings page that you used to find your SSID, and navigate to the wireless settings or security settings section. Here, you should find the WEP or WPA key listed. It’s typically displayed as a series of characters – letters, numbers, or a combination of both.
If you had previously changed the default WEP or WPA key, and cannot remember it, you have a few options. One option is to reset your router to its factory settings, which will restore the default password. However, be aware that this will also reset any other custom settings you may have configured on your router.
If resetting your router is not ideal, you can try locating the password in your router’s documentation or by contacting your internet service provider for assistance. Some routers also have the option to display the password on the router itself, usually on a sticker located on the bottom or back of the device.
Once you’ve gathered your WEP or WPA key, make sure to write it down accurately, paying attention to any uppercase or lowercase letters. This password will be required during the Wii setup process to establish a connection with your wireless network.
With your network password in hand, you are now ready to move on to connecting your Wii to the internet. In the next section, we’ll guide you through the step-by-step process to establish a successful connection between your Wii console and your wireless network.
Connecting Your Wii to the Internet
Now that you have gathered your wireless network name (SSID) and wireless network password (WEP or WPA key), you are ready to connect your Wii to the internet. Follow the step-by-step instructions below to establish a successful connection:
- Turn on your Wii console and navigate to the Wii System Settings.
- Select “Internet” and then “Connection Settings.”
- Choose an available connection slot and select “Wireless Connection.”
- Select “Search for an Access Point” to scan for available wireless networks.
- Your Wii will display a list of detected networks. Select your wireless network (SSID) from the list.
- If prompted, enter your network password (WEP or WPA key) using the on-screen keyboard. Take your time and ensure that you enter the password correctly.
- After entering the correct password, select “OK” to save the settings.
- Your Wii console will now perform a connection test to verify the connection. If successful, you will see a confirmation message.
- You can now choose to configure additional settings, such as the Wii System Update or connecting to the Wii Shop Channel.
- Once you have finished configuring the settings, you are ready to enjoy the online features and services on your Wii!
It’s important to note that the Wii console allows you to save multiple wireless connections in different connection slots. This is useful if you have multiple wireless networks or if you frequently switch between different networks.
If you encounter any issues during the connection setup, refer to the troubleshooting section in the next part of this article. Troubleshooting common connection issues can help you resolve any connectivity problems you may face.
Congratulations! You have successfully connected your Wii console to the internet, opening up a world of online gaming, streaming, and other exciting features. Now, let’s move on to the next section to explore troubleshooting common connection issues.
Troubleshooting Common Connection Issues
While connecting your Wii to the internet is usually a straightforward process, you may encounter some common connection issues along the way. Here are some troubleshooting tips to help you overcome these challenges:
- Double-check network settings: Ensure that you have entered the correct wireless network name (SSID) and password (WEP or WPA key). Pay attention to uppercase and lowercase letters, as they are case-sensitive.
- Verify signal strength: If you are experiencing a weak signal, try moving your Wii console closer to your wireless router. Avoid obstructions and other devices that may interfere with the signal.
- Restart your router and Wii console: Sometimes, a simple restart can resolve connectivity issues. Power off your router and Wii console, wait a few moments, and then power them back on.
- Check for firmware updates: Ensure that your router’s firmware is up to date. Visit the manufacturer’s website or consult the router’s manual for instructions on how to update the firmware.
- Disable security temporarily: If you are having trouble connecting, temporarily disable the security settings on your router and attempt the connection. If successful, re-enable the security and ensure that you enter the correct password during setup.
- Change wireless channel: If you are experiencing interference from other devices or neighboring networks, change the wireless channel on your router. Experiment with different channels to find the one that provides the best signal strength.
- Move away from electronic devices: Electronic devices such as cordless phones and microwaves can cause interference. Move your Wii console away from these devices to improve connectivity.
- Reset network settings: If all else fails, you can reset your Wii’s network settings. Navigate to the Wii System Settings, select “Internet,” and choose “Connection Settings.” Delete the existing connection and set up a new connection from scratch.
If you have followed these troubleshooting steps and are still experiencing connectivity issues, consult the Wii’s user manual for additional guidance or consider contacting technical support for further assistance.
By addressing these common connection issues, you can overcome any obstacles and enjoy a stable and reliable internet connection on your Wii console. Now that you’re equipped with troubleshooting knowledge, you can make the most out of your gaming and online experience.
Conclusion
Connecting your Wii to your wireless router opens up a world of possibilities for online gaming, streaming content, and accessing various online services. By following the steps outlined in this article, you can establish a successful connection between your Wii console and your wireless network.
We began by understanding the Wi-Fi setup options on your Wii and checked compatibility with your wireless router. Next, we found your wireless network name (SSID) and gathered your network password (WEP or WPA key). With this information in hand, we then proceeded to connect your Wii to the internet.
If you encountered any issues during the setup process, we provided troubleshooting tips to help you resolve common connectivity problems. Remember to double-check your network settings, consider signal strength and potential interference, update router firmware, and try temporary adjustments to security settings or wireless channels.
By addressing these troubleshooting steps, you can overcome connectivity issues and ensure a stable and reliable connection for your Wii console.
Now that your Wii is connected to the internet, you can fully unleash its capabilities. Whether it’s playing online multiplayer games, downloading new games and content from the Wii Shop Channel, or streaming your favorite movies and TV shows, the possibilities for entertainment are endless.
We hope this article has provided you with the guidance and information necessary to connect your Wii to your wireless router. Enjoy the immersive gaming experience and explore all the online features available to enhance your Wii gaming adventures!