Introduction
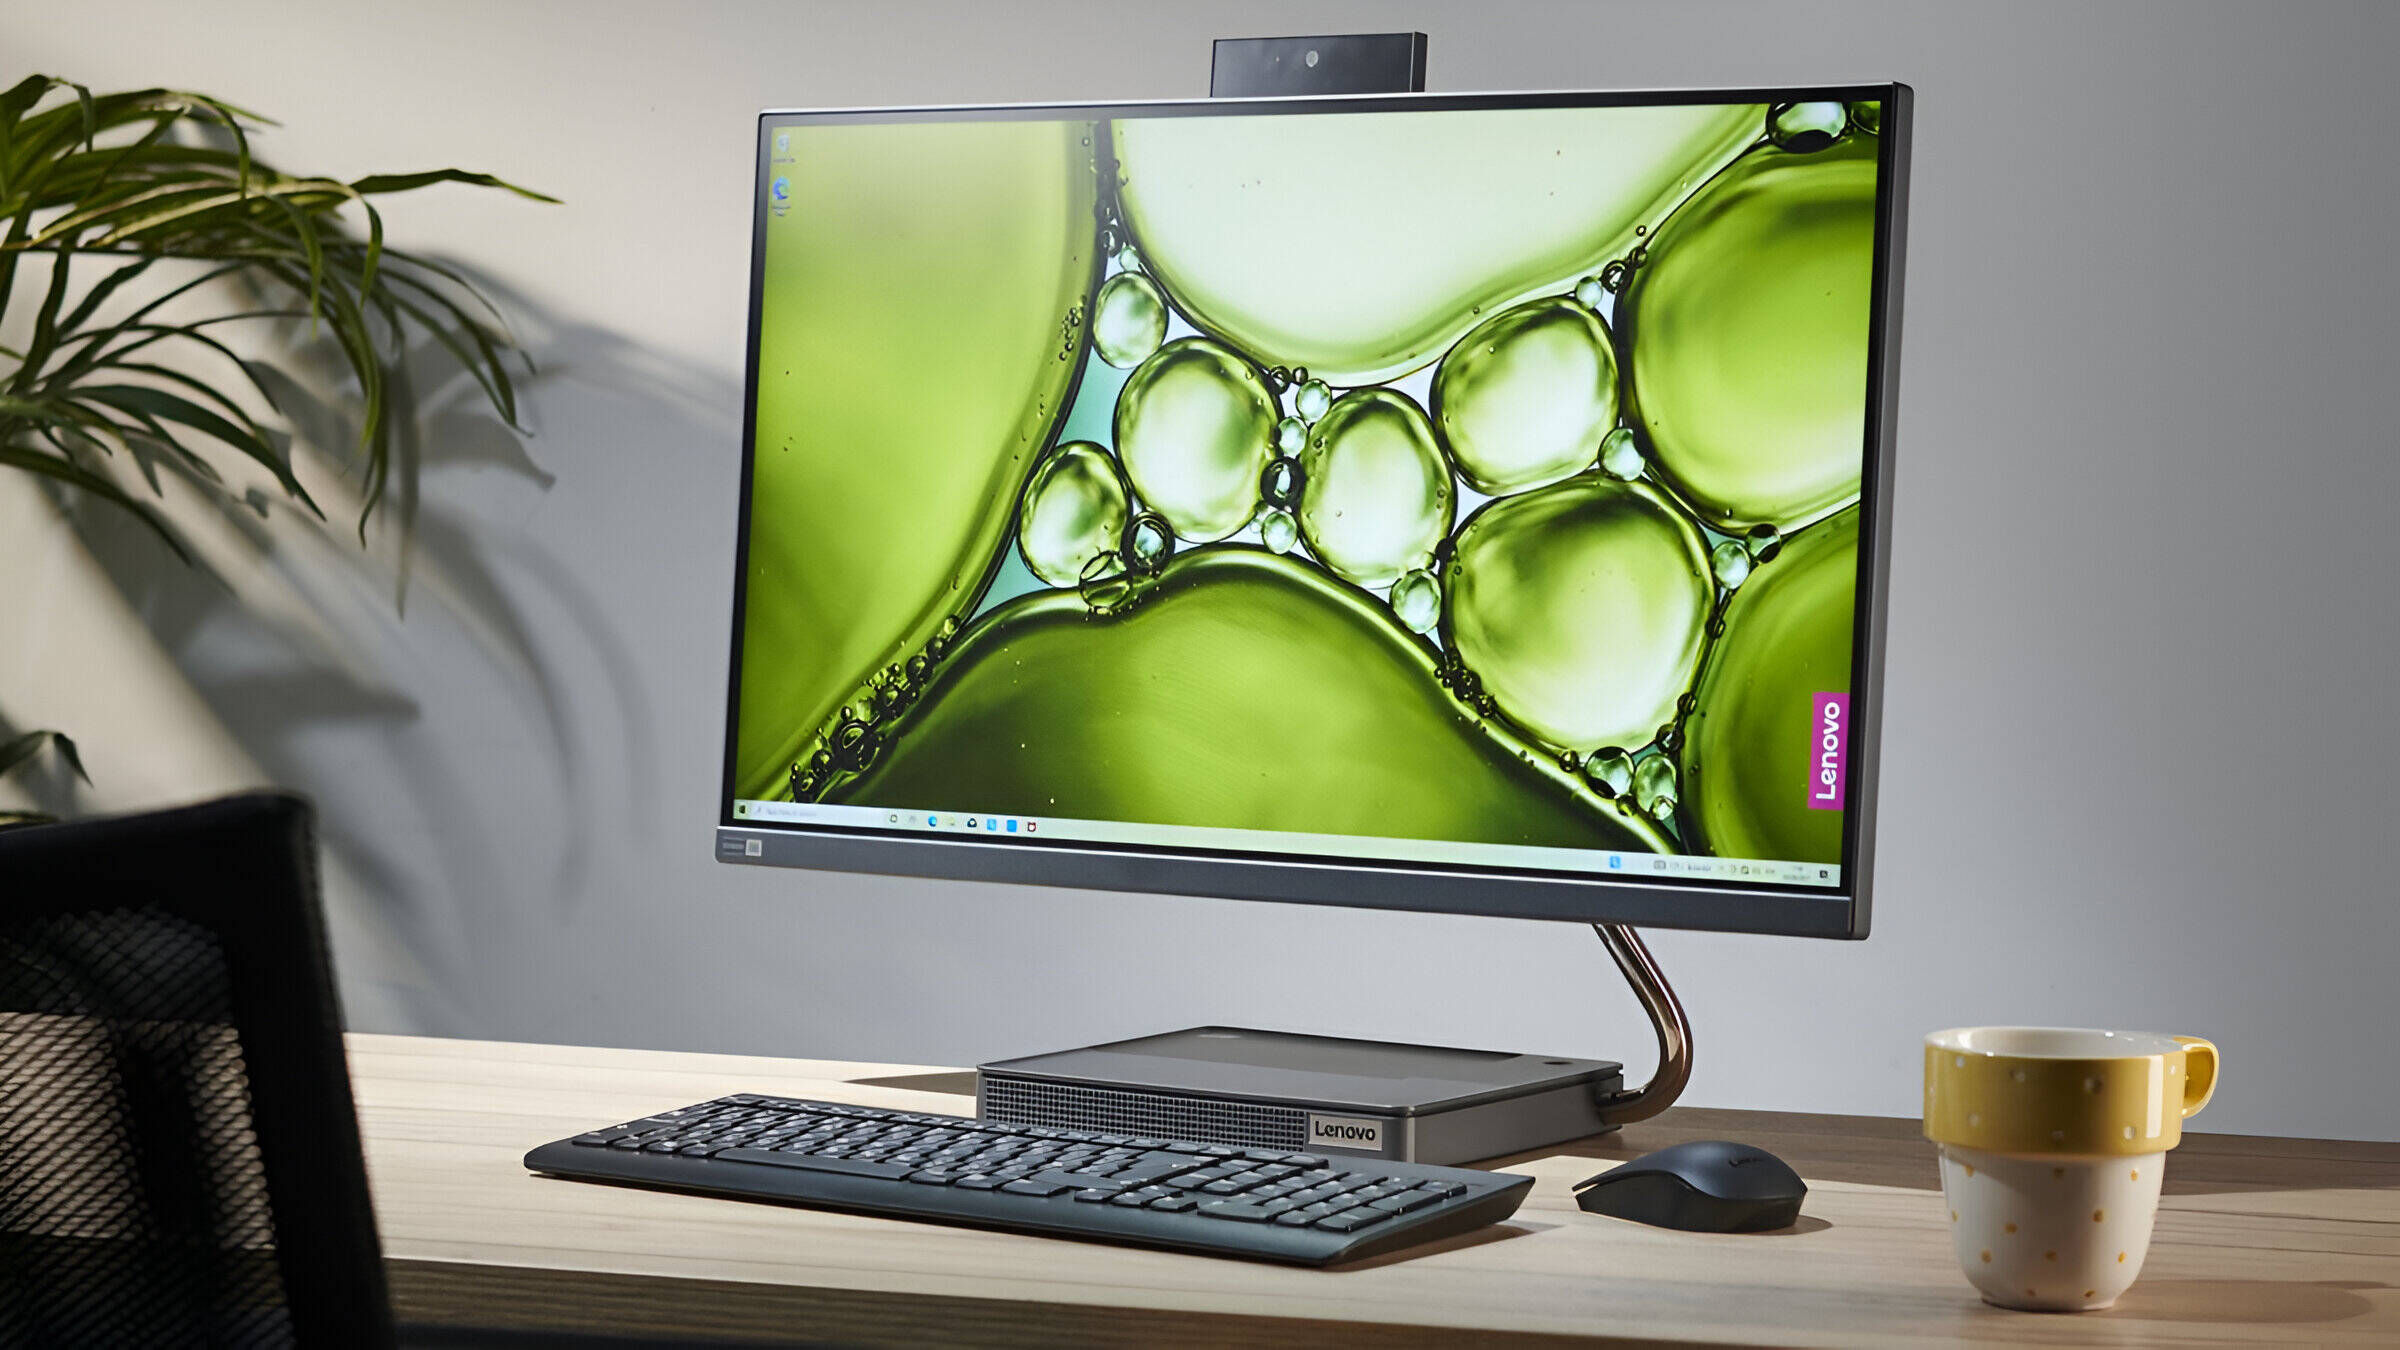
Welcome to this guide on how to change a Lenovo screen on an All-In-One PC. Over time, computer screens can become damaged or worn out, affecting the overall usability and visual experience. The good news is that with the right tools and a little know-how, you can replace the screen on your Lenovo All-In-One PC yourself, saving you time and money.
Before getting started, it’s important to gather the necessary tools and equipment. This will ensure a smooth and successful screen replacement process. We’ll walk you through each step, from identifying your Lenovo PC model to disconnecting the power and removing the stand. We’ll then guide you through removing the bezel, disconnecting the old screen, and installing the new one. Finally, we’ll help you reconnect the screen and bezel and provide tips for setting up your All-In-One PC after the screen replacement.
This guide assumes that you have a basic understanding of computer hardware and feel comfortable opening up your Lenovo All-In-One PC. If you’re unsure about any step, it’s always best to seek professional assistance to avoid causing further damage to your device.
Changing the screen on your Lenovo All-In-One PC can breathe new life into your computer and bring back the crisp and vibrant display you once enjoyed. So, let’s get started with the first step – gathering the necessary tools.
Gather the Necessary Tools
Before diving into the process of changing the screen on your Lenovo All-In-One PC, it’s important to gather the essential tools and equipment. Having everything ready will save you time and ensure a smooth screen replacement experience. Here are the tools you will need:
- Screwdriver set: Different models of Lenovo All-In-One PCs may have different screw types, so it’s best to have a variety of screwdrivers on hand to accommodate different sizes and types. Make sure you have both flathead and Phillips-head screwdrivers.
- Anti-static wristband: When working with electronic devices, it’s always a good idea to wear an anti-static wristband to prevent static electricity from damaging the sensitive components of your PC.
- Cleaning materials: It’s important to have a clean and dust-free workspace. Get some lint-free cloths and a suitable cleaning solution to wipe down the surface of your Lenovo All-In-One PC as needed.
- Replacement screen: Make sure you have the correct replacement screen that is compatible with your specific Lenovo All-In-One PC model. Check the model number of your PC and search for the exact replacement screen online or contact Lenovo directly for assistance.
- Plastic pry tool: A plastic pry tool or a set of plastic spudgers will come in handy when removing the bezel or disconnecting cables. These tools help prevent damage to the delicate plastic parts of your PC.
- Tweezers: Tweezers can be helpful when handling small connectors or delicately maneuvering cables.
- Masking tape or labels: It’s a good idea to label and organize the screws and cables you remove during the disassembly process. You can use masking tape or small labels to keep everything organized and ensure you can easily reassemble your PC later on.
Having these tools at your disposal will make the screen replacement process much easier and more efficient. Take a moment to gather all the necessary tools before moving on to the next step, which involves determining the model of your Lenovo All-In-One PC.
Determine the Model of your Lenovo All-In-One PC
Before proceeding with the screen replacement, it’s important to determine the exact model of your Lenovo All-In-One PC. Knowing the model number will help you find the right replacement screen and ensure compatibility with your device. Here are a few ways to identify the model number:
- User Manual: If you still have the original user manual that came with your PC, it should have the model number listed on the cover or within the first few pages. Look for a section titled “System Information” or “Specifications.”
- Back of the PC: Check for a label or sticker on the back of your Lenovo All-In-One PC. The model number is often printed on this label along with other device information such as serial numbers and manufacturing dates. Take note of the model number to refer to when purchasing the replacement screen.
- Device Settings: If you can access the operating system on your PC, you can also find the model number through the device settings. On Windows, go to the Start menu, click on the “Settings” (gear icon), then navigate to the “System” or “About” section. Look for information about your device, which may include the model number.
- Lenovo Support Website: If you’re still unable to find the model number, you can visit the official Lenovo support website. Locate the support page specific to your region and search for your product using the serial number or browsing the available products. Once you find the correct product page, you’ll be able to see the model number and other relevant information.
It’s crucial to identify the correct model number to ensure you purchase the appropriate replacement screen that matches the specifications of your Lenovo All-In-One PC. Taking the time to gather this information will save you from any potential compatibility issues and guarantee a seamless screen replacement process. Once you have determined the model number, you can move on to the next step, which involves disconnecting the power and removing the stand of your PC.
Disconnect the Power and Remove the Stand
Before beginning the screen replacement process, you need to disconnect the power and remove the stand of your Lenovo All-In-One PC. This step is crucial for your safety and to ensure that you have easy access to the internal components of the PC. Follow these steps:
- Power Off the PC: Shut down your Lenovo All-In-One PC properly by clicking on the Start menu, selecting the power icon, and choosing “Shut Down.”
- Disconnect the Power Cord: Unplug the power cord from the electrical outlet and disconnect it from the back of the PC. This will prevent any electrical connections that could pose a risk while working on the PC’s internals.
- Remove the Stand: Lay the PC face down on a soft and clean surface to prevent scratching the screen. Locate the stand at the back of the PC and look for the release mechanism, which is usually a latch or screws. Follow the instructions in the user manual or consult Lenovo’s support website for specifics related to your PC model. Gently release the stand and slide it out of the locking mechanism. Set the stand aside in a safe place.
With the power disconnected and the stand removed, you’re ready to proceed with the screen replacement process. Taking these precautions ensures your safety and allows for a more convenient and unobstructed access to the internals of your Lenovo All-In-One PC. In the next section, we’ll guide you through removing the bezel to unveil the old screen.
Removing the Bezel
With the power disconnected and the stand removed, you can now proceed to remove the bezel of your Lenovo All-In-One PC. The bezel is the plastic frame surrounding the screen and will need to be removed to access the old screen. Follow these steps:
- Locate the Bezel Clips: Carefully examine the edges of the bezel to identify the clips holding it in place. The clips are usually located along the sides and corners of the bezel. Use a plastic pry tool or a set of plastic spudgers to gently pry the clips and release them from the housing.
- Work Your Way Around: Once you have identified the first clip, use the plastic pry tool to gently insert it between the bezel and the screen housing. Apply a slight amount of pressure to pry the bezel away from the housing. Slowly work your way around the entire perimeter of the bezel, releasing each clip as you go. Be cautious and take your time to avoid damaging the bezel or the screen.
- Remove the Bezel: Once all the clips have been released, the bezel should easily lift away from the screen housing. Gently pry any remaining secured portions to ensure the bezel is completely detached. Set the bezel aside in a safe place, ensuring that it is not exposed to any potential damage.
By following these steps, you will successfully remove the bezel from your Lenovo All-In-One PC, revealing the old screen beneath. Take care to work slowly and gently during this process to avoid any accidental damage to the bezel or the internal components. In the next section, we will guide you through disconnecting the screen cables and preparing for the installation of the new screen.
Disconnecting the Screen
With the bezel removed, you can now proceed to disconnect the screen from your Lenovo All-In-One PC. It is important to handle the internal components with care during this process. Follow these steps:
- Locate the Screen Connectors: Inside the PC, you will find several cables connected to the back of the screen. Take note of their positions and how they are attached to the screen.
- Unplug the Cables: Starting with the display cable, gently unplug it from the screen’s connector. Most display cables have a small latch mechanism that needs to be released before unplugging. Carefully lift the latch using your fingers or a pair of tweezers and gently pull the cable out of the connector. Take note of the specific orientation and positioning of the cable, as this will come in handy when connecting the new screen later.
- Disconnect Other Cables: In addition to the display cable, there may be other connectors attached to the screen. These can include power cables or additional data cables. Depending on your model, these cables may have different connectors, such as ribbon cables or small wire connectors. Disconnect these cables by gently pulling them away from the screen, ensuring that you do not apply excessive force or damage the connectors.
- Secure Loose Cables: As you disconnect each cable, take care to secure them in a safe position. You can use tape or small ties to keep the cables organized and prevent them from getting tangled or misplaced.
By following these steps, you will successfully disconnect the screen cables from your Lenovo All-In-One PC. Take your time and be gentle to avoid any damage to the cables or connectors. In the next section, we will guide you through the process of installing the new screen in your PC.
Installing the New Screen
Now that you have successfully disconnected the old screen, it’s time to install the new screen into your Lenovo All-In-One PC. Follow these steps to ensure a smooth and secure installation:
- Position the New Screen: Carefully position the new screen in the designated area, ensuring that it aligns properly with the screen housing. Take note of the orientation and make sure it matches the position of the old screen.
- Connect the Cables: Begin by reconnecting the cables that were previously disconnected. Start with the larger display cable and insert it into the appropriate connector on the back of the new screen. Make sure the connector is securely attached and use the latch mechanism, if applicable, to ensure a firm connection. Repeat this step for any additional cables, such as power or data cables.
- Secure the Cables: Once all the cables are properly connected, ensure they are securely fastened and positioned away from any moving parts or areas that may cause strain. Use tape or small ties to secure the cables in place, ensuring they are organized and well-protected.
- Test the Screen: Before proceeding with the reassembly, it is crucial to test the new screen. Reconnect the power cord and power on your Lenovo All-In-One PC. Check if the screen displays properly, with no pixel or color issues. If there are any problems, double-check the connections and consult the manufacturer’s instructions or support for troubleshooting steps.
By following these steps, you will successfully install the new screen into your Lenovo All-In-One PC. Take your time and ensure that all connections are secure and aligned properly. Once you have confirmed that the new screen is functioning correctly, you can move on to the next section, which involves reconnecting the screen bezel.
Reconnecting the Screen and Bezel
With the new screen in place, it’s time to reconnect the screen bezel to your Lenovo All-In-One PC. The bezel serves as the protective frame and gives the PC a polished look. Follow these steps to ensure a secure and proper reconnection:
- Align the Bezel: Gently line up the bezel with the screen housing, making sure it fits securely and aligns perfectly with the edges of the PC. Take care not to apply excessive pressure or force, as this may damage the screen or bezel.
- Press the Bezel into Place: Starting at one corner, apply slight pressure to the bezel to snap it back into position. Continue moving along the edges, pressing the bezel firmly until it is securely attached to the screen housing. Be cautious and work slowly to avoid any accidental damage.
- Listen for Clicks: As you press the bezel into place, you may hear small clicks or snaps indicating that the bezel clips are securing it in position. Ensure that all clips are properly engaged, as this will ensure a tight fit and prevent the bezel from coming loose over time.
- Inspect for Proper Alignment: Once the bezel is attached, visually inspect the entire perimeter to ensure that the bezel aligns properly with the screen housing. Check that it is flush with the housing and there are no noticeable gaps or uneven areas.
By following these steps, you will successfully reconnect the screen bezel to your Lenovo All-In-One PC. Take your time and ensure that the bezel is securely attached and aligned properly for a professional and seamless appearance. With the screen and bezel reconnected, you can now move on to the next section, where we will provide guidance on setting up your All-In-One PC after the screen replacement.
Setting Up the All-In-One PC
After completing the screen replacement process, it’s important to properly set up your Lenovo All-In-One PC to ensure optimal performance and functionality. Follow these steps to get your PC up and running:
- Power On the PC: Connect the power cord to the electrical outlet and plug it into the back of your PC. Power on the PC by pressing the power button.
- Configure Display Settings: Once the PC is powered on, you may need to adjust the display settings to ensure the new screen is configured correctly. Open the Display settings in the operating system and check the resolution, brightness, and color settings. Make any necessary adjustments to optimize the display according to your preferences.
- Install Drivers and Updates: It’s crucial to install the necessary drivers and updates for your Lenovo All-In-One PC. Visit the Lenovo support website and navigate to the drivers and downloads section. Locate the appropriate drivers for your PC model, including the display driver, and install them to ensure optimal performance.
- Test Functionality: It’s recommended to perform a thorough test of your PC’s functionalities after the screen replacement. Check the touchscreen (if applicable), audio, webcam, and any other features specific to your PC. Ensure that everything is working as expected and address any issues promptly by consulting the manufacturer’s documentation or support.
- Restore Data and Programs: If necessary, restore your important files and programs from backups or external storage devices. This will ensure that you have access to all your data and applications after the screen replacement process.
- Keep Your PC Updated: Regularly check for system updates and install them to keep your Lenovo All-In-One PC running smoothly. These updates often include important security patches and bug fixes that improve the overall performance and stability of your PC.
By following these steps, you will successfully set up your Lenovo All-In-One PC after the screen replacement. Take your time to ensure that all settings are configured correctly and that your PC is fully functional. With the setup complete, you can now enjoy your renewed All-In-One PC with its refreshed screen. If you encounter any difficulties or have any specific questions, it’s always recommended to consult the official Lenovo support channels for further assistance.
Conclusion
Congratulations! You have successfully replaced the screen on your Lenovo All-In-One PC. By following the step-by-step guide and gathering the necessary tools, you were able to navigate through the process with confidence and save time and money.
Remember, before starting any hardware replacement, it’s essential to disconnect the power and gather all the required tools. Determining the model of your Lenovo All-In-One PC ensures that you purchase the appropriate replacement screen for your specific device.
Through careful disconnection of the old screen and installation of the new screen, you were able to bring back the vibrant display and enhance your computing experience. Reconnecting the screen bezel provided the finishing touch, giving your All-In-One PC a polished appearance.
After the screen replacement, it’s crucial to set up your PC properly. Configuring display settings, installing drivers, and testing functionality will ensure optimal performance. Regularly updating your PC and maintaining backups of your data will contribute to the longevity and security of your All-In-One PC.
Remember, if you encounter any difficulties during the screen replacement process or have specific questions, it’s always recommended to consult official Lenovo support channels or seek professional assistance. They can provide further guidance and address any concerns you may have.
By following this guide, you have successfully transformed your Lenovo All-In-One PC with a new screen, allowing you to enjoy a crisp and vibrant display once again. Take pride in your accomplishment and continue to explore the endless possibilities that your All-In-One PC has to offer!


