Introduction
An SD card, short for Secure Digital card, is a small, removable storage device that is commonly used to expand the storage capacity of electronic devices such as smartphones, tablets, digital cameras, and laptops.
With the increasing demand for multimedia files and applications, the need for additional storage space has become essential. SD cards provide a convenient and portable solution by allowing users to store and access their files, photos, videos, and documents.
In this article, we will guide you on how to access your SD card on various devices, including Windows computers, Macs, Android devices, and iPhones or iPads. Whether you want to transfer files, view photos, or manage the content on your SD card, we will provide step-by-step instructions to help you navigate the process.
Before we delve into the specific methods, let’s first explore how to identify the SD card slot on your device and understand the different types of SD cards available.
It’s important to note that the procedures may vary slightly depending on the device model, operating system version, and manufacturer. However, the general principles discussed in this article should be applicable to most devices.
Now that you have a basic understanding of what an SD card is and why it is useful, let’s move on to the next section to learn how to locate the SD card slot on your device.
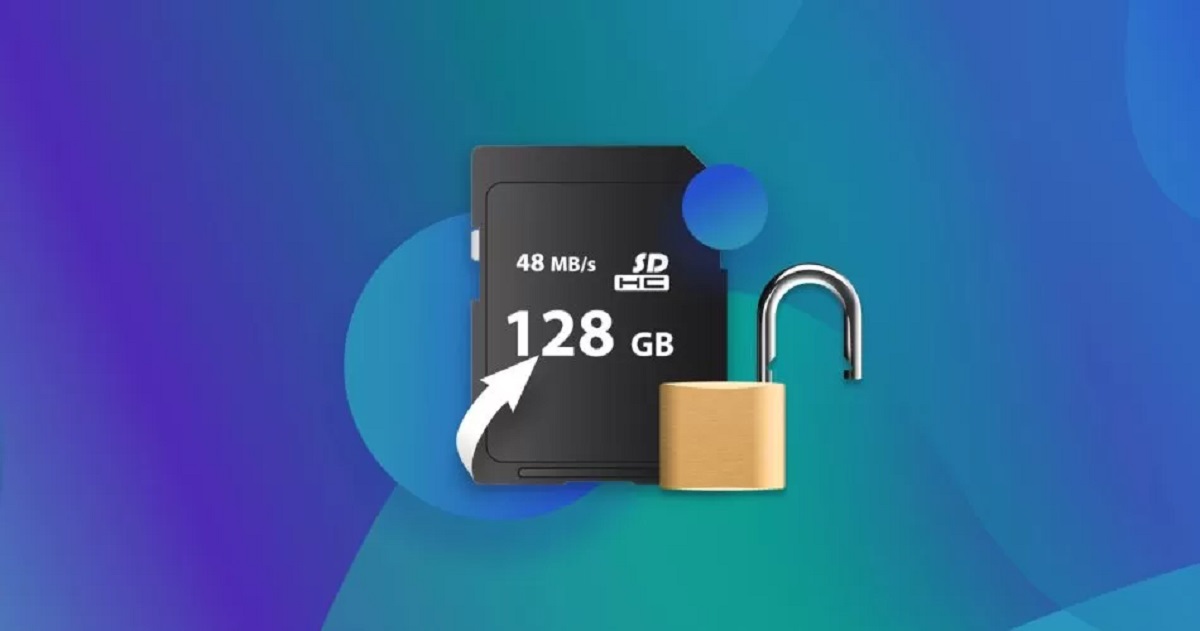
What is an SD Card?
An SD card, or Secure Digital card, is a small, portable storage device that is commonly used to expand the storage capacity of electronic devices. It was first introduced in 1999 by the SD Card Association and has since become a standard storage format for various devices like smartphones, tablets, cameras, and gaming consoles.
SD cards come in different capacities, ranging from a few gigabytes (GB) to several terabytes (TB). They use flash memory technology to store and transfer data quickly and reliably. This enables users to save files, photos, videos, documents, and other types of digital content on their SD cards.
There are different types of SD cards available today, including SD, SDHC (Secure Digital High Capacity), SDXC (Secure Digital eXtended Capacity), and microSD cards. These variations are designed to accommodate different storage capacities and device compatibility.
The standard SD cards have a larger physical size, while microSD cards are much smaller and are commonly used in smartphones, tablets, and portable devices. SDHC cards have a storage capacity between 4GB and 32GB, while SDXC cards can store up to 2TB of data.
One of the benefits of using an SD card is its versatility. You can easily remove the card from one device and insert it into another, making it a convenient way to transfer files between different devices. Additionally, the removable nature of SD cards allows for easy backups and data sharing.
Furthermore, SD cards are known for their durability and reliability. They are built to withstand various environmental factors such as moisture, temperature changes, and even physical impact. This makes them an ideal storage option for outdoor activities, professional photography, and other demanding situations where data integrity is crucial.
Overall, SD cards provide a practical and efficient solution for expanding the storage capacity of electronic devices. They are widely available, affordable, and compatible with numerous devices, making them an essential accessory for anyone in need of additional storage space.
Now that you understand what an SD card is and its various types, let’s move on to the next section to learn how to locate the SD card slot on your device.
Finding the SD Card Slot on Your Device
Before you can access your SD card, you need to locate the SD card slot on your device. The placement of the SD card slot may vary depending on the device and manufacturer, but here are some common locations to check:
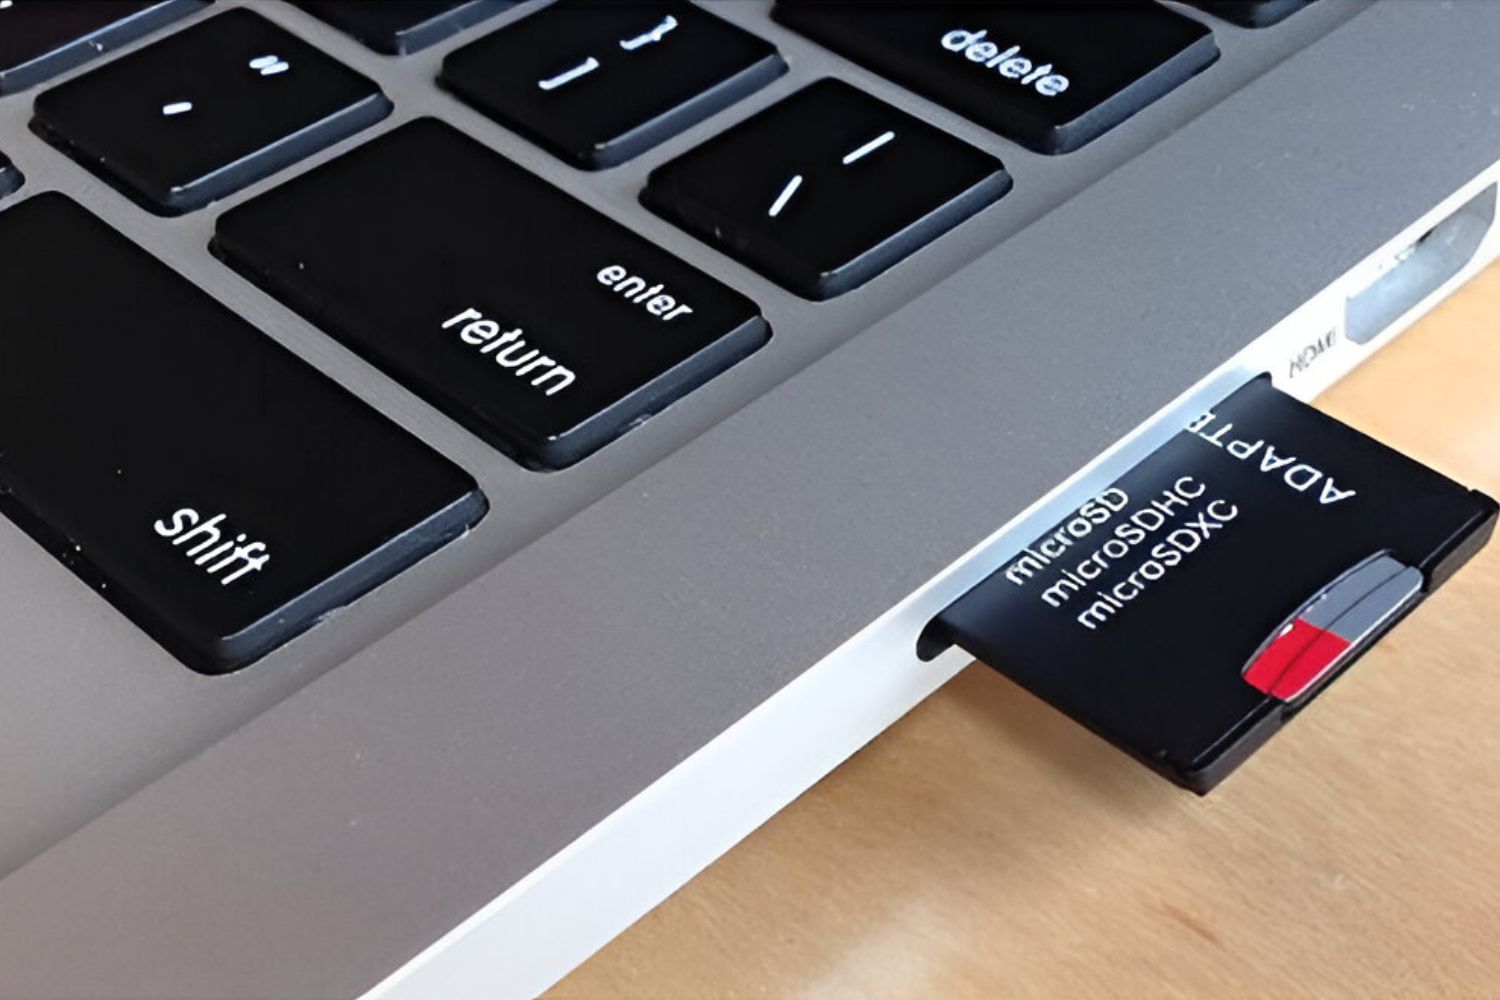
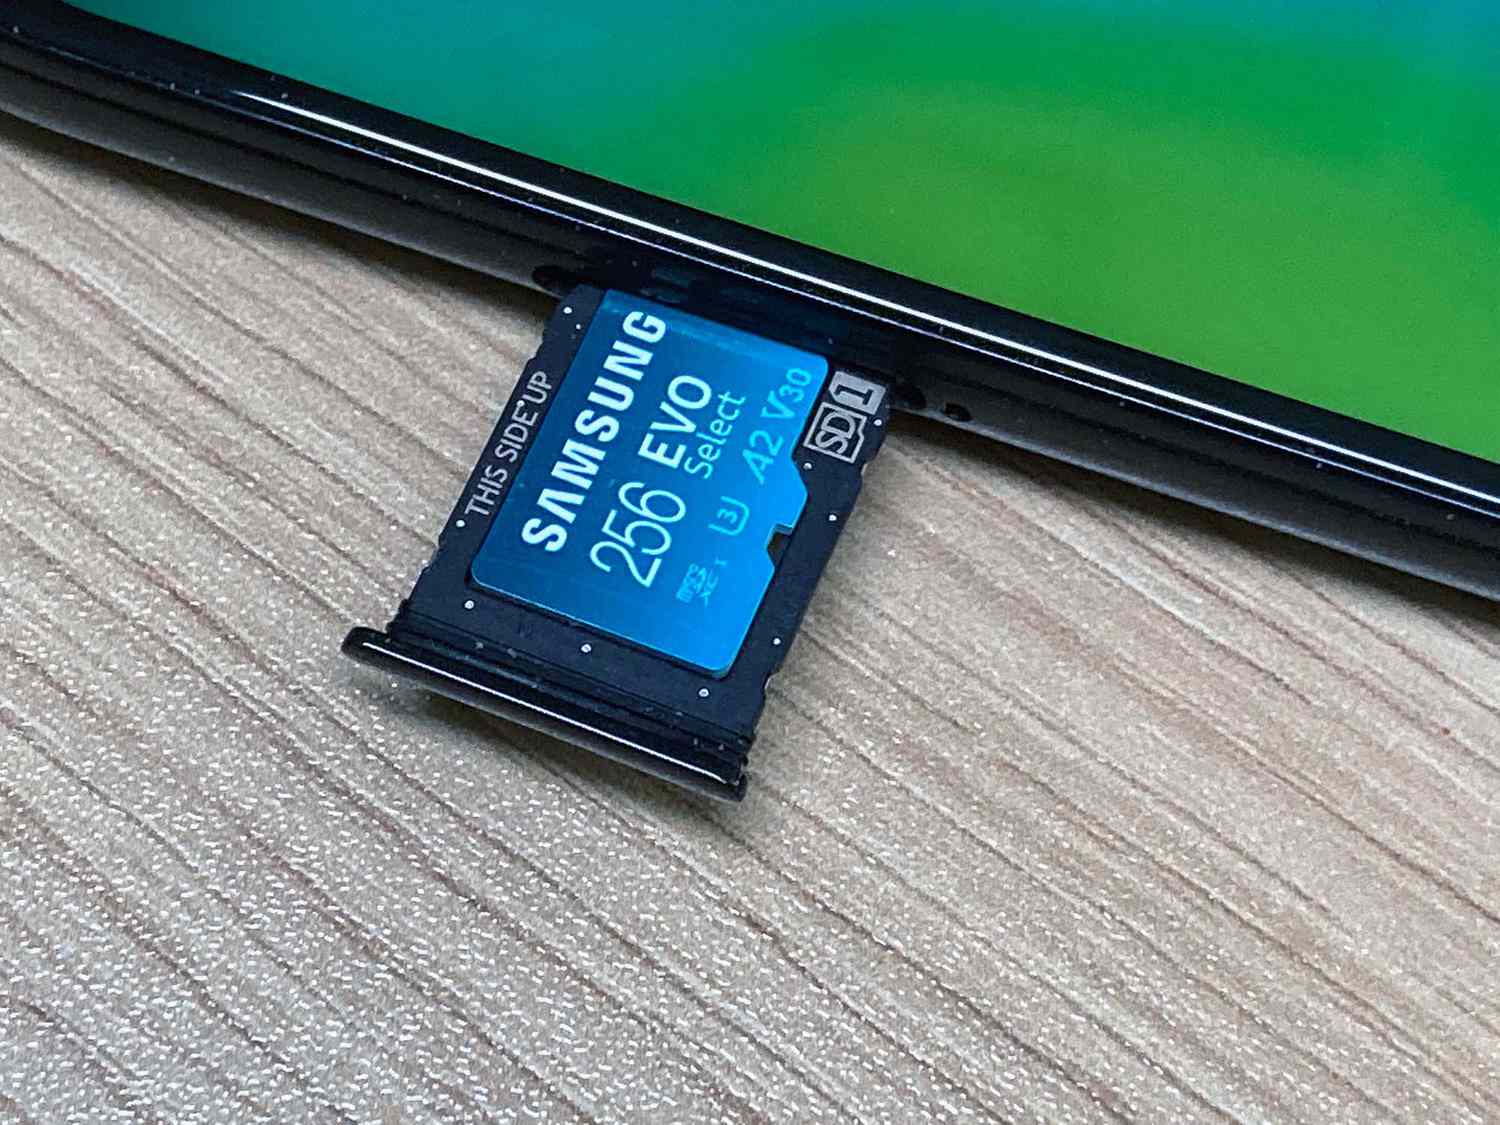
- Smartphones and Tablets: On most smartphones and tablets, the SD card slot is usually located on the side of the device. Look for a small tray or slot with a tiny hole next to it. You may need to use a SIM card ejector tool or a paperclip to eject the tray and access the SD card slot.
- Digital Cameras: Digital cameras often have a small compartment or flap on the side or bottom where the SD card slot is located. Check the user manual or look for a label indicating the location of the SD card slot.
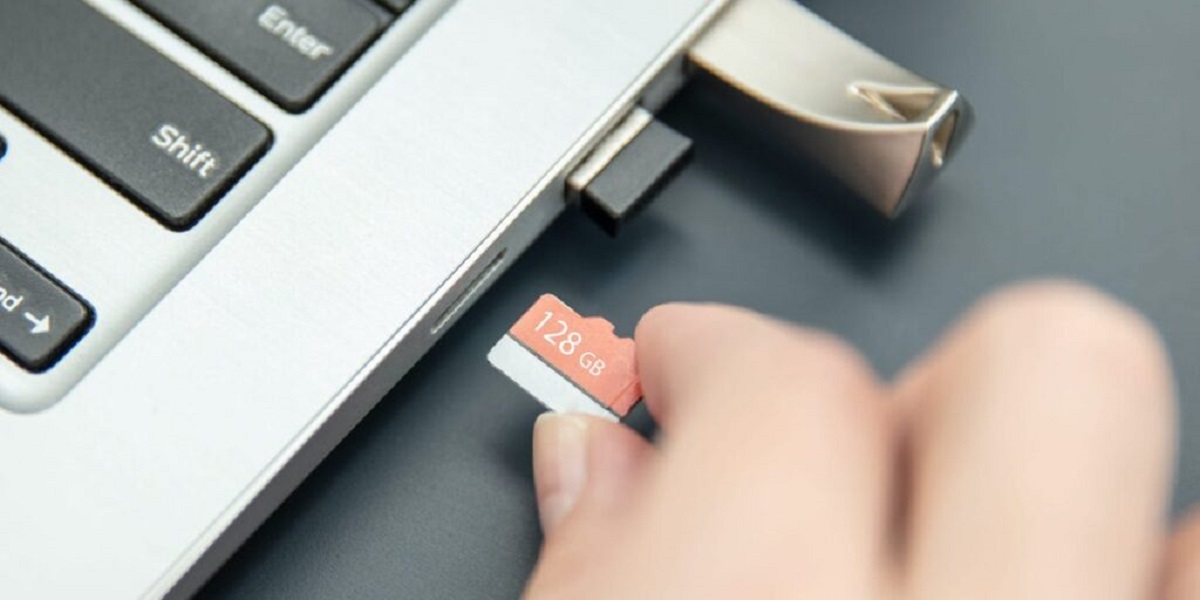
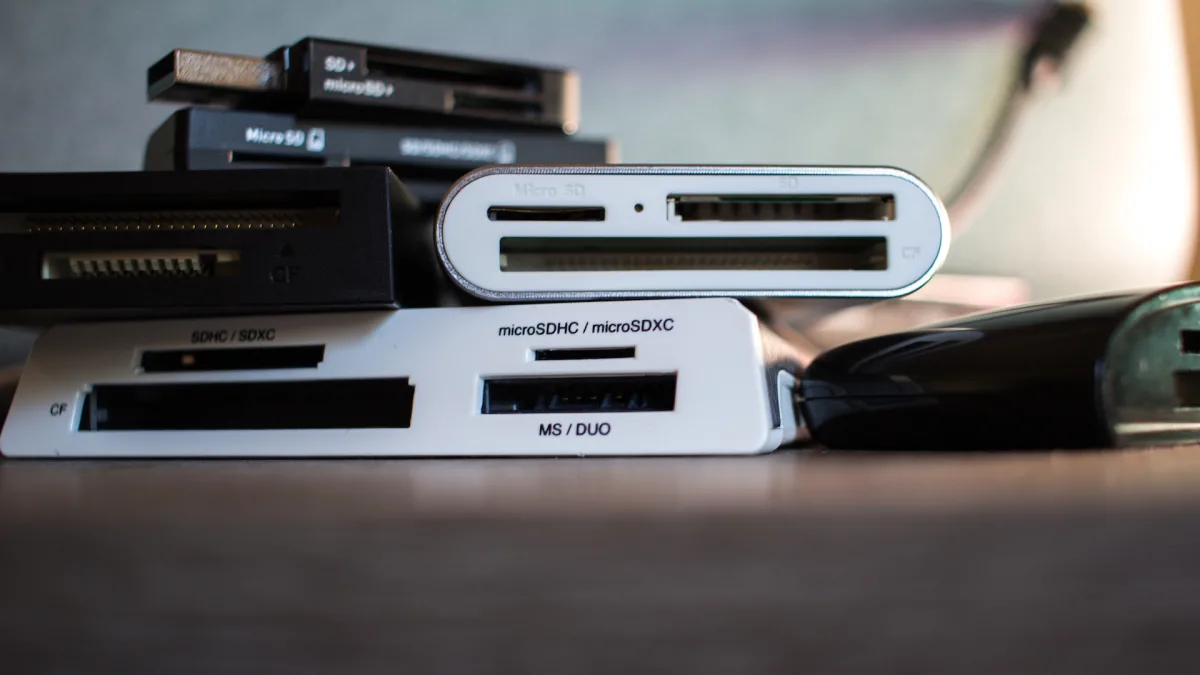
- Laptops and Computers: On laptops, the SD card slot is commonly found on the side or front of the device. Some laptops have a built-in SD card reader, while others may require you to use an external card reader that connects via USB. Desktop computers usually have built-in card readers located on the front panel or within the optical drive bay.
- Gaming Consoles: For gaming consoles like the Nintendo Switch or PlayStation, the SD card slot is typically located on the back or side of the console. Check the user manual or refer to online guides for specific instructions on accessing the SD card slot for your console.
If you’re unsure about the location of the SD card slot on your device, the quickest way to find it is by referring to the device’s user manual. The manual will provide detailed instructions along with illustrations to help you locate the SD card slot accurately.
Once you have found the SD card slot on your device, you’re ready to access your SD card. In the following sections, we will provide step-by-step instructions for accessing the SD card on Windows computers, Macs, Android devices, and iPhones or iPads.
Accessing the SD Card on Windows
If you are using a Windows computer, accessing your SD card is a straightforward process. Here’s how to do it:
- Insert the SD Card: Locate the SD card slot on your Windows computer. If your computer has a built-in card reader, it is usually located on the side or front of the device. If not, you will need to use an external card reader that connects via USB. Carefully insert the SD card into the appropriate slot or connect the external card reader to the USB port.
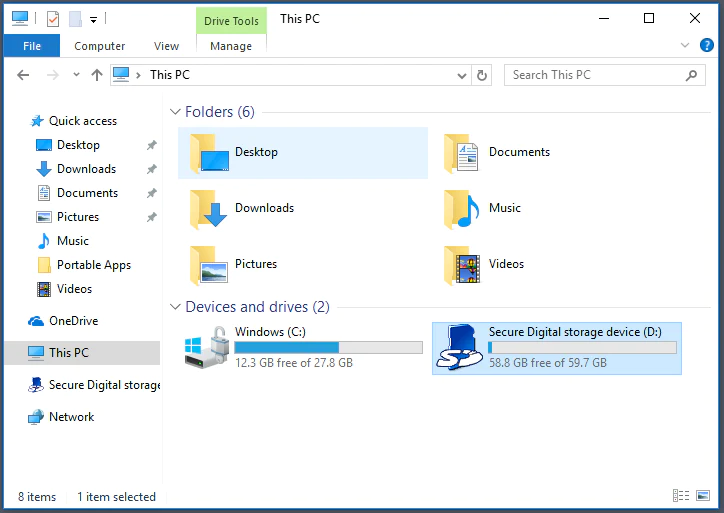
- Open File Explorer: Once the SD card is inserted, open File Explorer, which can be found by clicking on the folder icon in the taskbar or by pressing the Windows key + E on your keyboard.
- Locate the SD Card: In the left-hand sidebar of the File Explorer window, you should see a list of drives and storage devices. Look for the SD card, which is usually labeled as “SD Card” or with the card’s brand name. Click on the SD card to access its contents.
- Manage the SD Card: You can now view, copy, or move files to and from the SD card, just like any other folder on your computer. You can also create new folders, rename files, and perform other file management tasks.
- Safely Remove the SD Card: When you are finished using the SD card, it’s important to safely eject it to avoid potential data corruption. Right-click on the SD card in the File Explorer window and select “Eject” or “Safely Remove.” Once you see a notification confirming that it is safe to remove the SD card, you can physically remove it from the card slot or disconnect the external card reader.
That’s it! You have successfully accessed your SD card on Windows. Remember to always eject the SD card properly before removing it from the computer to ensure the safety of your data.
In the next section, we will explore how to access the SD card on Mac computers.
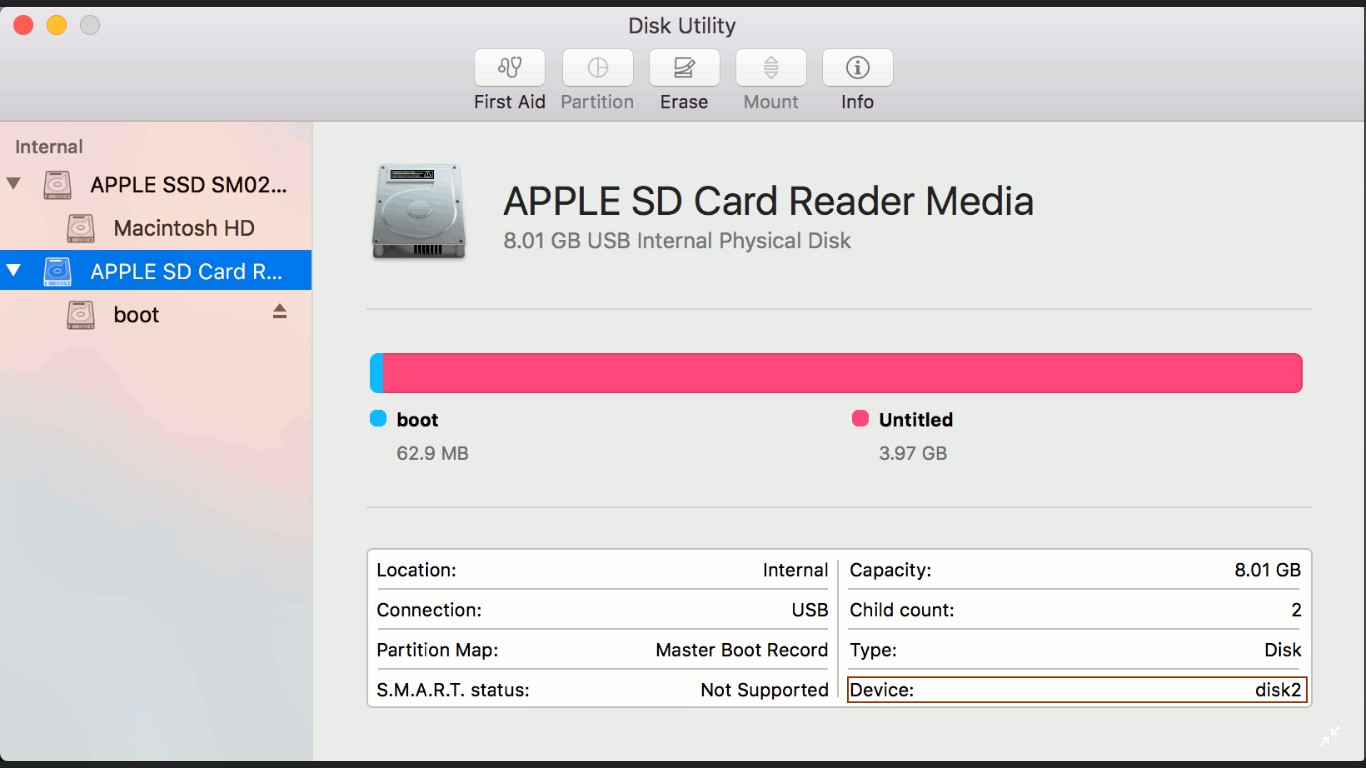
Accessing the SD Card on Mac
If you are using a Mac computer, accessing your SD card is a straightforward process. Here’s how to do it:
- Insert the SD Card: Locate the SD card slot on your Mac. On most Mac laptops, the SD card slot is located on the side of the device. If you are using a desktop Mac, you may need to use an external card reader that connects via USB. Carefully insert the SD card into the appropriate slot or connect the external card reader to the USB port.
- Open Finder: Once the SD card is inserted, open Finder by clicking on the blue smiley face icon in the Dock or by pressing Command + Spacebar and typing “Finder” in the Spotlight search.
- Locate the SD Card: In the left-hand sidebar of the Finder window, you should see a list of devices and drives under the “Locations” section. Look for the SD card, which is usually labeled as “SD Card” or with the card’s brand name. Click on the SD card to access its contents.
- Manage the SD Card: You can now browse, copy, move, and manage files on the SD card just like any other folder on your Mac. You can create new folders, rename files, and perform other file management tasks as needed.
- Safely Remove the SD Card: When you are finished using the SD card, it’s important to safely eject it to avoid potential data corruption. In Finder, right-click on the SD card in the sidebar and select “Eject” or simply drag the SD card icon to the trash. Once the SD card disappears from the sidebar, it is safe to physically remove it from the card slot or disconnect the external card reader.
That’s it! You have successfully accessed your SD card on Mac. Remember to always eject the SD card properly before removing it from the computer to ensure the safety of your data.
In the next section, we will provide instructions on accessing the SD card on Android devices.
Accessing the SD Card on Android Devices
Android devices offer a variety of options for accessing the SD card. Here’s how you can access your SD card on an Android device:
- Open the File Manager: On your Android device, locate and open the File Manager app. The app icon may vary depending on the device and the manufacturer. It is often represented by a folder icon or labeled as “Files.”
- Locate the SD Card: Once you open the File Manager, you will see a list of folders and directories. Look for “SD Card,” “External Storage,” or a similar folder name. Tap on it to access the contents of the SD card.
- Manage the SD Card: You can now view, copy, move, delete, or modify files and folders on your SD card using the File Manager app. You can create new folders, rename files, and perform various file management tasks as needed.
- Use Other Apps: In addition to the File Manager, many other apps on your Android device can also access and interact with the SD card. For example, you can use the Gallery app to view photos and videos stored on the SD card or the Music app to play audio files stored on the card.
- Eject the SD Card (Optional): Some Android devices have a built-in option to safely eject the SD card before physically removing it. To do this, swipe down from the top of the screen to open the notification shade, and then tap on the “SD card” notification. Follow the prompts to safely eject the SD card before removing it from your device.
That’s it! You have successfully accessed your SD card on an Android device. Remember to follow the recommended ejection process to ensure the safety of your data and avoid any potential issues.
In the next section, we will explain how to access the SD card on iPhones or iPads.
Accessing the SD Card on iPhones or iPads
Unlike Android devices, iPhones and iPads do not have built-in SD card slots. However, you can still access external storage devices, including SD cards, using compatible accessories. Here’s how you can access the SD card on iPhones or iPads:
- Use an SD Card Reader: To access an SD card on your iPhone or iPad, you will need an SD card reader that is compatible with iOS devices. There are various options available, ranging from Lightning to SD card adapters to wireless SD card readers that connect via Wi-Fi or Bluetooth. Choose a method that suits your needs and budget.
- Connect the SD Card Reader: Insert the SD card into the SD card reader or adapter. Then, connect the SD card reader to the Lightning port on your iPhone or iPad. If you are using a wireless SD card reader, follow the manufacturer’s instructions to connect the device to your device’s network.
- Launch the Files App: On your iPhone or iPad, open the Files app, which is a pre-installed app that allows you to manage files and folders on your device. The Files app may be located on your home screen or within the App Library.
- Access the SD Card: In the Files app, you should see the SD card listed under the “Locations” section. Tap on the SD card to access its files and folders.
- Manage the SD Card: You can now browse, view, copy, move, delete, and manage files on your SD card using the Files app. You can perform various file management tasks, create folders, rename files, and more.
- Disconnect the SD Card Reader: Once you have finished accessing and managing the SD card, safely eject or disconnect the SD card reader from your iPhone or iPad.
That’s it! Although iPhones and iPads do not have built-in SD card slots, you can still access SD cards using compatible accessories and the Files app. Remember to choose a reliable and compatible SD card reader that suits your needs and follow the recommended ejection process to avoid any data loss or damage.
In the next section, we will discuss some troubleshooting tips if you encounter any issues accessing your SD card.
Troubleshooting SD Card Access Issues
While accessing an SD card is usually a straightforward process, you may encounter some issues along the way. Here are some troubleshooting tips to help you resolve common SD card access issues:
- Check for Proper Insertion: Ensure that the SD card is inserted correctly into the card slot or card reader. Sometimes, a loose connection can prevent the device from recognizing the SD card.
- Clean the SD Card and Slot: If the SD card or the slot is dirty or dusty, it can interfere with proper connectivity. Gently clean the gold contacts on the SD card with a soft, lint-free cloth, and use a can of compressed air or a clean brush to remove any debris from the card slot.
- Restart the Device: Sometimes, a simple restart can help resolve temporary software issues. Restart the device and try accessing the SD card again.
- Update the Device and Apps: Ensure that your device’s operating system and relevant apps are up to date. Manufacturers often release software updates that address compatibility issues and enhance device performance.
- Test the SD Card on Another Device: If possible, try inserting the SD card into another compatible device to determine if the issue lies with the SD card or the device itself. This can help narrow down the troubleshooting process.
- Format the SD Card: If the SD card is not recognized by any device or shows errors, it may require formatting. However, be aware that formatting will erase all data on the SD card. Backup any important files before proceeding.
- Use Data Recovery Software: If you accidentally deleted or lost data from your SD card, there are data recovery software options available that may help retrieve the lost files. Follow the instructions provided by the data recovery software carefully.
- Try a Different Card Reader or Adapter: If you are using an external card reader or adapter, it’s possible that the issue lies with the peripheral. Try using a different card reader or adapter to see if it resolves the problem.
- Seek Professional Assistance: If you have exhausted all options and are still unable to access your SD card, it may be necessary to seek professional assistance from a data recovery service or your device’s manufacturer.
By following these troubleshooting steps, you should be able to resolve most common SD card access issues. However, if the problem persists, it may indicate a hardware or compatibility issue that requires further attention.
Now that you are equipped with troubleshooting tips, you should be able to navigate most SD card access issues effectively.
Conclusion
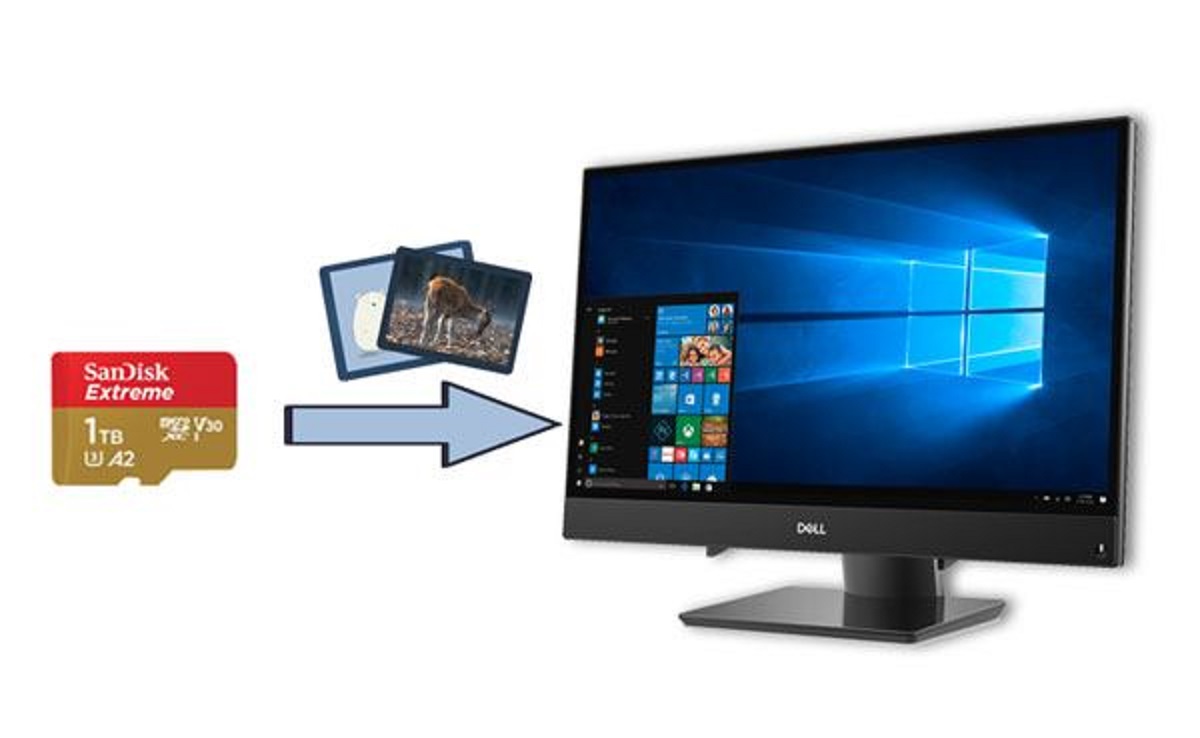
Accessing your SD card is vital for managing and utilizing the extra storage capacity it provides. Whether you are using a Windows computer, a Mac, an Android device, or an iPhone/iPad, knowing how to access your SD card allows you to conveniently store, transfer, and manage your files.
We started by introducing what an SD card is, its various types, and its benefits. We then guided you through the process of finding the SD card slot on your device, providing specific instructions for different devices like smartphones, tablets, cameras, laptops, and gaming consoles.
We explained how to access the SD card on Windows computers, Macs, Android devices, and iPhones/iPads step by step, ensuring you can smoothly navigate your device’s file management systems and utilize the SD card’s storage space effectively.
In addition, we provided troubleshooting tips for common SD card access issues. These tips can help you identify and resolve potential obstacles that may arise during the access process, ensuring a smooth and hassle-free experience.
Remember, while the methods and steps provided in this article are applicable to most devices, there may be slight variations depending on the device model, operating system version, and manufacturer. Therefore, always refer to the device’s user manual or online resources for device-specific instructions and guidance.
With the knowledge gained from this guide, you are now well-equipped to access your SD card on various devices and overcome any potential challenges that may arise. So go ahead and explore the vast storage capacity of your SD card, transfer files, organize content, and make the most of the convenience it offers.
Enjoy the expanded storage and seamless file management experience that comes with accessing your SD card!