Building a gaming PC has tons of perks. You get to customize not only your computer’s specs and capabilities but also your overall aesthetic. Some of the ways to do this are by building a custom keyboard or installing custom keycaps that make your desk setup uniquely yours. However, it can be an intimidating task, especially if you’re new to the world of custom keycaps. So, how do you do it? Here are all of the basics of how to install custom keycaps.
What Are Custom Keycaps?
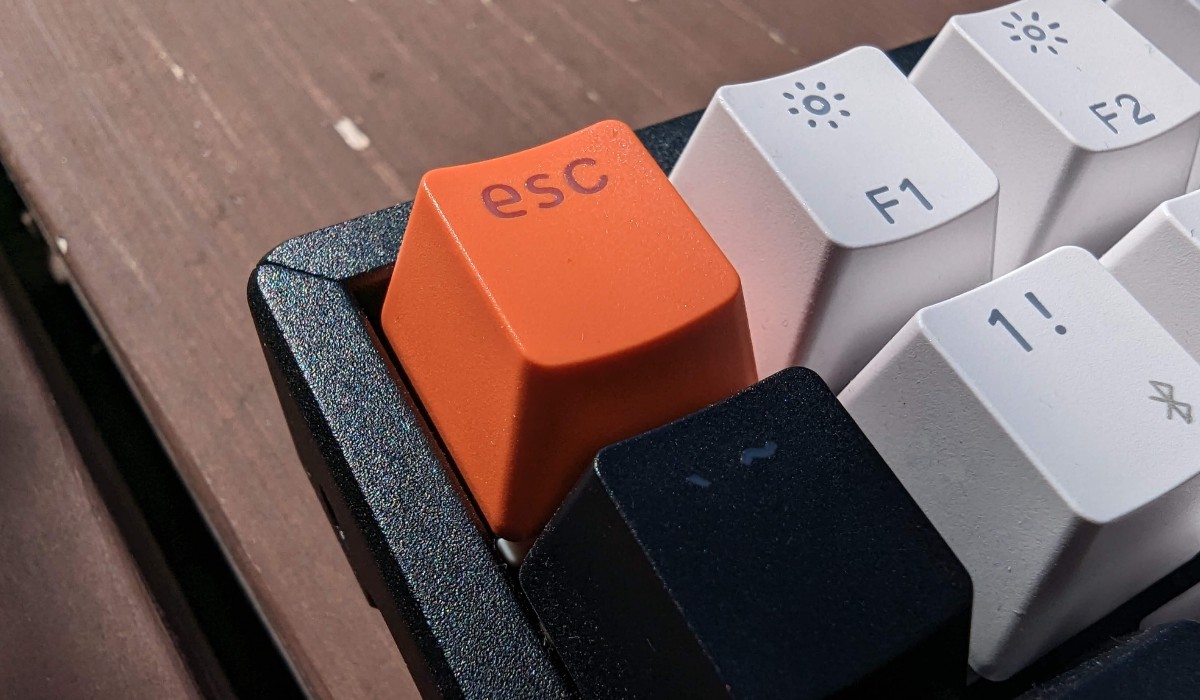
If you’re unfamiliar, keycaps are the keyboard component that you use to type with. They’re the ones covering the key switches, usually indicating a symbol (e.g., letters, numbers, and punctuations) or command. These keycaps are generally detachable from the keyboard, allowing you to clean what’s underneath or attach custom keycaps.
On the other hand, custom keycaps are merely keycaps that don’t come pre-installed on your keyboard. Usually, they come in all sorts of different designs and can even vary in shape, depending on the manufacturer. Once you buy them, you have to install these custom keycaps separately after you’ve removed your standard keycaps.
Types of Custom Keycaps
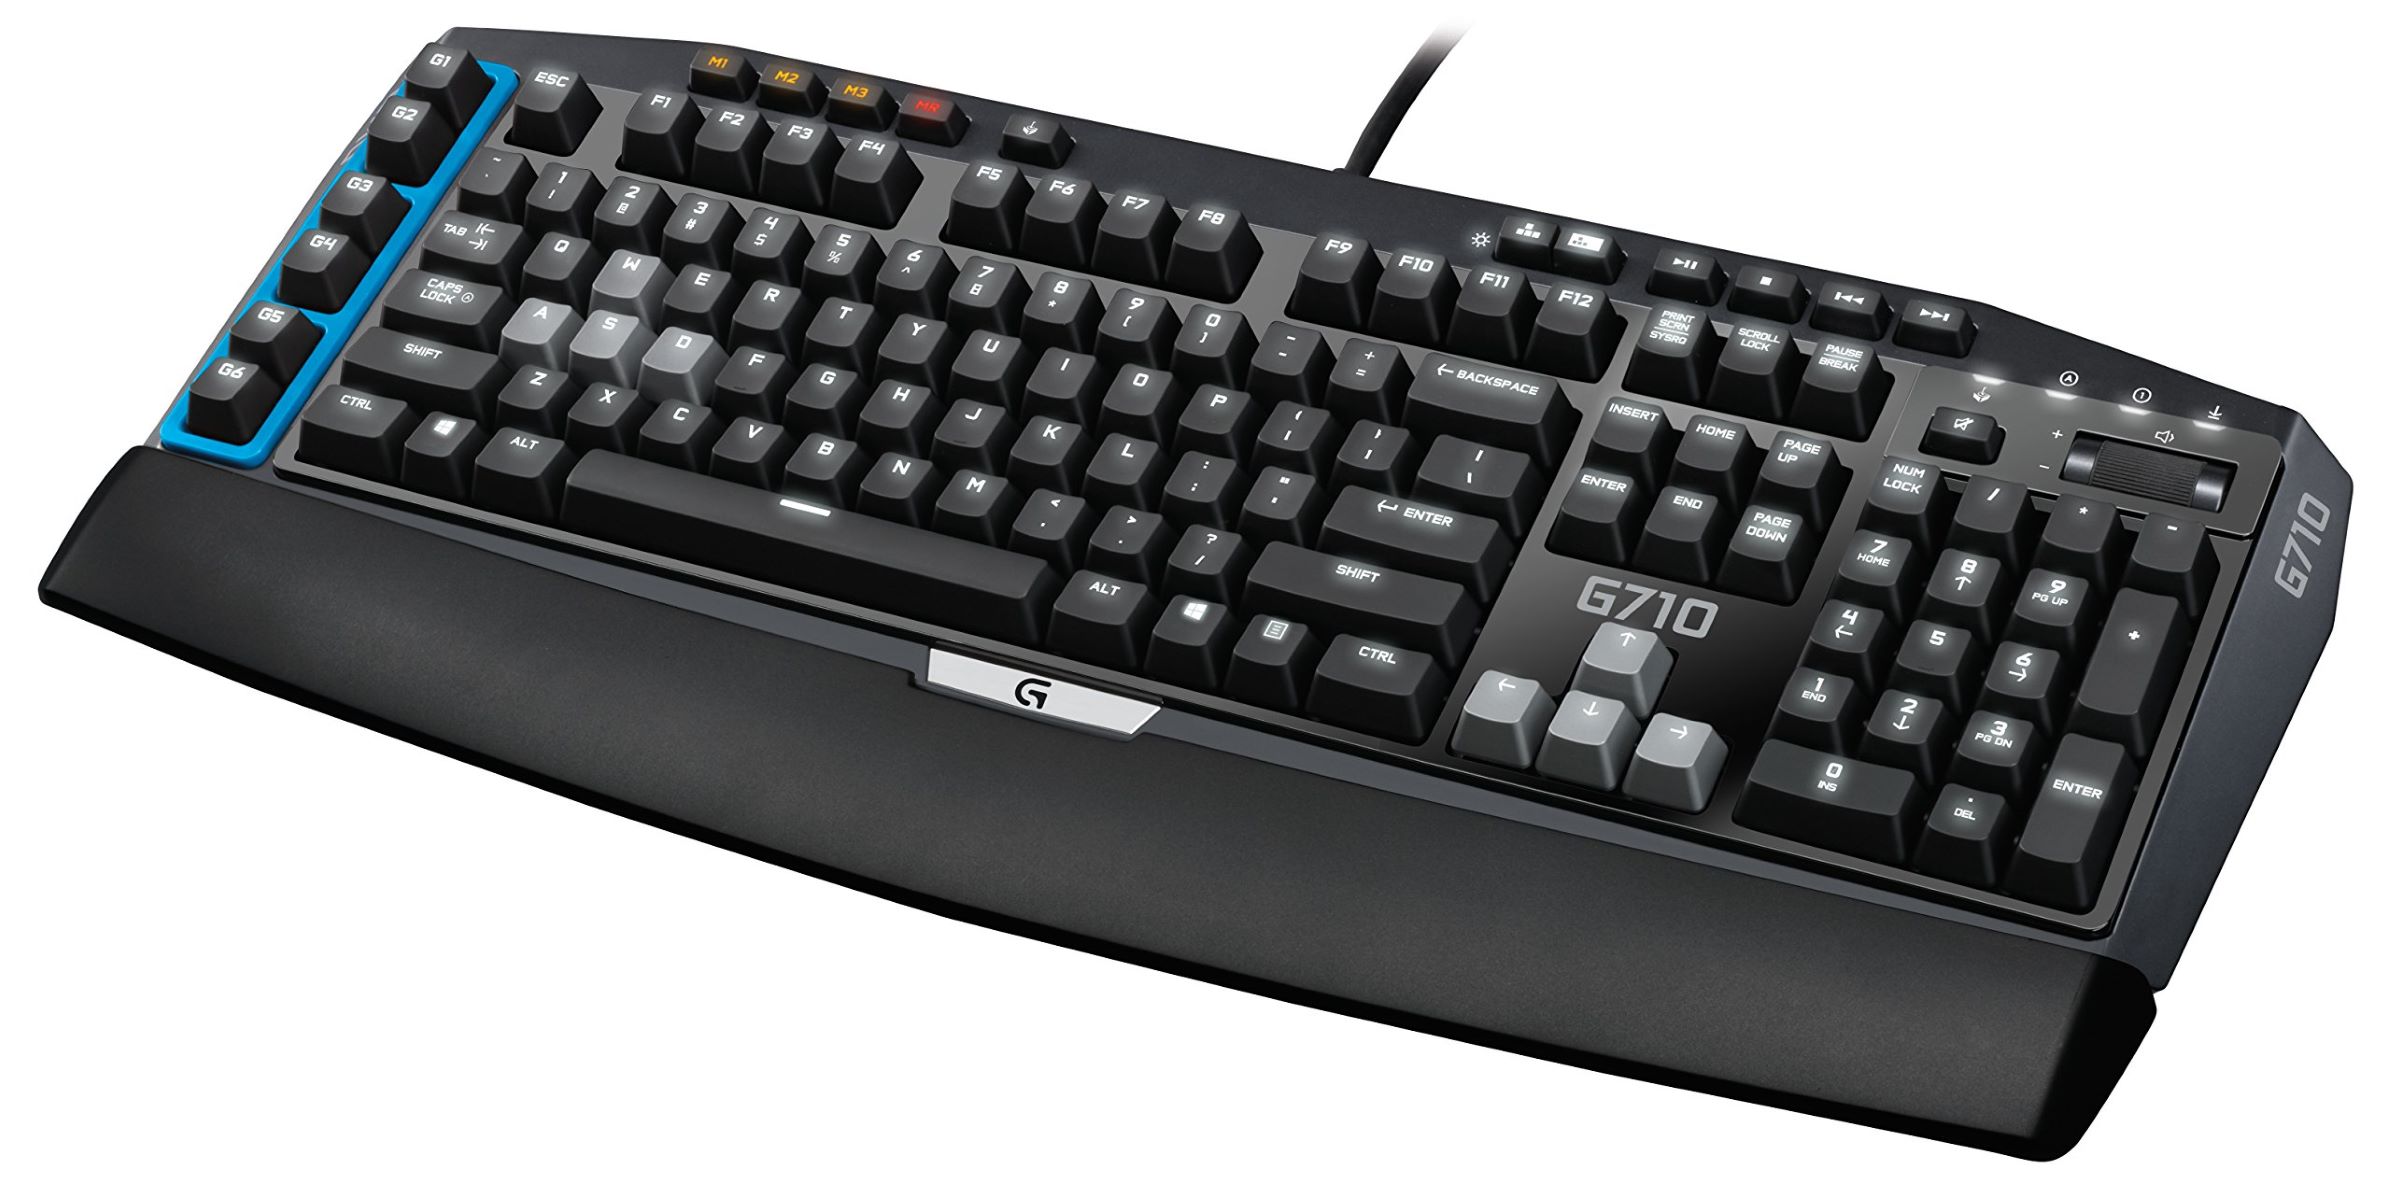
The act of installing custom keycaps usually refers only to those with mechanical keyboards. Gamers often use these types of keyboards because of the better feel and precision of the overall typing experience. However, non-gamers are also free to use these mechanical keyboards if they wish. Regardless, when we say custom keycaps, we’ll be referring to those that can be installed on a mechanical keyboard.
Switch Types
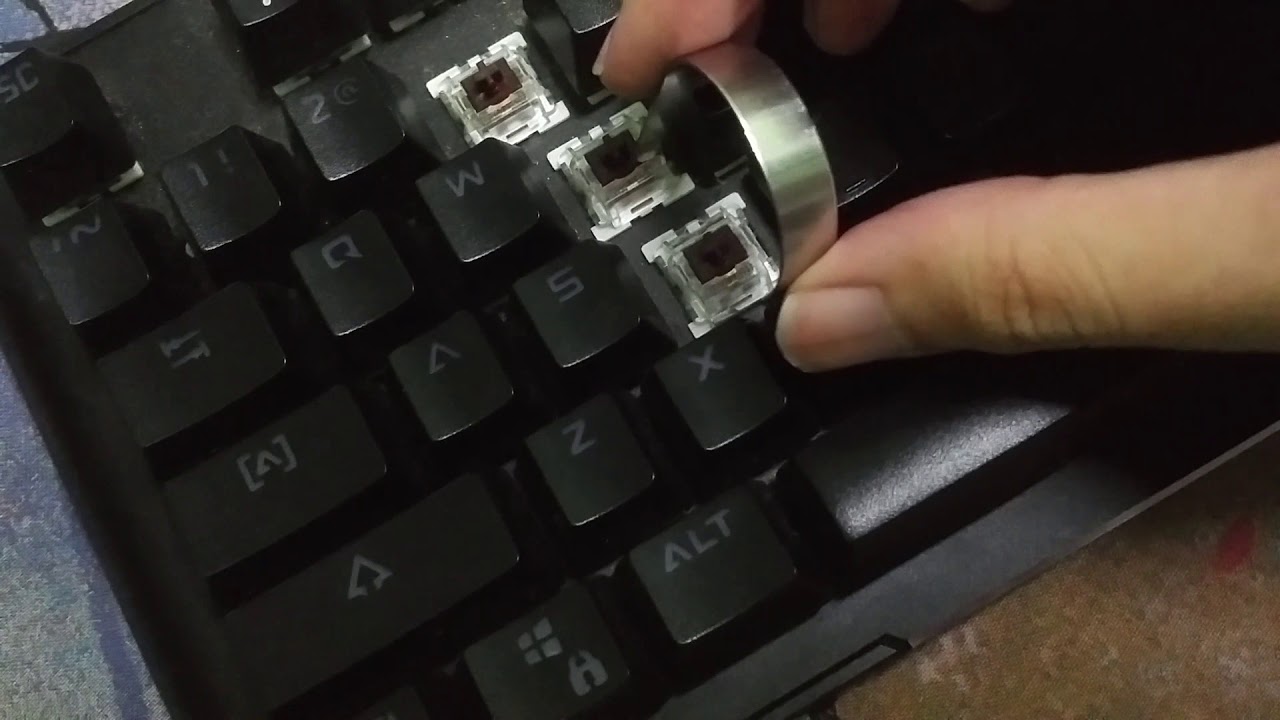
What types of custom keycaps are there? The first thing you need to know is that the switches underneath mechanical keyboard keys aren’t all the same. As a result, not all keycaps are compatible with every keyboard because they vary in terms of the switch’s shape.
The most widely used type of mechanical switch is the Cherry MX switches. Hence, the most common custom keycaps you’ll find are also for MX switch types. Cherry MX switches usually have a plus (+) shape that custom keycaps need to fit to be compatible. However, the shape and color of these switches can also vary, depending on the manufacturer.
Plastic Types
On the other hand, custom keycaps can also vary in the type of plastic they use. Generally, there are two: ABS and PBT keycaps. ABS keycaps are generally cheaper and more commonly found. However, the downside to these custom keycaps is that they generally form a greasy shine over time. Moreover, they feel smoother and are less durable over time.
In contrast, PBT keycaps, while less common, are normally of higher quality compared to ABS keycaps. PBTs are usually more textured, don’t develop that greasy look, and are more durable overall. However, that doesn’t mean you have to buy PBTs and leave ABS keycaps behind. Some ABS sets still provide great value overall, and some people prefer the feel of ABS keycaps over textured PBTs.
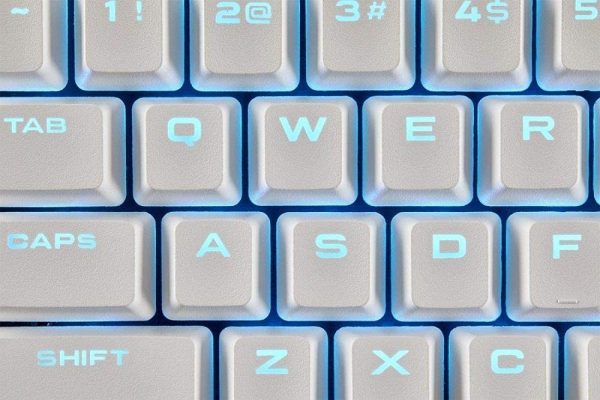
Backlighting
If your keyboard has RGB lighting, then you might want to consider purchasing backlit keycaps instead of regular ones. There are two types of custom keycaps for backlighting: double-shot keycaps and pudding keycaps.
Double shot keycaps are simply made with two separate plastics to let light pass through the legends. Hence, they’re great if you want to light each key and make them more readable.
On the other hand, pudding keycaps are best if you want to illuminate more than just the symbols. That’s because pudding keycaps also let light pass through the sides of the keys, showing off more of your RGB.
How to Install Custom Keycaps
Once you have custom keycaps on hand, it’s time to learn how to replace those mechanical keyboard keycaps. Thankfully, the process is fairly easy and shouldn’t pose a problem, even to new keycap aficionados. Here’s how to do it.
Removing Old Keys
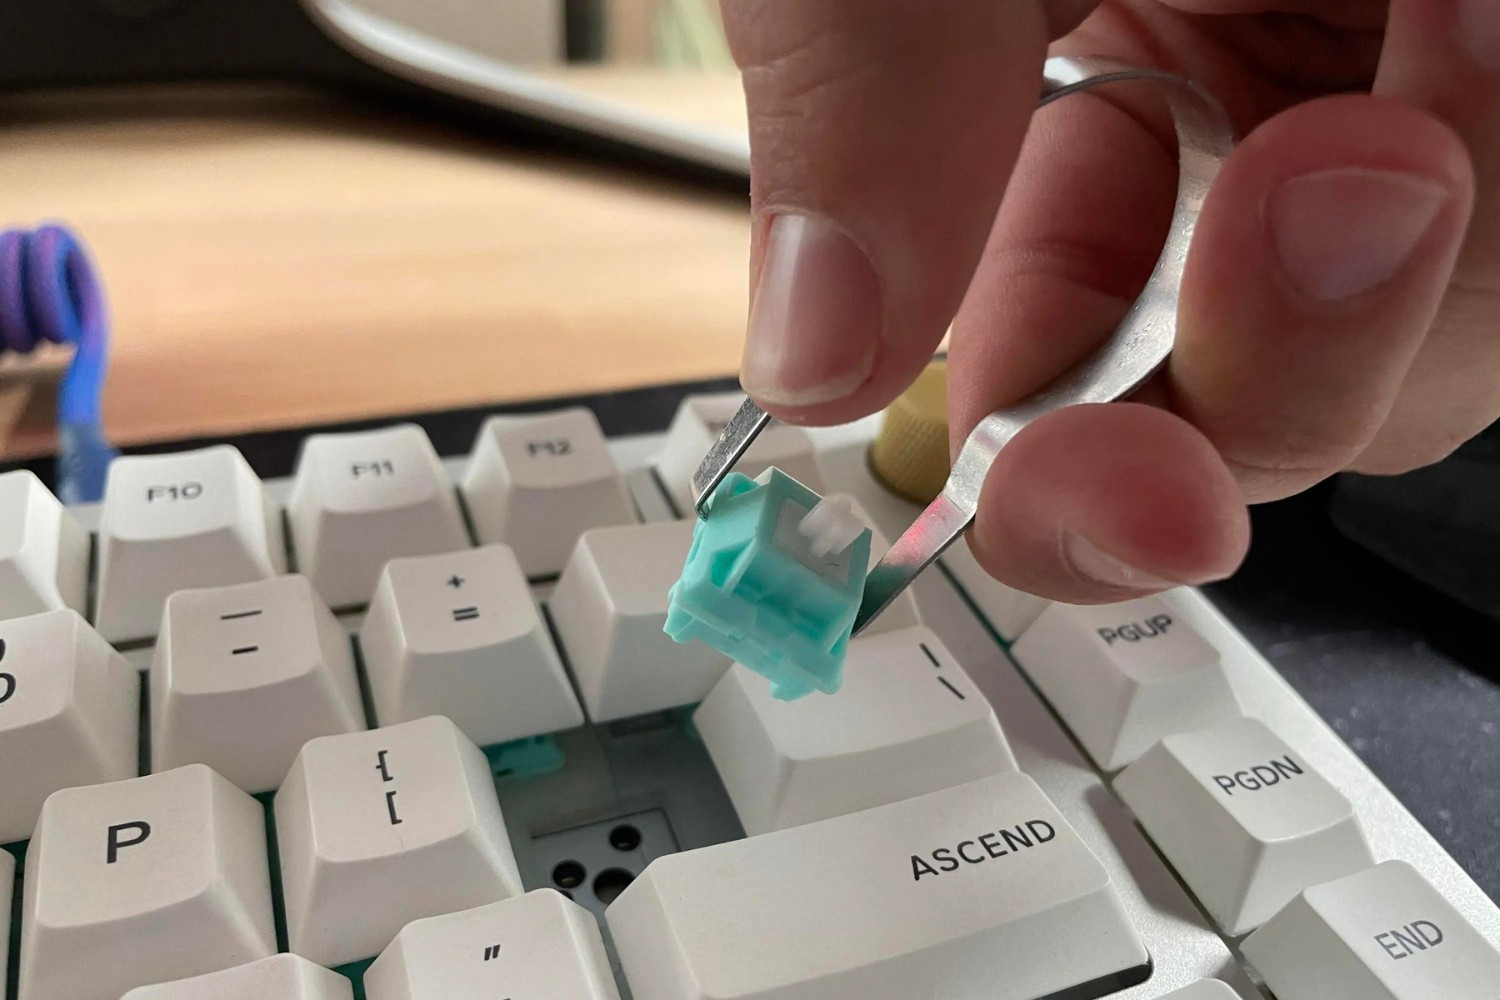
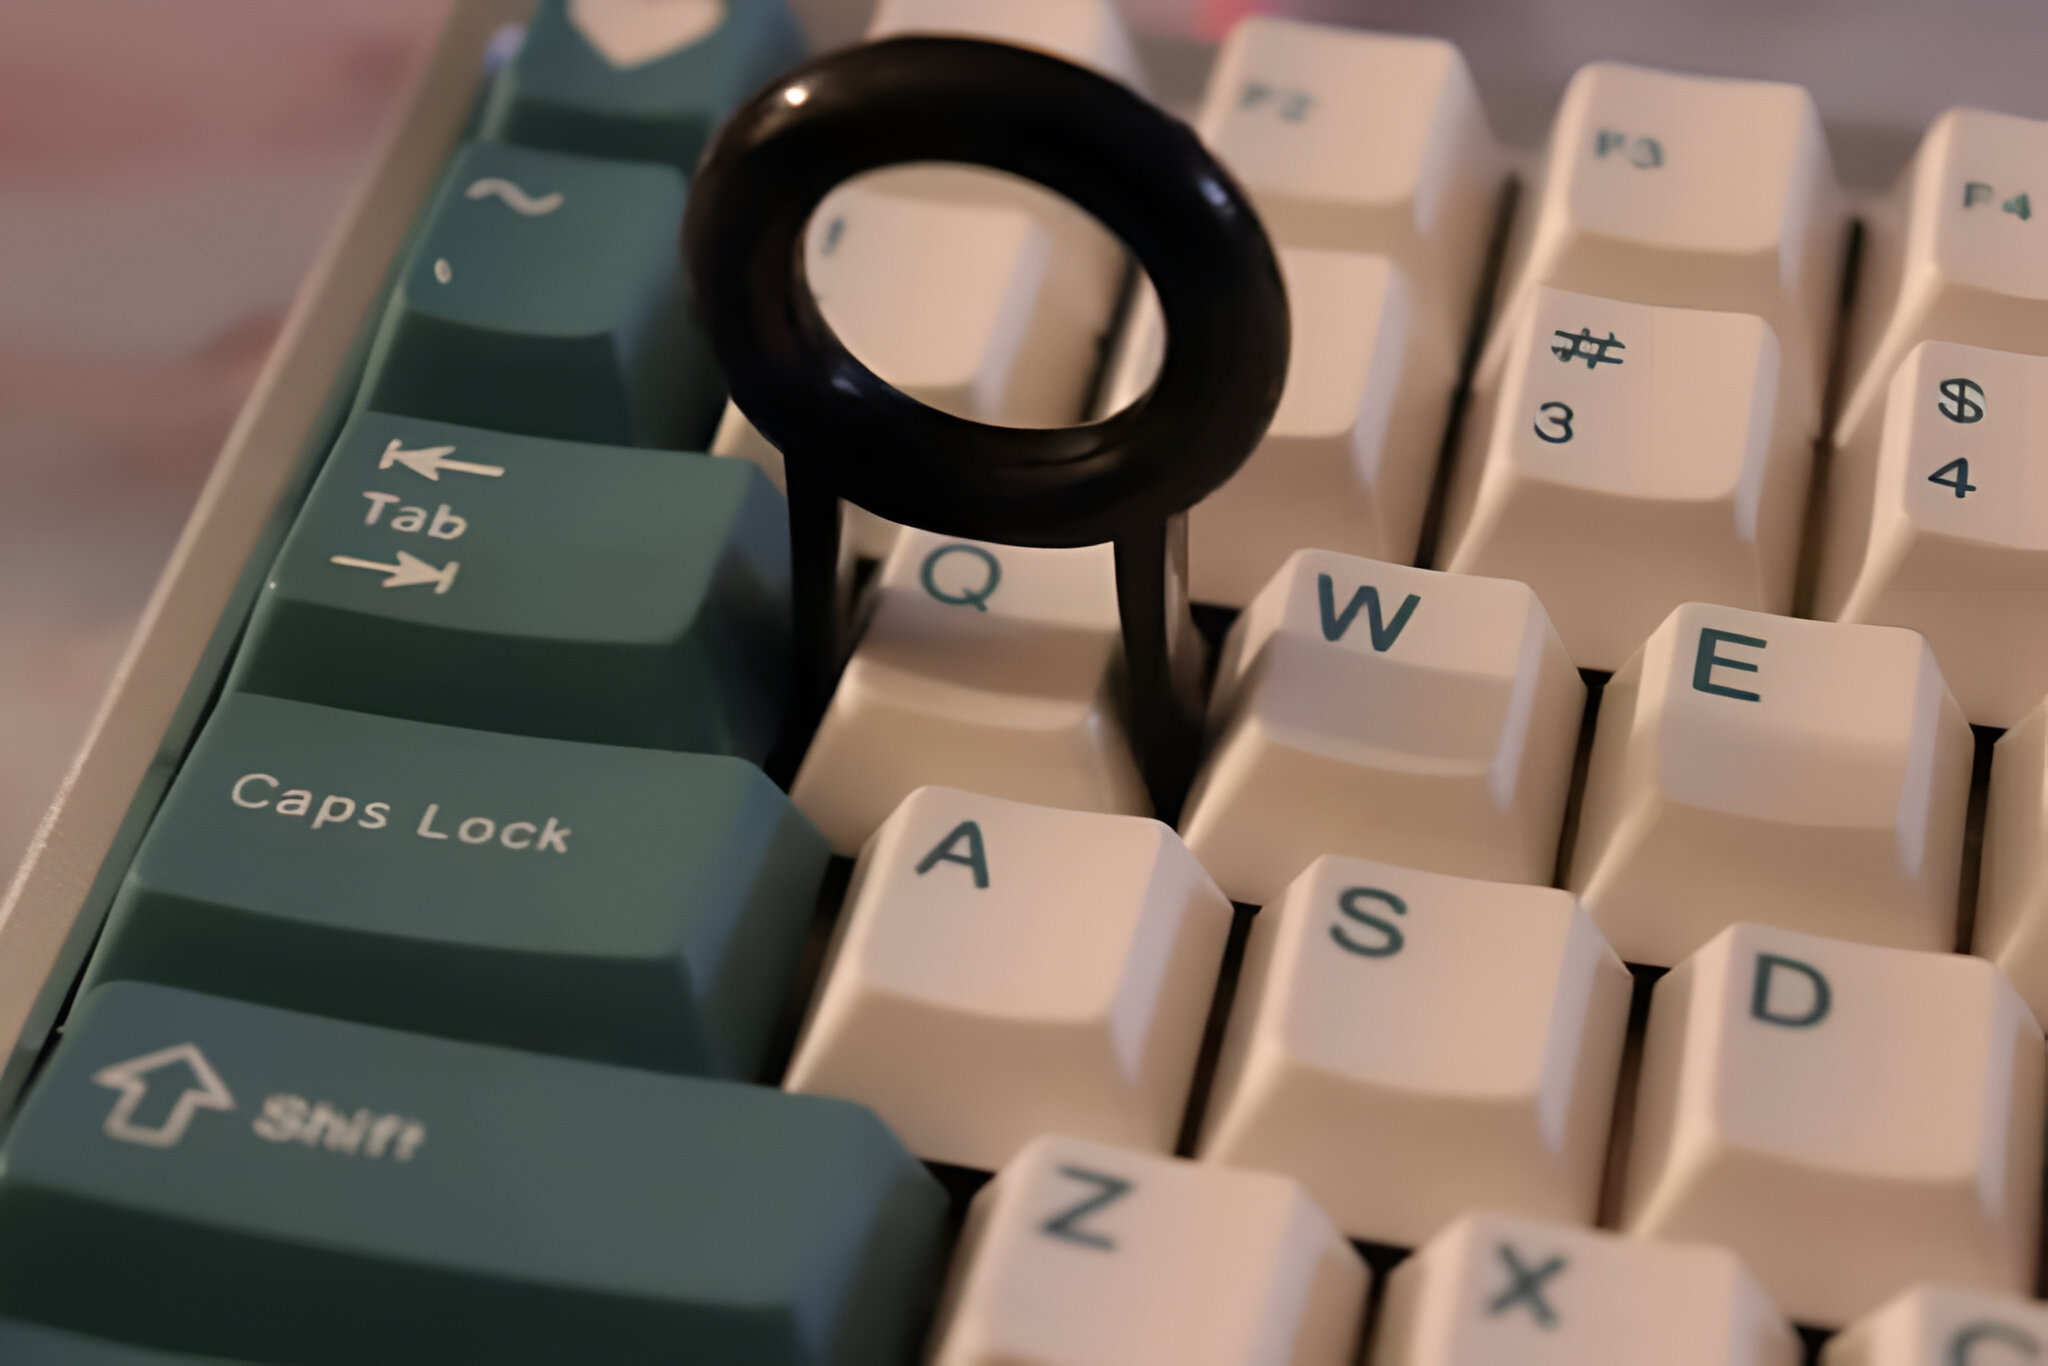
Before installing your custom keycaps, you’ll first have to remove your current keys. To do this, you can use the custom pincer tool your mechanical keyboard first came with. If your keyboard didn’t ship with this tool in the box, no worries. You should also find it with your new keycaps set.
Once you have your pincer tool, you’ll first have to disconnect your keyboard from your computer. Then, press straight down on each key with the pincer so it clicks in place. Afterward, pull upwards using the pincer and remove the cap. Make sure not to twist or accidentally pull it at any angle other than straight up.
Cleaning the Internal Keyboard
Now, it’s time to clean the internal keyboard. This step isn’t required but we still recommend doing it if you’ve never cleaned your keyboard before. To do this, simply take a small vacuum to clean off all the dust and grime underneath. You can also use a soft toothbrush or a cotton swab to clean. Afterward, dab a microfiber cloth in some alcohol and then clean the case.
Installing the New Keycaps
Finally, it’s time to install the new keycaps for your keyboard. This one’s a pretty straightforward process as you only need to slip your custom keycaps straight onto the switches. Do this for each small key and you should be good to go.
For larger keys like the space bar, you first have to align the non-switch holes to the proper position. Then, insert the support stem into the spring and then slip the center into the stem. Press down firmly (but not too hard).
5 Custom Keycaps to Check Out
Can’t find the right custom keycaps? Check out our top five picks you can buy on Amazon today.
1. Corsair Gaming Keycaps
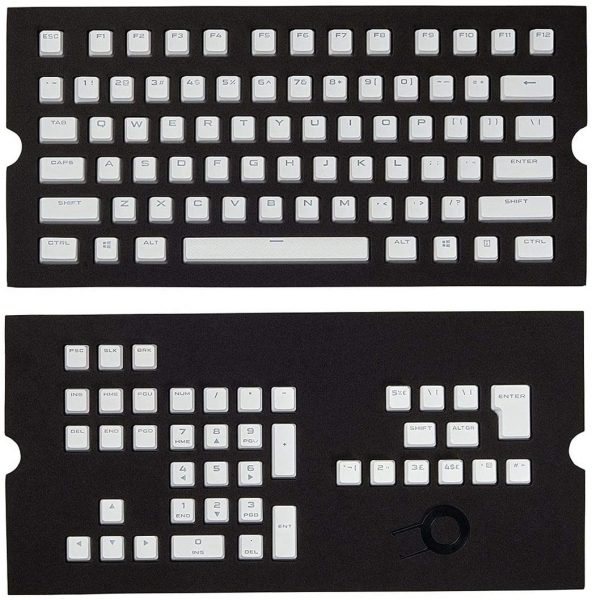
Yes, there are tons of cool keycaps with unique shapes and designs out there. However, if you want something beautiful but still toned down, then we recommend the Corsair Gaming Keycaps. They’re a great choice if you want to replace your Corsair keyboard’s keys with something with a bit more personality. That’s because they let RGB lighting pass through, showing off every color your RGB rig can produce.
Moreover, unlike other gaming keycaps, these custom keycaps come in white which is a refreshing change from standard black keys. However, the only downside to these custom keycaps is that they’re expensive, coming in a little less than $90. Nonetheless, if you’re looking for top-quality material, then these should more than satisfy your needs.
2. Gliging 140 Keycaps
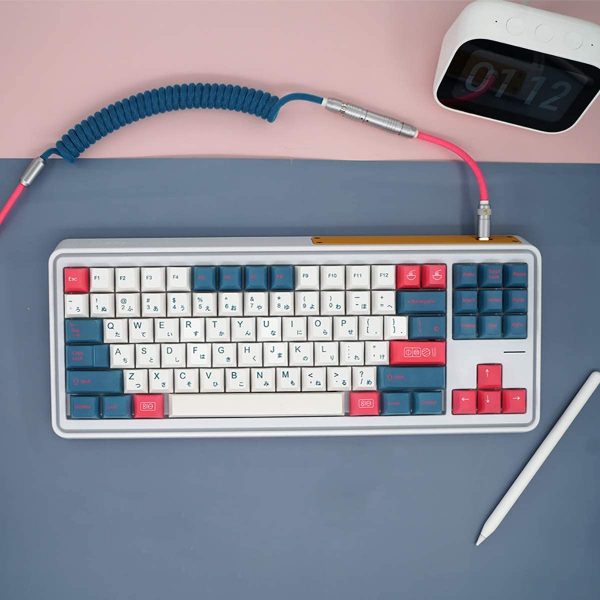
Custom keycaps are all about design and what could be a better way to flaunt your great taste than with beautiful colors? With the Gliging 140 Key Japanese Bento Root Cherry Profile Dye Sub Keycaps, you can do just that.
The design of these may seem simple at first. However, their colors are just stylish enough to look both bold and subtle. Moreover, there are multiple color schemes you can choose from to match your desk setup. However, they’re not made for RGB setups so don’t expect them to let any light pass through.
See the Gliging Bento Keycaps today!
3. HK Gaming Dye Sublimation Keycaps
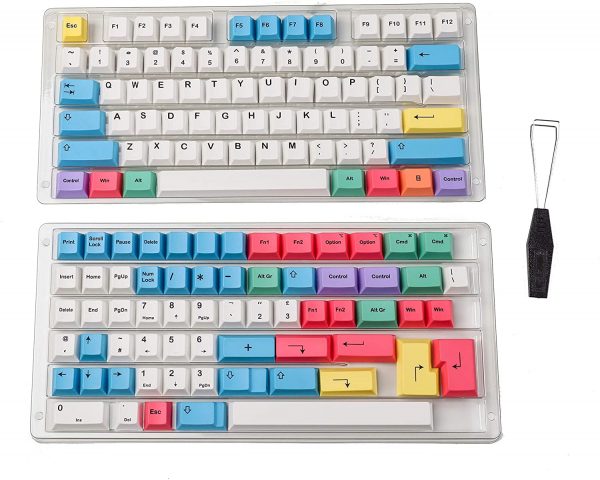
One of the best custom keycaps out there is undoubtedly the HK Gaming Dye Sublimation Keycaps. It’s fairly affordable, coming in less than $40 on Amazon, and provides a wide array of color combinations. Moreover, despite the low price, these custom keycaps are built with PBT plastic and already come with a Cherry profile. If you like the look of their simple (but bold) colors, you should certainly check them out.
4. HK Gaming PBT Pudding Keycap Set
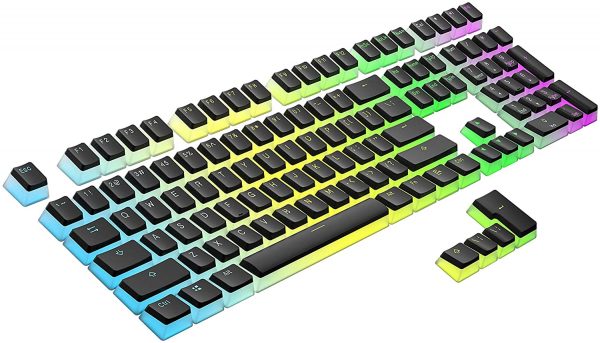
One of the best (and cheapest) custom keycaps for gamers is the HK Gaming PBT Pudding Keycap Set. It’s compatible with 60% mechanical keyboard layouts and allows for RGB lighting on both the legends and the sides. If you want something black (yet colorful) and durable (but pretty), it’s a great choice. Moreover, at less than $20, it’s certainly one of the most affordable choices you’ll ever encounter.
5. YMDK XDA Lotus Keycaps

Lastly, if you want XDA-profile custom keycaps, then we recommend the YMDK XDA Lotus Keycaps. These come with a beautiful muted design in blue and white paired with red accents. They’re simple, elegant, and come in multiple sizes depending on your layout. Moreover, they’re relatively affordable, coming in under $40 for a set.
Why Install Custom Keycaps?
Buying custom keyboard keys might seem like a frivolous expense, especially if you’ve never done it before. However, they’re a great way to customize your desk setup if you need a change of scenery. Moreover, custom keycaps are relatively affordable. If you want to upgrade the feel of your desk setup without changing much, then they’re a great solution.
On the other hand, installing these may not always be an aesthetic-driven choice. Sometimes, your old keycaps get worn out and it’s simply time to replace them with new ones. In that case, getting custom keycaps are a great way to give new life to your keyboard and typing experience.
Install Custom Keycaps Today
Custom keycaps are a great way to customize your keyboard’s aesthetics and make your desk setup feel just like new. Moreover, the process to install them is also pretty simple and doesn’t require a lot of technical knowledge. That’s why tons of gamers and non-gamers alike choose to add them all the time. Just make sure that you’re getting the correct set of keycaps, with proper switch and layout compatibility, before you proceed.