Introduction
Welcome to our step-by-step guide on how to clean your phone's ear speaker. Your phone's ear speaker is a crucial component that allows you to hear callers clearly during phone conversations. Over time, dust, dirt, and other particles can accumulate in the ear speaker, leading to muffled sound quality or even complete audio loss. Regularly cleaning your phone's ear speaker can help maintain its performance and extend its lifespan.
Whether you use your phone for work, staying connected with loved ones, or simply enjoying your favorite music and podcasts, ensuring the clarity and quality of the sound is essential. By following the simple steps outlined in this guide, you can effectively clean your phone's ear speaker and optimize its performance.
Neglecting to clean your phone's ear speaker can result in a buildup of grime and debris, which may compromise the audio quality and even lead to potential hardware issues. By taking proactive steps to clean this vital component, you can avoid these issues and continue enjoying clear, crisp sound from your phone.
In the following sections, we will discuss the importance of cleaning your phone's ear speaker, the materials needed for the cleaning process, and provide a detailed, step-by-step guide to help you effectively clean your phone's ear speaker. Let's dive in and ensure that your phone's ear speaker remains in top-notch condition for all your communication and entertainment needs.
Why It’s Important to Clean Your Phone’s Ear Speaker
Regularly cleaning your phone’s ear speaker is essential for maintaining optimal audio quality and ensuring the longevity of this critical component. Here are several compelling reasons why cleaning your phone’s ear speaker should be a priority:
- Preventing Sound Quality Degradation: Over time, dust, dirt, and other particles can accumulate in the ear speaker, leading to muffled or distorted sound quality. By cleaning the ear speaker regularly, you can prevent these issues and ensure that your phone delivers clear, crisp sound during calls and media playback.
- Enhancing Call Clarity: A clean ear speaker contributes to improved call clarity, allowing you to hear callers more distinctly and engage in conversations without struggling to decipher muffled or garbled speech.
- Preventing Hardware Damage: Accumulated debris in the ear speaker can potentially cause hardware damage if left unaddressed. By cleaning the speaker regularly, you can mitigate the risk of debris causing long-term damage to the internal components of your phone.
- Optimizing Speaker Performance: A clean ear speaker ensures that your phone’s audio output remains at its best, whether you’re listening to music, watching videos, or engaging in phone conversations. This optimization contributes to an overall enjoyable user experience.
- Extending Lifespan: Regular maintenance, including cleaning the ear speaker, can contribute to extending the lifespan of your phone. By preventing the accumulation of debris and potential damage, you can help ensure that your device serves you well for an extended period.
By understanding the importance of keeping your phone’s ear speaker clean, you can take proactive steps to maintain the quality and performance of this vital component. In the next section, we will explore the materials needed for effectively cleaning your phone’s ear speaker.
Materials Needed for Cleaning
Before you begin the process of cleaning your phone’s ear speaker, it’s important to gather the necessary materials to ensure a thorough and effective cleaning. Here’s what you’ll need:
- Soft Brush or Toothpick: A soft-bristled brush or a toothpick can be used to gently dislodge visible debris, such as dust or lint, from the ear speaker. These tools allow for precise cleaning without causing damage to the speaker.
- Compressed Air: A can of compressed air is an effective tool for removing stubborn particles that may be lodged in the ear speaker. The force of the compressed air can dislodge debris that is not easily accessible with a brush or toothpick.
- Microfiber Cloth: A clean, soft microfiber cloth is ideal for wiping the surface of the ear speaker. It is gentle on the speaker and helps remove any remaining particles or residue after the initial cleaning process.
- Isopropyl Alcohol: Isopropyl alcohol, also known as rubbing alcohol, can be used in conjunction with the microfiber cloth to gently clean the ear speaker and disinfect the surface. It helps remove oils, grime, and other contaminants that may have accumulated.
- Cotton Swabs: Cotton swabs can be used to reach small crevices around the ear speaker, allowing for precision cleaning in areas that may be difficult to access with other tools.
By having these materials on hand, you can proceed with confidence, knowing that you have everything you need to effectively clean your phone’s ear speaker. In the following sections, we will provide a detailed, step-by-step guide to walk you through the cleaning process, ensuring that your phone’s ear speaker remains in optimal condition.
Step 1: Power off Your Phone
Before initiating the cleaning process for your phone’s ear speaker, it is crucial to power off your device to ensure safety and prevent any potential damage. Following this initial step is essential for the following reasons:
- Preventing Electrical Hazards: Turning off your phone eliminates the risk of electrical hazards while cleaning the ear speaker. This precaution safeguards both you and your device from potential harm.
- Avoiding Disruptions: Powering off your phone ensures that you can focus on the cleaning process without any interruptions, such as incoming calls or notifications.
- Protecting the Device: By powering off your phone, you minimize the risk of accidental damage to the device’s internal components during the cleaning process.
To power off your phone, follow the specific instructions for your device model. Typically, this involves holding down the power button and following the on-screen prompts to shut down the device. Once your phone is powered off, you can proceed with confidence to the next steps in the cleaning process.
In the subsequent section, we will delve into the process of using a soft brush or toothpick to remove visible debris from your phone’s ear speaker.
Step 2: Use a Soft Brush or Toothpick to Remove Visible Debris
Once your phone is powered off, you can proceed to the next step, which involves using a soft brush or toothpick to remove any visible debris from the ear speaker. This step is crucial for ensuring that the speaker is free from surface-level particles that may affect its performance. Here’s how to effectively carry out this process:
- Inspect the Ear Speaker: Carefully examine the ear speaker to identify any visible debris, such as dust, lint, or other particles that may have accumulated on the surface.
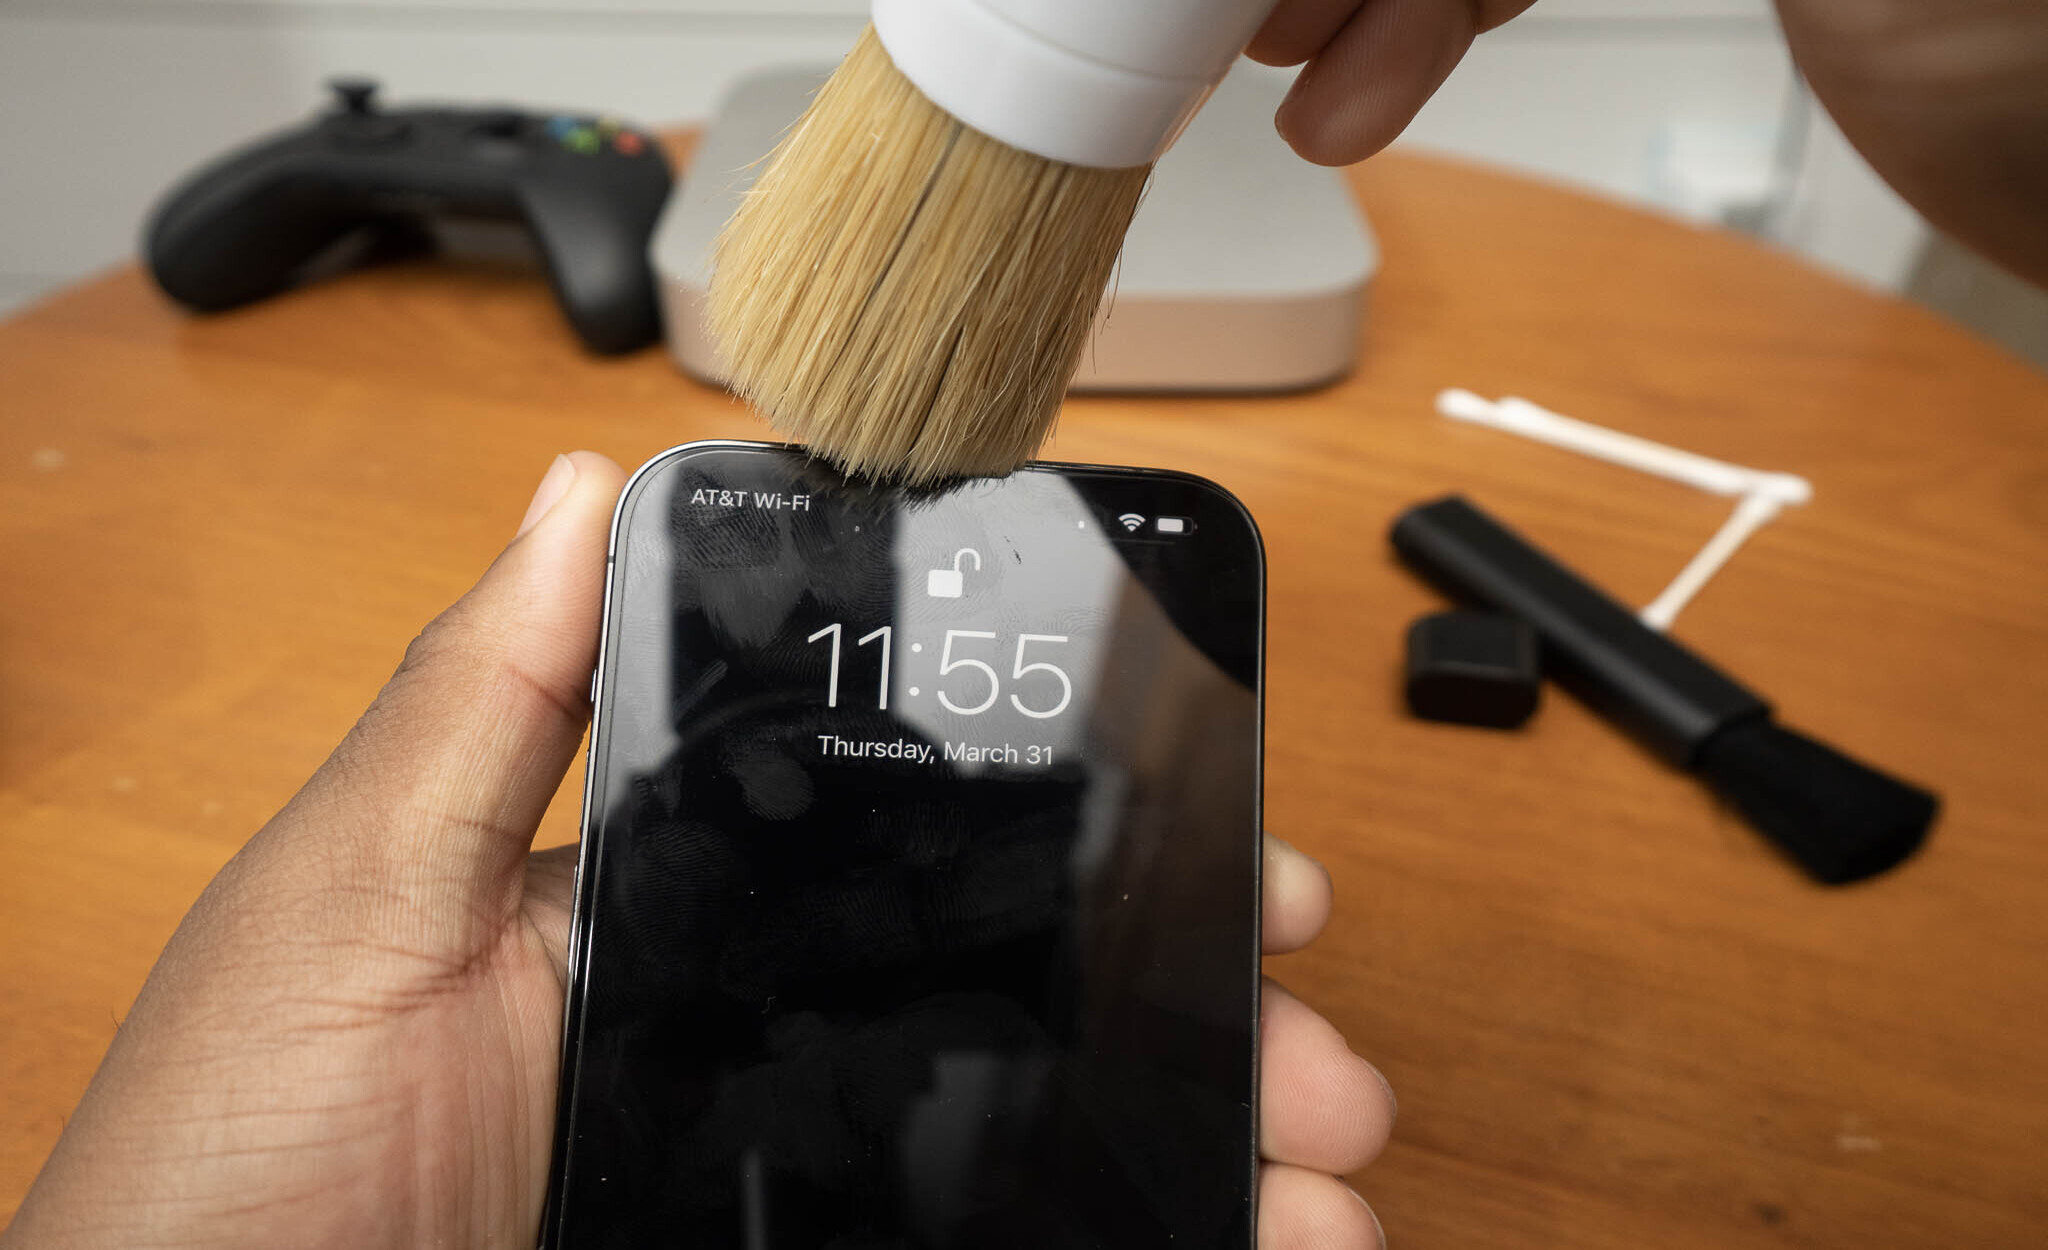
- Use a Soft Brush: Gently brush the surface of the ear speaker with a soft-bristled brush to dislodge and remove any visible debris. Ensure that the brush is clean and free from any abrasive particles that could scratch or damage the speaker.
- Alternatively, Use a Toothpick: If the debris is stubborn or lodged in crevices, a toothpick can be used to delicately dislodge and remove it. Exercise caution to avoid applying excessive pressure that could damage the speaker.
- Avoid Excessive Force: When using a brush or toothpick, apply gentle pressure to avoid damaging the delicate components of the ear speaker. Take your time to meticulously remove any visible debris without causing harm to the speaker.
By effectively using a soft brush or toothpick to eliminate visible debris, you can prepare the ear speaker for the subsequent cleaning steps, ensuring that it is free from surface-level particles that may impede its performance. In the following section, we will explore the use of compressed air to remove stubborn particles from the ear speaker.
Step 3: Use Compressed Air to Remove Stubborn Particles
After removing visible debris with a soft brush or toothpick, the next step involves using compressed air to dislodge and remove any stubborn particles that may be trapped in the ear speaker. Compressed air is an effective tool for reaching areas that may be difficult to access with a brush or toothpick, ensuring a thorough cleaning process. Here’s how to utilize compressed air to clean your phone’s ear speaker:
- Select a Suitable Compressed Air Can: Choose a can of compressed air that is specifically designed for electronics cleaning. These cans typically emit a gentle, targeted stream of air that is safe for use on delicate components.
- Hold the Phone at an Angle: Gently tilt your phone at an angle that allows you to access the ear speaker. This positioning enables the compressed air to effectively dislodge particles from the speaker’s surface.
- Apply Short Bursts of Air: Depress the nozzle of the compressed air can to release short bursts of air into the ear speaker. Avoid prolonged or forceful bursts, as these may cause damage to the speaker.
- Rotate the Phone if Necessary: If the ear speaker has multiple openings or is positioned in a way that makes it challenging to access with compressed air, carefully rotate the phone to ensure that all areas of the speaker receive thorough cleaning.
- Allow Any Dislodged Particles to Settle: After using compressed air, allow any dislodged particles to settle before proceeding to the next step. This ensures that any loosened debris is effectively removed in the subsequent cleaning stages.
By utilizing compressed air to remove stubborn particles from the ear speaker, you can ensure that the speaker is thoroughly cleaned and free from any trapped debris that may affect its performance. In the following section, we will discuss the process of cleaning the ear speaker with a microfiber cloth and isopropyl alcohol to achieve optimal results.
Step 4: Clean with a Microfiber Cloth and Isopropyl Alcohol
After using compressed air to dislodge stubborn particles, the next step involves cleaning the ear speaker with a microfiber cloth and isopropyl alcohol to ensure a thorough and meticulous cleaning process. This step is essential for removing any remaining residue and disinfecting the speaker’s surface. Here’s how to effectively clean the ear speaker using a microfiber cloth and isopropyl alcohol:
- Dampen the Microfiber Cloth: Lightly dampen a clean microfiber cloth with isopropyl alcohol. It is important to ensure that the cloth is not overly saturated, as excess liquid may seep into the phone’s internals.
- Gently Wipe the Ear Speaker: Carefully wipe the surface of the ear speaker with the dampened microfiber cloth, using gentle, circular motions to remove any remaining particles and residue. Take care to avoid applying excessive pressure that could damage the speaker.
- Target Stubborn Areas: If there are areas where debris or residue is particularly persistent, focus on gently addressing these spots with the microfiber cloth and isopropyl alcohol. Patience and precision are key to achieving a thorough cleaning.
- Disinfect the Speaker: Isopropyl alcohol serves as a disinfectant, effectively removing oils, grime, and other contaminants from the speaker’s surface. This step not only cleans the speaker but also helps eliminate potentially harmful bacteria and germs.
- Ensure Complete Drying: Allow the ear speaker to air dry completely before proceeding to the next step. This ensures that any residual moisture from the isopropyl alcohol evaporates, leaving the speaker clean and dry.
By meticulously cleaning the ear speaker with a microfiber cloth and isopropyl alcohol, you can effectively remove any remaining particles and residue, ensuring that the speaker is clean and disinfected. In the subsequent section, we will discuss the importance of allowing the speaker to dry completely before powering on your phone.
Step 5: Let the Speaker Dry Completely
Following the thorough cleaning with a microfiber cloth and isopropyl alcohol, it is crucial to allow the ear speaker to dry completely before powering on your phone. This final step is essential for ensuring that the speaker is free from any residual moisture and is ready for use. Here’s how to effectively facilitate the drying process:
- Air Drying: After cleaning the ear speaker, place your phone in a dry, well-ventilated area to allow the speaker to air dry naturally. Avoid using heat sources such as hairdryers, as excessive heat may damage the phone’s components.
- Patience is Key: Allow sufficient time for the speaker to dry completely. The duration may vary based on environmental factors such as humidity, but it is advisable to wait at least 30 minutes to ensure that the speaker is thoroughly dry.
- Perform a Visual Check: Before powering on your phone, visually inspect the ear speaker to ensure that it appears dry and free from any moisture or residue. This visual check provides assurance that the speaker is ready for use.
- Avoid Rushing the Process: While it may be tempting to expedite the drying process, exercising patience is crucial to prevent potential damage to the phone’s internal components and ensure that the ear speaker is in optimal condition.
By allowing the ear speaker to dry completely, you can ensure that it is free from any residual moisture, allowing for safe and uninterrupted use of your phone. With the speaker thoroughly cleaned and dried, you can power on your phone with confidence, knowing that this essential component has been meticulously cared for.
Conclusion
Cleaning your phone’s ear speaker is a simple yet essential maintenance task that can significantly impact the audio quality and overall performance of your device. By following the step-by-step guide outlined in this article, you have taken proactive measures to ensure that your phone’s ear speaker remains in optimal condition, delivering clear and crisp sound for your calls, music, and media playback.
Regular maintenance of your phone’s ear speaker is crucial for preventing sound quality degradation, enhancing call clarity, and optimizing the performance of this vital component. By incorporating the use of readily available materials such as a soft brush, compressed air, microfiber cloth, and isopropyl alcohol, you have effectively cleaned the ear speaker, removing debris and residue while disinfecting its surface.
Remember to power off your phone before initiating the cleaning process, exercise patience and precision when using cleaning tools, and allow the speaker to dry completely before powering on your device. These simple yet critical steps contribute to the longevity and reliability of your phone’s ear speaker, ensuring that it continues to deliver exceptional audio quality for your communication and entertainment needs.
By prioritizing the cleanliness and maintenance of your phone’s ear speaker, you are actively preserving the integrity of this essential component, ultimately contributing to a seamless and enjoyable user experience. Incorporating regular ear speaker cleaning into your device maintenance routine can help you avoid potential hardware issues and ensure that your phone remains a reliable communication tool.
With your newfound knowledge and the practical steps outlined in this guide, you are well-equipped to maintain the clarity and performance of your phone’s ear speaker, ensuring that you can continue to engage in clear conversations and enjoy high-quality audio from your device for the long term.