Common Causes of iPhone Ear Speaker Not Working
When your iPhone’s ear speaker stops functioning, it can be frustrating and inconvenient. There are several potential reasons behind this issue, and understanding these common causes can help you troubleshoot and resolve the problem effectively.
- Accumulated Dust and Debris: Over time, dust, lint, and other particles can accumulate in the ear speaker, obstructing sound output and causing muffled or distorted audio.
- Software Glitches: Software bugs or glitches within the iOS operating system can sometimes lead to issues with the ear speaker, resulting in sound disruptions or complete loss of audio output.
- Hardware Malfunction: Physical damage or malfunction of the ear speaker component due to wear and tear can impede its functionality, leading to sound-related problems.
- Audio Output Settings: Incorrect audio output settings or misconfigured sound preferences on the device can affect the ear speaker’s performance and lead to sound issues.
By recognizing these common causes, you can take targeted steps to address the specific issue affecting your iPhone’s ear speaker. The following troubleshooting guide will provide you with practical solutions to resolve these issues and restore your ear speaker’s functionality.
Troubleshooting Steps for iPhone Ear Speaker Not Working
Encountering issues with your iPhone’s ear speaker can disrupt your communication and multimedia experience. Fortunately, there are several troubleshooting steps you can take to address and potentially resolve the problem without extensive technical knowledge or tools.
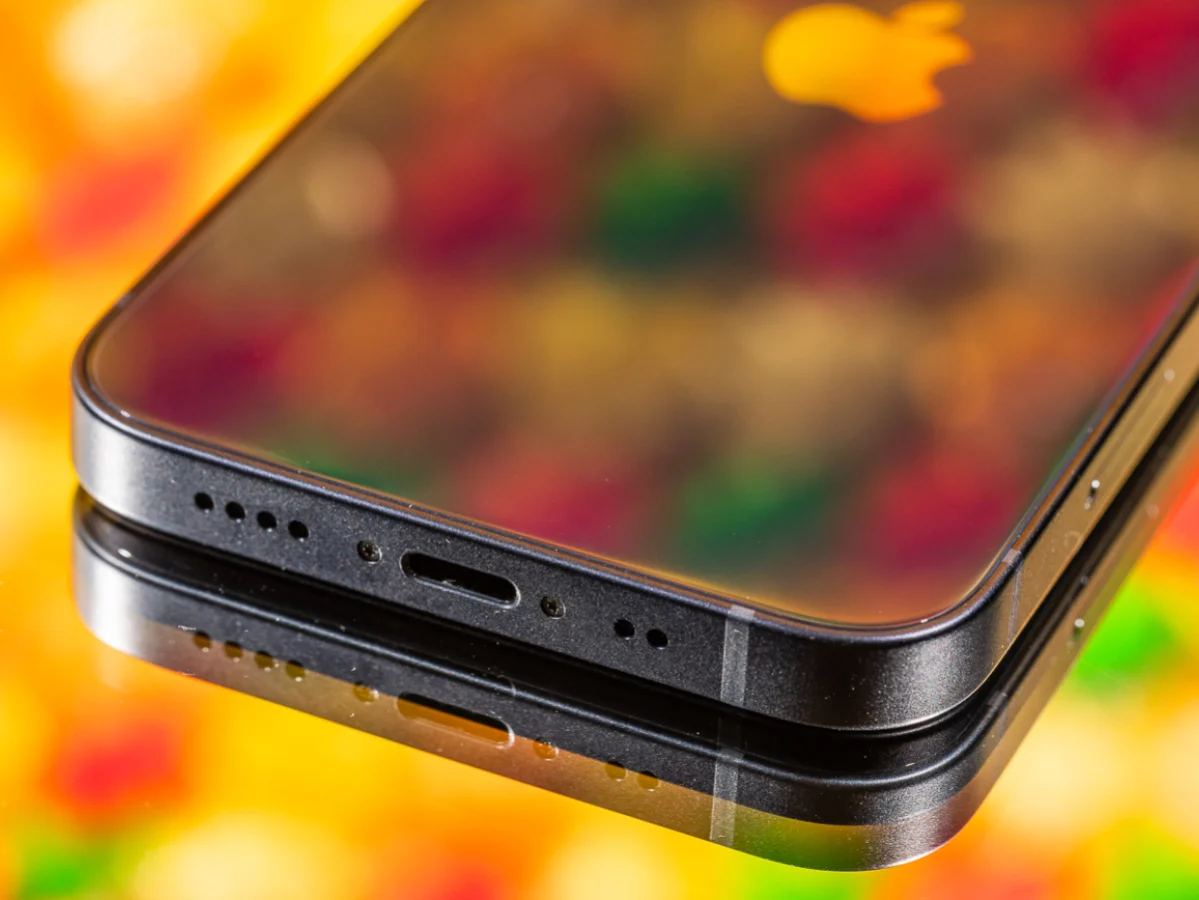
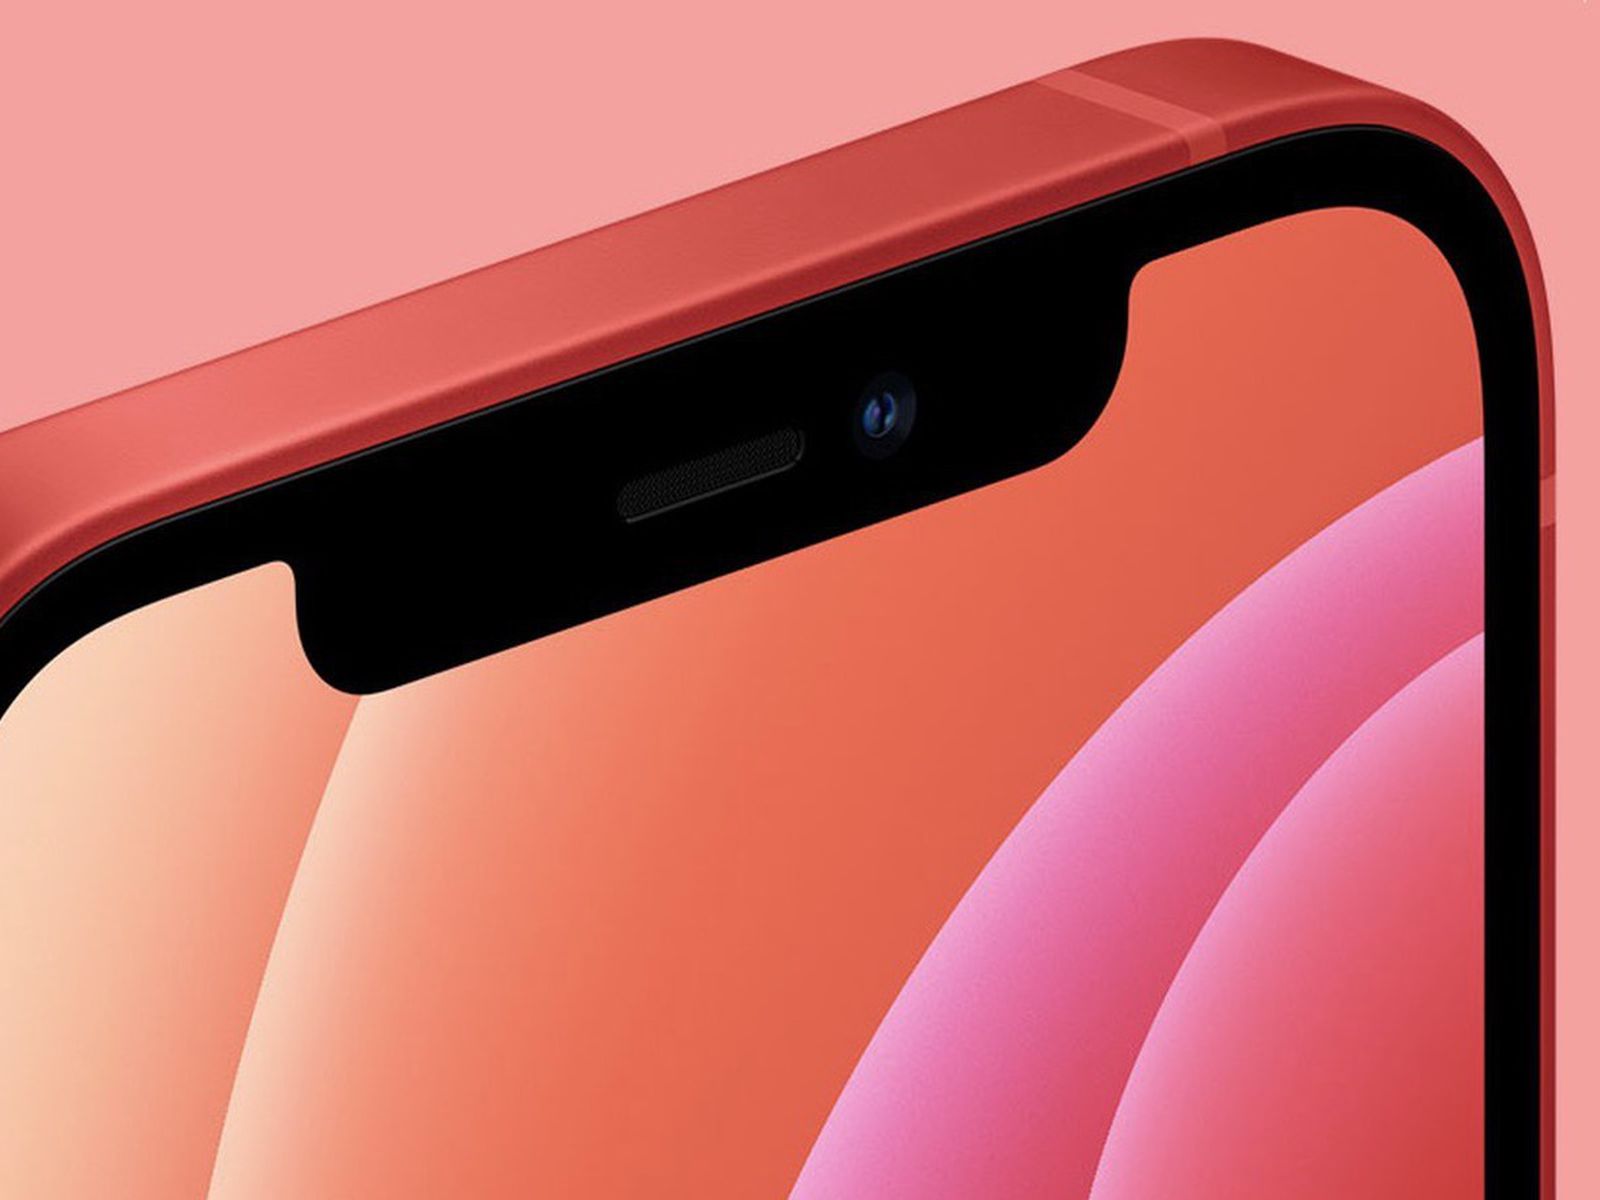
- Inspect the Speaker Grill: Begin by visually inspecting the ear speaker grill for any visible accumulation of dust, lint, or debris. Gently clean the grill using a soft brush or compressed air to remove any obstructions that may be affecting sound output.
- Restart Your iPhone: A simple restart can often resolve temporary software glitches that may be impacting the ear speaker’s functionality. Power off your iPhone and then turn it back on to see if this resolves the issue.
- Update iOS: Ensure that your iPhone’s operating system is up to date. Navigate to Settings > General > Software Update to check for and install any available iOS updates, as these may contain bug fixes that address ear speaker-related issues.
- Check Audio Output Settings: Verify that the audio output settings on your iPhone are correctly configured. Go to Settings > Sounds & Haptics and ensure that the volume is adjusted appropriately and that no sound-related settings are muted or misconfigured.
- Reset All Settings: If the issue persists, consider resetting all settings on your iPhone. This can help eliminate any misconfigured preferences that may be affecting the ear speaker’s performance. Navigate to Settings > General > Reset > Reset All Settings.
- Contact Apple Support: If none of the above steps resolve the issue, it may be indicative of a hardware problem or a more complex software issue. Contact Apple Support or visit an authorized service provider for further assistance and professional diagnosis.
By following these troubleshooting steps, you can systematically address potential causes of the ear speaker issue and work towards restoring its functionality. The following sections will delve into specific solutions to address each potential cause in more detail.
Solution 1: Clean the Ear Speaker
One of the most common reasons for an iPhone’s ear speaker malfunction is the accumulation of dust, lint, or debris within the speaker grill. This can obstruct sound output and lead to various audio issues. Cleaning the ear speaker is a simple yet effective solution that can potentially restore its functionality without the need for professional intervention.
To clean the ear speaker:
- Power Off Your iPhone: Before cleaning the ear speaker, it is advisable to power off your iPhone to prevent any potential damage during the cleaning process.
- Inspect the Speaker Grill: Use a magnifying glass or a well-lit area to carefully inspect the ear speaker grill for any visible accumulation of dust, lint, or debris. These particles can often be dislodged using gentle cleaning methods.
- Gently Remove Debris: Employ a soft, clean brush, such as a small, dry paintbrush or a specialized electronics cleaning brush, to gently dislodge and remove any visible debris from the speaker grill. Alternatively, compressed air can be used to blow away stubborn particles.
- Avoid Excessive Force: Exercise caution and avoid using excessive force or sharp objects that may damage the speaker grill or internal components. The goal is to dislodge and remove debris without causing harm to the device.
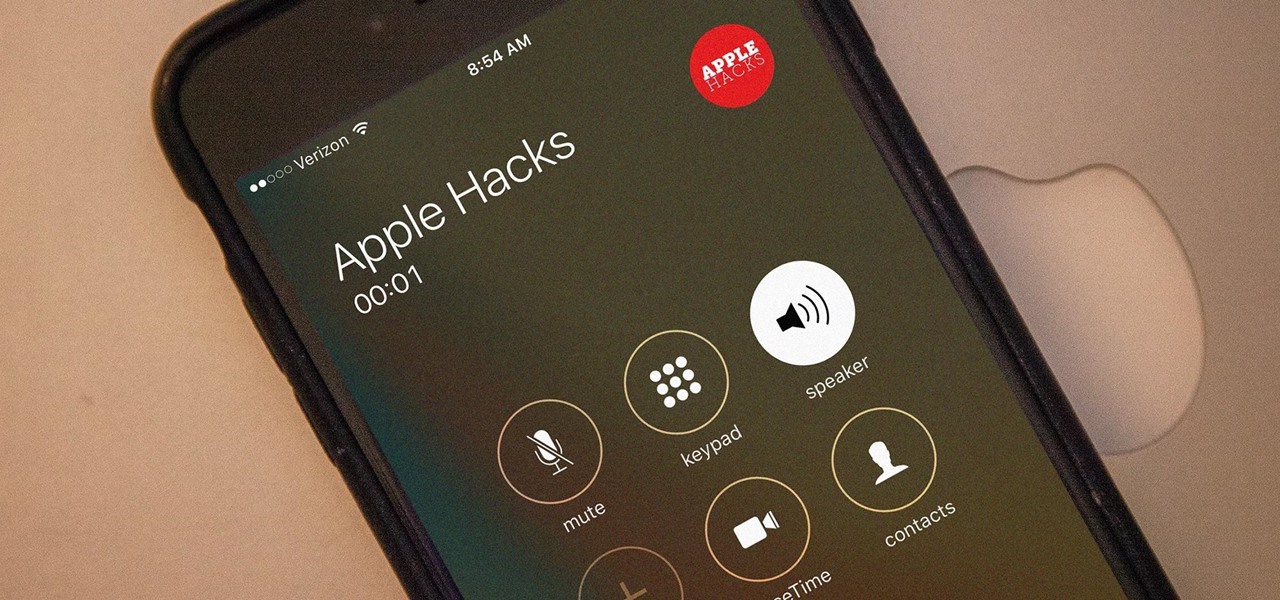
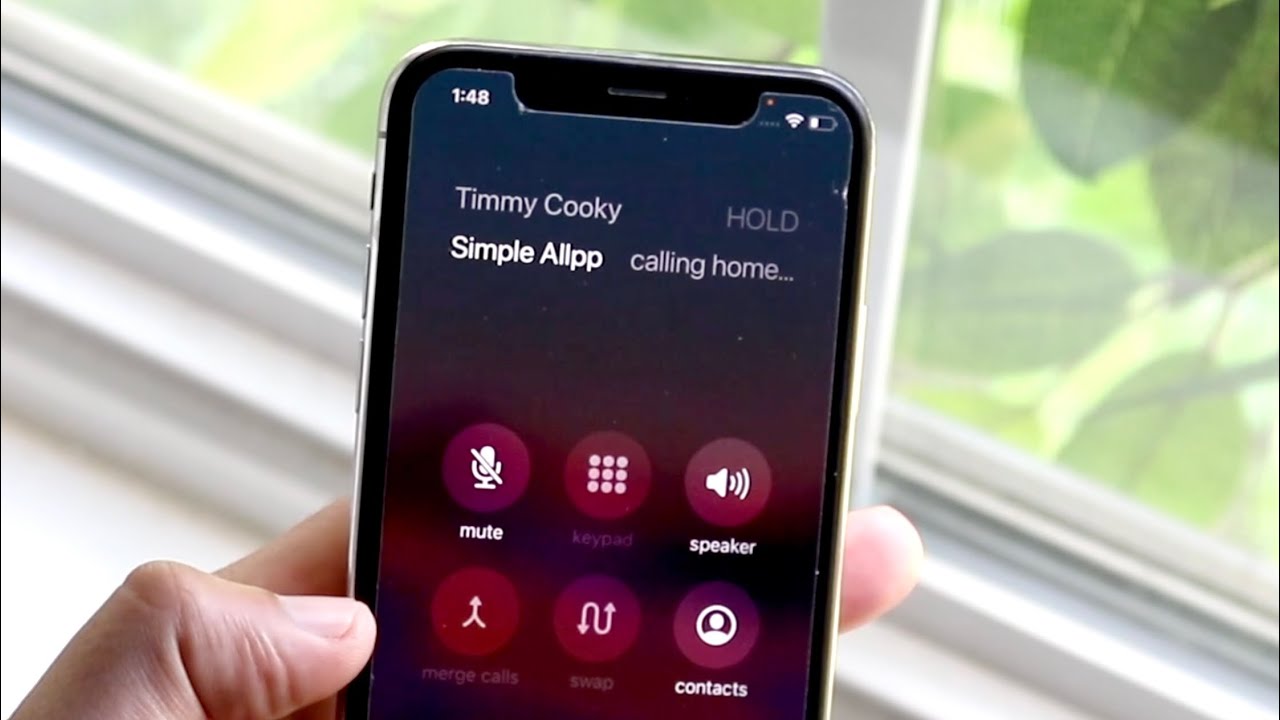
- Test the Ear Speaker: After cleaning the speaker grill, power on your iPhone and test the ear speaker to determine if the cleaning process has resolved the sound issues. Place a test call or play audio to assess the effectiveness of the cleaning.
By regularly cleaning the ear speaker and removing accumulated debris, you can help maintain its optimal performance and prevent potential audio disruptions. If cleaning the ear speaker does not resolve the issue, proceed to explore the additional solutions outlined in this guide to address other potential causes of the ear speaker malfunction.
Solution 2: Restart Your iPhone
Restarting your iPhone is a simple yet effective troubleshooting step that can often resolve temporary software glitches affecting the ear speaker. This process can help refresh the device’s system and potentially eliminate any transient issues impacting sound output. By performing a restart, you can initiate a clean boot of the operating system, which may address the underlying cause of the ear speaker malfunction.
To restart your iPhone, follow these steps:
- Power Off Your iPhone: Press and hold the power button (also known as the side button or sleep/wake button) until the “slide to power off” slider appears on the screen.
- Slide to Power Off: Slide the on-screen control to power off your iPhone completely. Wait for the device to shut down entirely before proceeding to the next step.
- Power On Your iPhone: After the iPhone has powered off, press and hold the power button again until the Apple logo appears on the screen, indicating that the device is restarting.
- Test the Ear Speaker: Once your iPhone has restarted, test the ear speaker by placing a test call or playing audio to determine if the sound issues have been resolved. Ensure that the ear speaker is functioning as expected.
By restarting your iPhone, you can potentially address software-related issues that may be impacting the ear speaker’s performance. This simple troubleshooting step can serve as an initial intervention before exploring more complex solutions. If the ear speaker issue persists after restarting your iPhone, proceed to consider additional troubleshooting measures outlined in this guide.
Solution 3: Update iOS
Keeping your iPhone’s operating system up to date is essential for ensuring optimal performance and addressing potential software-related issues, including those affecting the ear speaker. Updating to the latest version of iOS can introduce bug fixes, security enhancements, and performance improvements that may directly impact the functionality of the ear speaker. By ensuring that your device is running the latest iOS version, you can potentially resolve underlying software glitches and enhance the overall user experience.
To update iOS on your iPhone, follow these steps:
- Connect to Wi-Fi: Ensure that your iPhone is connected to a stable Wi-Fi network to facilitate the download and installation of the iOS update. It is advisable to perform the update over Wi-Fi to avoid excessive data usage and ensure a stable connection.
- Access Software Update: Navigate to Settings > General > Software Update on your iPhone. The device will check for available updates, and if a new iOS version is available, you will be prompted to download and install it.
- Download and Install: If an iOS update is available, follow the on-screen instructions to download and install the update. Ensure that your iPhone is sufficiently charged or connected to a power source during the update process to prevent any interruptions.
- Verify Update Completion: After the update is installed, your iPhone will restart, and the new iOS version will be in effect. Verify that the update has been successfully completed by checking the iOS version in Settings > General > About.
- Test the Ear Speaker: Following the iOS update, test the functionality of the ear speaker by placing a test call or playing audio to confirm that the update has resolved any software-related issues affecting sound output.
By regularly updating iOS, you can ensure that your iPhone benefits from the latest features, performance enhancements, and bug fixes, which can directly impact the functionality of the ear speaker. If updating iOS does not resolve the ear speaker issue, proceed to explore additional troubleshooting solutions outlined in this guide.
Solution 4: Check for Audio Output Settings
Incorrectly configured audio output settings on your iPhone can impact the performance of the ear speaker and lead to sound-related issues. By verifying and adjusting the audio output settings, you can ensure that the ear speaker functions as intended and that sound output is optimized for your preferences and usage scenarios.
To check and adjust the audio output settings on your iPhone, follow these steps:
- Access Sound Settings: Navigate to Settings > Sounds & Haptics on your iPhone to access the sound settings and audio output preferences.
- Adjust Volume Level: Ensure that the volume level is appropriately adjusted for your desired sound output. Use the volume buttons on the side of your iPhone or the on-screen volume slider to adjust the volume to your preference.
- Check Mute and Silent Mode: Verify that the device is not in silent mode (indicated by the silent mode switch on the side of the iPhone) and that the ringer and alert volume settings are configured correctly.
- Test Sound Output: Play audio or ring tones to test the sound output through the ear speaker. Ensure that sound is being emitted from the ear speaker as expected and that there are no issues with the audio output settings.
- Consider Accessibility Settings: If you have specific accessibility settings enabled, such as mono audio or customized sound adjustments, review these settings to ensure that they align with your preferences and do not impact the ear speaker’s performance.
By reviewing and adjusting the audio output settings on your iPhone, you can ensure that the ear speaker functions optimally and that sound output is tailored to your needs. If the ear speaker issue persists despite adjusting the audio output settings, proceed to explore additional troubleshooting solutions outlined in this guide to address potential causes of the malfunction.
Solution 5: Reset All Settings
If the ear speaker issue persists despite attempting the aforementioned solutions, performing a reset of all settings on your iPhone can help eliminate misconfigured preferences and system settings that may be contributing to the problem. This troubleshooting step can serve as a comprehensive intervention to address potential software-related issues that affect the functionality of the ear speaker.
To reset all settings on your iPhone, follow these steps:
- Access Reset Options: Navigate to Settings > General > Reset on your iPhone to access the reset options available for the device.
- Select Reset All Settings: Tap on “Reset All Settings” to initiate the process of resetting all preferences and settings on your iPhone. This action will not erase your data or media but will revert all system settings to their default configurations.
- Confirm the Reset: If prompted, enter your device passcode or Apple ID credentials to confirm the reset process. Your iPhone will begin resetting all settings, and the device will restart once the process is completed.
- Reconfigure Preferences: After the reset is complete and your iPhone has restarted, reconfigure your preferred settings, such as Wi-Fi networks, display preferences, and other customizations. This step ensures that your device is personalized according to your preferences.
- Test the Ear Speaker: Following the reset of all settings, test the functionality of the ear speaker by placing a test call or playing audio to verify that the reset has resolved any underlying software-related issues affecting sound output.
By performing a reset of all settings, you can potentially address systemic software-related issues that impact the ear speaker’s performance. This comprehensive troubleshooting step can help restore the functionality of the ear speaker and enhance the overall user experience. If the ear speaker issue persists after resetting all settings, proceed to explore additional troubleshooting solutions outlined in this guide to address potential causes of the malfunction.
Solution 6: Contact Apple Support
If you have attempted the previous solutions and the ear speaker issue persists, it may indicate a more complex hardware problem or a persistent software-related issue that requires professional diagnosis and intervention. In such cases, contacting Apple Support or visiting an authorized service provider can provide you with access to expert assistance and specialized resources to address the underlying cause of the ear speaker malfunction.
When reaching out to Apple Support, consider the following steps:
- Initiate Contact: Reach out to Apple Support through the official Apple website, the Apple Support app, or by contacting Apple directly via phone. Explain the issue with your ear speaker and provide relevant details about the troubleshooting steps you have already attempted.
- Professional Diagnosis: Apple Support representatives may guide you through additional diagnostic steps to assess the ear speaker’s functionality and identify any underlying hardware or software-related issues that require attention.
- Service Options: Based on the diagnosis, Apple Support can provide you with service options, which may include scheduling an appointment at an Apple Store or an authorized service provider for further evaluation and potential repairs.
- Authorized Service Provider: If advised by Apple Support, visit an authorized service provider or an Apple Store to have your iPhone professionally examined and serviced by certified technicians with access to genuine Apple parts and resources.
- Follow Professional Recommendations: Follow the recommendations and guidance provided by Apple Support and the authorized service provider to address the ear speaker issue effectively and restore your device’s functionality.
By contacting Apple Support and seeking professional assistance, you can access the expertise and resources necessary to address complex ear speaker issues and ensure that your iPhone’s functionality is restored to its optimal state. Professional diagnosis and intervention can provide you with the confidence that the underlying cause of the ear speaker malfunction is addressed comprehensively and effectively.