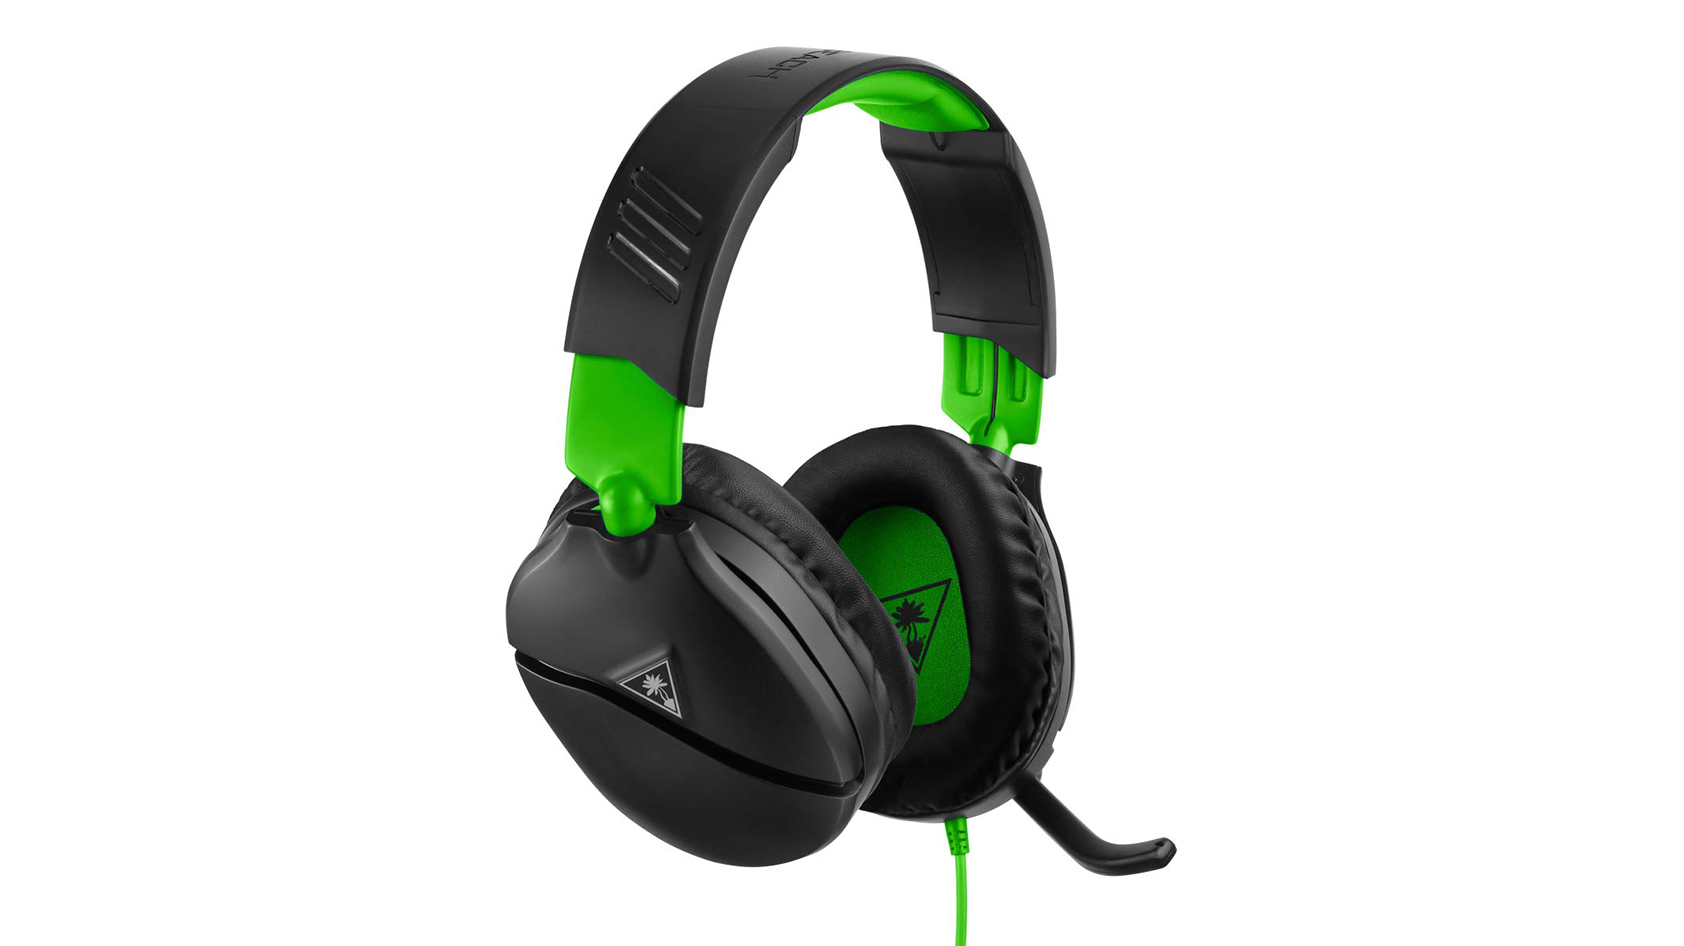
Introduction
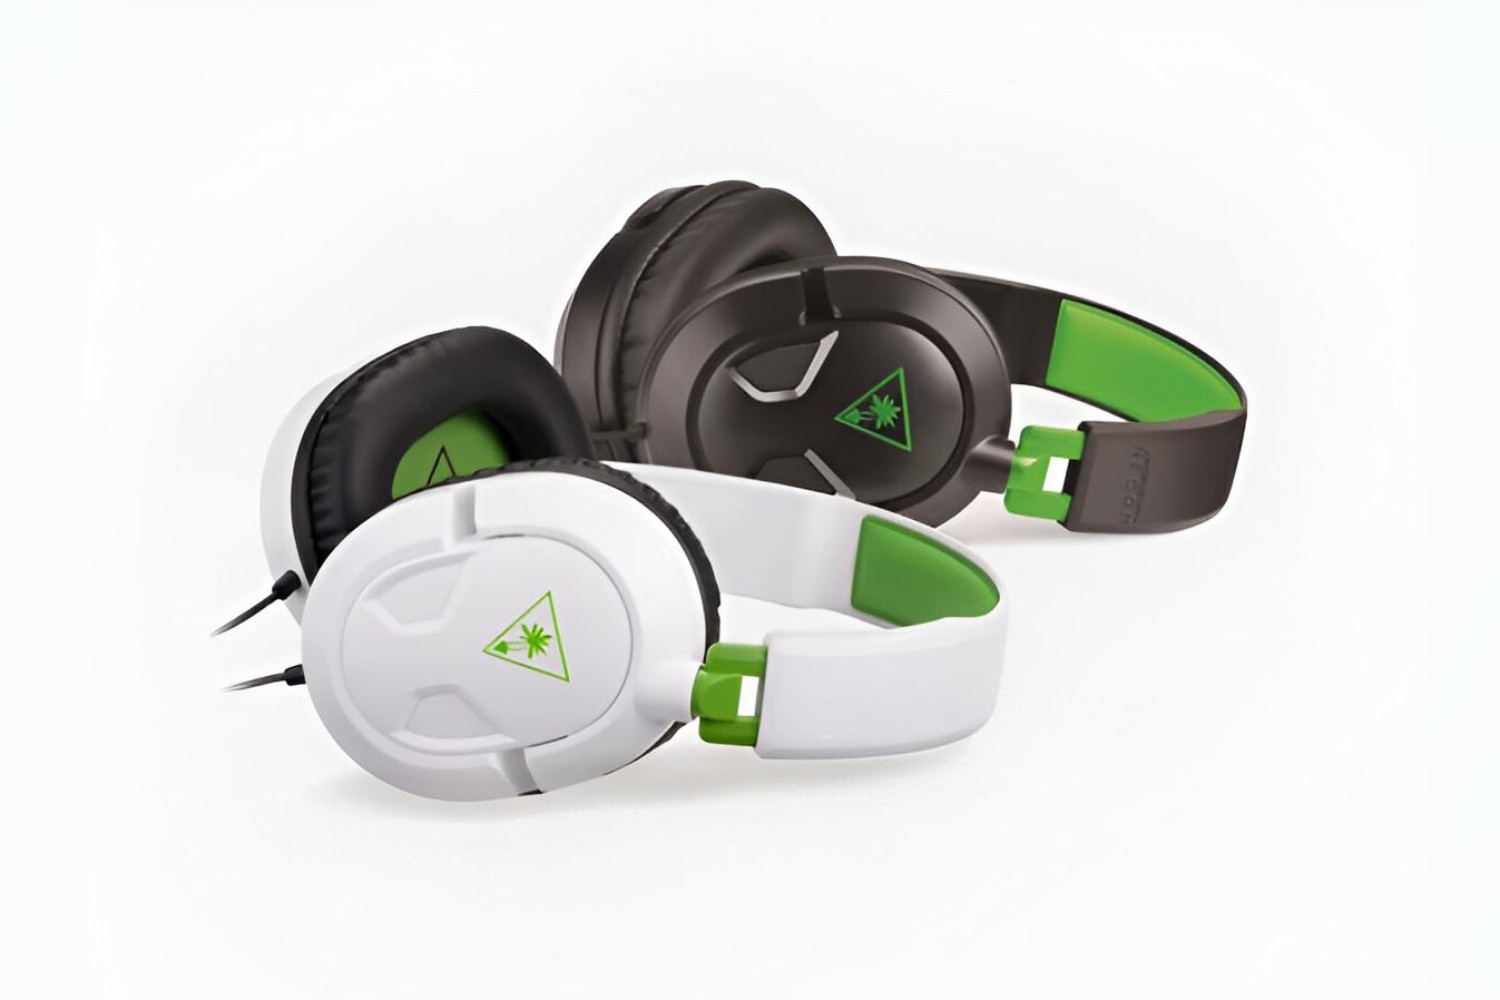
Turtle Beach headsets have gained immense popularity among gamers and audio enthusiasts for their exceptional sound quality and comfort. While these headsets are designed to withstand rigorous use, there may come a time when you need to disassemble them for cleaning, maintenance, or repairs. Knowing how to disassemble your Turtle Beach headset can be invaluable in extending its lifespan and ensuring optimal performance.
In this comprehensive guide, we will walk you through the step-by-step process of disassembling a Turtle Beach headset. Whether you own a Stealth series headset, a Recon model, or any other Turtle Beach variant, this guide will equip you with the knowledge and confidence to safely disassemble your headset without causing damage.
By following the instructions provided in this guide, you will gain a deeper understanding of the intricate components that make up your Turtle Beach headset. Additionally, you will learn valuable maintenance techniques that can help preserve the longevity of your headset and ensure that it continues to deliver immersive audio experiences for years to come.
So, grab your tools and get ready to embark on a journey into the inner workings of your Turtle Beach headset. Whether you're a seasoned tech enthusiast or a curious beginner, this guide is designed to be accessible and informative for all levels of expertise. Let's dive into the world of Turtle Beach headsets and discover the magic that lies beneath the surface.
Tools Needed for Disassembly
Before embarking on the disassembly process, it's essential to gather the necessary tools to ensure a smooth and efficient experience. The following tools are recommended for disassembling a Turtle Beach headset:
-
Precision Screwdriver Set: A precision screwdriver set with various Phillips and flathead screwdriver sizes is essential for removing the screws that secure the components of the headset.
-
Plastic Opening Tools: These non-conductive and non-marring tools are ideal for prying open the plastic components of the headset without causing damage. They help in safely separating the delicate parts during disassembly.
-
Microfiber Cloth: A soft microfiber cloth is indispensable for wiping and cleaning the internal components of the headset. It is crucial for removing dust, fingerprints, and other debris that may have accumulated inside the headset.
-
Compressed Air Duster: This tool is useful for blowing away dust and debris from hard-to-reach areas within the headset. It helps maintain the cleanliness of the internal components and ensures optimal performance.
-
Tweezers: Precision tweezers are handy for handling small components and delicate wires during the disassembly process. They provide the dexterity needed to manipulate tiny parts without causing damage.
-
Organizational Tray or Container: Using a dedicated tray or container to organize and store the removed screws and components during disassembly can prevent loss and confusion. This is especially helpful when dealing with multiple small parts.
-
Work Surface: A clean and well-lit work surface is essential for disassembling the headset. It provides a stable area to lay out the components and perform the disassembly process with precision.
By ensuring that these tools are readily available, you can approach the disassembly of your Turtle Beach headset with confidence and preparedness. Having the right tools at your disposal will not only facilitate a seamless disassembly process but also contribute to the overall maintenance and care of your headset. With these tools in hand, you are now ready to delve into the disassembly of your Turtle Beach headset and explore its inner workings.
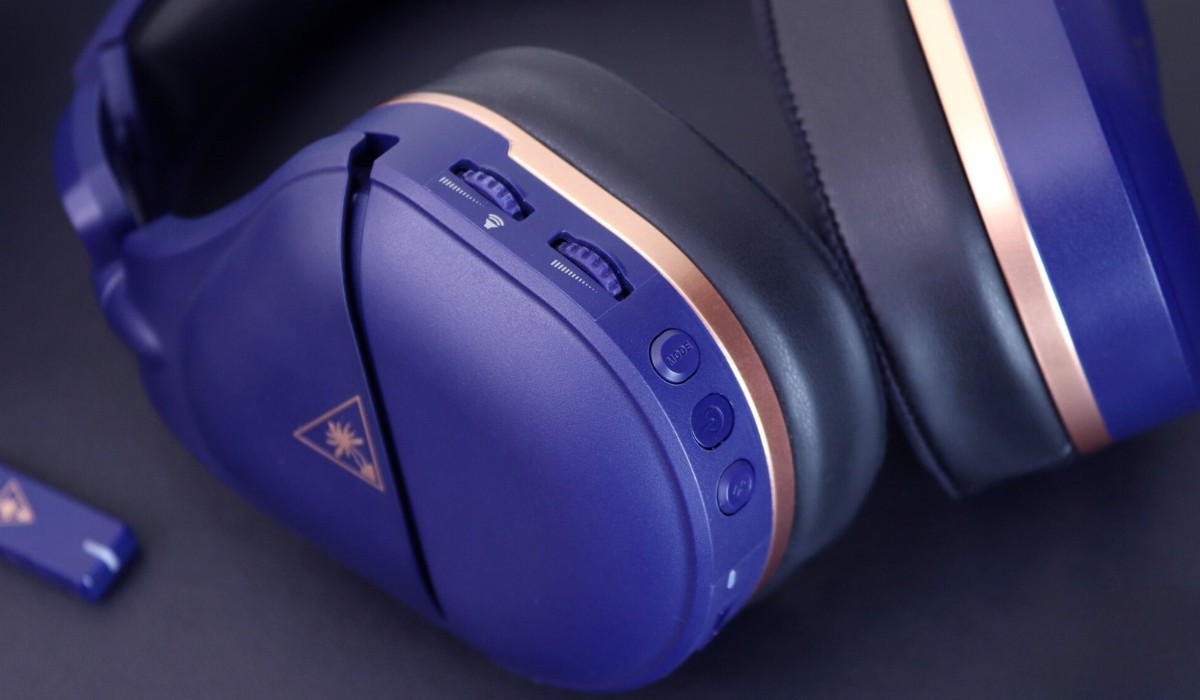
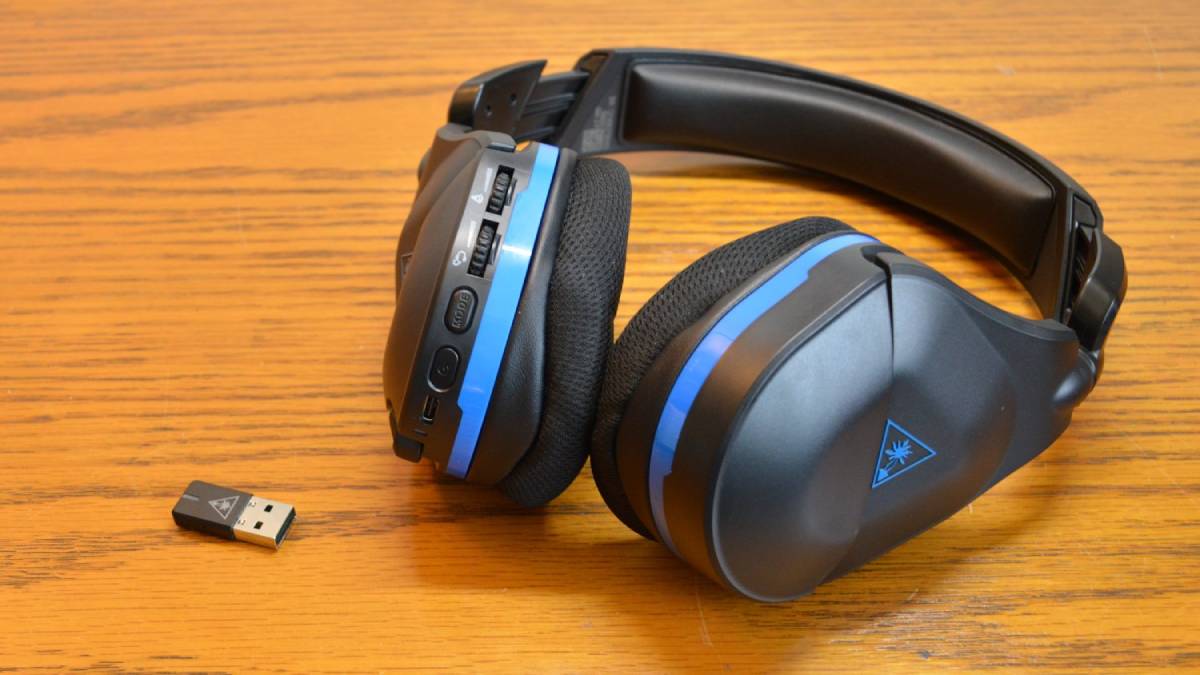
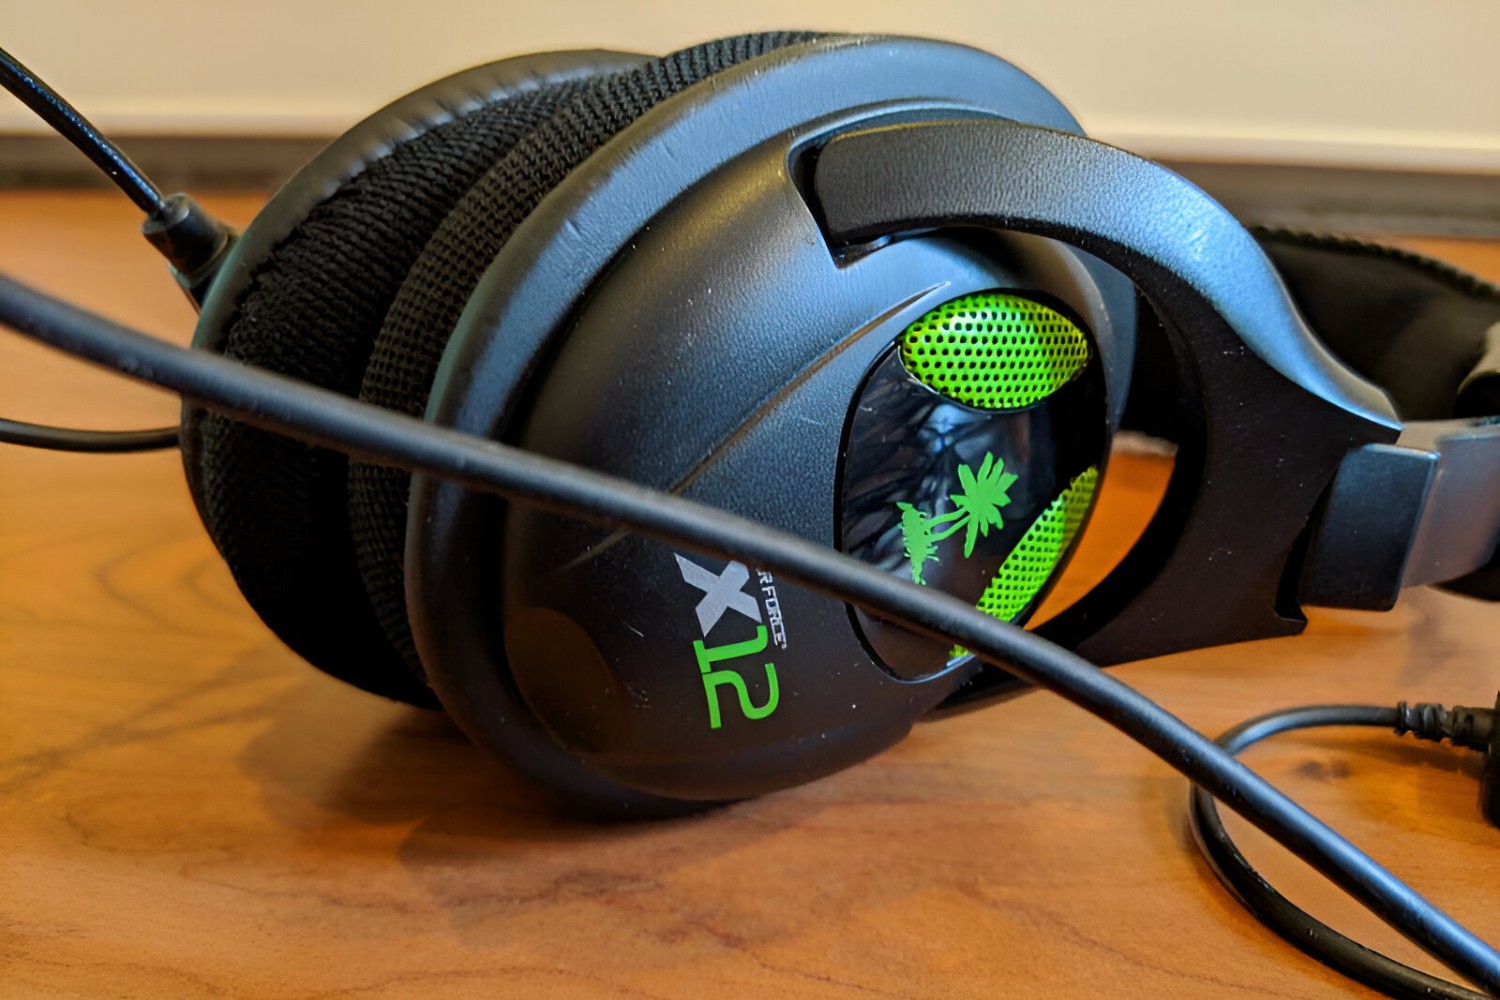
Disassembling the Turtle Beach Headset
To begin the disassembly process, carefully examine the exterior of the Turtle Beach headset to identify the points where the components are joined or secured. Most Turtle Beach headsets are assembled using a combination of screws, clips, and adhesive bonds. Here's a step-by-step guide to disassembling the headset:
-
Locate and Remove Screws: Using a precision screwdriver from the recommended set, identify and remove the screws that secure the outer casing of the headset. These screws are typically located around the ear cups and headband. Keep the removed screws in a designated container to prevent misplacement.
-
Separate the Casing: After removing the screws, gently pry open the outer casing of the headset using plastic opening tools. Carefully work around the edges to release any clips or adhesive bonds that hold the casing together. Take your time to avoid applying excessive force, as this may cause damage to the plastic components.
-
Access the Internal Components: Once the outer casing is removed, you will gain access to the internal components of the headset. Take note of the arrangement of the components and the routing of any wires or cables. This will be helpful when reassembling the headset later.
-
Disconnect Wires and Cables: Carefully disconnect any wires or cables that connect the speakers, microphone, or other components to the main circuit board. Use tweezers if necessary to handle small connectors. Take note of the orientation of the connectors to ensure proper reconnection during assembly.
-
Remove the Main Circuit Board: Unscrew and carefully lift out the main circuit board, which houses the electronic components and controls of the headset. Handle the circuit board with care to avoid static discharge or physical damage.
-
Separate the Ear Cups: If necessary, disassemble the ear cups by removing any additional screws or clips that secure them to the headband. This step may vary depending on the specific model of the Turtle Beach headset.
By following these steps, you can successfully disassemble your Turtle Beach headset and gain insight into its internal construction. Remember to handle the delicate components with care and keep track of the disassembled parts to facilitate the reassembly process later on. With the headset disassembled, you can proceed to clean, inspect, or perform any necessary maintenance on the individual components before reassembling the device.
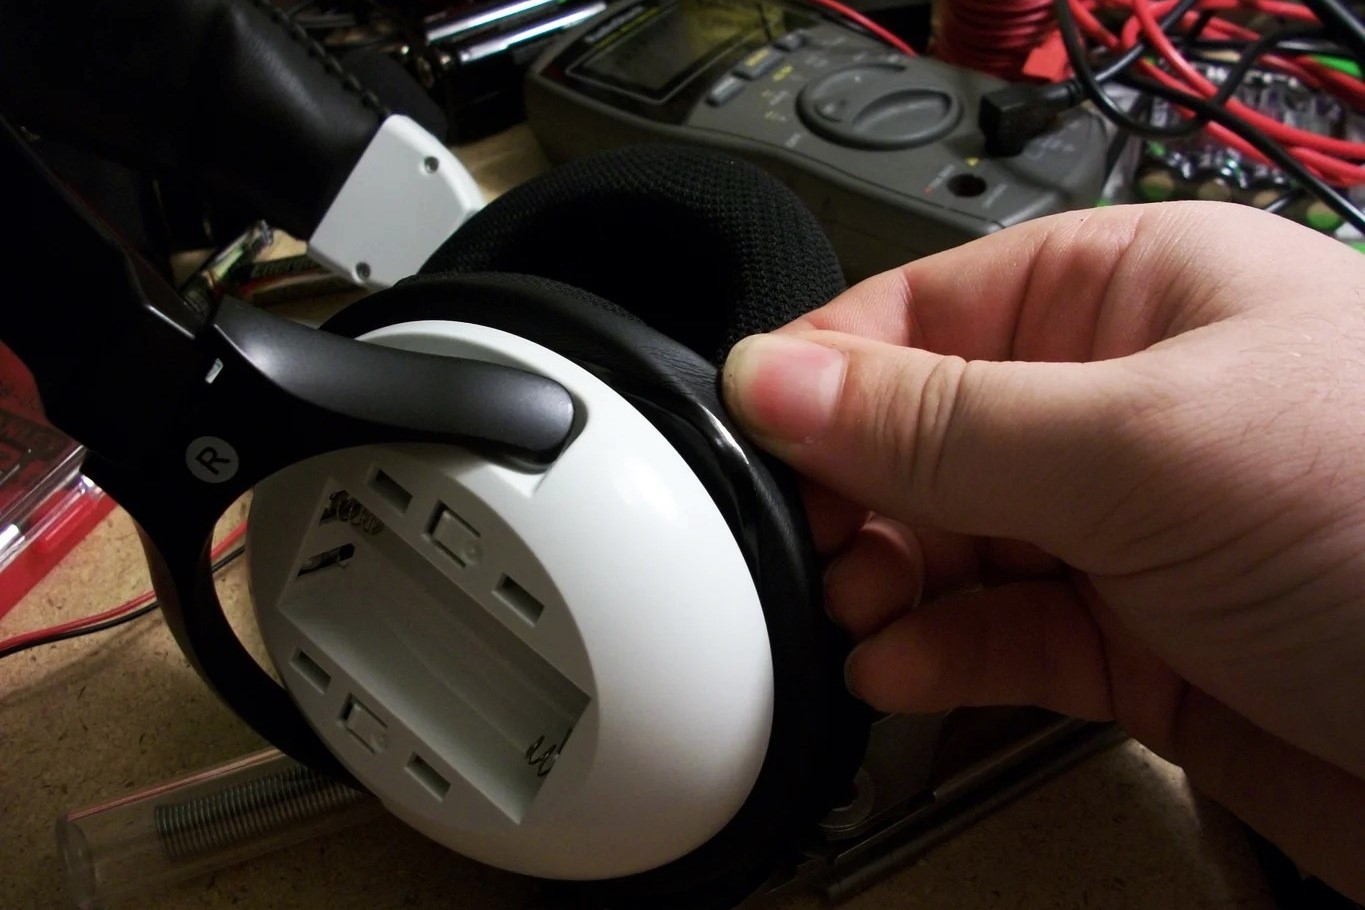
Removing the Ear Cushions
Removing the ear cushions is a crucial step in the disassembly process of a Turtle Beach headset, as it allows access to the internal components and facilitates thorough cleaning and maintenance. The ear cushions are designed to provide comfort and acoustical isolation, and they are typically secured to the ear cups using a combination of clips and adhesive bonds. Here's a detailed guide on how to remove the ear cushions from your Turtle Beach headset:
-
Inspect the Attachment Mechanism: Begin by carefully examining the attachment mechanism of the ear cushions. Depending on the specific model of the Turtle Beach headset, the ear cushions may be secured using clips, adhesive strips, or a combination of both. Take note of the attachment points and any visible screws that may need to be removed.
-
Gently Pry Open the Ear Cushions: Using plastic opening tools, gently pry open the edges of the ear cushions to release them from the ear cups. Apply gentle and even pressure to avoid damaging the cushion material or the plastic housing of the ear cups. Take your time to ensure a gradual and controlled separation.
-
Unhook the Clips or Adhesive Bonds: Once the edges of the ear cushions are partially separated, carefully unhook any clips or adhesive bonds that secure them to the ear cups. This may require a combination of gentle twisting and pulling to release the attachment points. Be mindful of any delicate wires or components that may be located near the attachment area.
-
Lift and Remove the Ear Cushions: With the attachment points released, lift the ear cushions away from the ear cups. Take care not to tug forcefully, as this may cause damage to the cushion material or strain the attachment points. Ensure that any wires or cables attached to the ear cushions are gently detached to allow complete removal.
-
Inspect and Clean the Ear Cushions: Once removed, inspect the ear cushions for any signs of wear, damage, or debris accumulation. Use a soft microfiber cloth and a mild cleaning solution to gently wipe the surface of the cushions, removing any dirt, oils, or residue. Allow the cushions to air dry completely before reassembly.
By following these steps, you can successfully remove the ear cushions from your Turtle Beach headset without causing damage to the delicate components. This process provides the opportunity to clean, inspect, or replace the ear cushions as needed, contributing to the overall comfort and performance of the headset. With the ear cushions removed, you can proceed to address any maintenance requirements and prepare for the reassembly of your Turtle Beach headset.
Removing the Speakers
Removing the speakers from your Turtle Beach headset is a pivotal step in the disassembly process, as it grants access to the essential audio components and facilitates thorough cleaning and maintenance. The speakers, also known as drivers, are responsible for producing the high-quality sound that Turtle Beach headsets are renowned for. Here's a comprehensive guide on how to remove the speakers from your Turtle Beach headset:
-
Identify the Speaker Housing: Begin by locating the speaker housing within the ear cups of the headset. The speakers are typically positioned behind protective grilles or covers, secured within the ear cups. Take note of any screws, clips, or adhesive bonds that may be holding the speaker housing in place.
-
Carefully Remove the Grilles or Covers: Using precision screwdrivers and plastic opening tools, carefully remove any grilles or covers that protect the speakers. These components are designed to shield the speakers from dust and debris while allowing sound to pass through. Exercise caution to avoid damaging the delicate speaker components or the surrounding housing.
-
Disconnect the Speaker Wires: Once the grilles or covers are removed, you will gain access to the speakers and their connecting wires. Carefully disconnect the wires that are attached to the speakers, ensuring that you note the orientation and placement of each wire for reassembly. Precision tweezers can be useful for handling the small connectors with care.
-
Unscrew and Release the Speakers: With the speaker wires disconnected, locate the screws or fasteners that secure the speakers within the housing. Using the appropriate screwdriver from your toolkit, carefully unscrew and release the speakers from their mounting points. Take care to support the speakers as you remove the final screws to prevent them from falling or becoming damaged.
-
Inspect and Clean the Speakers: Once the speakers are removed, take the opportunity to inspect them for any signs of wear, damage, or debris accumulation. Use a gentle burst of compressed air to remove any dust or particles that may have settled on the speaker diaphragms or within the housing. Avoid direct contact with the speaker components to prevent damage.
By following these steps, you can successfully remove the speakers from your Turtle Beach headset, providing access to the vital audio components for maintenance and cleaning. This process allows you to address any maintenance requirements and prepare the speakers for reinstallation, ensuring that your headset continues to deliver exceptional audio performance.
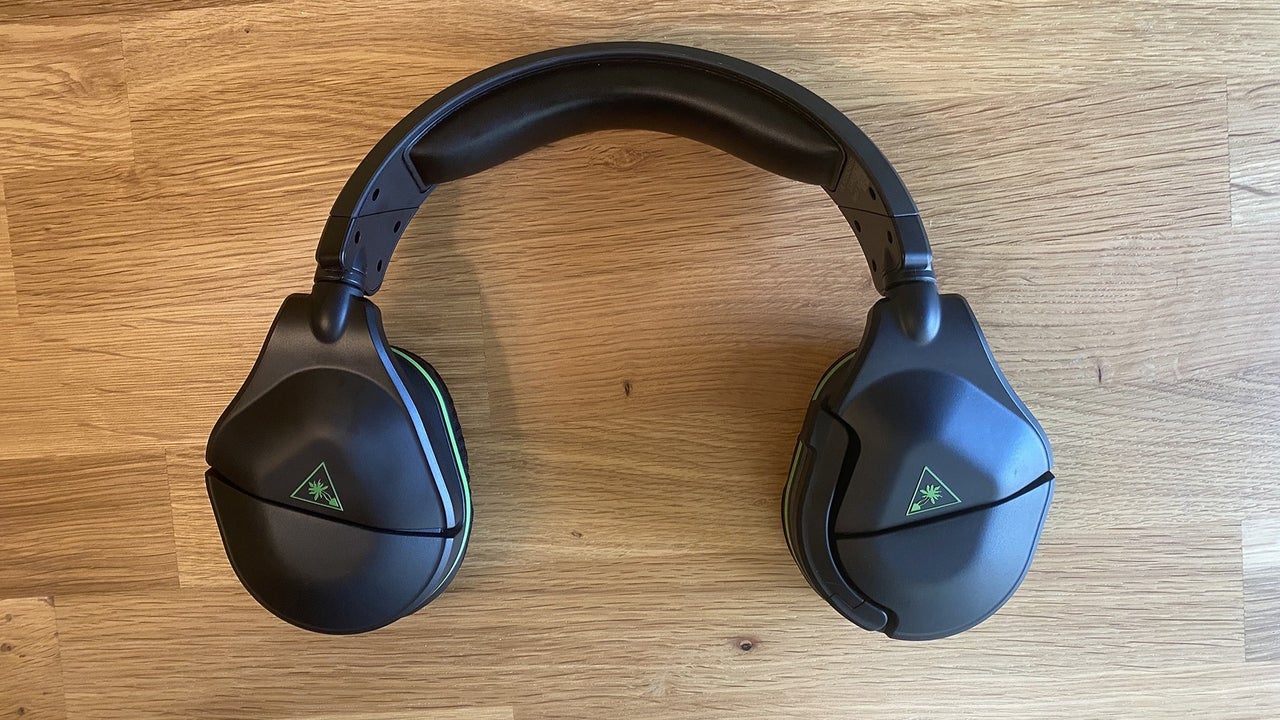
Removing the Headband
Removing the headband of a Turtle Beach headset is a crucial step in the disassembly process, as it allows access to internal components and facilitates thorough cleaning and maintenance. The headband not only provides structural support and comfort but also houses essential components such as the adjustment mechanisms and wiring. Here's a detailed guide on how to remove the headband from your Turtle Beach headset:
-
Locate the Attachment Points: Begin by examining the points where the headband is attached to the ear cups and the adjustment sliders. Depending on the model of the Turtle Beach headset, the headband may be secured using screws, clips, or a combination of both. Take note of the attachment points and any visible screws that may need to be removed.
-
Unscrew and Release the Headband: Using the appropriate screwdriver from your toolkit, carefully unscrew the fasteners that secure the headband to the ear cups and the adjustment sliders. Keep track of the removed screws to prevent misplacement. Once the screws are removed, gently release the headband from its mounting points, taking care to support it as it is separated from the headset.
-
Disconnect Internal Wires: As the headband is being removed, take note of any wires or cables that are routed through it. Carefully disconnect any wires that are connected to the adjustment mechanisms or other components within the headband. Precision tweezers can be useful for handling small connectors with care and precision.
-
Inspect and Clean the Headband: Once the headband is removed, take the opportunity to inspect it for any signs of wear, damage, or debris accumulation. Use a soft microfiber cloth and a mild cleaning solution to gently wipe the surface of the headband, removing any dirt, oils, or residue. Pay attention to the adjustment mechanisms and ensure that they are free from any obstructions or debris that may affect their functionality.
-
Address Maintenance Requirements: If the headband shows signs of wear or damage, this is the ideal time to address any maintenance requirements. Depending on the specific model of the Turtle Beach headset, replacement headbands may be available, allowing you to restore the headset to optimal condition.
By following these steps, you can successfully remove the headband from your Turtle Beach headset, providing access to internal components for maintenance and cleaning. This process allows you to address any maintenance requirements and prepare the headband for reinstallation, ensuring that your headset continues to provide comfort and stability during extended use.
Cleaning and Maintenance
After disassembling your Turtle Beach headset, thorough cleaning and maintenance are essential to ensure optimal performance and longevity. The following steps will guide you through the cleaning and maintenance process:
-
Cleaning the Components: Use a soft microfiber cloth to gently wipe the surfaces of the disassembled components, removing any accumulated dust, oils, or residues. Pay close attention to intricate areas and crevices to ensure thorough cleaning.
-
Inspecting for Wear and Damage: Carefully inspect each component for signs of wear, damage, or degradation. Look for frayed wires, loose connections, or worn-out padding. Identifying and addressing these issues during the maintenance process can prevent potential problems in the future.
-
Using Compressed Air: Utilize a can of compressed air to blow away dust and debris from hard-to-reach areas, such as the speaker drivers, circuit boards, and internal crevices. This step helps maintain the cleanliness of the internal components and ensures optimal performance.
-
Applying Contact Cleaner (if applicable): If your headset features adjustable sliders, switches, or potentiometers, consider applying contact cleaner to these components. This can help remove any built-up grime or oxidation that may affect the functionality of these parts.
-
Replacing Worn-Out Parts: If any components show significant wear or damage, such as worn ear cushions or frayed wires, consider replacing them with genuine Turtle Beach replacement parts. This proactive approach can prolong the lifespan of your headset and maintain its original performance.
-
Reassembling with Care: When reassembling the headset, ensure that all components are securely and correctly positioned. Pay attention to the routing of wires and cables to prevent any pinching or strain on the connections.
-
Testing the Headset: After reassembly, test the headset to ensure that all functions, including audio output, microphone input, and control buttons, are working correctly. This allows you to verify the success of the disassembly, cleaning, and reassembly process.
By following these cleaning and maintenance steps, you can preserve the quality and functionality of your Turtle Beach headset. Regular maintenance and cleaning not only extend the lifespan of the headset but also contribute to a consistently enjoyable audio experience.
Reassembling the Turtle Beach Headset
After completing the disassembly, cleaning, and maintenance of your Turtle Beach headset, reassembling the components is a critical step in restoring the device to its fully functional state. Proper reassembly ensures that all parts are securely and correctly positioned, allowing the headset to deliver its signature audio performance and comfort. Here's a detailed guide on the reassembly process:
-
Organize the Components: Before reassembling the headset, lay out all the cleaned and maintained components in an organized manner. This includes the ear cushions, speakers, headband, main circuit board, and any other disassembled parts. Ensuring that all components are easily accessible will streamline the reassembly process.
-
Reattaching the Headband: Begin by carefully reattaching the headband to the ear cups and the adjustment sliders. Align the attachment points and secure them using the appropriate screws. Pay attention to the routing of any wires or cables that are integrated into the headband, ensuring that they are properly connected without being pinched or strained.
-
Installing the Speakers: Place the speakers back into their respective housing within the ear cups. Secure the speakers using the previously removed screws or fasteners, taking care to align them correctly. Reconnect the speaker wires, ensuring that each wire is properly oriented and securely attached to the corresponding terminals.
-
Replacing the Ear Cushions: Position the cleaned ear cushions onto the ear cups, aligning them with the attachment points. Gently press the cushions to secure them in place, ensuring that any clips or adhesive bonds are properly engaged. Take care to avoid applying excessive force that may damage the delicate cushion material or the ear cup housing.
-
Reconnecting Internal Wires and Cables: If any wires or cables were disconnected during the disassembly process, carefully reconnect them to their respective terminals and connectors. Pay close attention to the orientation and alignment of each connection to prevent any issues with functionality or performance.
-
Securing the Outer Casing: Once all internal components are reassembled, carefully position the outer casing over the headset, ensuring that it aligns with the attachment points. Gently press the casing to secure it in place, taking care to engage any clips or fasteners that hold it together. If screws were removed during disassembly, reinsert and tighten them to secure the casing.
-
Final Inspection and Testing: After reassembly, perform a final inspection of the headset to ensure that all components are securely in place and that no wires are pinched or obstructed. Test the headset to verify that all functions, including audio output, microphone input, and control buttons, are working as expected.
By following these reassembly steps with precision and care, you can successfully restore your Turtle Beach headset to its fully operational state. The meticulous reassembly process ensures that all components are correctly positioned and secured, allowing the headset to deliver the exceptional audio quality and comfort it is known for.