Introduction
Welcome to our step-by-step guide on how to effectively clean the top speaker of your iPhone. Over time, the speaker grill of your iPhone can accumulate dust, lint, and other debris, leading to muffled sound and reduced audio quality. By following these simple yet effective cleaning steps, you can restore the clarity and crispness of your iPhone's speaker output.
A clean speaker not only ensures optimal sound quality but also prevents potential damage to the internal components caused by debris buildup. Whether you enjoy listening to music, engaging in phone calls, or watching videos, maintaining a clean speaker is essential for an immersive audio experience.
In this comprehensive guide, we will walk you through the process of gathering the necessary tools, safely powering off your iPhone, and using gentle cleaning techniques to remove debris from the speaker grill. We will also cover the use of compressed air, cotton swabs, and rubbing alcohol to achieve a thorough cleaning without causing damage to your device.
By taking the time to clean your iPhone's speaker, you can prolong its lifespan and maintain its performance at its best. Let's dive into the step-by-step process of cleaning the top speaker of your iPhone to ensure that you enjoy clear and vibrant sound output with every use.
Step 1: Gather the Necessary Tools
Before beginning the cleaning process, it’s essential to gather the appropriate tools to ensure a thorough and safe cleaning experience. Here are the tools you will need:
- Soft-bristled brush: Opt for a small, soft-bristled brush, such as a clean makeup brush or a specialized electronics cleaning brush. The gentle bristles will effectively dislodge and remove surface debris without causing damage to the speaker grill.
- Compressed air: A can of compressed air is ideal for dislodging stubborn dirt and dust particles from the speaker grill and other intricate areas of your iPhone. Ensure that the compressed air is specifically designed for electronics cleaning to avoid any moisture-related damage.
- Cotton swabs: Select a few clean, high-quality cotton swabs to reach and clean the speaker grill’s crevices effectively. The cotton swabs will be used in combination with rubbing alcohol for a thorough cleaning process.
- Rubbing alcohol: Use a small amount of isopropyl alcohol (70% concentration or higher) to disinfect and remove any remaining debris from the speaker grill. The alcohol evaporates quickly, making it safe for use on electronic devices.
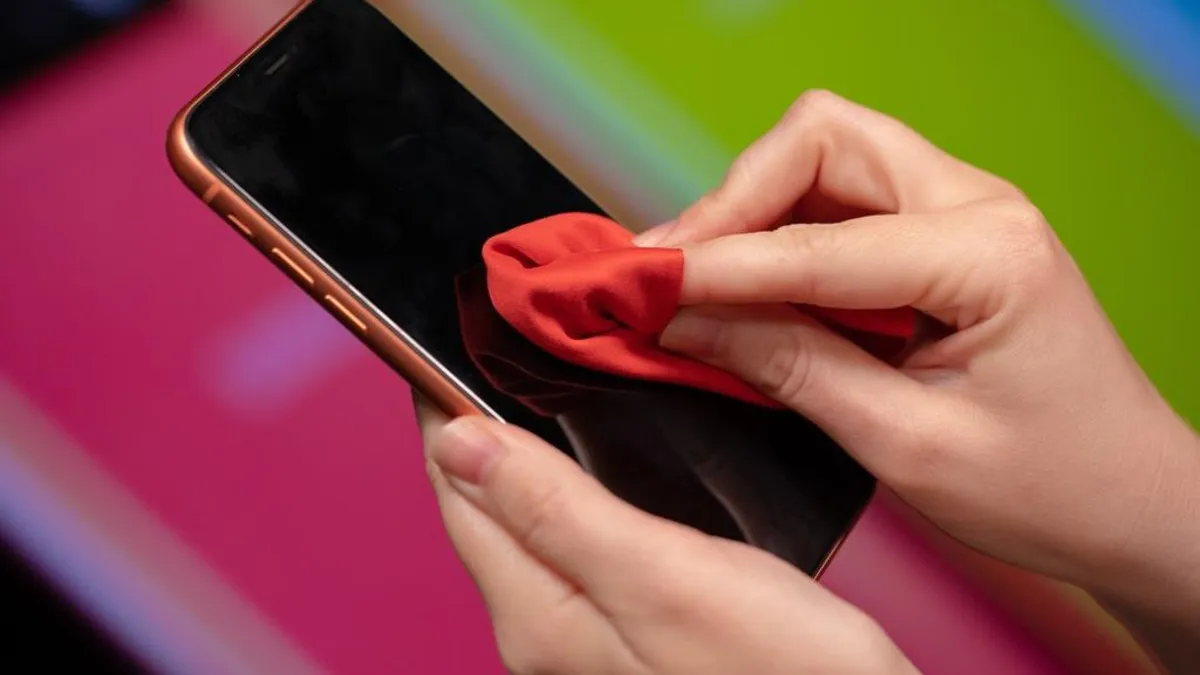
- Microfiber cloth: Prepare a soft microfiber cloth to wipe the exterior of your iPhone after the cleaning process. This will help remove any residual cleaning agents and ensure a polished finish.
By gathering these essential tools, you will be fully equipped to proceed with the cleaning process, ensuring that your iPhone’s top speaker receives a thorough and safe cleaning without the risk of damage.
Step 2: Power off the iPhone
Before initiating the cleaning process, it’s crucial to power off your iPhone to prevent any potential damage and ensure your safety throughout the procedure. Follow these steps to power off your device:
- Unlock your iPhone: If your device is locked, unlock it by entering your passcode or using Touch ID/Face ID.
- Locate the power button: Identify the power button, typically located on the right side of the iPhone (iPhone 6 and later) or on the top (iPhone SE 2nd generation and earlier).
- Press and hold the power button: Press and hold the power button until the “slide to power off” slider appears on the screen.
- Slide to power off: Swipe the “slide to power off” slider from left to right to shut down your iPhone.
- Wait for the device to power off: Allow your iPhone to completely power off before proceeding with the cleaning process.
Ensuring that your iPhone is powered off mitigates the risk of accidental damage to the device or injury to yourself during the cleaning process. Additionally, powering off your iPhone prevents any potential interference with the device’s functions while you clean the speaker grill and surrounding areas.
By following these simple steps to power off your iPhone, you are taking a proactive measure to ensure a safe and uninterrupted cleaning experience. Once your device is powered off, you can proceed with the subsequent steps to effectively clean the top speaker of your iPhone and restore its audio clarity.
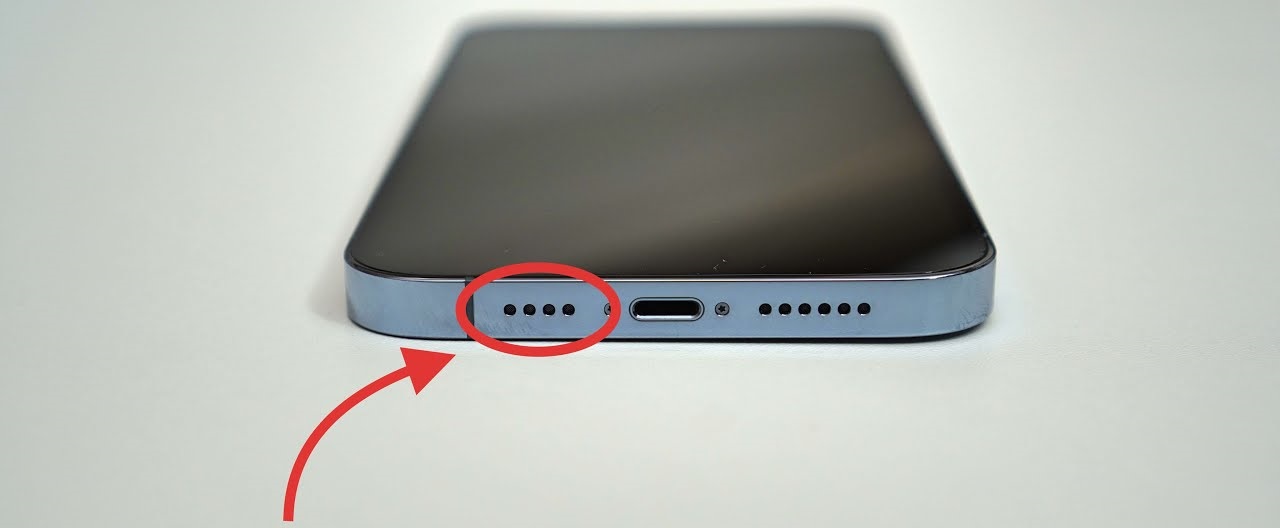
Step 3: Use a Soft-Bristled Brush to Gently Remove Debris
With your iPhone powered off, it’s time to begin the process of removing surface debris from the speaker grill using a soft-bristled brush. This step is crucial for dislodging and clearing away any visible dirt or lint that may be obstructing the speaker’s output. Follow these steps to effectively use a soft-bristled brush for gentle debris removal:
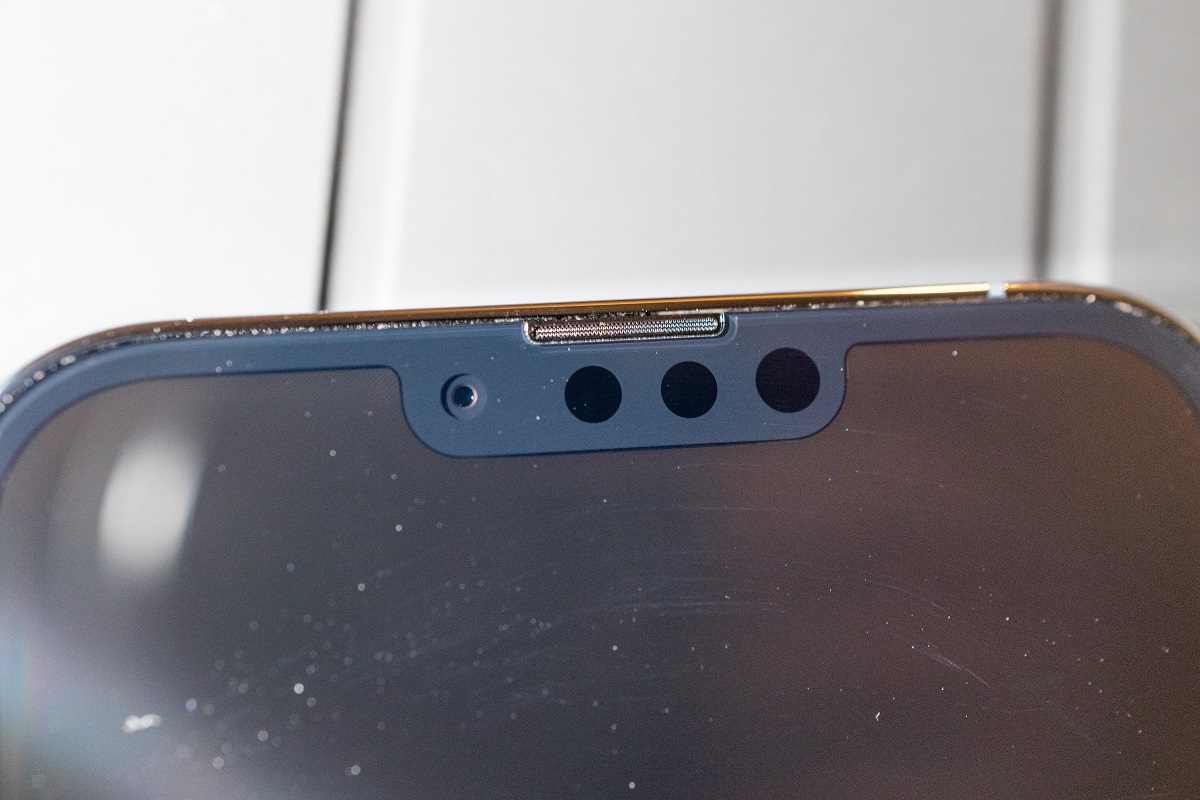
- Inspect the speaker grill: Carefully examine the speaker grill area to identify any visible debris or particles that may be obstructing the sound output.
- Gently brush the speaker grill: Using the soft-bristled brush, lightly sweep across the speaker grill in a back-and-forth motion to dislodge and remove surface debris. Avoid applying excessive pressure to prevent damage to the delicate components.
- Brush from different angles: To ensure thorough cleaning, brush the speaker grill from multiple angles to dislodge debris that may be lodged in the tiny perforations.
- Tap the iPhone gently: Lightly tap the iPhone against your hand or a soft surface to encourage any loosened debris to fall out of the speaker grill.
By using a soft-bristled brush in a gentle and methodical manner, you can effectively remove visible debris from the speaker grill without causing harm to the internal components. This initial cleaning step sets the stage for a more comprehensive cleaning process to follow, ensuring that the speaker grill is free from obstructive particles.
Once you have completed this step, you will be ready to proceed with additional cleaning techniques to address any remaining dirt and maintain the optimal performance of your iPhone’s top speaker.
Step 4: Use Compressed Air to Remove Stubborn Dirt
After gently removing surface debris with a soft-bristled brush, the next step involves using compressed air to dislodge and eliminate any stubborn dirt or dust particles that may be lodged within the speaker grill and surrounding areas. Follow these steps to effectively use compressed air for thorough cleaning:
- Hold the iPhone securely: Ensure that your iPhone is held securely to prevent accidental drops while using the compressed air.
- Use short bursts of air: Holding the can of compressed air upright, administer short, controlled bursts of air into the speaker grill. Avoid tilting the can at an angle that could release liquid propellant, which may damage the device.
- Target different angles: Direct the compressed air at various angles into the speaker grill to dislodge and expel any trapped dirt or debris effectively.
- Keep a safe distance: Maintain a safe distance of approximately 6 to 8 inches between the nozzle of the compressed air can and the iPhone to prevent any potential damage from the force of the air.
- Inspect for debris: After using the compressed air, visually inspect the speaker grill for any remaining particles. If necessary, repeat the process to ensure thorough cleaning.
Utilizing compressed air allows for a targeted and forceful removal of dirt and debris from the speaker grill, contributing to a comprehensive cleaning process. This step is particularly effective for dislodging particles that may be deeply embedded within the speaker grill’s perforations.
By incorporating the use of compressed air into the cleaning process, you can ensure that the speaker grill is free from stubborn dirt and debris, ultimately enhancing the overall audio performance of your iPhone.
Step 5: Clean with a Cotton Swab and Rubbing Alcohol
Following the use of compressed air, the next step involves utilizing a cotton swab and rubbing alcohol to achieve a meticulous cleaning of the speaker grill and its surrounding areas. This method effectively removes any remaining dirt, disinfects the surface, and ensures optimal hygiene. Here’s how to proceed with cleaning using a cotton swab and rubbing alcohol:
- Dampen the cotton swab: Moisten one end of a clean cotton swab with a small amount of isopropyl alcohol (rubbing alcohol). Ensure that the cotton swab is not overly saturated to prevent excess liquid from entering the device.
- Gently swab the speaker grill: With the dampened end of the cotton swab, gently and carefully swab the speaker grill, focusing on the areas where stubborn dirt or residue may be present. Use a light touch to avoid applying excessive pressure.
- Rotate the cotton swab: If necessary, rotate the cotton swab to a clean section and continue swabbing the speaker grill until all visible dirt and grime are removed.
- Allow the speaker grill to dry: After cleaning with rubbing alcohol, allow the speaker grill to air dry completely before powering on your iPhone.
By incorporating rubbing alcohol into the cleaning process, you not only remove stubborn dirt and residue but also disinfect the speaker grill, promoting a hygienic environment for audio output. The use of a cotton swab allows for precise cleaning, ensuring that the speaker grill is thoroughly addressed.
Once the speaker grill has dried completely, you will be ready to proceed with the final steps to ensure that your iPhone’s top speaker is impeccably clean and primed for optimal performance.
Step 6: Let the Speaker Dry Completely
After the thorough cleaning process, it is crucial to allow the speaker grill to dry completely before powering on your iPhone. This final step ensures that any residual moisture from the cleaning agents evaporates, preventing potential damage to the internal components and ensuring optimal performance. Here’s how to proceed with allowing the speaker to dry:
- Air drying: Place your iPhone in a dry and well-ventilated area, allowing the speaker grill to air dry naturally. Avoid using heat sources such as hairdryers, as excessive heat can damage the device.
- Patience is key: Exercise patience and allow sufficient time for the speaker grill to dry thoroughly. The duration may vary based on environmental conditions, but ensuring complete dryness is essential.
- Visual inspection: Once you believe the speaker grill has dried, visually inspect it to ensure that no moisture or residue remains. A well-lit environment can aid in identifying any lingering moisture.
By allowing the speaker grill to dry completely, you mitigate the risk of potential damage to your iPhone and ensure that the cleaning process culminates in an optimal outcome. This step contributes to maintaining the integrity of the internal components and promoting the longevity of your device.
Once you are confident that the speaker grill has dried thoroughly, you can proceed with powering on your iPhone and enjoying the revitalized audio clarity and performance resulting from the meticulous cleaning process.
Conclusion
Congratulations! By following this step-by-step guide, you have successfully learned how to effectively clean the top speaker of your iPhone. Maintaining a clean speaker is essential for preserving audio quality and ensuring the longevity of your device. By incorporating gentle cleaning techniques and essential tools, you have taken proactive steps to optimize the performance of your iPhone’s top speaker.
Remember, regular cleaning of the speaker grill can prevent debris buildup, which may compromise sound quality and lead to potential damage. By gathering the necessary tools, powering off your iPhone, using a soft-bristled brush, compressed air, cotton swabs, and rubbing alcohol, and allowing the speaker to dry completely, you have achieved a thorough and safe cleaning process.
As a result of your efforts, you can now enjoy clear and vibrant sound output from your iPhone, whether you are listening to music, engaging in phone calls, or watching videos. The revitalized audio clarity is a testament to your dedication to maintaining your device in optimal condition.
By incorporating these cleaning practices into your routine maintenance, you can prolong the lifespan of your iPhone’s top speaker and ensure consistent audio performance. Regularly inspecting and cleaning the speaker grill will contribute to a seamless and enjoyable audio experience, enhancing your overall satisfaction with your device.
Thank you for prioritizing the care and maintenance of your iPhone’s top speaker. By following this guide, you have demonstrated a commitment to preserving the quality and functionality of your device, ultimately enhancing your user experience.