Introduction
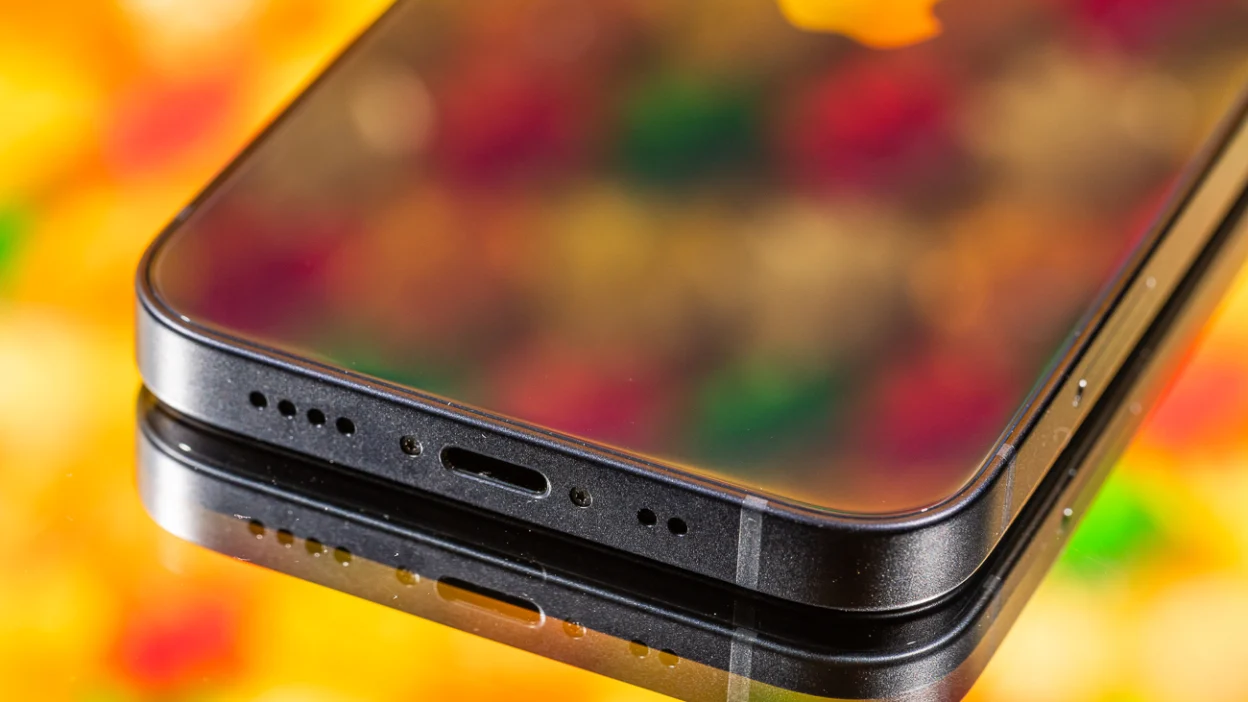
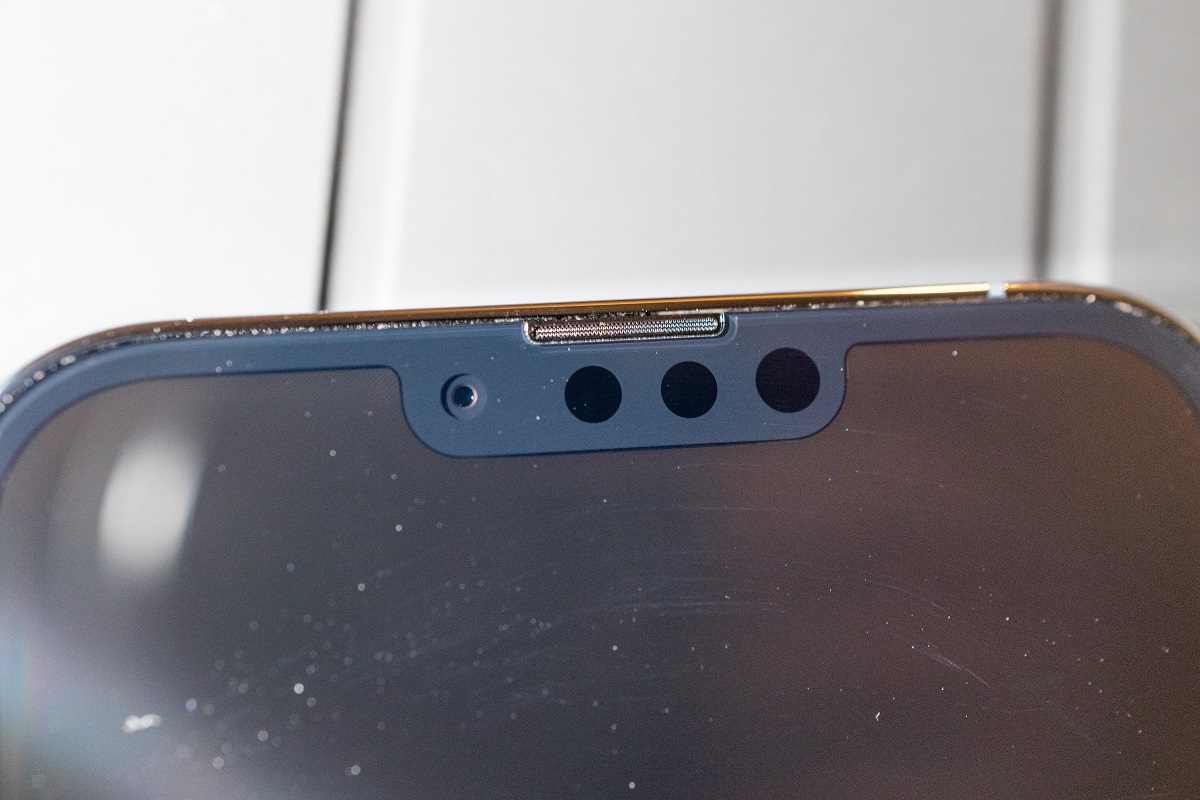
Keeping your iPhone 11 in top condition involves more than just protecting the screen and the back of the device. The speaker is an essential component that allows you to enjoy music, videos, and phone calls. Over time, dust, dirt, and debris can accumulate in the speaker grille, affecting the sound quality and overall performance of your device. Regularly cleaning the speaker on your iPhone 11 is crucial to maintain its functionality and ensure a clear and crisp audio experience.
By following a few simple steps, you can effectively remove dirt and debris from the speaker without causing any damage to your device. In this guide, we will walk you through the step-by-step process of cleaning the speaker on your iPhone 11, using readily available tools and materials. Whether you’ve noticed a decrease in sound quality or simply want to prevent potential issues, taking the time to clean your iPhone 11 speaker can make a significant difference in your overall user experience.
With the right approach and a little bit of care, you can keep your iPhone 11 speaker in optimal condition, ensuring that you continue to enjoy high-quality audio output for years to come.
Why it’s Important to Clean Your iPhone 11 Speaker
Your iPhone 11 speaker plays a vital role in your daily interactions with the device. Whether you’re listening to music, engaging in phone calls, or watching videos, the speaker enables you to experience clear and immersive audio. However, the accumulation of dust, dirt, and debris in the speaker grille can compromise its performance and lead to various issues. Here’s why it’s crucial to prioritize the cleaning of your iPhone 11 speaker:
- Maintaining Sound Quality: Over time, particles such as dust and lint can build up in the speaker grille, affecting the quality of sound output. This buildup can muffle the audio, distort the sound, or even block the speaker entirely, resulting in a diminished listening experience.
- Preventing Damage: Debris lodged in the speaker can potentially cause damage to the internal components if left unaddressed. It may interfere with the speaker’s diaphragm, obstruct the movement of the speaker cone, or lead to overheating issues, ultimately impacting the functionality of the device.
- Enhancing Call Clarity: A clean speaker ensures that phone calls remain clear and audible. Removing obstructions from the speaker grille can prevent sound distortion during calls, allowing for seamless communication without any disruptions.
- Preventing Buildup of Residue: Regular cleaning helps prevent the accumulation of sticky residues, such as food particles or liquid splashes, which can adhere to the speaker grille. These residues not only affect sound quality but also create an unhygienic environment within the device.
- Preserving Longevity: By keeping the speaker clean, you contribute to the overall longevity of your iPhone 11. Preventing debris from interfering with the speaker’s functionality can help maintain the device’s performance and ensure that it continues to function optimally over time.
By understanding the importance of maintaining a clean iPhone 11 speaker, you can take proactive measures to preserve the quality and longevity of your device’s audio capabilities. Now, let’s explore the necessary tools and steps to effectively clean the speaker on your iPhone 11.
Things You Will Need to Clean the Speaker
Before you begin the cleaning process, it’s essential to gather the necessary tools and materials to ensure a thorough and effective cleaning of your iPhone 11 speaker. Here’s what you’ll need:
- Soft-Bristled Brush: A soft-bristled brush, such as a clean and dry toothbrush or a specialized electronics brush, is ideal for gently dislodging and removing surface debris from the speaker grille without causing any damage to the device.
- Compressed Air Canister: A canister of compressed air, available at most electronics or office supply stores, is useful for blowing out any remaining dust and particles that may be lodged deeper within the speaker grille.
- Cotton Swabs: These are handy for reaching intricate areas around the speaker grille and can be used in conjunction with rubbing alcohol to clean hard-to-reach spots.
- Rubbing Alcohol: Isopropyl alcohol, commonly known as rubbing alcohol, is an effective cleaning agent for removing stubborn residues and disinfecting the speaker grille. It should be used sparingly and with caution to avoid any contact with other parts of the device.
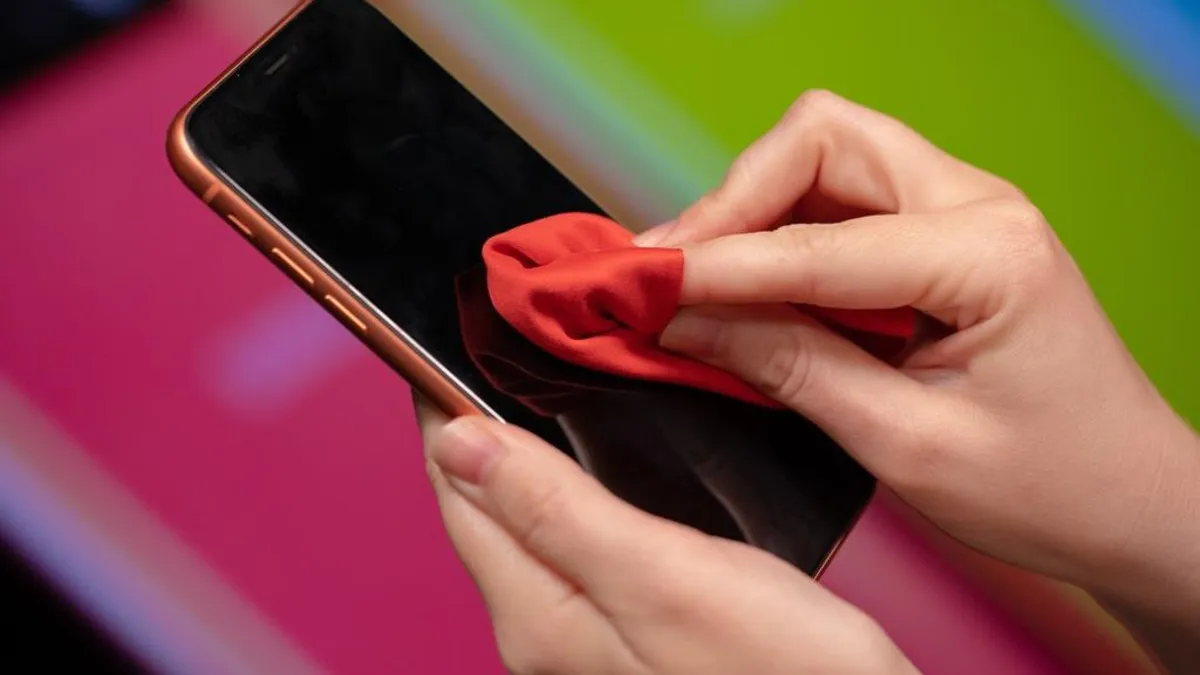
- Microfiber Cloth: A soft microfiber cloth is essential for wiping down the speaker grille and other areas of the device after cleaning, ensuring that no moisture or cleaning agents remain on the surface.
By having these tools and materials on hand, you can proceed with confidence knowing that you have everything necessary to thoroughly clean the speaker on your iPhone 11. With these preparations in place, let’s delve into the step-by-step process of cleaning your device’s speaker to maintain its optimal performance.
Step 1: Turn off your iPhone 11
Before initiating the cleaning process, it is crucial to power off your iPhone 11 to prevent any potential damage and ensure your safety during the cleaning procedure. Turning off the device eliminates the risk of accidental screen taps or button presses while cleaning the speaker, minimizing the likelihood of causing unintended actions or damage to the device.
To power off your iPhone 11, follow these simple steps:
- Press and Hold Side Button: Locate the side button on your iPhone 11, which is positioned on the right side of the device. Press and hold the side button along with either volume button simultaneously.
- Slide to Power Off: After holding the buttons for a few seconds, the “slide to power off” slider will appear on the screen. Slide it from left to right to shut down the device.
- Wait for Shutdown: Allow your iPhone 11 to power down completely. You can verify that the device is off by ensuring that the screen is blank and unresponsive to touch.
Once your iPhone 11 is powered off, you can proceed with confidence, knowing that the risk of accidental damage or interference with the device’s functionality has been minimized. With the device safely turned off, you are ready to move on to the next step in the process of cleaning the speaker on your iPhone 11.
Step 2: Use a Soft-Bristled Brush to Gently Remove Debris
Once your iPhone 11 is safely powered off, the next step in cleaning the speaker involves using a soft-bristled brush to delicately dislodge and remove any visible debris or particles from the speaker grille. This process helps to eliminate surface-level dirt and dust that may have accumulated over time, restoring the speaker’s functionality and audio clarity.
Here’s how to effectively use a soft-bristled brush to clean the speaker on your iPhone 11:
- Select a Clean Brush: Choose a soft-bristled brush, such as a dry and clean toothbrush or a specialized electronics brush, to avoid scratching or damaging the speaker grille. Ensure that the brush is free of any moisture or residues that could potentially transfer to the device.
- Gently Brush the Speaker Grille: Using light and gentle strokes, carefully brush the speaker grille to dislodge any visible debris or particles. Be mindful of the pressure applied and avoid using excessive force to prevent any damage to the speaker or surrounding components.
- Vary the Brushing Angles: To effectively remove debris from all areas of the speaker grille, vary the angles and direction of your brushing motion. This approach helps to reach corners and crevices where dust and dirt may be lodged.
- Inspect for Remaining Debris: After brushing the speaker grille, inspect the area to identify any remaining debris. If necessary, continue brushing gently to ensure that the grille is free from visible particles.
By employing a soft-bristled brush and employing gentle yet thorough brushing techniques, you can effectively eliminate surface-level debris from the speaker grille, setting the stage for further cleaning steps. Once you’ve completed this step, you’re ready to proceed to the next phase of the cleaning process to ensure a comprehensive cleaning of your iPhone 11 speaker.
Step 3: Use Compressed Air to Blow Out Any Remaining Debris
Following the gentle removal of surface debris with a soft-bristled brush, the next step involves using compressed air to dislodge and eliminate any remaining particles that may be lodged deeper within the speaker grille of your iPhone 11. Compressed air is an effective tool for clearing out stubborn debris without causing any damage to the device.
Here’s a systematic approach to using compressed air to clean your iPhone 11 speaker:
- Choose a Safe Distance: When using compressed air, ensure that the nozzle of the canister is held at a safe distance from the device, preventing the force of the air from causing any unintended damage.
- Direct the Air Stream: Point the nozzle of the compressed air canister towards the speaker grille, directing the air stream into the grille to dislodge any remaining debris. Use short bursts of air to avoid excessive pressure on the speaker components.
- Rotate the Device: Gently rotate your iPhone 11 to different angles while directing the compressed air, ensuring that the airflow reaches all areas of the speaker grille for comprehensive cleaning.
- Inspect for Cleared Debris: After using compressed air, inspect the speaker grille to ensure that any remaining debris has been successfully dislodged. If necessary, repeat the process to achieve a thorough cleaning.
By employing compressed air in a controlled and targeted manner, you can effectively clear out any lingering debris within the speaker grille, restoring optimal airflow and ensuring that the speaker functions at its best. With this step completed, you are ready to proceed to the next phase of the cleaning process to further enhance the cleanliness and performance of your iPhone 11 speaker.
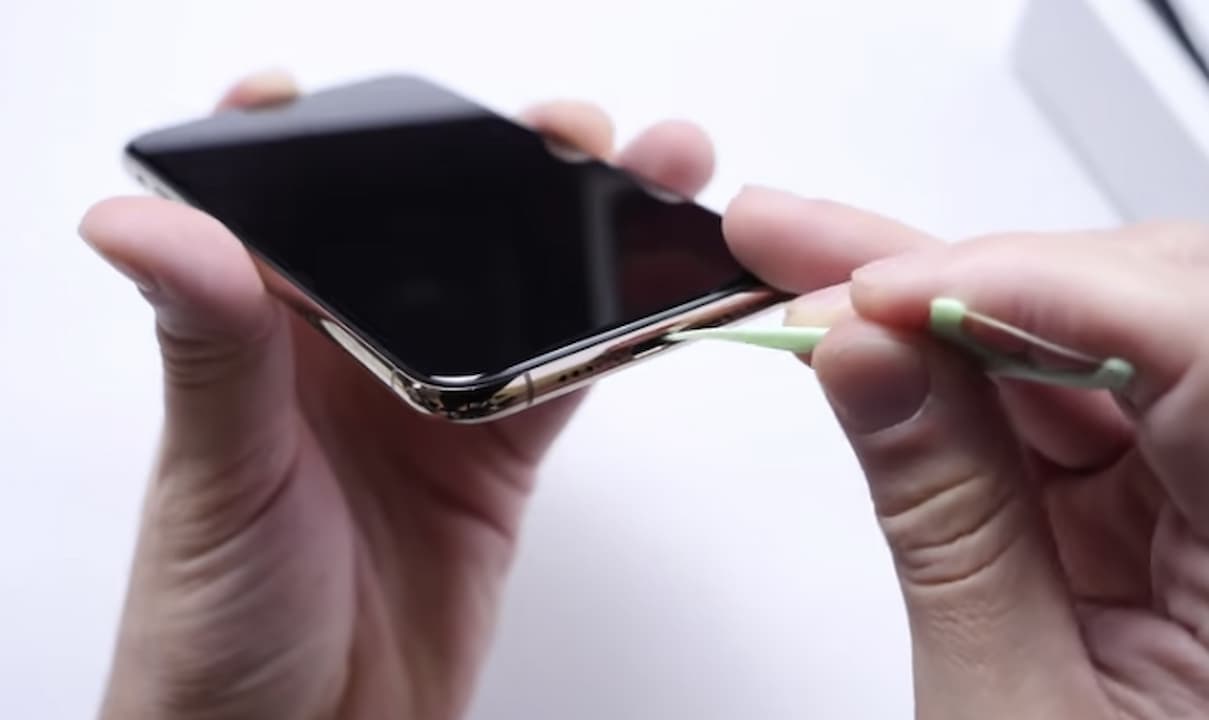
Step 4: Use a Cotton Swab and Rubbing Alcohol to Clean the Speaker Grille
After removing visible debris and blowing out remaining particles with compressed air, the next step involves using a cotton swab and rubbing alcohol to perform a detailed cleaning of the speaker grille on your iPhone 11. This process helps to eliminate residual dirt, grime, and stubborn residues, ensuring a thorough and hygienic cleaning of the speaker components.
Here’s a systematic approach to using a cotton swab and rubbing alcohol to clean your iPhone 11 speaker grille:
- Dampen the Cotton Swab: Moisten one end of a cotton swab with a small amount of rubbing alcohol. It is crucial to ensure that the swab is not overly saturated to prevent excess liquid from entering the device.
- Gently Clean the Grille: Carefully maneuver the dampened end of the cotton swab across the speaker grille, targeting areas where residues or grime may be present. Use light pressure and precise movements to avoid introducing moisture into the device.
- Rotate the Swab as Needed: As the swab collects dirt and residues, rotate it to expose a clean section, ensuring that you effectively remove contaminants without redistributing them across the speaker grille.
- Inspect for Residue Removal: After cleaning the speaker grille with the cotton swab and rubbing alcohol, inspect the area to verify that residues and grime have been successfully removed. If necessary, repeat the process with a fresh cotton swab to achieve a pristine cleaning outcome.
By employing a cotton swab and rubbing alcohol with precision and care, you can effectively eliminate stubborn residues and ensure that the speaker grille is thoroughly cleaned, contributing to the overall hygiene and functionality of your iPhone 11 speaker. With this step completed, you are ready to proceed to the final phase of the cleaning process to prepare your device for optimal performance.
Step 5: Let Your iPhone 11 Dry Before Turning It Back On
After completing the cleaning process for the speaker grille on your iPhone 11, it is essential to allow the device to dry thoroughly before powering it back on. This crucial step ensures that any residual moisture from the cleaning process evaporates, preventing the risk of damage to the internal components and ensuring the safe and optimal functionality of your device.
Here’s a systematic approach to allowing your iPhone 11 to dry before turning it back on:
- Air-Dry the Device: After cleaning the speaker grille, place your iPhone 11 in a clean and dry environment, allowing it to air-dry naturally. Avoid using external heat sources or fans, as excessive heat or airflow can potentially damage the device.
- Ensure Proper Ventilation: Position the device in a well-ventilated area to facilitate the evaporation of any remaining moisture. This helps to expedite the drying process and ensures that the device is free from moisture before being powered back on.
- Verify Dryness: After allowing sufficient time for the device to dry, verify that the speaker grille and surrounding areas are free from any residual moisture or cleaning agents. A visual inspection can help confirm that the device is ready to be powered back on.
- Power On Your iPhone 11: Once you are confident that the device has dried completely, power on your iPhone 11 and ensure that the speaker functions as expected. Test the audio output to verify that the cleaning process has restored the clarity and functionality of the speaker.
By allowing your iPhone 11 to dry thoroughly before powering it back on, you safeguard the device from potential moisture-related issues and ensure that the cleaning process contributes to the optimal performance and longevity of your device. With this final step completed, you can enjoy clear and crisp audio output from your iPhone 11 speaker, knowing that it has been thoroughly cleaned and maintained.
Conclusion
Cleaning the speaker on your iPhone 11 is a simple yet essential maintenance task that can significantly impact your overall user experience. By following the step-by-step process outlined in this guide and utilizing readily available tools and materials, you can ensure that your device’s speaker remains in optimal condition, delivering clear and crisp audio output for your listening pleasure.
Regularly cleaning the speaker grille helps maintain sound quality, prevents potential damage from debris, and enhances call clarity, ensuring that you can fully enjoy the audio features of your iPhone 11. By employing a soft-bristled brush, compressed air, cotton swabs, and rubbing alcohol, you can effectively remove dirt, debris, and residues from the speaker, contributing to the longevity and performance of your device.
After completing the cleaning process, allowing your iPhone 11 to dry thoroughly before powering it back on is crucial to prevent moisture-related issues and ensure the safe and optimal functionality of the device. By following these steps, you can maintain a clean and well-functioning speaker on your iPhone 11, enhancing your overall user experience and audio enjoyment.
By incorporating regular speaker cleaning into your device maintenance routine, you can preserve the quality and longevity of your iPhone 11, ensuring that it continues to deliver exceptional audio performance for years to come. With the right approach and a little care, you can keep your iPhone 11 speaker in top condition, providing you with clear and immersive audio for all your entertainment and communication needs.


