Introduction
Are you looking to expand your browsing horizons on your Chromebook? While Chromebooks are designed to work seamlessly with the Chrome browser, you may have specific preferences or requirements that lead you to explore alternative browser options. Whether you're seeking enhanced privacy features, a different user interface, or specific extensions not available on Chrome, using a different browser on your Chromebook can offer a fresh and personalized browsing experience.
In this guide, we'll walk you through the process of using a different browser on your Chromebook. From checking compatibility to customizing settings, we'll cover each step to ensure a smooth transition to your preferred browser. Whether you're considering Firefox, Opera, or another popular browser, this guide will equip you with the knowledge to make the switch with confidence.
Let's embark on this journey to unlock the full potential of your Chromebook by integrating a different browser that aligns with your unique browsing needs and preferences. Whether you're a seasoned tech enthusiast or a curious newcomer, this guide will empower you to navigate the process with ease and discover the myriad possibilities that await beyond the confines of the default Chrome browser.
Step 1: Check Chromebook Compatibility
Before delving into the process of installing a different browser on your Chromebook, it's crucial to ensure that your device is compatible with the browser of your choice. While Chromebooks are designed to primarily run the Chrome browser, many alternative browsers are now compatible with these devices, offering users a diverse range of options to cater to their specific browsing needs.
The first step in this process is to identify the browser you wish to install. Whether it's Firefox, Opera, or another popular browser, it's essential to verify its compatibility with Chromebook. Most major browsers provide versions specifically optimized for Chrome OS, ensuring a seamless and optimized browsing experience.
To check compatibility, visit the official website of the browser you intend to install. Look for a dedicated section or page that outlines compatibility with Chromebook or Chrome OS. This information is typically found in the browser's system requirements or FAQ section. Additionally, you can explore the Chrome Web Store, where many alternative browsers are available for download. The descriptions provided for these browsers often include compatibility details, helping you determine whether they are suitable for your Chromebook.
Furthermore, it's advisable to explore user forums and communities dedicated to Chromebook users. Here, you can seek insights from individuals who have successfully installed and used the browser you're considering on their Chromebook. Their experiences and recommendations can offer valuable guidance and help you make an informed decision regarding compatibility.
In some cases, certain browsers may have specific hardware or software requirements that your Chromebook must meet for optimal performance. Therefore, it's essential to cross-reference your device's specifications with the browser's requirements to ensure a smooth and efficient browsing experience.
By thoroughly assessing compatibility, you can proceed with confidence, knowing that the browser you choose is fully supported and optimized for your Chromebook. This proactive approach sets the stage for a successful transition to a different browser, allowing you to unlock new features and capabilities tailored to your browsing preferences.
Step 2: Install the Browser
Once you've confirmed the compatibility of your preferred browser with your Chromebook, the next step is to initiate the installation process. Installing a different browser on your Chromebook is a straightforward procedure that allows you to seamlessly integrate your chosen browser into your browsing ecosystem.
-
Navigate to the Chrome Web Store: Begin by accessing the Chrome Web Store, which serves as a centralized platform for discovering and installing a wide array of applications and extensions for Chrome OS. You can access the Chrome Web Store directly from your Chromebook's browser by entering "chrome://apps/" in the address bar and pressing Enter.
-
Search for the Browser: Utilize the search functionality within the Chrome Web Store to locate the browser you wish to install. Enter the name of the browser in the search bar and review the search results to identify the official listing of the browser.
-
Select the Browser: Once you've located the official listing of the browser, click on it to access the detailed information page. Here, you'll find an overview of the browser's features, user ratings, and reviews, providing valuable insights to inform your decision.
-
Initiate the Installation: On the browser's information page, you'll encounter an "Add to Chrome" button or a similar option that initiates the installation process. Click on this button to trigger the installation of the browser on your Chromebook.
-
Confirm the Installation: A prompt will appear, requesting confirmation to add the browser to your Chromebook. Review the permissions and details presented in the prompt to ensure that they align with your preferences, and then proceed by clicking "Add" to confirm the installation.
-
Monitor the Installation Progress: The browser will begin installing on your Chromebook, and you can monitor the progress through the installation indicator. Once the installation is complete, the browser's icon will appear in the app launcher, signaling that it is now available for use.
By following these steps, you can seamlessly install a different browser on your Chromebook, expanding your browsing capabilities and tailoring your experience to align with your unique preferences. With the browser successfully installed, you're now ready to proceed to the next step of setting it as your default browser, further integrating it into your daily browsing routine.
Step 3: Set as Default Browser
Setting your preferred browser as the default on your Chromebook ensures that all web links and browsing activities seamlessly open in the browser of your choice. This step is essential for integrating your new browser into your daily workflow and ensuring a consistent browsing experience across your device.
To set your preferred browser as the default on your Chromebook, follow these straightforward steps:
-
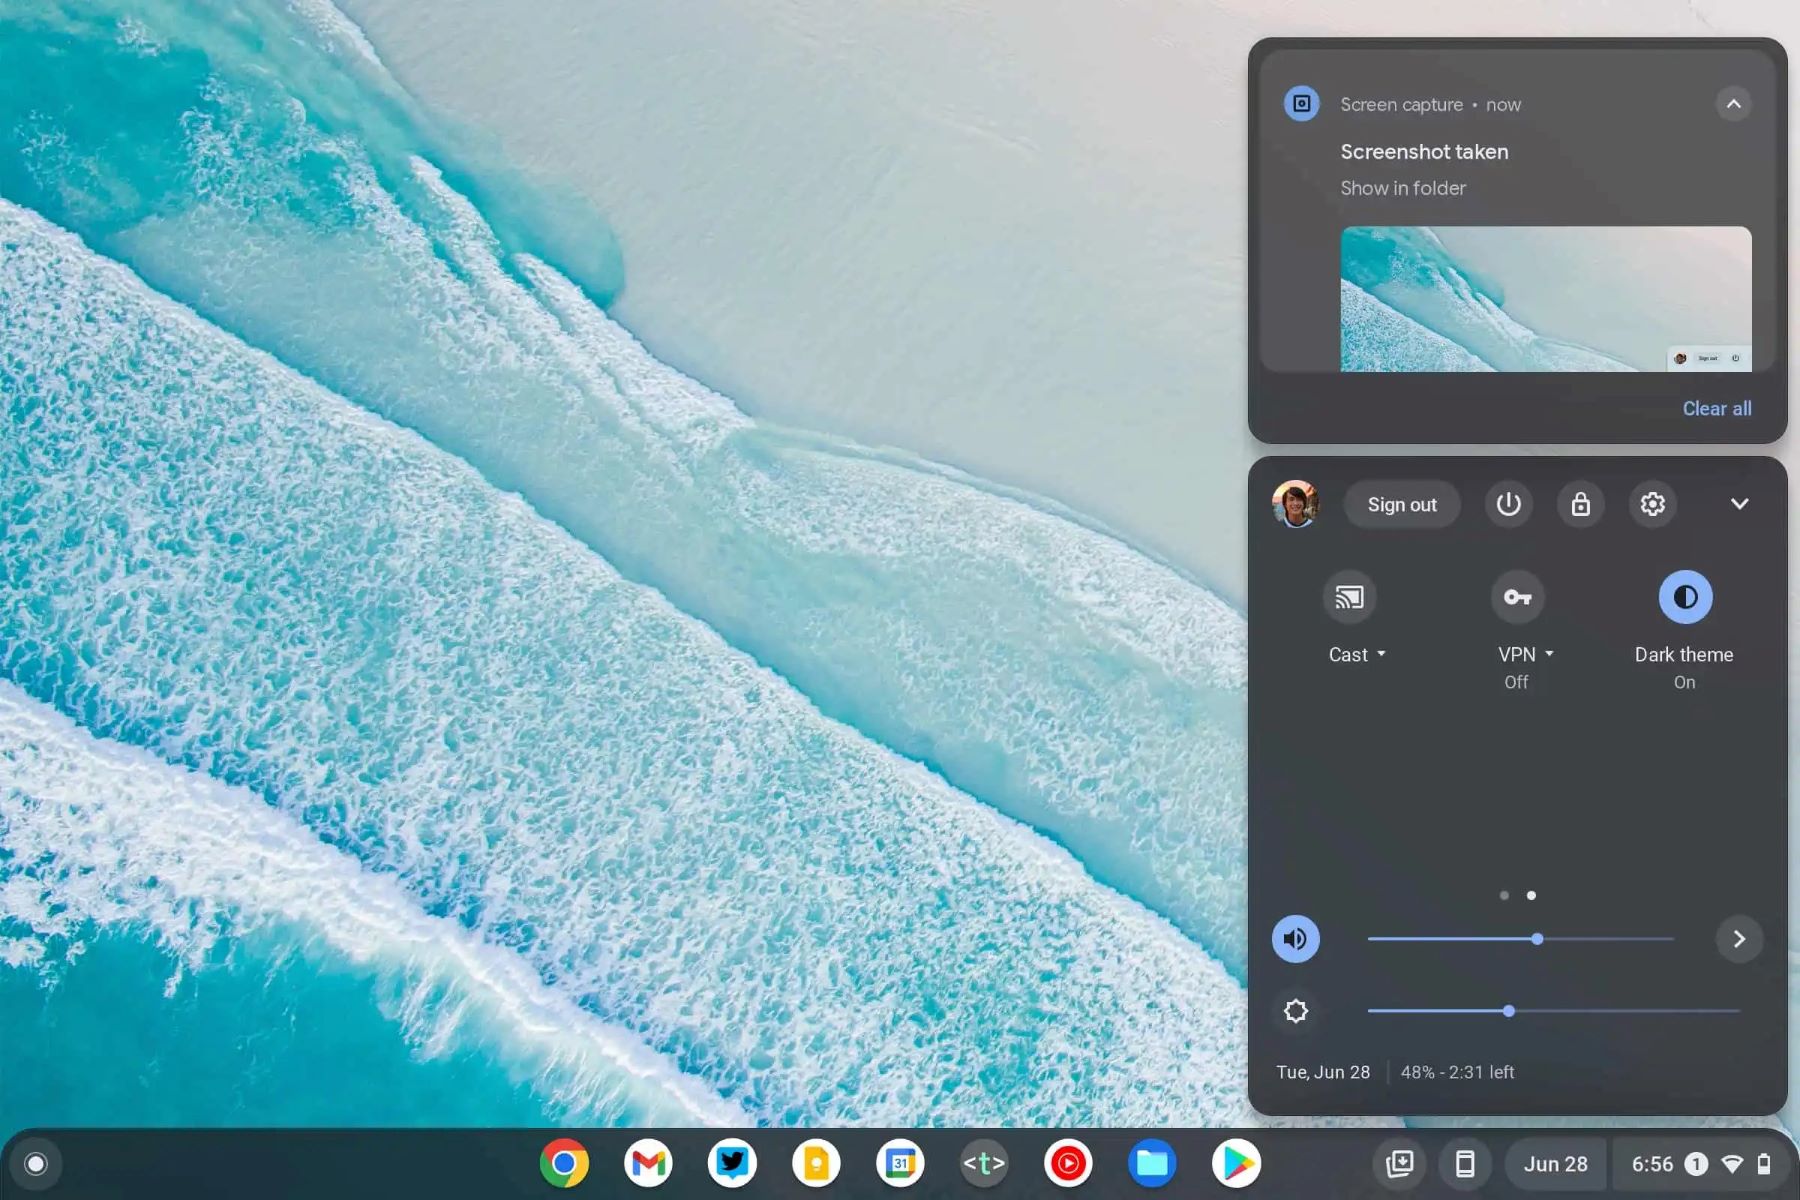
Access Chromebook Settings: Begin by accessing the settings menu on your Chromebook. You can do this by clicking on the system tray in the bottom-right corner of the screen, then selecting the gear icon to open the Settings app.
-
Navigate to the Default Apps Section: Within the Settings app, locate and click on the "Apps" or "Apps & Notifications" section. This is where you can manage default applications, including the web browser.
-
Select Default Browser: Look for the option to set the default browser and click on it to reveal a list of installed browsers on your Chromebook.
-
Choose Your Preferred Browser: From the list of installed browsers, select your preferred browser to set it as the default. Once selected, the chosen browser will be designated as the default application for opening web links and browsing activities.
-
Confirm the Change: After selecting your preferred browser, you may be prompted to confirm the change. Review the confirmation dialog and proceed to confirm the selection, finalizing the process of setting your preferred browser as the default on your Chromebook.
By following these steps, you can seamlessly establish your preferred browser as the default on your Chromebook, ensuring that all web-related activities are seamlessly directed to your chosen browser. This customization empowers you to personalize your browsing experience and leverage the features and capabilities offered by your preferred browser as the primary gateway to the web on your Chromebook.
With your preferred browser now set as the default, you can navigate the web with confidence, knowing that your browsing activities are aligned with your preferences and tailored to your unique needs. This integration of your chosen browser as the default application further enhances the overall usability and personalization of your Chromebook, allowing you to fully embrace the browsing experience that resonates with you.
Step 4: Customize Browser Settings
Customizing the settings of your newly installed browser on your Chromebook allows you to tailor the browsing experience to align with your specific preferences and requirements. By delving into the settings menu, you can unlock a myriad of options to personalize the appearance, functionality, and privacy features of the browser, ensuring that it caters to your unique browsing needs.
Upon launching your preferred browser, navigate to the settings menu, typically accessible through an icon or menu located in the browser's toolbar or through a dedicated settings page. Once within the settings interface, you'll encounter a range of customization options that empower you to fine-tune the browser according to your preferences.
Appearance and Theme
Begin by exploring the appearance and theme settings, where you can select from a variety of themes to personalize the browser's visual interface. Whether you prefer a sleek, minimalist design or vibrant, expressive themes, the ability to customize the browser's appearance allows you to create a browsing environment that resonates with your style and preferences.
Homepage and New Tab Page
Customizing the homepage and new tab page settings enables you to set your preferred landing page when launching the browser or opening a new tab. Whether you opt for a specific website, a personalized dashboard, or a streamlined layout, this customization ensures that your browsing experience begins exactly where you want it, streamlining access to your frequently visited sites and essential resources.
Privacy and Security
Dive into the privacy and security settings to configure features such as cookie management, tracking prevention, and secure browsing options. These settings empower you to enhance your online privacy and security, allowing you to exert greater control over the data shared during your browsing sessions and fortifying your defenses against potential security threats.
Extensions and Add-Ons
Explore the browser's extension or add-on management interface to discover a wealth of additional features and functionalities. Whether it's ad blockers, productivity tools, or entertainment extensions, the ability to customize your browsing experience with a diverse array of extensions enriches the capabilities of your browser, catering to your specific needs and enhancing productivity and enjoyment.
Advanced Settings
Delve into the advanced settings section to uncover a wealth of additional customization options, ranging from performance optimizations to experimental features. Here, you can fine-tune the browser's behavior, performance, and functionality, tailoring it to accommodate advanced preferences and specific use cases.
By customizing the settings of your browser, you can transform it into a personalized gateway to the web, finely tuned to align with your unique browsing habits and requirements. This level of customization empowers you to harness the full potential of your preferred browser, creating a browsing environment that seamlessly integrates with your workflow and resonates with your individual preferences.
Conclusion
In conclusion, the process of using a different browser on your Chromebook opens up a world of possibilities, allowing you to tailor your browsing experience to align with your unique preferences and requirements. By following the steps outlined in this guide, you have embarked on a journey to expand the capabilities of your Chromebook, integrating a browser that resonates with your individual needs and browsing habits.
The initial step of checking compatibility ensured that the browser of your choice is fully optimized for Chromebook, setting the stage for a seamless and efficient transition. By verifying compatibility through official sources and user insights, you gained the confidence to proceed with the installation, knowing that your chosen browser is well-suited for your device.
The installation process itself was straightforward, leveraging the Chrome Web Store to seamlessly integrate your preferred browser into your browsing ecosystem. With the browser successfully installed, you transitioned to the pivotal step of setting it as the default browser, ensuring a consistent and personalized browsing experience across your Chromebook.
Furthermore, customizing the settings of your newly installed browser empowered you to fine-tune the browsing environment to align with your specific preferences. From appearance and theme customization to privacy and security enhancements, you have personalized your browsing experience, creating a tailored environment that caters to your unique needs.
As a result of these steps, you now have a different browser seamlessly integrated into your Chromebook, offering a diverse range of features and capabilities to enrich your browsing journey. Whether you sought enhanced privacy features, a different user interface, or specific extensions not available on Chrome, the process outlined in this guide has equipped you to unlock the full potential of your Chromebook's browsing capabilities.
By embracing a different browser on your Chromebook, you have personalized your browsing experience, tailored it to your preferences, and expanded your access to a myriad of features and functionalities. This newfound flexibility and customization empower you to navigate the web with confidence, knowing that your browsing environment is finely tuned to resonate with your individual needs and preferences.
In essence, the journey to using a different browser on your Chromebook is a testament to the adaptability and personalization that Chrome OS offers. By exploring alternative browsers and seamlessly integrating them into your device, you have unlocked a world of possibilities, transforming your browsing experience into a personalized and tailored journey that aligns with your unique preferences and requirements.


