Introduction
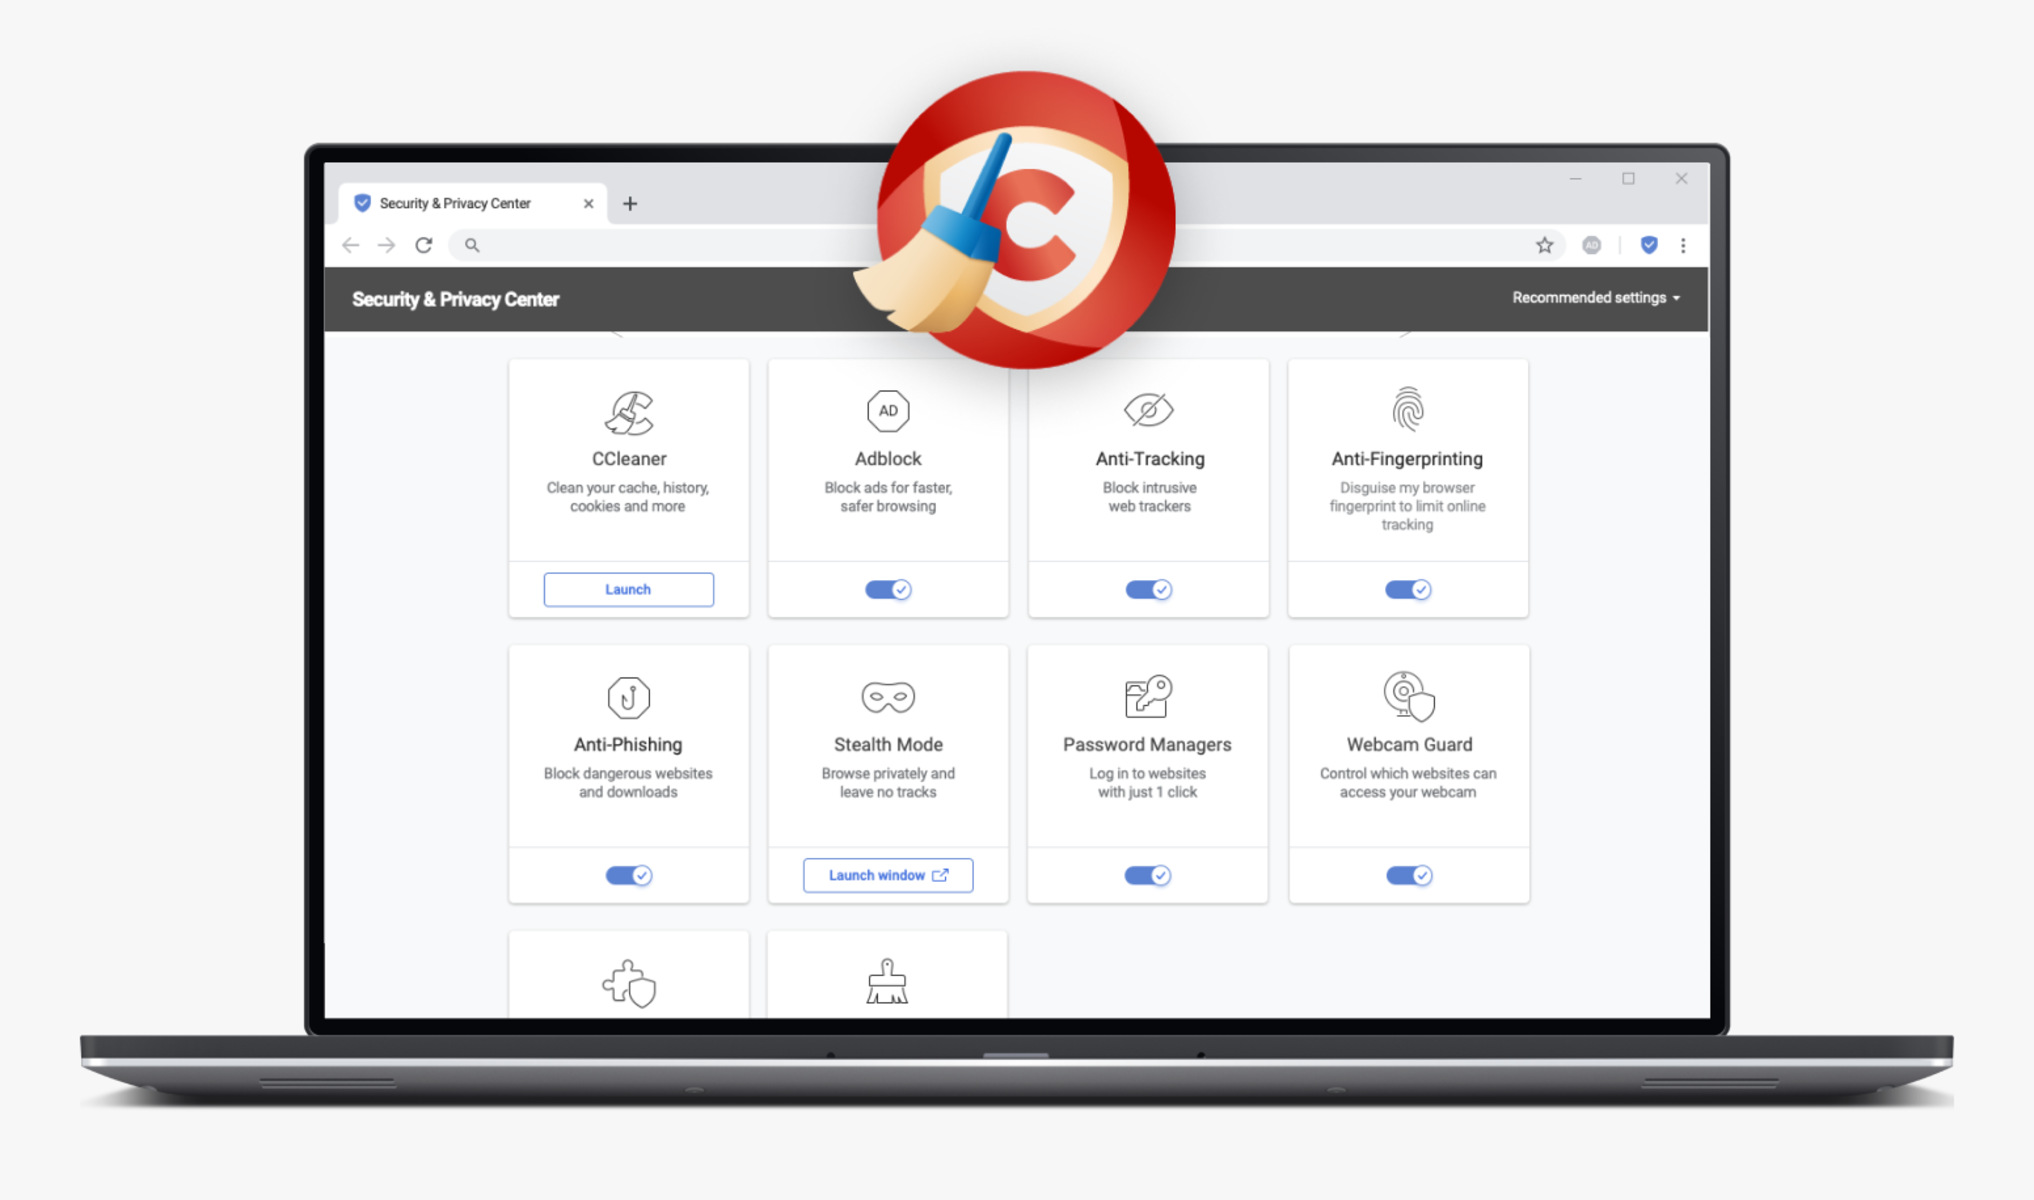
Uninstalling a browser or an extension can be a necessary task for various reasons. Whether you're looking to switch to a different browser, resolve performance issues, or simply declutter your system, knowing how to uninstall a specific browser, such as Ccleaner Browser, is valuable knowledge. Ccleaner Browser, developed by the makers of the popular system optimization tool CCleaner, offers a range of features aimed at enhancing browsing security and privacy. However, if you've decided to part ways with this browser, it's essential to understand the steps involved in its removal.
In the following guide, we'll walk you through the process of uninstalling Ccleaner Browser from your system. This will involve accessing the Control Panel, locating the browser in the list of installed programs, and executing the uninstallation process. Additionally, we'll explore how to remove any residual data associated with Ccleaner Browser, ensuring a thorough and complete removal from your system.
By following these steps, you'll be equipped with the knowledge to seamlessly uninstall Ccleaner Browser and clear any remnants of its presence from your computer. Let's dive into the process and ensure a smooth transition as you manage your browser and extension preferences.
Step 1: Open Control Panel
To begin the process of uninstalling Ccleaner Browser from your system, the first step is to access the Control Panel. The Control Panel serves as a centralized hub for managing various aspects of your computer, including installed programs and system settings. Here's how you can open the Control Panel on your Windows operating system:
-
Navigate to the Start Menu: Click on the Windows Start button located at the bottom-left corner of your screen. This will open the Start Menu, which serves as the gateway to accessing various system features and applications.
-
Locate the Control Panel: Within the Start Menu, you can find the Control Panel by either scrolling through the list of available options or by typing "Control Panel" into the search bar located at the bottom of the Start Menu. As you type, the search results will dynamically display relevant options, including the Control Panel.
-
Open the Control Panel: Once you've located the Control Panel, simply click on it to open the application. This action will launch the Control Panel interface, providing you with access to a wide range of system management tools and settings.
Alternatively, if you're using a more recent version of Windows, such as Windows 10, you can access the Control Panel through the Settings app. To do this, click on the Start button, followed by the Settings icon (shaped like a gear). Within the Settings app, you can navigate to the "Apps" section, which includes the option to manage installed applications, including Ccleaner Browser.
By following these steps, you'll successfully open the Control Panel, setting the stage for the subsequent actions required to uninstall Ccleaner Browser from your system. With the Control Panel now accessible, you're ready to proceed to the next step and initiate the uninstallation process for Ccleaner Browser.
Step 2: Uninstall Ccleaner Browser
Now that you have accessed the Control Panel, you're ready to proceed with the uninstallation of Ccleaner Browser from your system. Follow these steps to seamlessly remove the browser:
-
Locate "Programs and Features": Within the Control Panel, navigate to the "Programs" section, where you will find the option labeled "Uninstall a program" or "Programs and Features." Click on this option to view the list of installed programs on your computer.
-
Find Ccleaner Browser: In the list of installed programs, scroll through the entries to locate Ccleaner Browser. You can easily identify it by its name. Once you've found it, select the Ccleaner Browser entry to initiate the uninstallation process.
-
Initiate Uninstallation: With Ccleaner Browser selected, click on the "Uninstall" or "Change/Uninstall" option located at the top of the program list. This action will prompt the uninstallation wizard to launch, guiding you through the necessary steps to remove Ccleaner Browser from your system.
-
Follow the Uninstallation Wizard: The uninstallation wizard will present you with options to confirm the removal of Ccleaner Browser. You may also encounter prompts asking if you'd like to retain any browsing data or preferences. Follow the on-screen instructions to proceed with the uninstallation process.
-
Complete the Uninstallation: Once you've confirmed the uninstallation, the wizard will execute the removal of Ccleaner Browser from your system. This process may take a few moments to complete, depending on the speed and performance of your computer.
-
Restart Your Computer (if prompted): After the uninstallation process is finished, you may be prompted to restart your computer to finalize the removal of Ccleaner Browser. If this prompt appears, go ahead and restart your system to ensure that all changes take effect.
By following these steps, you'll successfully uninstall Ccleaner Browser from your system, freeing up valuable space and streamlining your browsing environment. With the browser now removed, you're ready to proceed to the next step, which involves removing any residual data associated with Ccleaner Browser to ensure a thorough cleanup of your system.
Step 3: Remove Ccleaner Browser Data
After successfully uninstalling Ccleaner Browser from your system, it's essential to address any residual data associated with the browser to ensure a thorough cleanup. This step involves removing leftover files, folders, and settings that may remain on your computer even after the uninstallation process. By following these additional steps, you can effectively clear out any remnants of Ccleaner Browser, optimizing your system for future use.
Here's how you can remove Ccleaner Browser data from your system:
-
Delete Browser Data: Begin by navigating to the directory where Ccleaner Browser stored its data. This typically includes folders for cache, cookies, and browsing history. Locate the Ccleaner Browser data directory, which is often found in the "AppData" folder on Windows. Once you've located the relevant folders, proceed to delete them to remove any residual browsing data associated with Ccleaner Browser.
-
Clear Registry Entries: The Windows Registry may contain entries related to Ccleaner Browser. It's important to exercise caution when modifying the registry, as improper changes can impact system stability. If you're comfortable working with the registry, you can use the Registry Editor to search for and remove any Ccleaner Browser entries. Alternatively, consider using reputable third-party software designed to safely clean and optimize the Windows Registry.
-
Scan for Leftover Files: Utilize a reliable system cleanup tool or disk analysis software to scan for any leftover files or directories associated with Ccleaner Browser. These tools can identify residual data that may have been overlooked during the manual removal process, allowing you to safely delete them and free up additional storage space on your system.
-
Reset Browser Settings (if applicable): If you had made any customizations or modifications within Ccleaner Browser, it's advisable to reset your default browser settings to ensure a clean slate. This can include reverting any changes to homepage preferences, search engine settings, and other browser configurations that were specific to Ccleaner Browser.
By diligently addressing these steps, you can effectively remove any remaining traces of Ccleaner Browser from your system, promoting a clean and optimized computing environment. This proactive approach not only ensures a thorough cleanup but also sets the stage for a seamless transition to alternative browsers or extensions, should you choose to explore other options in the future.
Conclusion
In conclusion, the process of uninstalling Ccleaner Browser from your system involves a series of deliberate steps aimed at ensuring a thorough and complete removal. By following the outlined procedures, you can effectively free up valuable space on your computer and streamline your browsing environment.
Uninstalling Ccleaner Browser begins with accessing the Control Panel, a centralized hub for managing installed programs and system settings. Once in the Control Panel, locating the "Programs and Features" section allows you to initiate the uninstallation process for Ccleaner Browser. Following this, the uninstallation wizard guides you through the necessary steps to confirm and execute the removal of the browser from your system.
After successfully uninstalling Ccleaner Browser, it's crucial to address any residual data associated with the browser. This involves deleting leftover files, folders, and settings, as well as clearing any relevant entries from the Windows Registry. By diligently addressing these steps, you can effectively remove any remaining traces of Ccleaner Browser from your system, promoting a clean and optimized computing environment.
It's important to note that the process of uninstalling Ccleaner Browser not only frees up storage space but also allows for a seamless transition to alternative browsers or extensions. Whether you're exploring new browsing options or simply decluttering your system, the ability to efficiently uninstall Ccleaner Browser empowers you to manage your digital environment according to your preferences.
By following the steps outlined in this guide, you've gained valuable insights into the process of uninstalling Ccleaner Browser and ensuring a thorough cleanup of your system. Armed with this knowledge, you're well-equipped to manage your browser and extension preferences, adapt to evolving digital needs, and maintain an optimized computing environment.
In essence, the ability to uninstall Ccleaner Browser and address any residual data empowers you to take control of your digital space, promoting efficiency, security, and a personalized browsing experience.


