Introduction
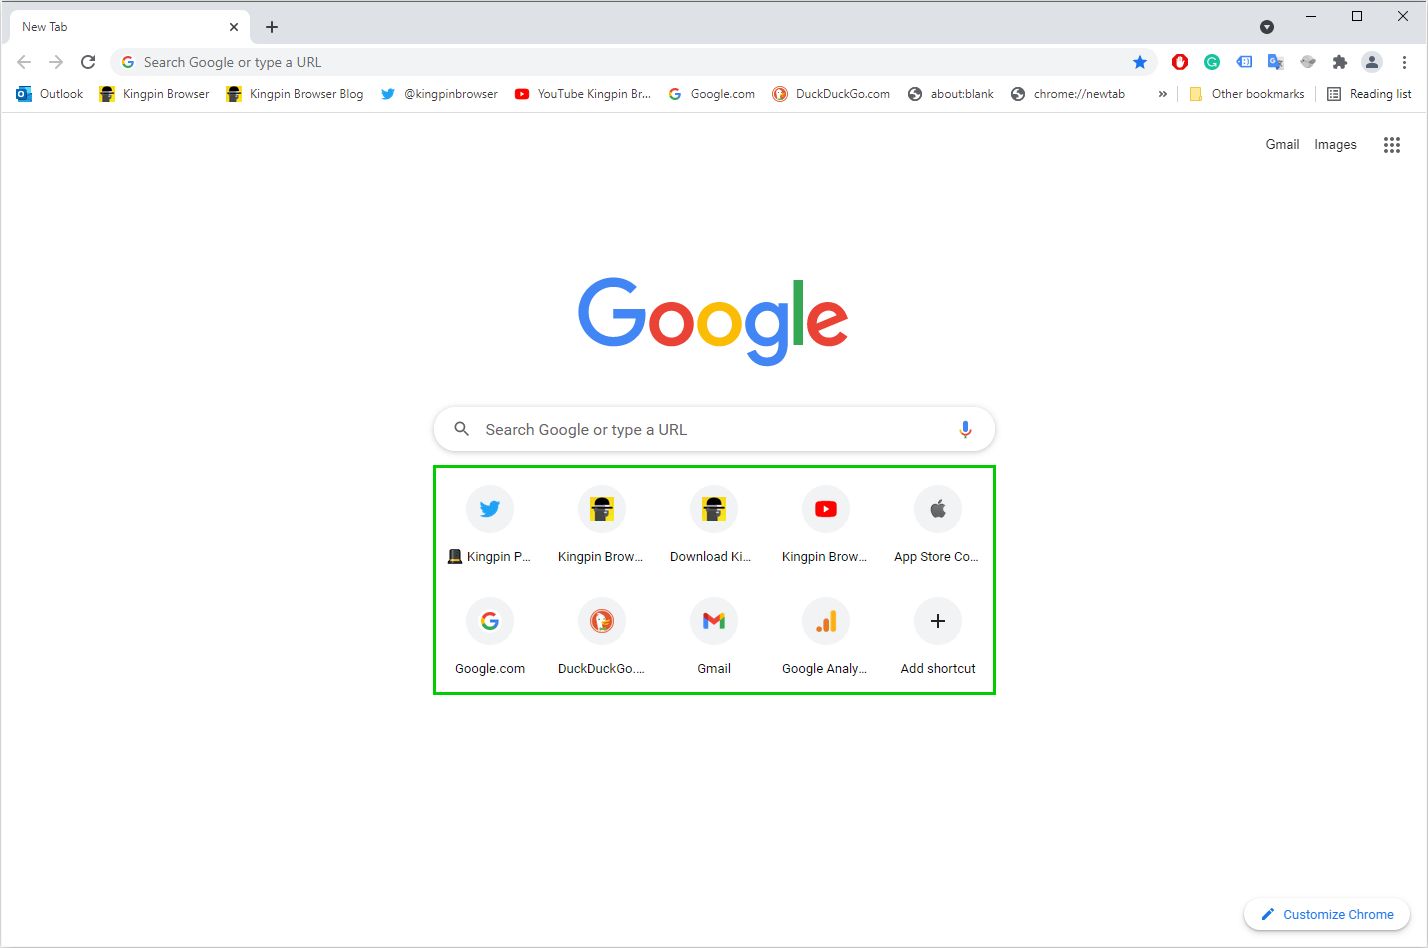
Google Chrome is a widely used web browser known for its speed, simplicity, and user-friendly interface. One of its notable features is the display of thumbnails, which are small previews of your most visited websites, on the new tab page. While these thumbnails can be convenient for quick access to frequently visited sites, some users may prefer a cleaner and more private browsing experience without these visual previews.
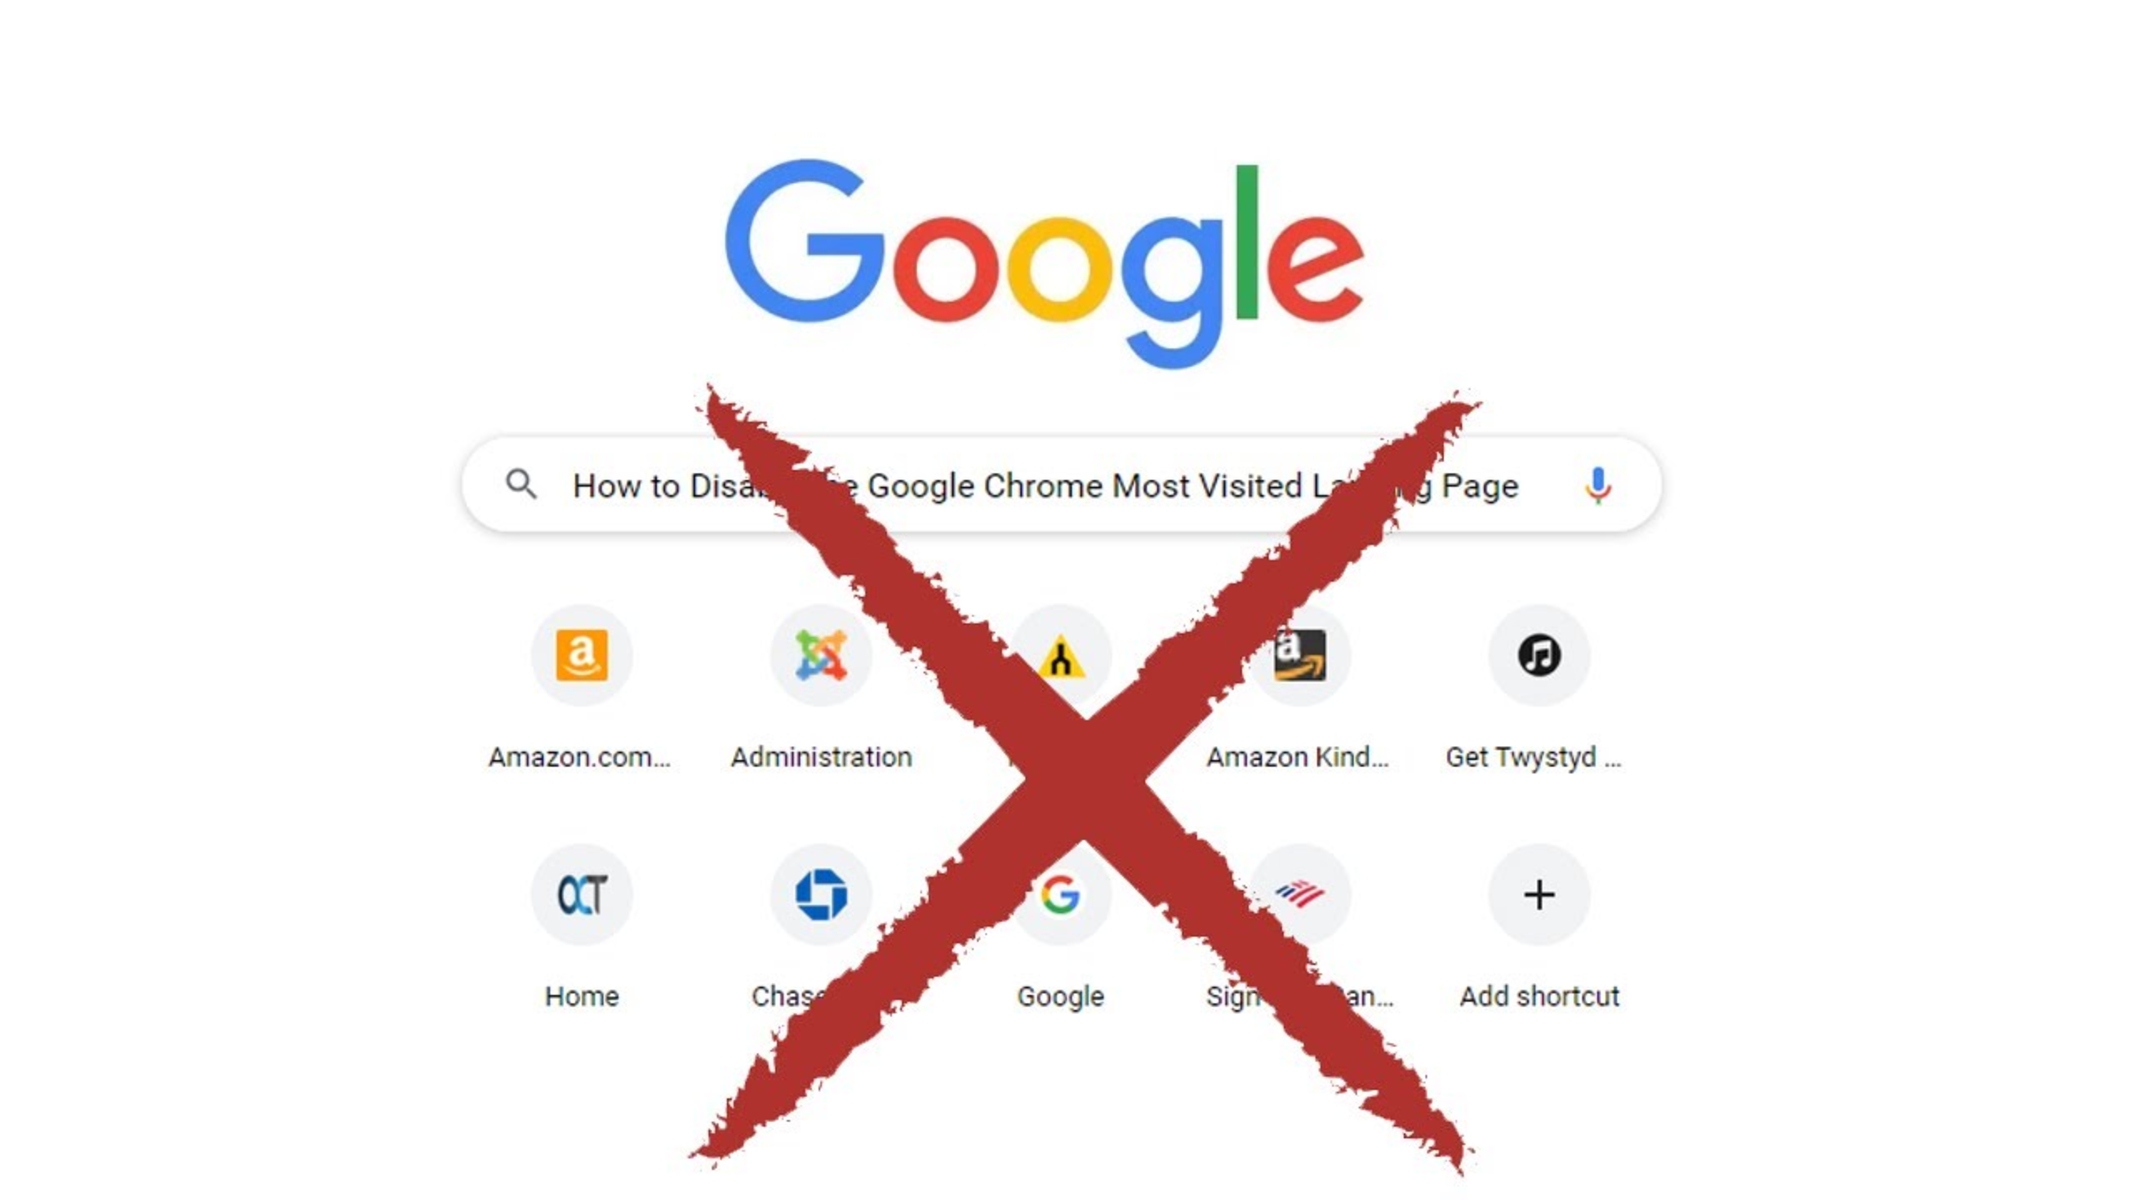
Fortunately, there are several methods to turn off thumbnails in Google Chrome, allowing users to customize their browsing environment according to their preferences. Whether you're looking to streamline your new tab page or enhance your privacy, these methods provide simple and effective ways to achieve your desired browsing experience.
In the following sections, we will explore three methods to disable thumbnails in Google Chrome. The first method involves using Chrome Flags, which are experimental features that allow users to customize their browsing experience. The second method entails utilizing a Chrome extension specifically designed to remove thumbnails from the new tab page. Lastly, we will discuss how clearing browsing data can also impact the display of thumbnails in Chrome.
By understanding and implementing these methods, users can tailor their Chrome browsing experience to better suit their individual needs and preferences. Whether it's for decluttering the new tab page or enhancing privacy, the ability to turn off thumbnails in Google Chrome provides users with greater control over their browsing environment.
Method 1: Using Chrome Flags
Google Chrome offers a range of experimental features, known as Chrome Flags, that allow users to customize their browsing experience. By accessing these flags, users can enable or disable specific features, including the display of thumbnails on the new tab page. Here's how you can use Chrome Flags to turn off thumbnails in Google Chrome:
-
Accessing Chrome Flags: To begin, open Google Chrome and type "chrome://flags" in the address bar, then press Enter. This will take you to the Chrome Flags page, where you can explore and modify various experimental features.
-
Locating the Thumbnails Flag: Once on the Chrome Flags page, you can use the search bar at the top to find the specific flag related to the new tab page thumbnails. You can simply type "thumbnails" or "new tab page" in the search bar to narrow down the list of available flags.
-
Disabling the Thumbnails Feature: After locating the flag related to thumbnails on the new tab page, you can select the appropriate setting from the dropdown menu. Typically, this involves choosing the "Disabled" option to turn off the display of thumbnails.
-
Relaunching Chrome: Upon making the changes to the Chrome Flags, you will be prompted to relaunch the browser to apply the new settings. It's important to note that modifying Chrome Flags can impact the stability and performance of the browser, as these features are still in the experimental stage.
-
Verifying the Changes: Once Chrome has been relaunched, open a new tab to confirm that the thumbnails have been successfully turned off. If the changes have been applied, the new tab page should no longer display the visual previews of frequently visited websites.
Using Chrome Flags to disable thumbnails in Google Chrome provides users with a straightforward and customizable approach to tailoring their browsing experience. However, it's essential to exercise caution when modifying experimental features, as they may impact the stability and performance of the browser. By following these steps, users can effectively turn off thumbnails on the new tab page, creating a cleaner and more personalized browsing environment.
Method 2: Using an Extension
Another effective method to turn off thumbnails in Google Chrome involves utilizing a specially designed extension. Chrome extensions are small software programs that can modify and enhance the functionality of the browser, offering users a wide range of customization options. When it comes to removing thumbnails from the new tab page, there are extensions available that specifically target this feature, providing users with a convenient and user-friendly solution.
Here's a detailed guide on how to use an extension to disable thumbnails in Google Chrome:
-
Browsing the Chrome Web Store: Start by opening Google Chrome and navigating to the Chrome Web Store, which is the official repository for Chrome extensions. You can access the Chrome Web Store by typing "chrome://extensions/" in the address bar and pressing Enter. This will take you to the Extensions page, where you can explore and install various extensions.
-
Searching for Thumbnail Removal Extensions: Once on the Chrome Web Store, use the search bar to look for extensions designed to remove thumbnails from the new tab page. You can use keywords such as "thumbnail removal," "new tab customization," or "clean new tab" to find relevant extensions. It's important to review the extension's description, user ratings, and reviews to ensure its reliability and effectiveness.
-
Selecting and Installing the Extension: After identifying a suitable thumbnail removal extension, click on it to view more details. Review the extension's features, user ratings, and any additional information provided by the developer. If the extension meets your requirements, click the "Add to Chrome" button to install it. Follow the on-screen prompts to complete the installation process.
-
Configuring the Extension: Once the extension is installed, it may provide customization options for modifying the new tab page. Access the extension's settings, if available, to configure the display of the new tab page according to your preferences. Some extensions may offer additional features beyond thumbnail removal, allowing you to further personalize your browsing experience.
-
Verifying the Changes: After configuring the extension, open a new tab to confirm that the thumbnails have been successfully turned off. If the extension is functioning as intended, the new tab page should no longer display the visual previews of frequently visited websites. You can also explore any additional features offered by the extension to enhance your browsing experience.
Using an extension to disable thumbnails in Google Chrome provides users with a convenient and customizable solution, allowing them to tailor the new tab page to their liking. By leveraging the capabilities of Chrome extensions, users can effectively remove thumbnails and personalize their browsing environment with ease. Additionally, extensions may offer supplementary features that contribute to an enhanced browsing experience, making them a valuable asset for Chrome users seeking greater control over their browser's appearance and functionality.
Method 3: Clearing Browsing Data
Clearing browsing data in Google Chrome can have a direct impact on the display of thumbnails on the new tab page. When users visit websites, Chrome stores certain information such as cookies, cached images and files, browsing history, and other site data. This data is used to enhance the browsing experience by providing quick access to previously visited sites and improving page loading times through cached resources. However, clearing this browsing data can also remove the thumbnails displayed on the new tab page, offering users an alternative method to turn off this feature.
Here's a step-by-step guide on how to clear browsing data in Google Chrome and its effect on the display of thumbnails:
-
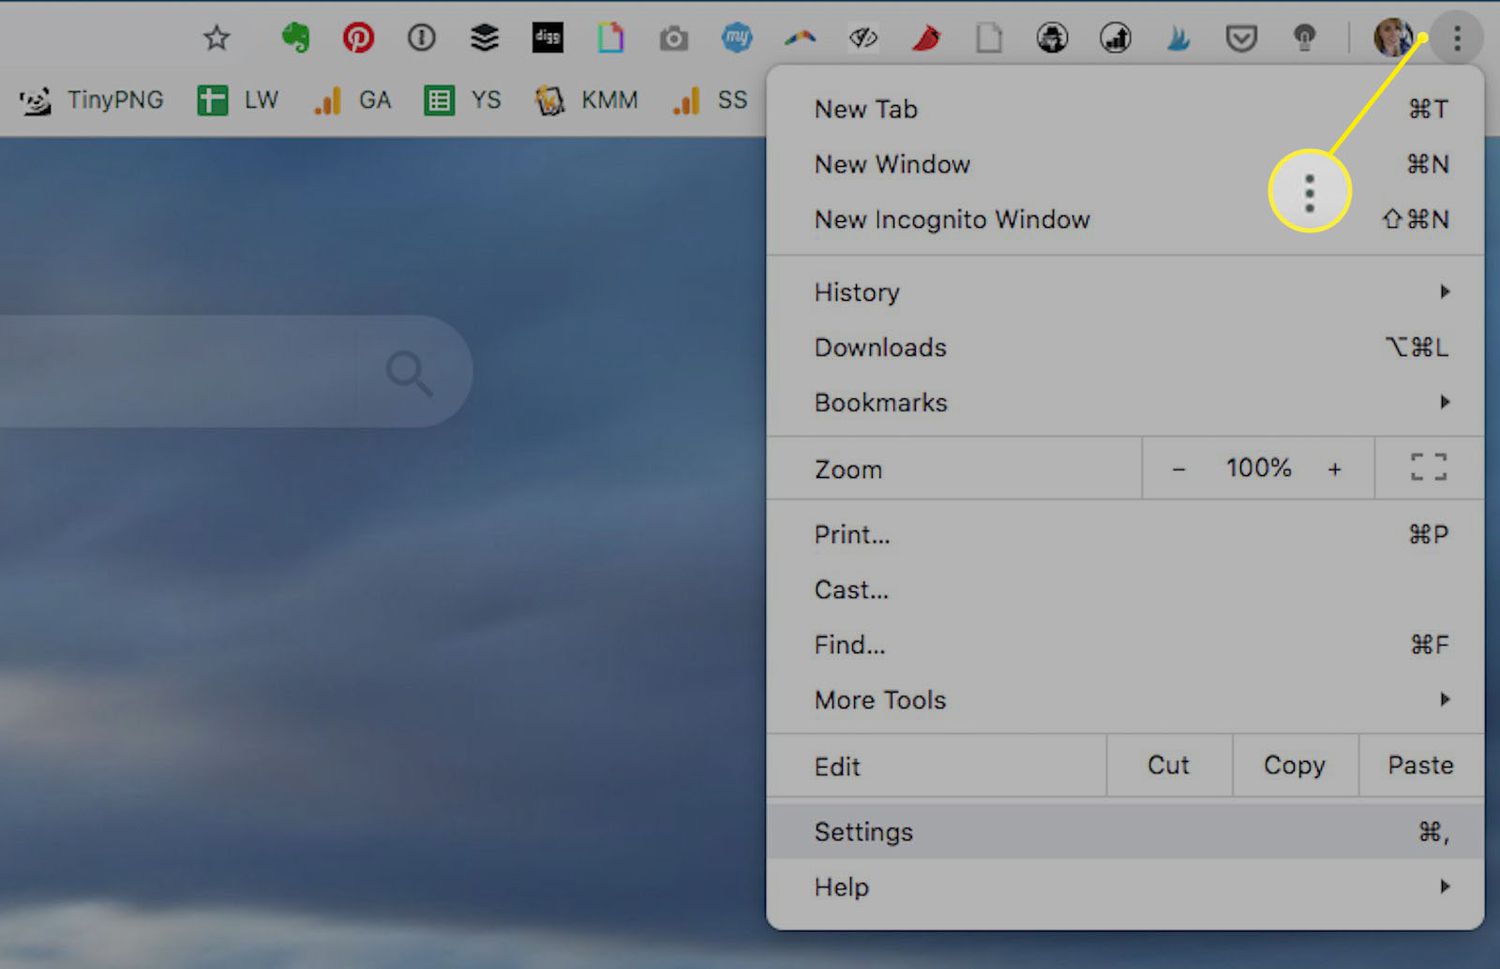
Accessing Chrome Settings: Start by opening Google Chrome and clicking on the three-dot menu icon in the top-right corner of the browser window. From the dropdown menu, select "Settings" to access the Chrome settings page.
-
Navigating to the Privacy and Security Section: Within the Chrome settings, navigate to the "Privacy and security" section using the menu on the left-hand side. This section contains various options related to browsing data, cookies, and site settings.
-
Selecting Clear Browsing Data: Under the "Privacy and security" section, click on "Clear browsing data." This will open a window where you can choose the types of data to clear, including browsing history, cookies and other site data, cached images and files, and more.
-
Choosing Data Types to Clear: In the "Clear browsing data" window, select the types of data you want to clear. For the purpose of removing thumbnails from the new tab page, you can focus on clearing browsing history, cookies and other site data, and cached images and files.
-
Selecting Time Range (Optional): Chrome allows users to specify the time range for which they want to clear browsing data. You can choose to clear data from the past hour, day, week, month, or all time, depending on your preferences.
-
Clearing Browsing Data: After selecting the desired data types and time range, click on the "Clear data" button to initiate the clearing process. Chrome will remove the selected browsing data, including any stored thumbnails associated with frequently visited sites.
-
Verifying the Changes: Once the browsing data has been cleared, open a new tab to confirm that the thumbnails have been removed. If the process was successful, the new tab page should no longer display the visual previews of frequently visited websites.
Clearing browsing data in Google Chrome offers users a straightforward method to remove thumbnails from the new tab page. By selectively clearing browsing history, cookies, and cached images and files, users can effectively eliminate the display of thumbnails while also refreshing their browsing environment. This method provides a simple yet effective approach for users who prefer to manage the display of thumbnails without relying on experimental features or third-party extensions.
Conclusion
In conclusion, the ability to turn off thumbnails in Google Chrome provides users with valuable flexibility and control over their browsing experience. By exploring the methods outlined in this article, users can tailor their new tab page to better suit their preferences, whether it involves decluttering the interface or enhancing privacy.
The utilization of Chrome Flags offers a customizable approach, allowing users to experiment with experimental features and disable thumbnails directly from the browser's settings. While this method provides a direct solution, it's important to exercise caution when modifying experimental features, considering their potential impact on browser stability and performance.
Furthermore, the option to use Chrome extensions specifically designed to remove thumbnails from the new tab page presents a user-friendly and convenient alternative. These extensions not only allow users to disable thumbnails but also offer additional customization options, contributing to a more personalized browsing environment.
Additionally, the simple act of clearing browsing data in Google Chrome can effectively remove thumbnails from the new tab page. This method provides a straightforward approach for users who prefer to manage the display of thumbnails without relying on experimental features or third-party extensions.
Overall, the diverse range of methods to turn off thumbnails in Google Chrome underscores the browser's commitment to user customization and privacy. Whether users seek a minimalist new tab page or aim to enhance their browsing privacy, these methods empower them to curate their browsing environment according to their individual preferences.
By understanding and implementing these methods, users can harness the full potential of Google Chrome, creating a browsing experience that aligns with their unique needs and preferences. Whether it's through the use of experimental features, extensions, or simple browsing data management, the ability to turn off thumbnails in Google Chrome reflects the browser's adaptability and commitment to user-centric customization.