Introduction
Autofill is a nifty feature that saves time and effort by automatically filling in forms and login details on websites. However, there are instances when you may need to remove an autofill entry on Chrome. Whether it's outdated information, a misspelled entry, or simply a need for privacy, knowing how to remove an autofill on Chrome can be quite handy.
In this article, we will delve into the process of removing an autofill entry on Chrome, providing you with a step-by-step guide to ensure a smooth and hassle-free experience. Whether you're a seasoned Chrome user or just getting started, understanding how to manage autofill entries can help streamline your browsing experience and keep your information up to date.
So, let's embark on this journey to unravel the mysteries of Chrome's autofill feature and learn how to remove those pesky or outdated entries. By the end of this guide, you'll be equipped with the knowledge and confidence to take control of your autofill settings and ensure a seamless browsing experience.
Understanding Autofill on Chrome
Autofill is a convenient feature integrated into the Chrome browser that aims to simplify the process of filling out forms and entering login details on websites. It works by storing and recalling information that users have previously entered, such as names, addresses, phone numbers, email addresses, and credit card details. This functionality not only saves time but also reduces the likelihood of errors when entering repetitive information.
When a user begins typing in a form field, Chrome's autofill feature displays suggestions based on previously entered data. This can be particularly useful for frequently visited websites, where the browser can automatically populate fields with the relevant information, sparing users from the tedium of manual input.
Furthermore, Chrome's autofill feature extends to payment information, allowing users to securely store and retrieve credit card details for online transactions. This can be a time-saving and convenient option for those who frequently make purchases online.
While the autofill feature offers undeniable convenience, it's essential to be mindful of the potential privacy and security implications. Storing sensitive information such as credit card details in the browser's autofill can pose a risk if the device is accessed by unauthorized individuals. Therefore, it's crucial to regularly review and manage autofill entries to ensure the security of personal data.
Understanding the intricacies of Chrome's autofill feature empowers users to make informed decisions about when and how to utilize this functionality. Whether it's for streamlining form submissions, managing login credentials, or securely storing payment information, having a clear understanding of autofill on Chrome is pivotal to optimizing the browsing experience.
By comprehending the inner workings of Chrome's autofill feature, users can leverage its benefits while remaining vigilant about data security and privacy. With this knowledge as a foundation, users can confidently navigate the intricacies of autofill management and ensure a seamless and secure browsing experience.
Steps to Remove an Autofill on Chrome
-
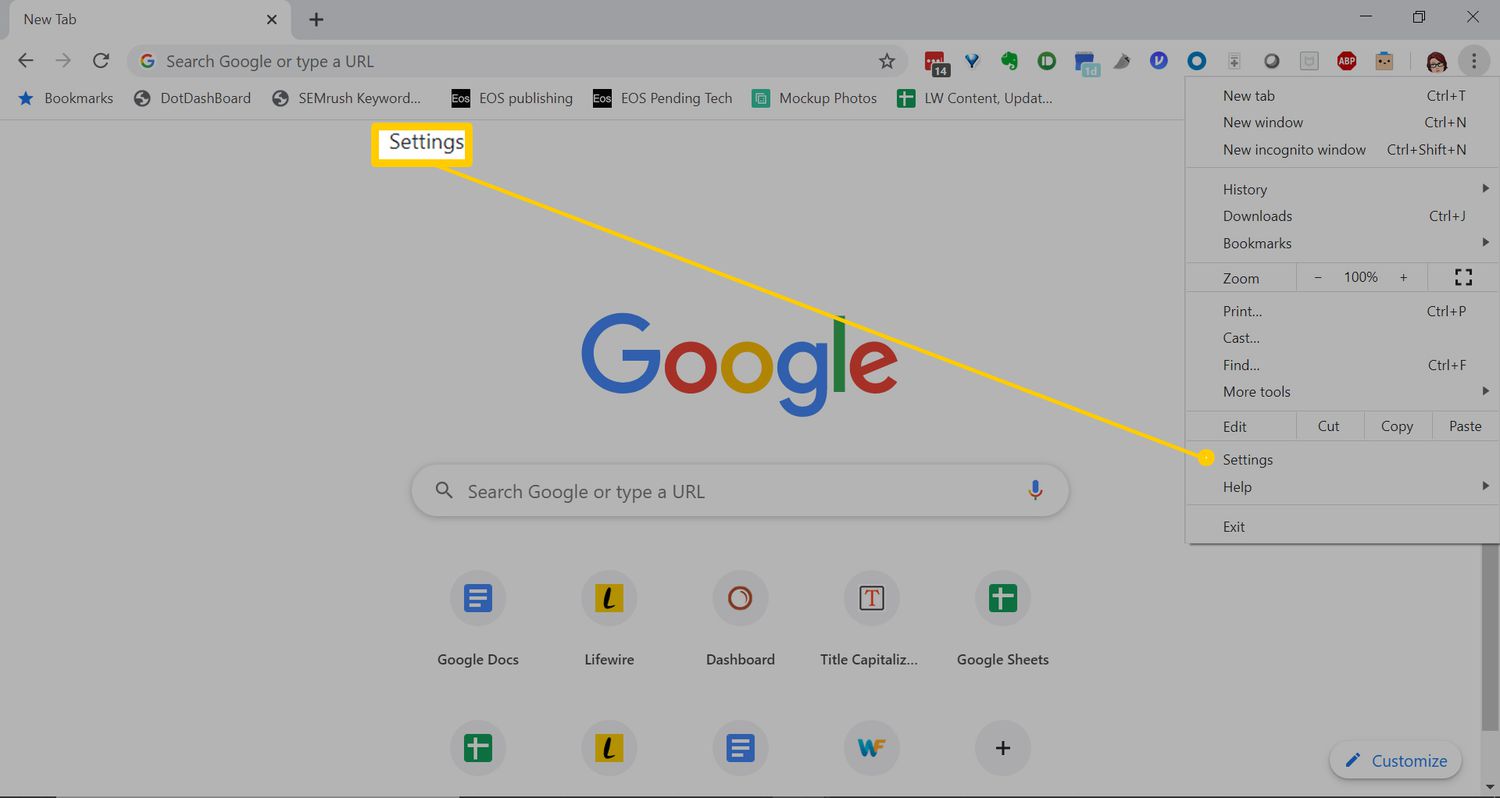
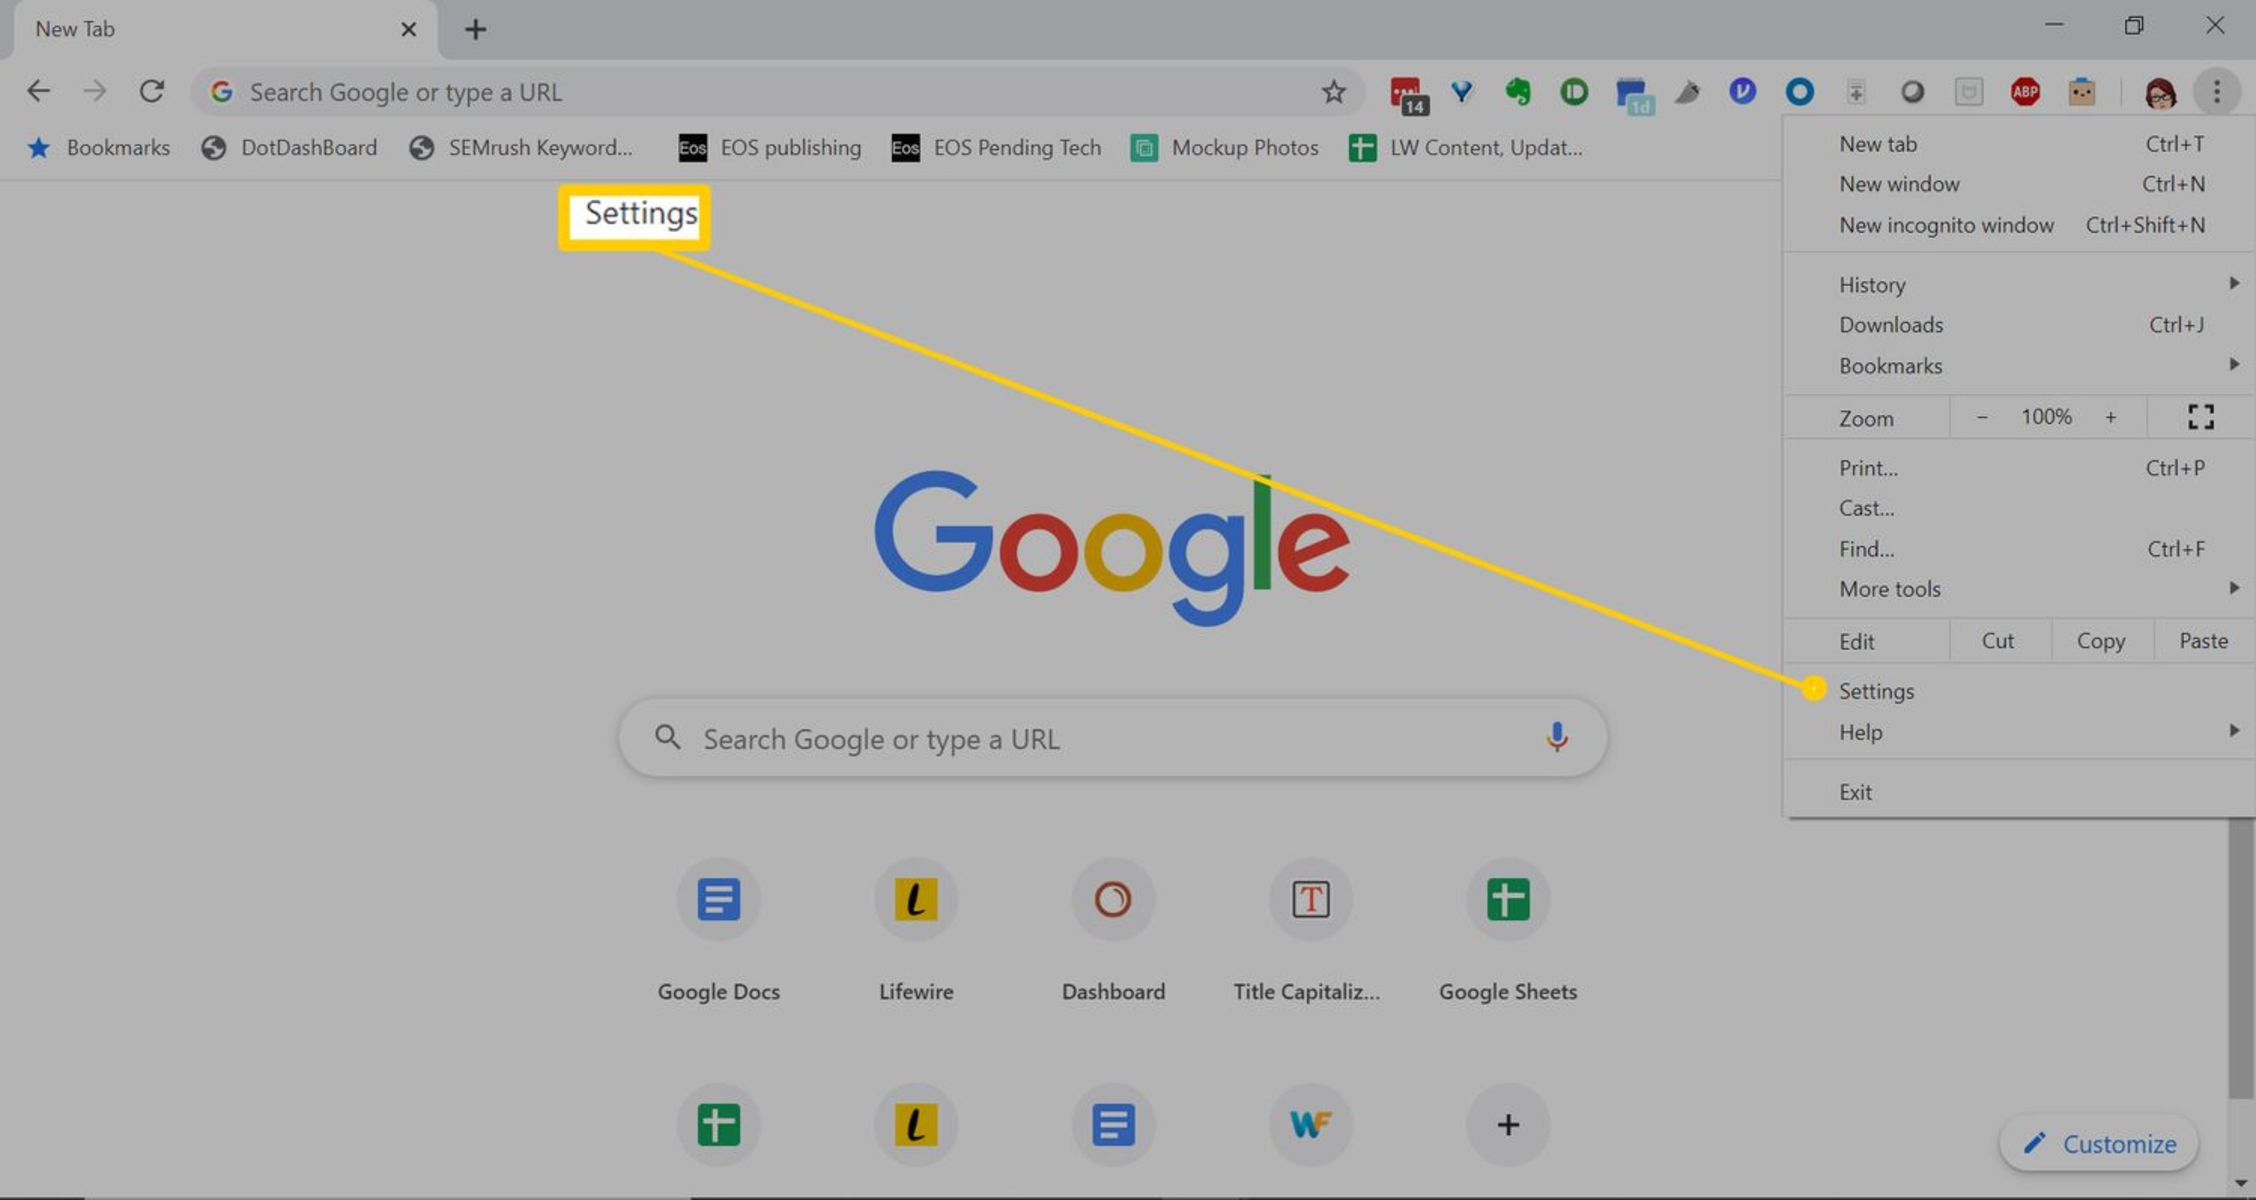
Accessing Chrome Settings: To begin the process of removing an autofill entry on Chrome, start by opening the Chrome browser on your device. Next, click on the three-dot menu icon located in the top-right corner of the browser window. From the dropdown menu, select "Settings" to access the browser's settings and customization options.
-
Navigating to Autofill Settings: Within the Settings menu, scroll down and locate the "Autofill" section. Click on "Autofill" to reveal a range of autofill options, including addresses, passwords, payment methods, and more.
-
Managing Autofill Data: Under the Autofill section, you will find various categories such as "Addresses and more," "Passwords," and "Payment methods." Depending on the type of autofill entry you wish to remove, select the corresponding category.
-
Removing Specific Autofill Entries: Once you have selected the relevant autofill category, you will see a list of saved entries. Locate the specific autofill entry that you want to remove and hover your cursor over it. An "X" icon will appear next to the entry. Click on the "X" icon to delete the autofill entry from Chrome.
-
Confirming Deletion: After clicking the "X" icon, Chrome will prompt you to confirm the deletion of the selected autofill entry. Confirm the action to permanently remove the entry from Chrome's autofill database.
-
Verifying Removal: To ensure that the autofill entry has been successfully removed, revisit the form or website where the entry was previously auto-filled. Attempt to input the information, and you should no longer see the deleted entry in the autofill suggestions.
-
Repeat if Necessary: If you have multiple autofill entries that require removal, repeat the above steps for each entry until your autofill data is streamlined and up to date.
By following these straightforward steps, you can effectively remove outdated, inaccurate, or unwanted autofill entries from Chrome, ensuring that your autofill data remains accurate and reflective of your current information. This process empowers users to maintain control over their autofill data, promoting data accuracy and privacy while optimizing the browsing experience.
Conclusion
In conclusion, mastering the art of managing autofill entries on Chrome is a valuable skill that empowers users to maintain data accuracy, privacy, and a seamless browsing experience. By understanding the intricacies of Chrome's autofill feature and learning how to remove unwanted entries, users can take control of their browsing data and ensure that autofill suggestions are accurate and up to date.
The process of removing an autofill entry on Chrome is straightforward and can be accomplished in just a few simple steps. By accessing the browser's settings and navigating to the autofill section, users can easily identify and delete specific autofill entries, whether they pertain to addresses, passwords, payment methods, or other form data. This level of control allows users to curate their autofill data, ensuring that only relevant and accurate information is stored and suggested by the browser.
Furthermore, the ability to remove outdated or inaccurate autofill entries contributes to enhanced data privacy and security. By regularly reviewing and managing autofill data, users can mitigate the risk of outdated or incorrect information being inadvertently populated in form fields, thereby safeguarding sensitive details from being exposed or misused.
Moreover, the process of removing unwanted autofill entries promotes a streamlined and efficient browsing experience. By ensuring that autofill suggestions are accurate and reflective of current information, users can expedite form submissions, streamline login processes, and facilitate online transactions with confidence.
In a digital landscape where privacy and data security are paramount, the ability to manage autofill entries on Chrome is a proactive step towards maintaining control over personal information. By taking charge of autofill data and regularly purging outdated entries, users can navigate the web with greater peace of mind, knowing that their browsing experience is optimized for accuracy, efficiency, and security.
In essence, the knowledge and proficiency in removing autofill entries on Chrome empower users to harness the benefits of autofill while maintaining a vigilant approach to data management. By following the outlined steps and embracing a proactive stance towards autofill management, users can elevate their browsing experience and ensure that their personal data remains secure and up to date.