Introduction
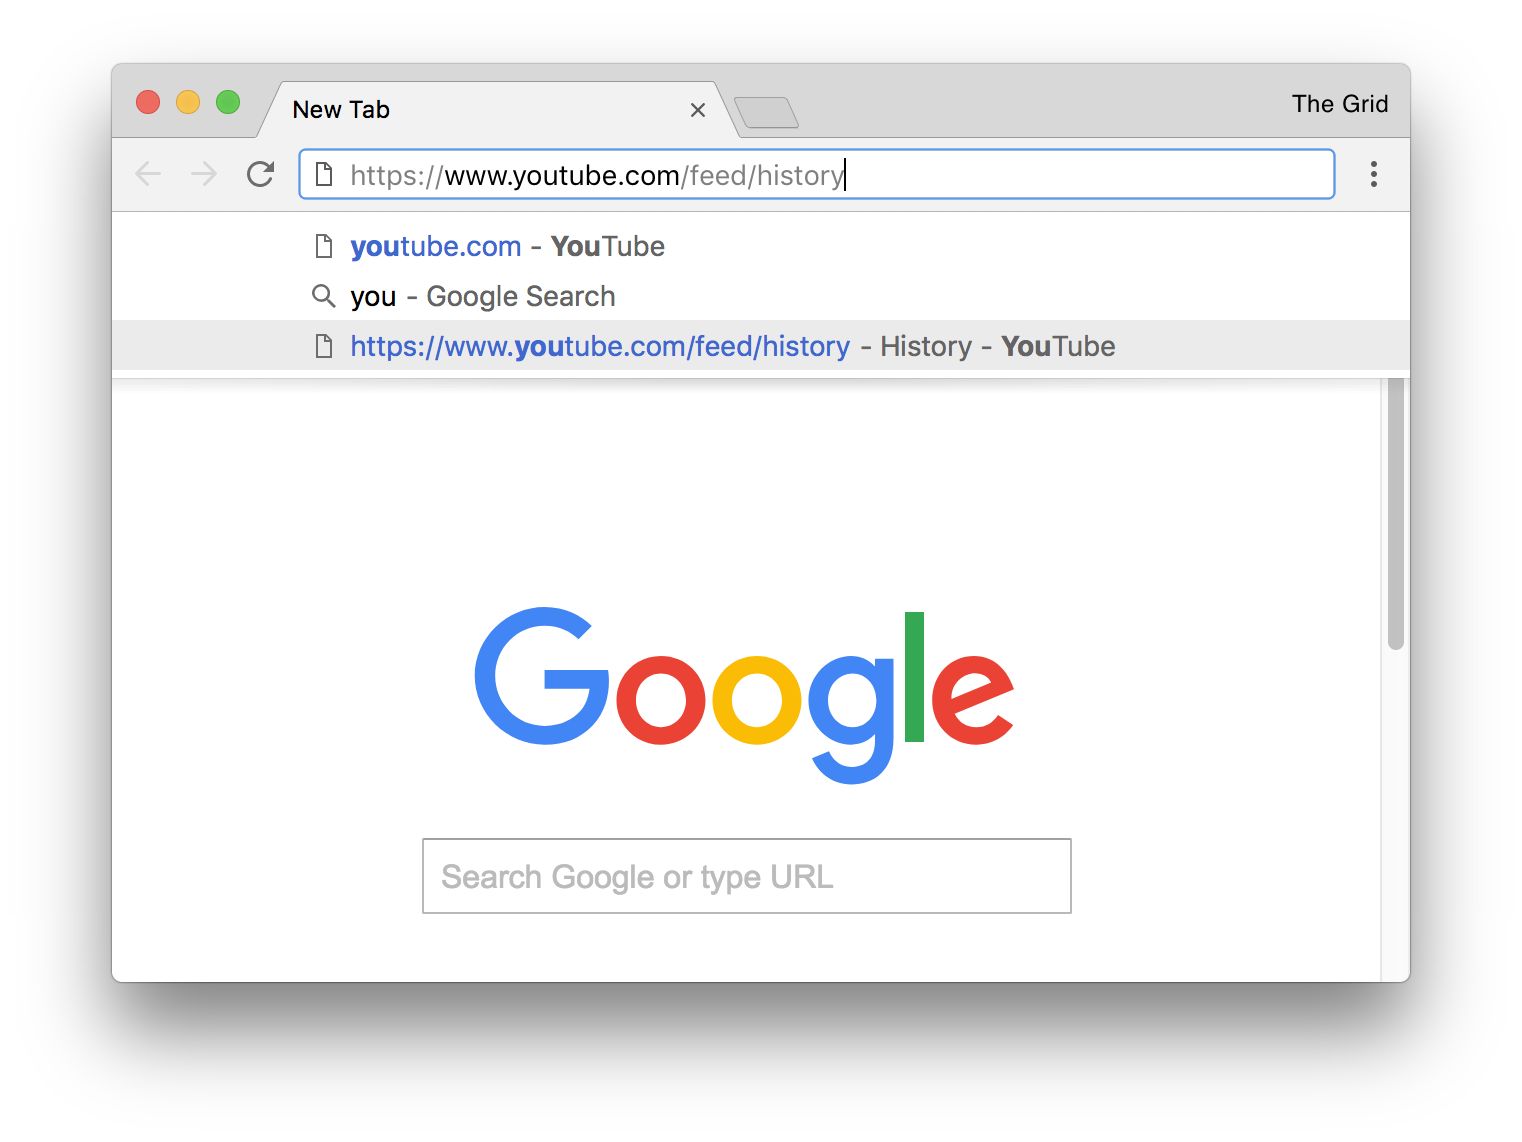
Autofill is a nifty feature that saves time and effort by automatically populating web forms with previously entered information. While this can be incredibly convenient, there are instances when you may want to remove specific autofill URLs from your Chrome browser. Perhaps you've mistyped a URL, or maybe you simply want to declutter your autofill suggestions. Whatever the reason, knowing how to manage and remove autofill URLs in Chrome can help streamline your browsing experience.
In this article, we'll explore the step-by-step process of removing autofill URLs in Chrome. Whether you're using Chrome on a desktop or mobile device, understanding how to clear unwanted autofill suggestions can help maintain privacy, improve browsing efficiency, and ensure a clutter-free autofill experience.
So, if you've ever found yourself frustrated by unwanted autofill suggestions or simply want to tidy up your browsing history, this guide will equip you with the knowledge to take control of your Chrome autofill URLs. Let's dive into the process of accessing Chrome settings and effectively managing your autofill data.
Accessing Chrome Settings
Accessing Chrome settings is the first step towards managing and removing autofill URLs from your browser. Whether you're using Chrome on a desktop or mobile device, the process of accessing settings remains consistent. Here's how you can access Chrome settings on both platforms:
On Desktop:
-
Using the Menu Icon:
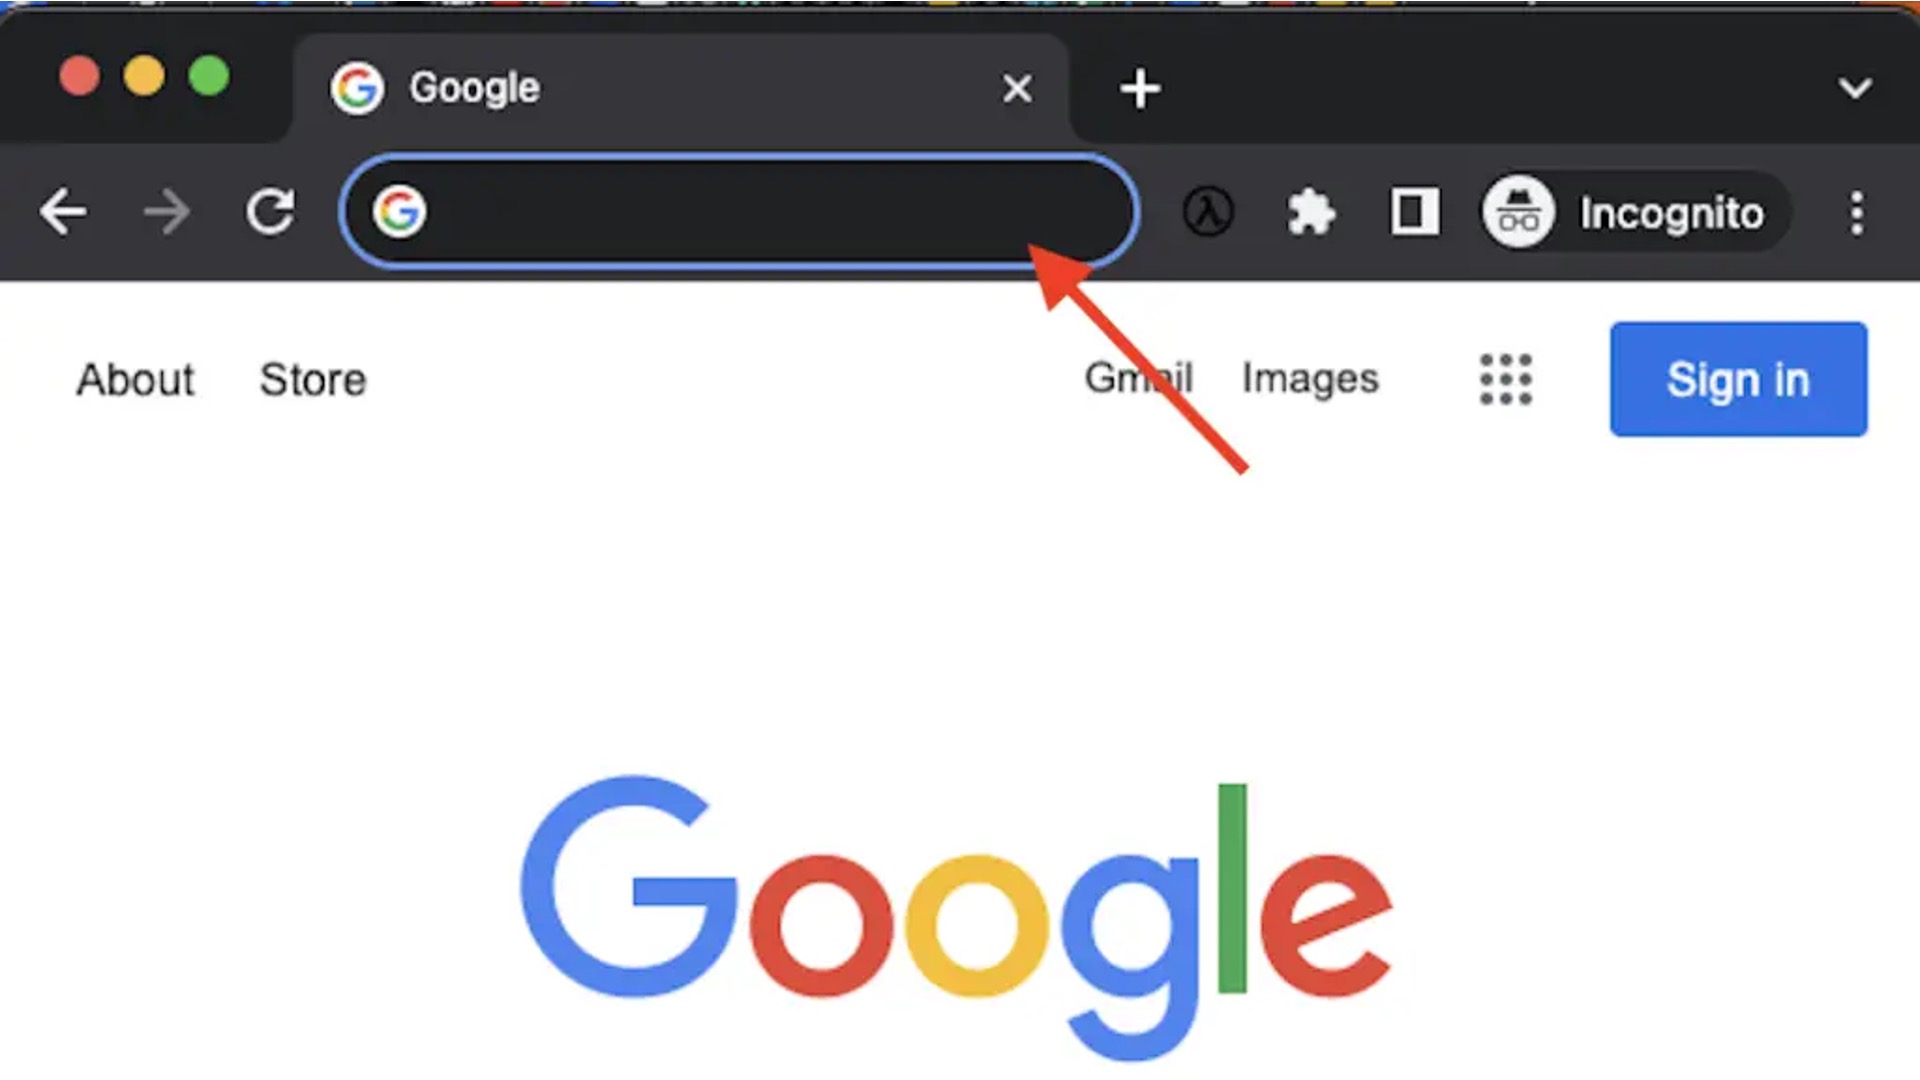
- Open Chrome on your desktop and look for the three-dot menu icon located in the top-right corner of the browser window.
- Click on the menu icon to reveal a dropdown list of options.
-
Selecting Settings:
- From the dropdown list, navigate to the "Settings" option and click on it. This action will redirect you to the Chrome settings page.
-
Accessing Advanced Settings:
- Once you're on the settings page, you may need to access advanced settings to manage autofill data. Scroll down to the bottom of the page and click on "Advanced" to reveal additional settings options.
On Mobile:
-
Using the Menu Icon:
- Launch the Chrome app on your mobile device and tap the three-dot menu icon located in the top-right corner of the screen.
-
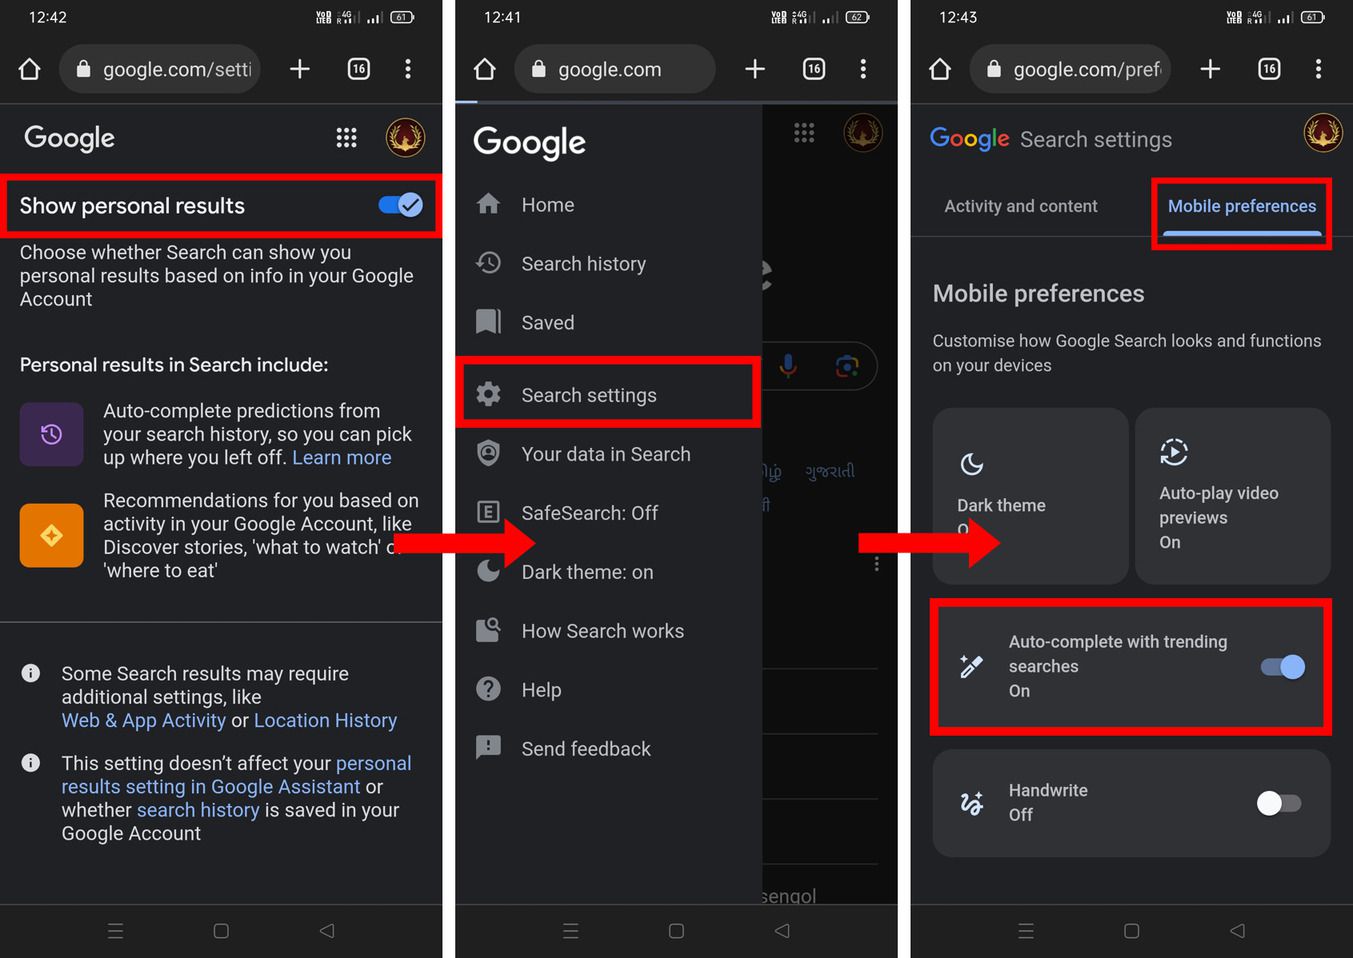
Navigating to Settings:
- Tap on the "Settings" option from the menu. This will take you to the Chrome settings page on your mobile device.
-
Accessing Advanced Settings:
- Similar to the desktop process, you may need to access advanced settings to manage autofill data. Scroll down to the bottom of the settings page and tap on "Advanced" to reveal additional settings options.
By following these steps, you can easily access Chrome settings on both desktop and mobile devices. Once you've accessed the settings, you'll be ready to proceed with managing and removing unwanted autofill URLs from your Chrome browser. This sets the stage for the next steps in the process, which involve clearing autofill URL data and, if necessary, disabling the autofill feature altogether.
Now that you've successfully accessed Chrome settings, let's delve into the next steps of managing your autofill data to ensure a personalized and clutter-free browsing experience.
Clearing Autofill URL Data
Once you've accessed Chrome settings, the next crucial step is to clear unwanted autofill URL data from your browser. Whether you're looking to remove mistyped URLs, outdated suggestions, or simply declutter your autofill options, Chrome provides a straightforward method to manage this data. Here's how you can effectively clear autofill URL data from your Chrome browser:
On Desktop:
-
Accessing Autofill Settings:
- After navigating to the Chrome settings page, look for the "Autofill" section. This is where you can manage various autofill data, including addresses, payment methods, and passwords.
- Click on "Autofill" to access the autofill settings.
-
Clearing Autofill URLs:
- Within the autofill settings, locate the "Addresses and more" section. This is where URL suggestions are stored.
- To clear specific autofill URLs, click on "Addresses" to view the list of saved suggestions.
- Hover over the URL you want to remove and click the "X" icon that appears next to it. This action will delete the selected autofill URL from your browser.
On Mobile:
-
Navigating to Autofill Settings:
- Similar to the desktop process, access the Chrome settings page on your mobile device and locate the "Autofill" section.
- Tap on "Autofill" to proceed to the autofill settings.
-
Removing Autofill URLs:
- Within the autofill settings, find the "Addresses" section, which contains the stored URL suggestions.
- Tap on "Addresses" to view the list of saved URLs and proceed to select the ones you want to remove.
- By tapping and holding on a specific URL, you can select it for removal. Once selected, look for the delete or remove option to clear the unwanted autofill URL from your browser.
By following these steps, you can efficiently clear unwanted autofill URL data from your Chrome browser, ensuring that your autofill suggestions remain relevant and tailored to your browsing needs. This process empowers you to maintain a tidy autofill experience, free from outdated or irrelevant URL suggestions.
With the unwanted autofill URLs successfully removed, you're now equipped to streamline your browsing experience and ensure that your autofill suggestions align with your current browsing habits. However, if you're looking to take your autofill management a step further, you may consider disabling the autofill feature altogether. Let's explore this option in the next section.
Disabling Autofill Feature
If you find yourself consistently clearing autofill suggestions or prefer a more manual approach to entering information on web forms, disabling the autofill feature in Chrome may be a viable solution. By turning off autofill, you can take full control of the information you input, ensuring that no automatic suggestions interfere with your browsing experience. Here's how you can disable the autofill feature in Chrome:
On Desktop:
-
Accessing Autofill Settings:
- After navigating to the Chrome settings page, locate the "Autofill" section, which encompasses various autofill data types.
- Click on "Autofill" to access the autofill settings.
-
Disabling Autofill:
- Within the autofill settings, look for the "Addresses and more" section, where URL suggestions are stored.
- Toggle off the switch next to "Addresses" to disable the autofill feature for URLs.
On Mobile:
-
Navigating to Autofill Settings:
- Access the Chrome settings page on your mobile device and locate the "Autofill" section.
- Tap on "Autofill" to proceed to the autofill settings.
-
Turning Off Autofill:
- Within the autofill settings, find the "Addresses" section, which contains stored URL suggestions.
- Toggle off the switch associated with "Addresses" to disable the autofill feature for URLs.
By following these steps, you can effectively disable the autofill feature in Chrome, providing a more hands-on approach to entering information on web forms. Once disabled, Chrome will no longer automatically populate URL suggestions, giving you complete autonomy over the data you input.
Disabling the autofill feature can be particularly beneficial for individuals who prioritize manual input and prefer to avoid automatic suggestions. Whether for privacy concerns or personal preference, taking control of autofill settings can enhance your browsing experience and provide a more tailored approach to form completion.
With the autofill feature disabled, you can enjoy a more deliberate and intentional process when entering information on websites, ensuring that each input is consciously made without the influence of automatic suggestions.
In summary, by disabling the autofill feature in Chrome, you can customize your browsing experience to align with your preferences, ultimately enhancing control and personalization when interacting with web forms.