Introduction
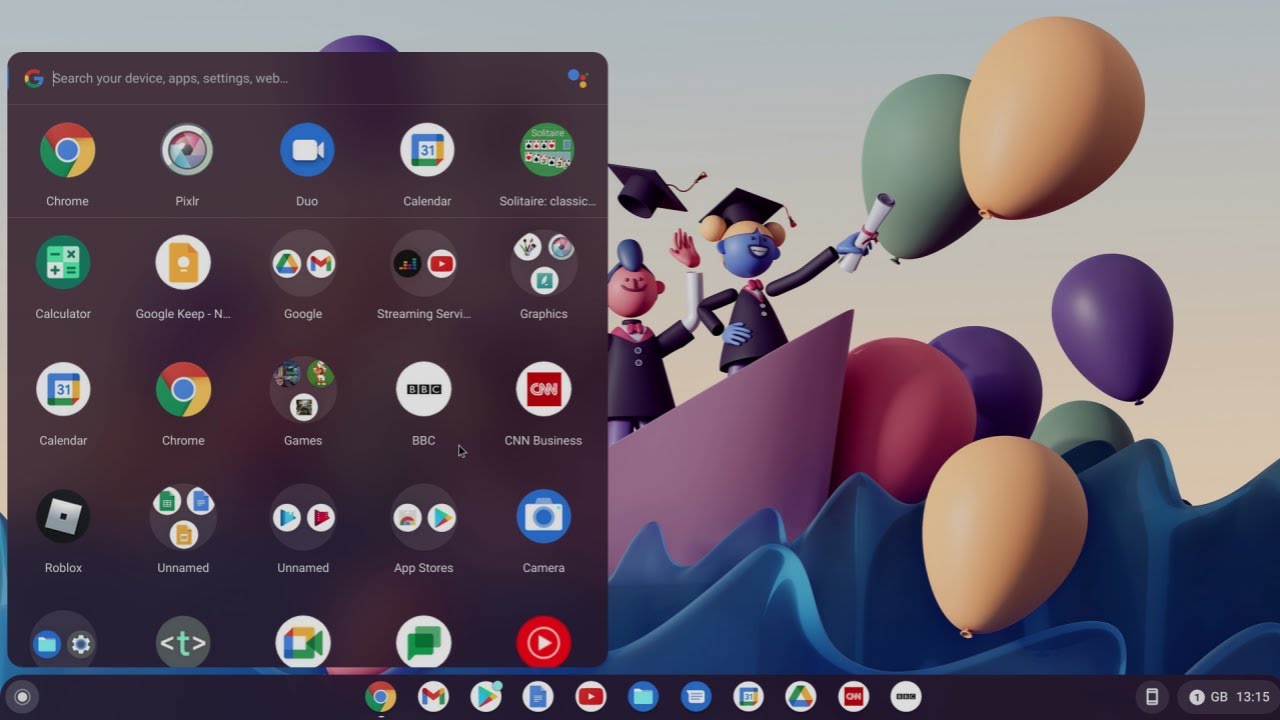
The Chrome App Launcher is a convenient tool that allows users to access their favorite Chrome apps directly from the desktop. It provides quick and easy access to web applications, extensions, and other features, streamlining the user experience and enhancing productivity. By placing the Chrome App Launcher on the desktop, users can seamlessly integrate their favorite web apps into their daily workflow, eliminating the need to navigate through multiple browser tabs or bookmarks.
With the Chrome App Launcher readily available on the desktop, users can launch their preferred web applications with just a single click, saving valuable time and effort. This feature is particularly beneficial for individuals who rely on specific web apps for work, communication, or entertainment, as it offers a convenient way to access these tools without the need to open the Chrome browser first.
In this guide, we will explore the step-by-step process of downloading and installing the Chrome App Launcher, creating a shortcut on the desktop for easy access, and customizing the launcher's settings to suit individual preferences. Whether you're a professional seeking to streamline your workflow or a casual user looking for a more efficient way to access your favorite web apps, incorporating the Chrome App Launcher onto your desktop can significantly enhance your browsing experience.
By following the instructions outlined in this guide, you can seamlessly integrate the Chrome App Launcher into your desktop environment, allowing for quick and effortless access to your preferred web applications. With the Chrome App Launcher at your fingertips, you can optimize your browsing experience and enjoy the convenience of launching your favorite web apps directly from the desktop, enhancing both productivity and accessibility.
Step 1: Download and Install Chrome App Launcher
The first step in incorporating the Chrome App Launcher onto your desktop involves downloading and installing the application. Follow these simple instructions to seamlessly integrate the launcher into your browsing environment:
-
Open Chrome Web Store: Launch the Google Chrome browser on your computer and navigate to the Chrome Web Store. This can be done by clicking on the three-dot menu icon in the top-right corner of the browser window and selecting "More tools" followed by "Extensions." From there, click on "Open Chrome Web Store" to access the store's extensive collection of extensions and applications.
-
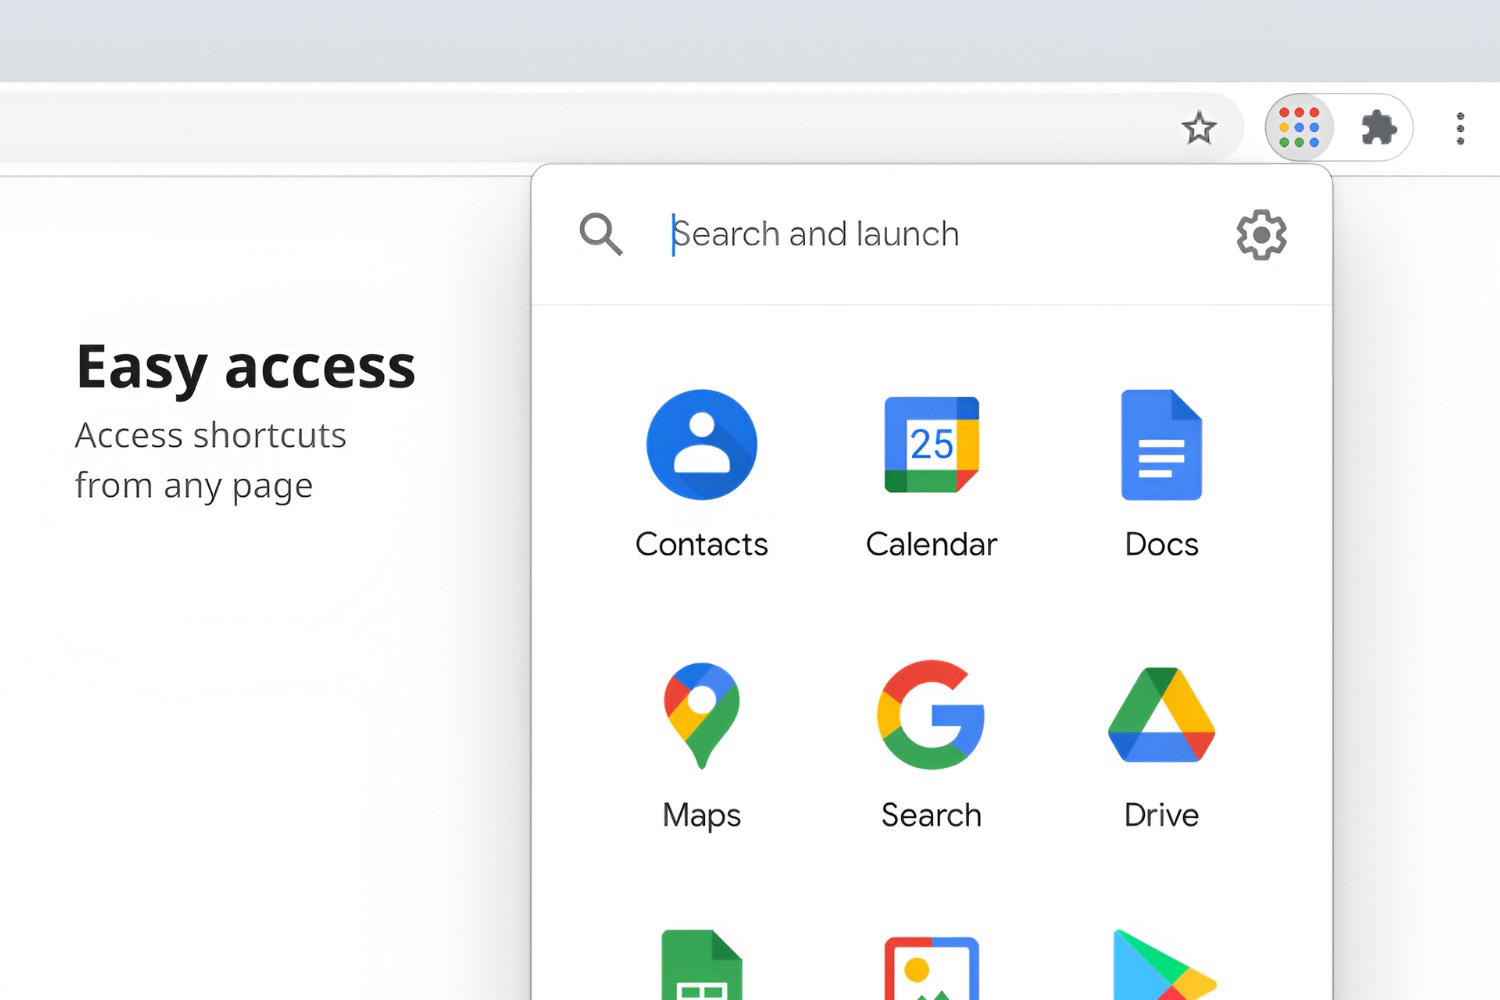
Search for Chrome App Launcher: Once you're in the Chrome Web Store, use the search bar at the top left to look for the Chrome App Launcher. You can simply type "Chrome App Launcher" into the search field and press Enter to initiate the search.
-
Select and Install: Upon locating the Chrome App Launcher in the search results, click on the application to view its details and description. Ensure that you are selecting the official Chrome App Launcher offered by Google. Next, click on the "Add to Chrome" button to initiate the installation process. A confirmation dialog may appear, requesting permission to add the launcher to your browser. Click "Add extension" to proceed with the installation.
-
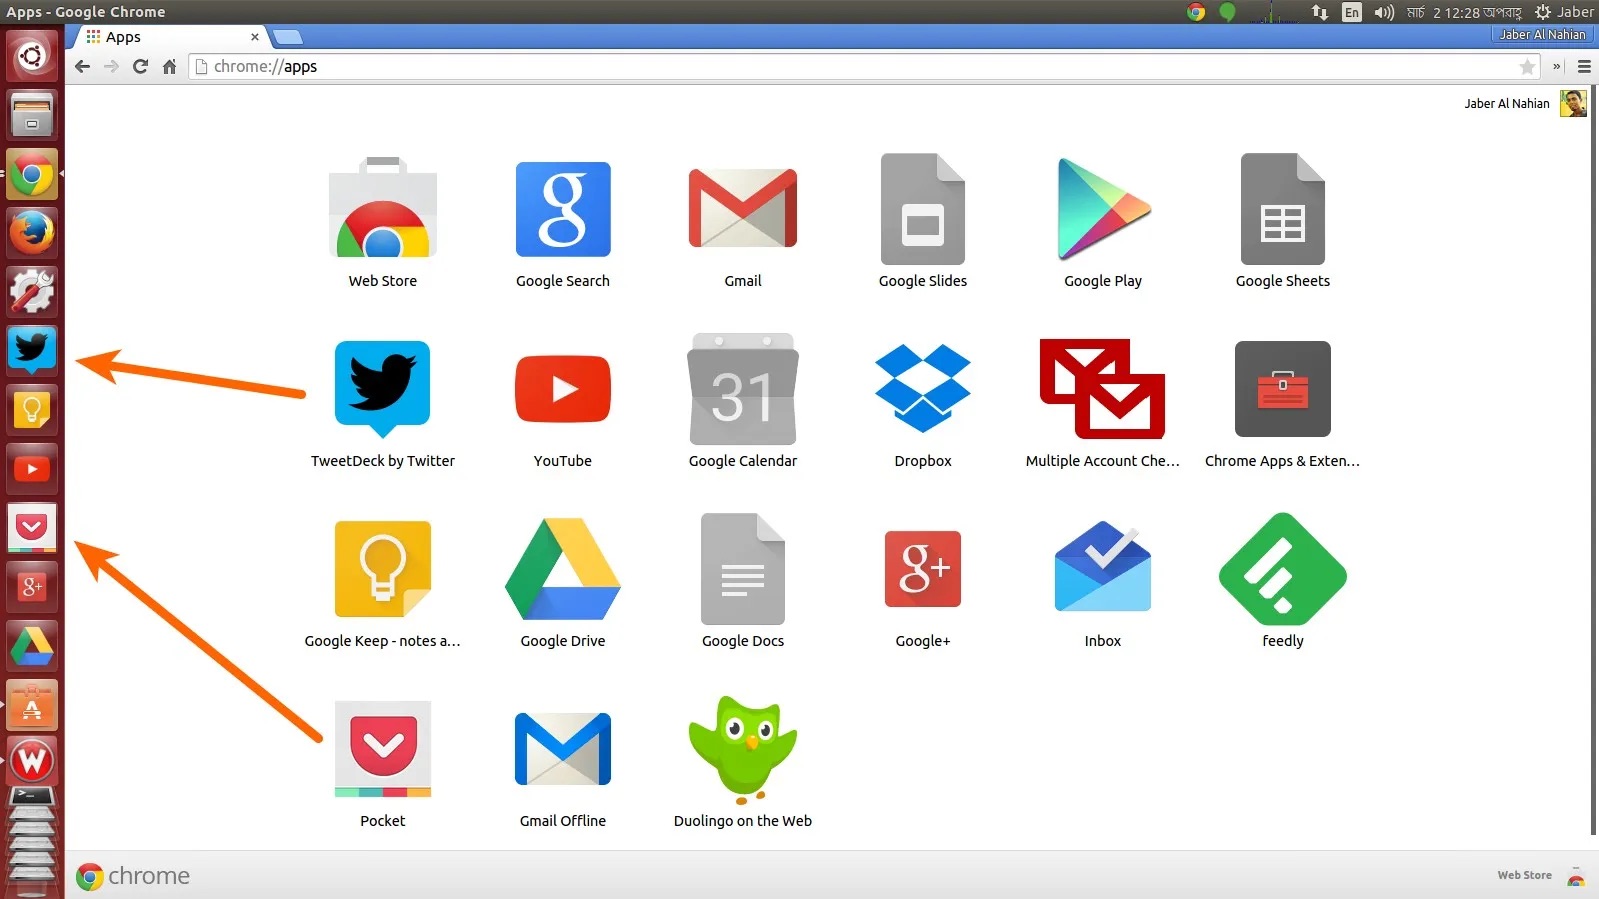
Wait for Installation: The Chrome App Launcher will be downloaded and installed onto your browser. You may notice a small pop-up in the top-right corner of the browser window indicating the progress of the installation. Once the installation is complete, the Chrome App Launcher icon will appear in the Chrome Apps page, which can be accessed by typing "chrome://apps/" into the address bar and pressing Enter.
By following these straightforward steps, you can successfully download and install the Chrome App Launcher, bringing the convenience of quick access to your favorite web applications directly to your desktop. With the launcher now integrated into your browsing environment, you are ready to proceed to the next step of creating a shortcut on your desktop for seamless access to your preferred web apps.
Step 2: Create Shortcut on Desktop
Creating a shortcut for the Chrome App Launcher on your desktop is a simple yet effective way to ensure quick and convenient access to your favorite web applications. By following the steps outlined below, you can seamlessly integrate the Chrome App Launcher into your desktop environment, allowing for effortless launching of web apps with just a single click.
-
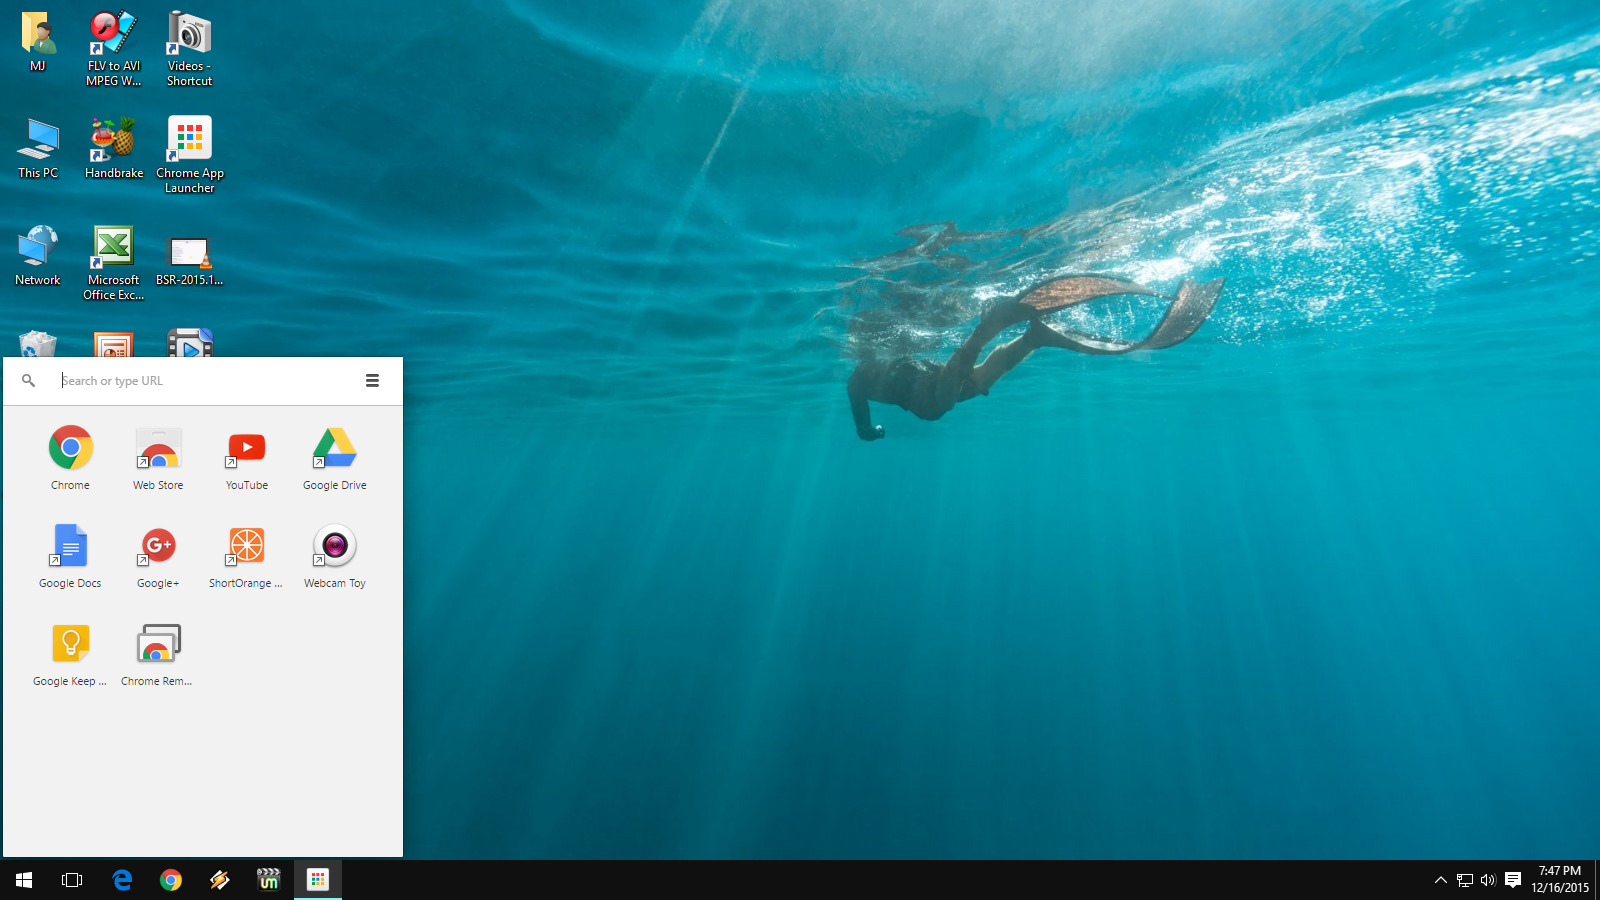
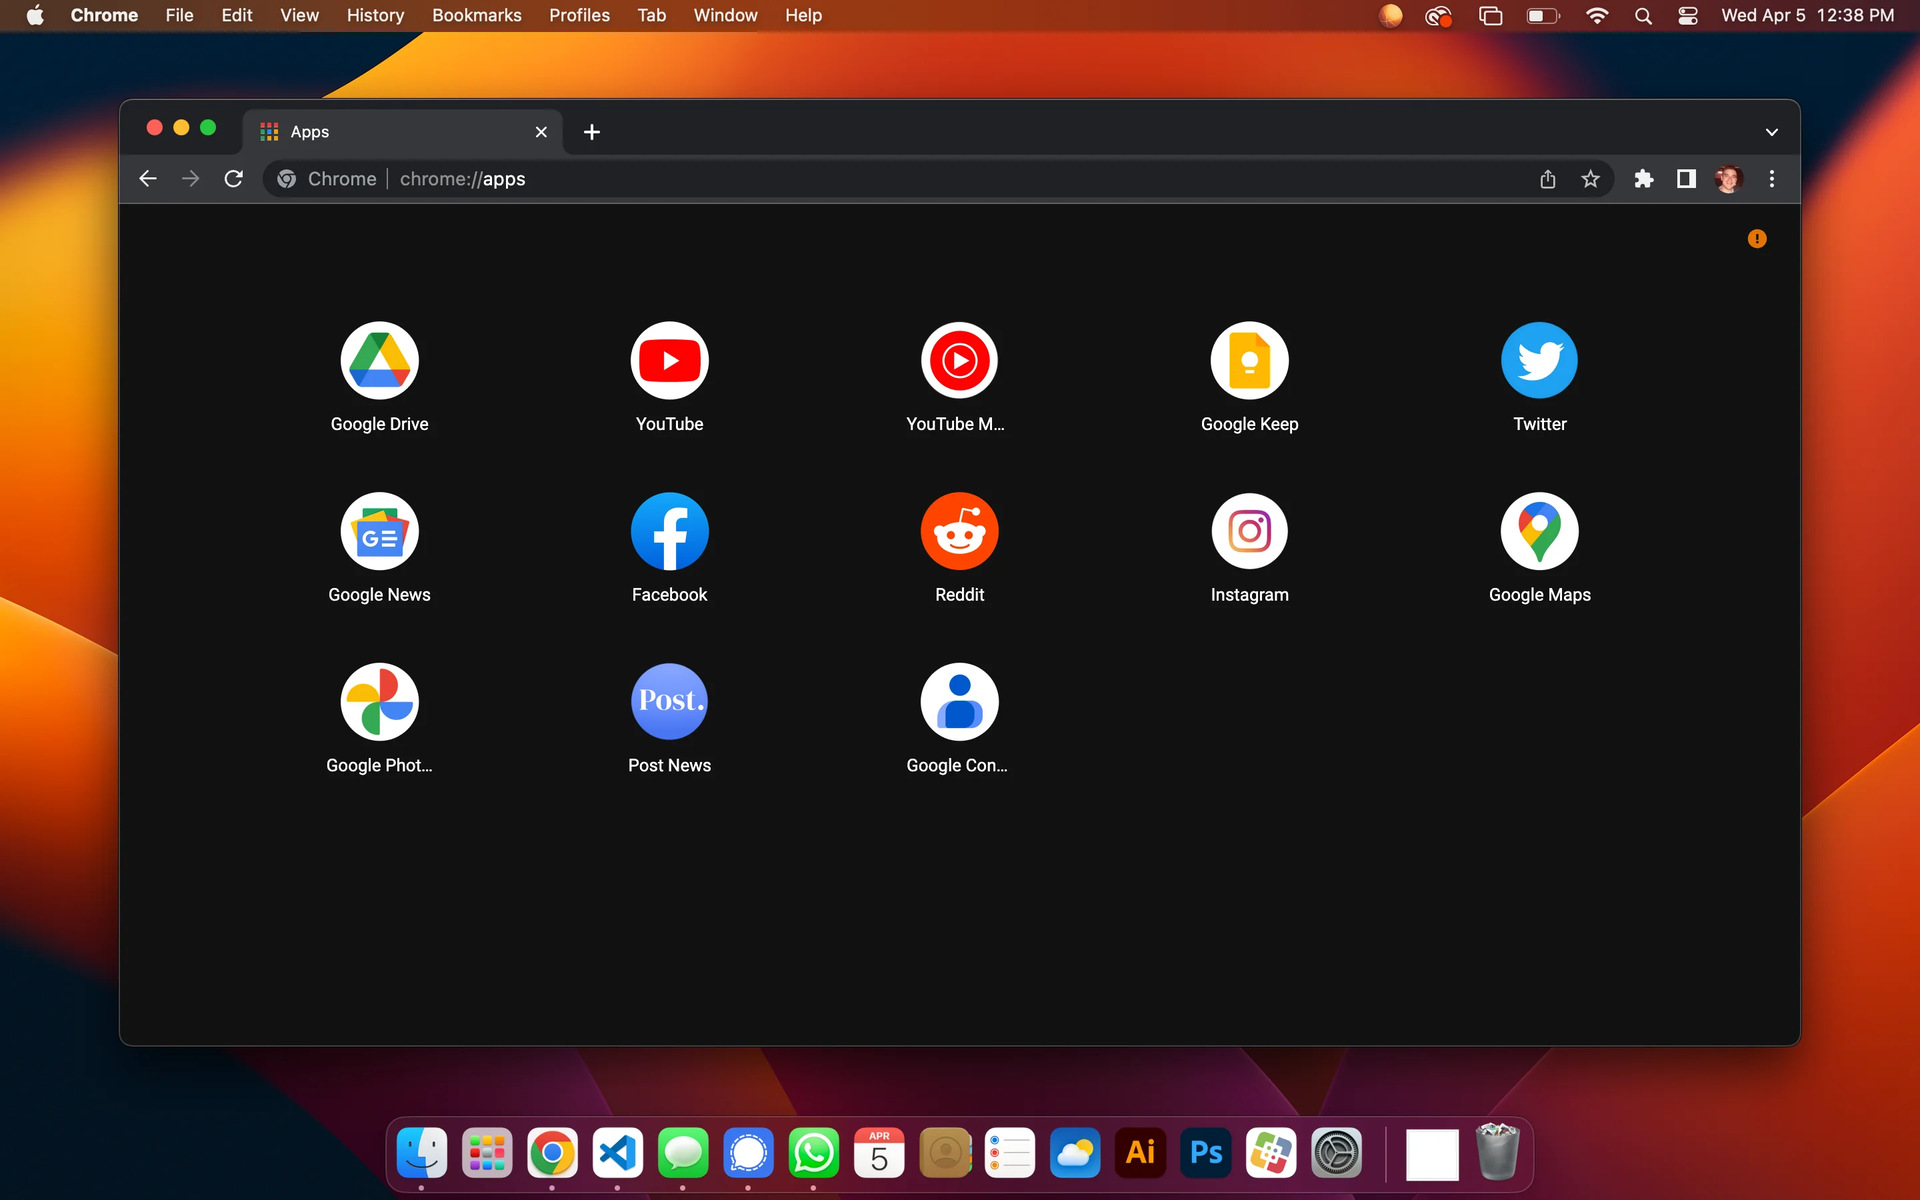
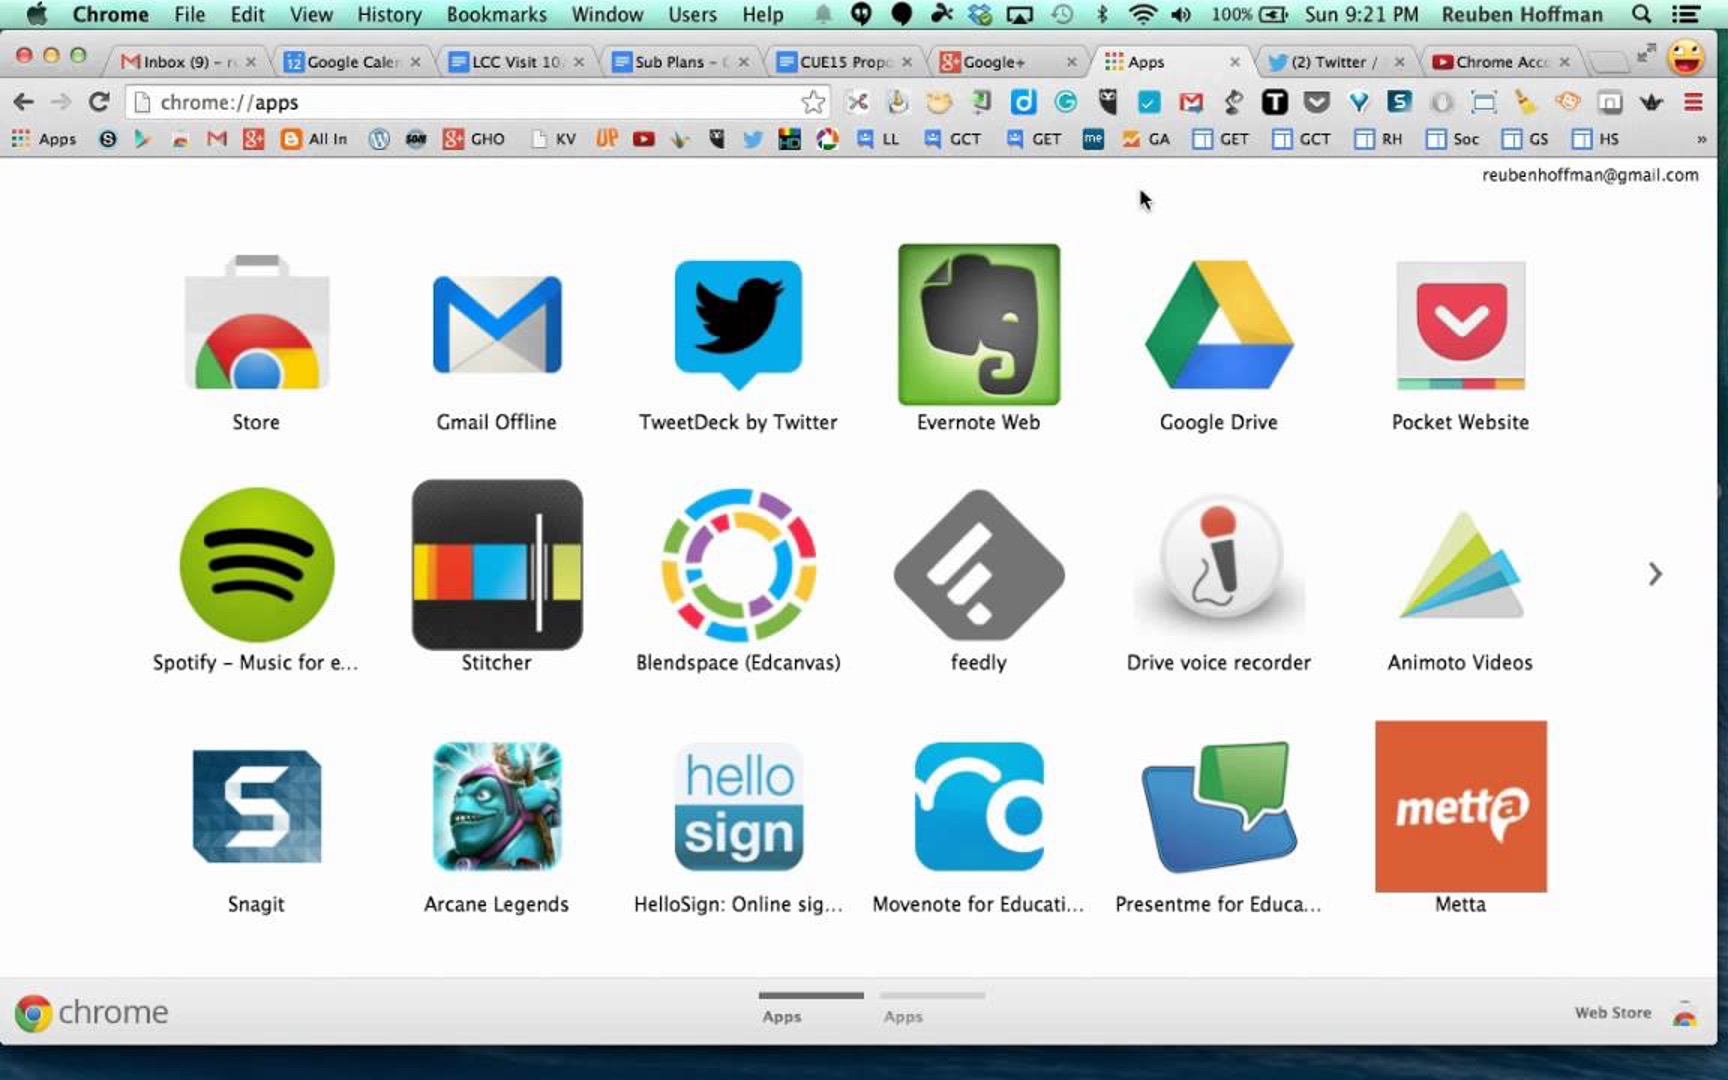
Locate Chrome App Launcher: After successfully installing the Chrome App Launcher in the previous step, navigate to the Chrome Apps page by typing "chrome://apps/" into the address bar of your Chrome browser and pressing Enter. This will display a grid of all the installed Chrome apps, including the newly added Chrome App Launcher.
-
Create Desktop Shortcut: To create a shortcut for the Chrome App Launcher on your desktop, simply right-click on the launcher's icon within the Chrome Apps page. A context menu will appear, presenting you with various options. From the menu, select "Create shortcuts" to initiate the shortcut creation process.
-
Choose Shortcut Location: Upon selecting "Create shortcuts," a dialog box will appear, prompting you to choose the location for the shortcut. Ensure that the "Desktop" option is checked to indicate that you want the shortcut to be placed on your desktop. You may also choose to add the launcher to the taskbar or the applications menu, depending on your preferences.
-
Confirm Shortcut Creation: After selecting the desired location for the shortcut, click the "Create" button to confirm the creation of the desktop shortcut. This action will generate a shortcut for the Chrome App Launcher on your desktop, allowing for convenient access to your favorite web applications directly from your desktop environment.
By following these straightforward steps, you can successfully create a shortcut for the Chrome App Launcher on your desktop, streamlining the process of launching your preferred web apps with ease. With the shortcut now in place, you are ready to proceed to the next step of customizing the Chrome App Launcher's settings to further enhance your browsing experience.
Step 3: Customize Chrome App Launcher Settings
Customizing the Chrome App Launcher settings allows users to tailor their experience and optimize the launcher's functionality to suit their individual preferences. By adjusting various settings, users can enhance the accessibility and efficiency of launching their favorite web applications directly from the desktop. Follow the steps below to customize the Chrome App Launcher settings and personalize your browsing experience:
1. Access Launcher Settings
To begin customizing the Chrome App Launcher, start by right-clicking on the launcher's icon located on the desktop. A context menu will appear, presenting you with several options. From the menu, select "Settings" to access the configuration options for the launcher.
2. Customize App Display
Within the launcher settings, users have the option to customize the display of their installed web applications. This includes the ability to rearrange the app icons, create folders for app organization, and manage the visibility of specific apps within the launcher. By organizing and prioritizing the display of web apps, users can streamline their access to essential applications and improve overall productivity.
3. Manage Launcher Behavior
Users can further customize the Chrome App Launcher by managing its behavior and interaction with the desktop environment. This includes options to control how the launcher responds to clicks, double-clicks, or other gestures, as well as the ability to adjust the size and position of the launcher window. By fine-tuning these settings, users can ensure a seamless and intuitive experience when launching their preferred web applications.
4. Personalize Appearance
The launcher settings also offer options to personalize the appearance of the Chrome App Launcher. Users can choose from different themes, color schemes, and icon styles to customize the visual aesthetics of the launcher according to their preferences. This allows for a personalized and visually appealing desktop integration, enhancing the overall user experience.
5. Manage Notifications
Additionally, users can manage notifications and alerts generated by the Chrome App Launcher. This includes the ability to enable or disable notifications for specific web applications, ensuring that users stay informed about important updates or events related to their installed apps.
By customizing these settings, users can tailor the Chrome App Launcher to align with their unique browsing habits and workflow, ultimately enhancing the accessibility and efficiency of launching web applications from the desktop.
With the Chrome App Launcher now fully customized to suit individual preferences, users can enjoy a personalized and streamlined experience when accessing their favorite web applications directly from the desktop. By following these steps to customize the launcher settings, users can optimize their browsing environment and maximize productivity with quick and convenient access to essential web apps.