Introduction
The Chrome App Launcher is a nifty tool that provides quick access to your favorite apps, extensions, and websites right from your desktop. It offers a convenient way to launch and manage your Chrome apps without having to open the browser first. Whether you're a productivity enthusiast, a social media maven, or a gaming aficionado, the App Launcher can streamline your digital experience and boost your efficiency.
By following a few simple steps, you can easily download and install Chrome, enable the App Launcher, and customize it to suit your preferences. This versatile feature is designed to enhance your browsing experience and make accessing your favorite online resources a breeze.
In this guide, we'll walk you through the process of obtaining the Chrome App Launcher, enabling it, and customizing it to align with your unique needs and preferences. Whether you're a seasoned Chrome user or just getting started with this popular web browser, the App Launcher can be a valuable addition to your digital toolkit. So, let's dive in and explore how you can make the most of this handy feature.
Step 1: Download and Install Chrome
To begin your journey with the Chrome App Launcher, you first need to have Google Chrome installed on your computer. If you already have Chrome installed, you can skip this step and proceed to the next section. If not, here's how you can download and install Chrome:
-
Navigate to the Official Website: Open your current web browser and visit the official Google Chrome website. You can do this by typing "Google Chrome" into your search engine or by entering "www.google.com/chrome" directly into the address bar.
-
Download Chrome: Once you're on the official website, you'll see a prominent button that says "Download Chrome." Click on this button to initiate the download process. The website will automatically detect your operating system and provide the appropriate download link for your computer.
-
Run the Installer: After the download is complete, locate the installation file in your computer's downloads folder or the location where you typically store downloaded files. Double-click on the file to run the installer.
-
Follow the Installation Prompts: The installation process is straightforward and user-friendly. Simply follow the on-screen prompts to complete the installation. You may be asked to confirm that you want to install the application and to choose a location for the installation.
-
Launch Chrome: Once the installation is complete, you can launch Chrome by double-clicking the desktop icon or searching for "Google Chrome" in your computer's application menu.
By following these steps, you can easily download and install Google Chrome on your computer. Once you have Chrome up and running, you'll be ready to move on to the next step of enabling the App Launcher and unlocking its full potential.
Installing Google Chrome is the first step toward accessing the App Launcher, which will provide you with a seamless and efficient way to manage your favorite apps and extensions. With Chrome installed, you're one step closer to enhancing your digital experience and streamlining your access to online resources.
Step 2: Enable App Launcher
Once you have Google Chrome installed on your computer, you can proceed to enable the App Launcher. This feature provides quick and easy access to your favorite apps, extensions, and websites directly from your desktop, streamlining your digital experience. Here's how you can enable the App Launcher:
-
Open Chrome Settings: Launch Google Chrome and click on the three-dot menu icon located in the top-right corner of the browser window. From the dropdown menu, select "Settings" to access the browser's settings and customization options.
-
Navigate to the Extensions Menu: In the Settings tab, locate and click on "Extensions" in the left-hand sidebar. This will take you to the Extensions menu, where you can manage and customize the various extensions and features available in Chrome.
-
Enable App Launcher: Within the Extensions menu, look for the "App Launcher" option. You may need to scroll down to find it. Once you've located the App Launcher, ensure that the toggle switch next to it is set to the "On" position. This action will enable the App Launcher on your computer.
-
Pin App Launcher to Taskbar (Optional): To further streamline access to the App Launcher, you can choose to pin it to your computer's taskbar. Simply right-click on the App Launcher icon in the taskbar and select "Pin to taskbar" from the context menu. This will create a convenient shortcut for accessing the App Launcher directly from your taskbar.
By following these steps, you can easily enable the App Launcher in Google Chrome. Once activated, the App Launcher will provide you with a convenient way to access your favorite apps, extensions, and websites directly from your desktop, enhancing your browsing experience and productivity.
Enabling the App Launcher is a simple yet powerful way to streamline your digital workflow and access your preferred online resources with ease. With the App Launcher at your fingertips, you can navigate your favorite apps and extensions seamlessly, making the most of your browsing experience.
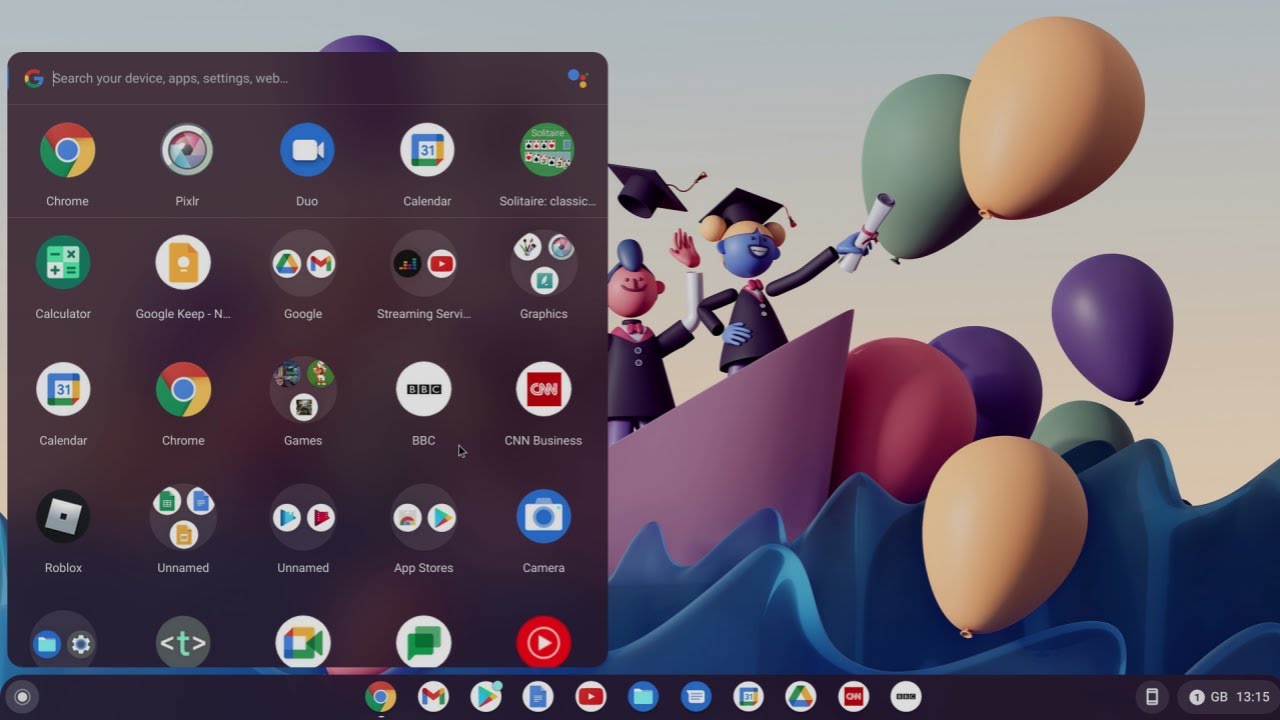
Step 3: Access App Launcher
Now that you've successfully enabled the App Launcher in Google Chrome, it's time to explore how you can access this convenient feature and leverage its functionality to streamline your digital experience. The App Launcher provides quick and easy access to your favorite apps, extensions, and websites directly from your desktop, offering a seamless way to manage your digital resources. Here's how you can access the App Launcher and make the most of its capabilities:
-
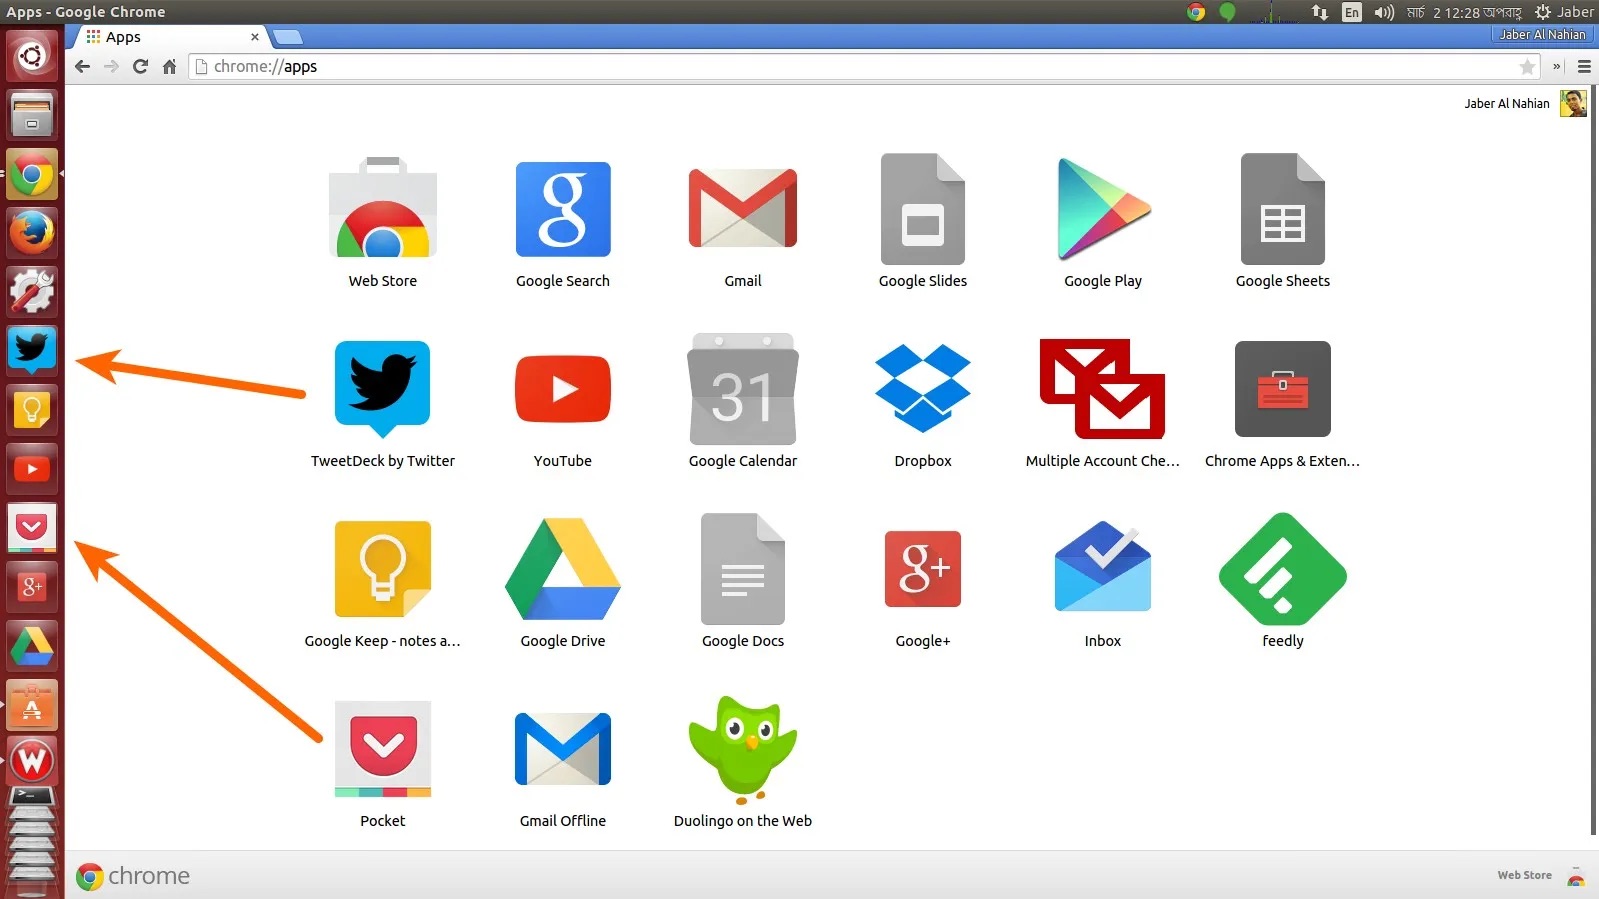
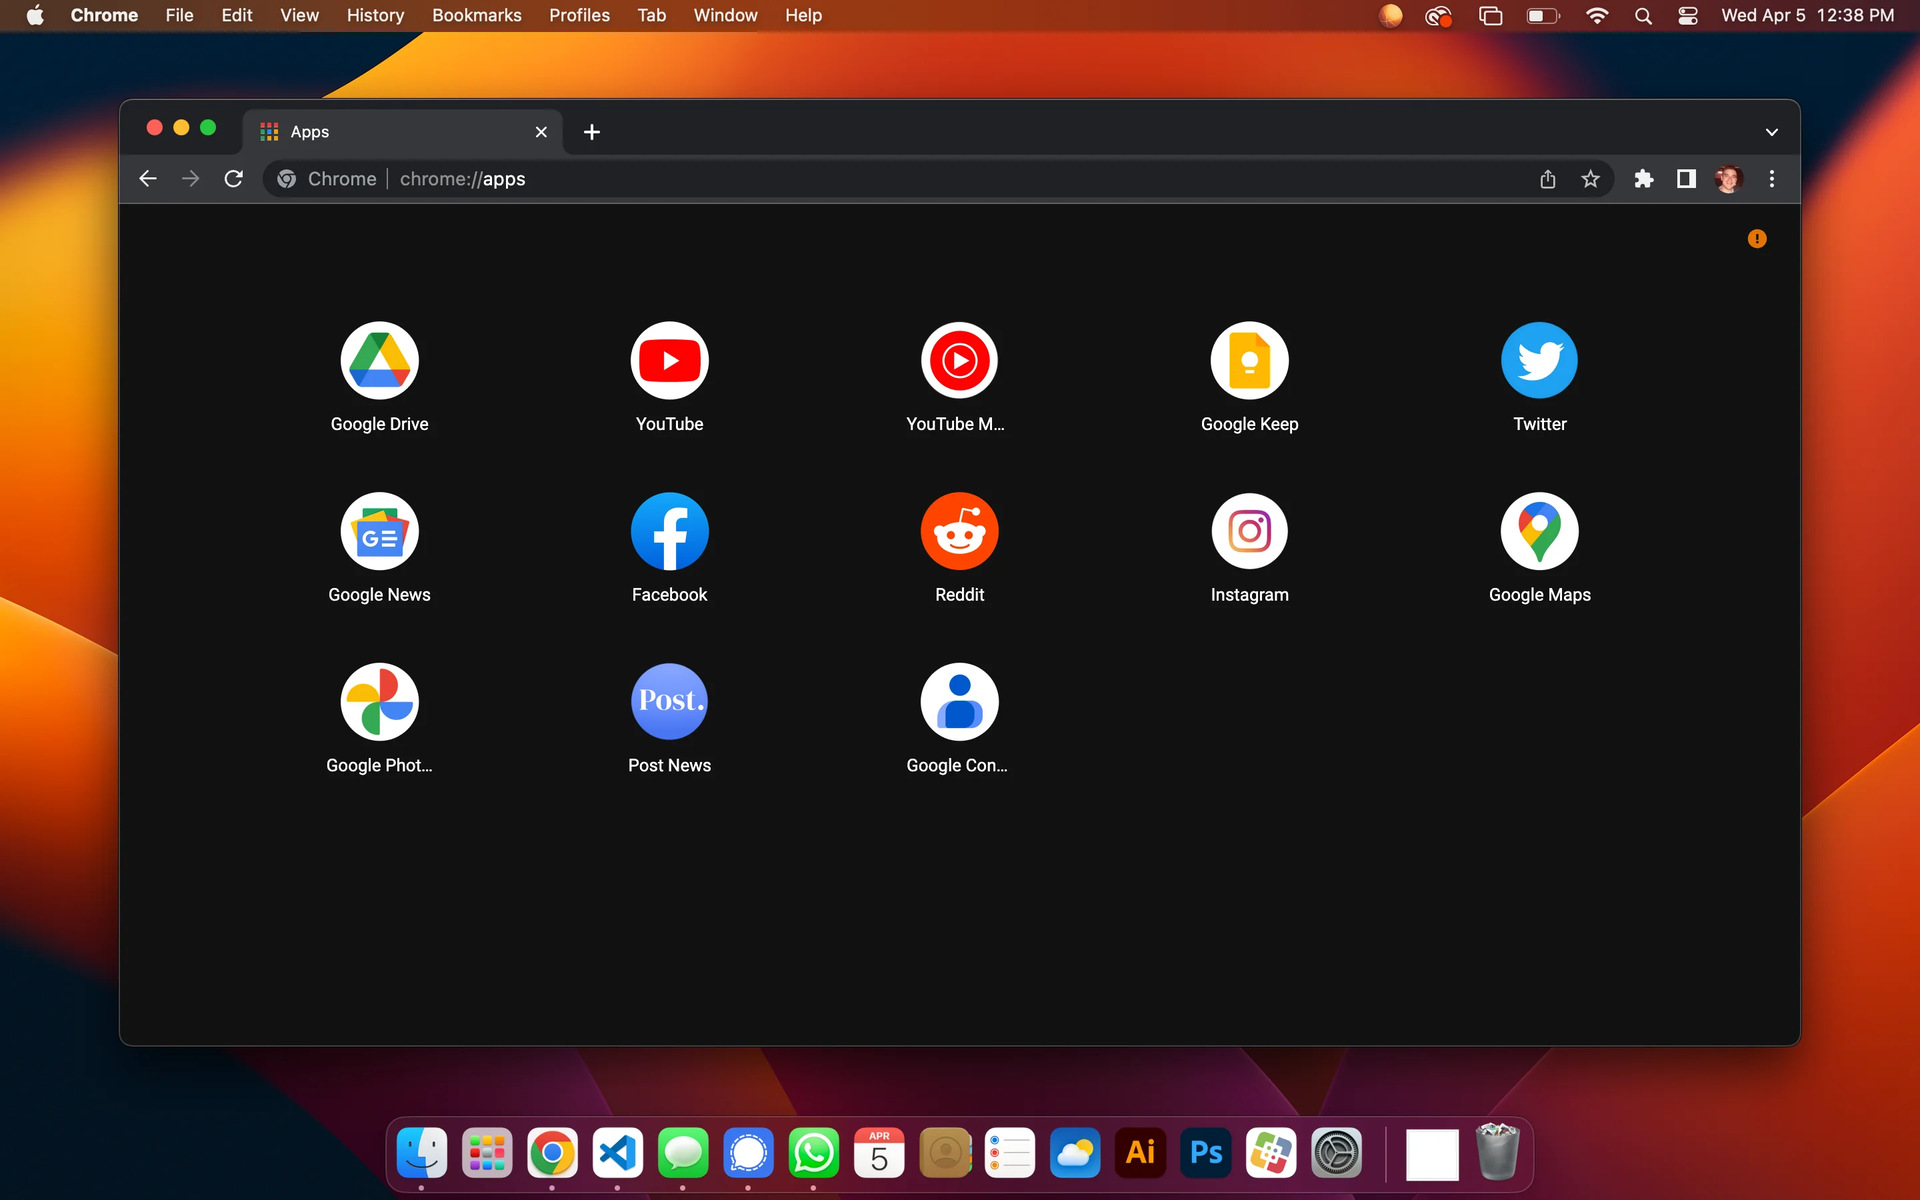
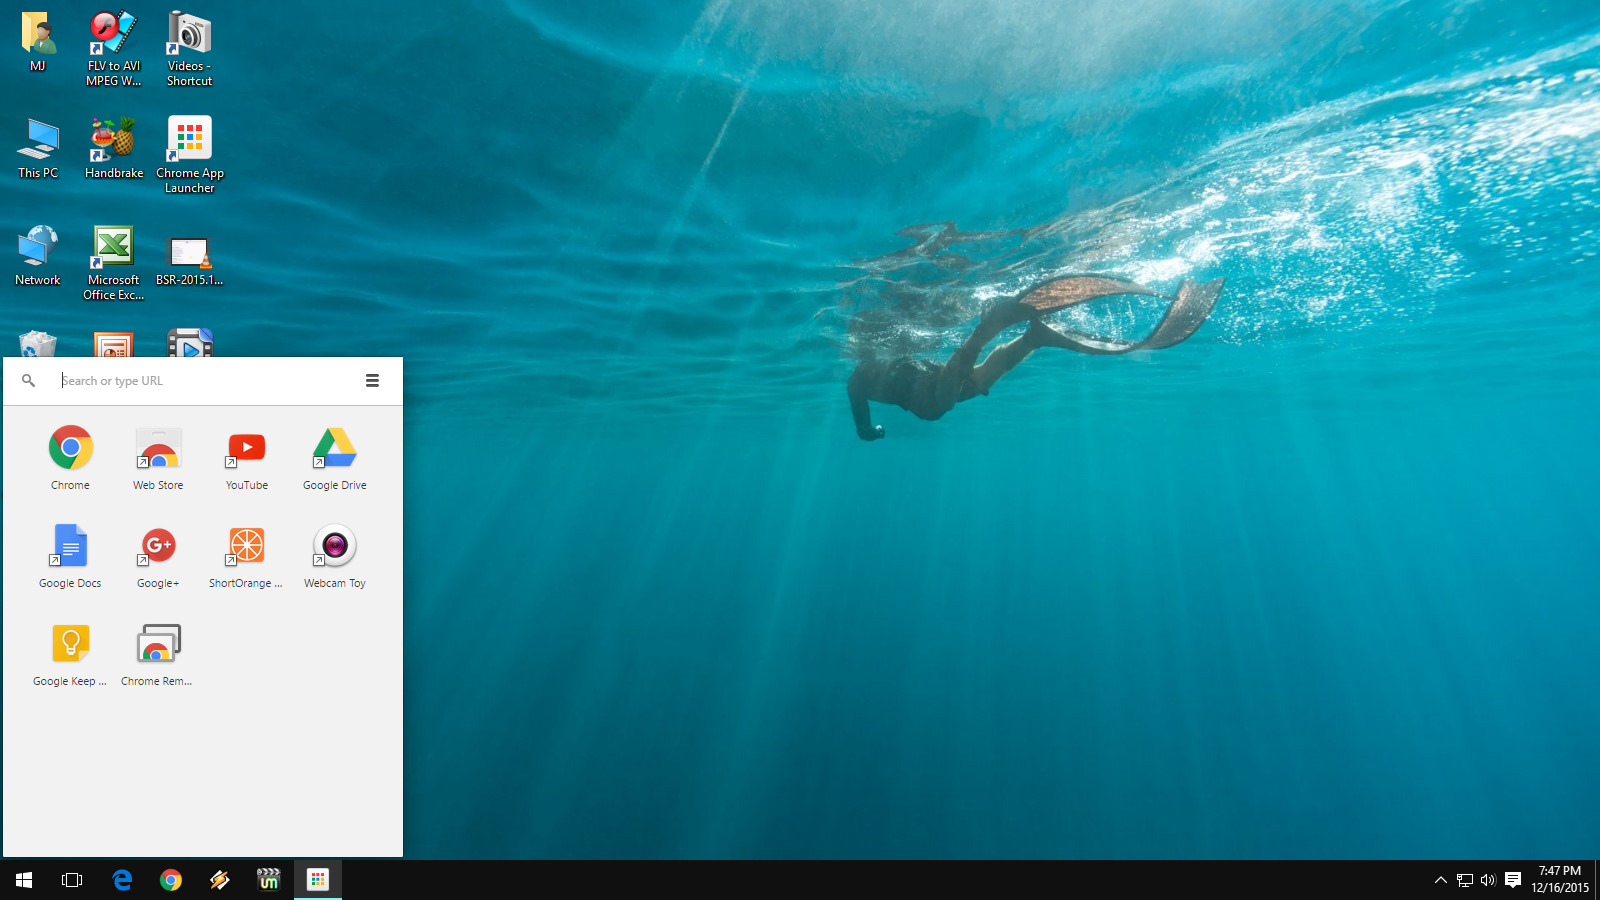
Locate the App Launcher Icon: After enabling the App Launcher, you'll notice a new icon on your desktop or taskbar. The icon typically resembles a grid or a series of squares, representing the array of apps and extensions available through the App Launcher.
-
Click on the App Launcher Icon: To access the App Launcher, simply click on the App Launcher icon on your desktop or taskbar. This action will open the App Launcher interface, presenting you with a grid of your favorite apps, extensions, and websites.
-
Explore the App Launcher Interface: Upon opening the App Launcher, you'll be greeted with a visually appealing grid layout showcasing your preferred apps and extensions. You can scroll through the grid to view all available resources, and you may also have the option to organize them into categories for easy access.
-
Launch Apps and Extensions: From the App Launcher interface, you can effortlessly launch your desired apps and extensions with a single click. Whether you're accessing productivity tools, entertainment apps, or communication extensions, the App Launcher provides a centralized platform for managing and launching these resources.
-
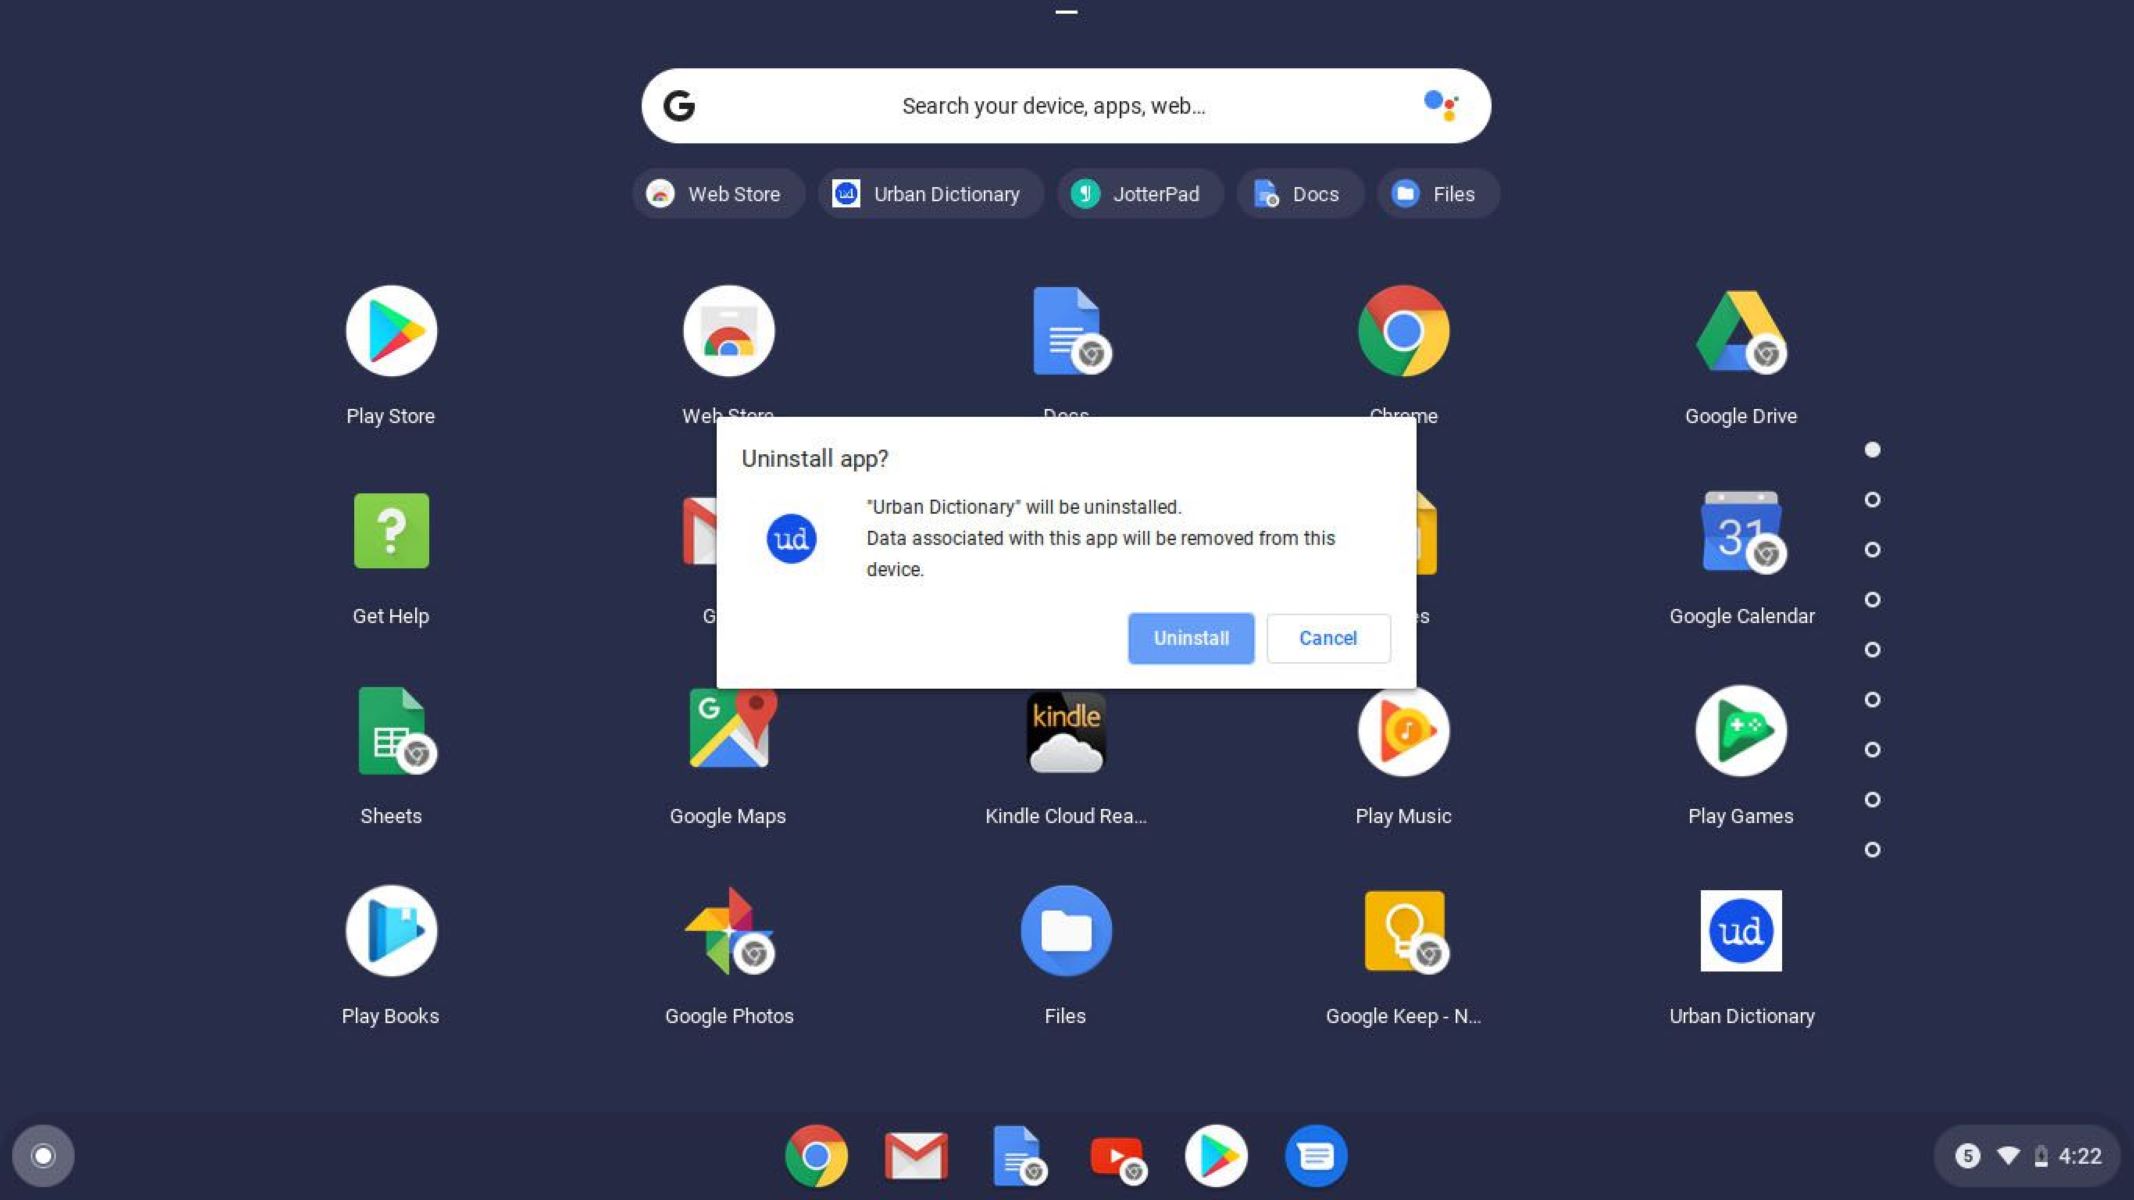
Customize App Launcher Layout (Optional): Depending on your preferences, you may have the option to customize the layout and organization of the App Launcher. This can include rearranging app icons, creating custom categories, or pinning frequently used resources for quick access.
By following these steps, you can easily access the App Launcher and leverage its capabilities to streamline your digital workflow. Whether you're a multitasking enthusiast, a productivity-driven professional, or a casual user seeking convenience, the App Launcher offers a user-friendly interface for managing and launching your favorite online resources.
Accessing the App Launcher is a straightforward process that empowers you to navigate your digital ecosystem with ease. With quick access to your preferred apps and extensions, the App Launcher enhances your browsing experience and simplifies the way you interact with online tools and resources.
Step 4: Customize App Launcher
Customizing the App Launcher allows you to tailor this feature to your specific preferences, making it even more efficient and personalized. By organizing your favorite apps, extensions, and websites in a way that suits your workflow, you can optimize your digital experience and streamline access to essential resources. Here's how you can customize the App Launcher to align with your unique needs:
-
Organize Apps and Extensions: Within the App Launcher interface, you may have the option to organize your apps and extensions into custom categories. This can help you categorize resources based on their functionality, making it easier to locate and access them when needed. For example, you can create categories such as "Productivity Tools," "Entertainment," "Communication," or any other relevant classifications that suit your usage patterns.
-
Rearrange App Icons: Depending on the customization options available, you might be able to rearrange the position of app icons within the App Launcher grid. This allows you to prioritize frequently used apps and bring them to the forefront for quick access. By arranging app icons based on your usage frequency or workflow priorities, you can optimize the layout to suit your specific needs.
-
Create Custom Shortcuts: Some versions of the App Launcher may offer the ability to create custom shortcuts for specific websites or web-based tools. This feature enables you to add direct links to your preferred websites within the App Launcher, providing seamless access to frequently visited online destinations. Whether it's a news website, a project management platform, or an online collaboration tool, custom shortcuts can enhance your digital accessibility.
-
Pin Frequently Used Resources: If the customization options allow, consider pinning your most frequently used apps and extensions to a dedicated section within the App Launcher. This ensures that essential resources are readily accessible and prominently displayed, minimizing the time and effort required to locate and launch them.
-
Personalize Visual Themes (If Available): Depending on the version of the App Launcher, you may have the option to personalize the visual theme or background of the interface. Customizing the visual elements can add a touch of personalization to your digital workspace, making the App Launcher more visually appealing and reflective of your preferences.
By customizing the App Launcher, you can tailor this feature to align with your unique browsing habits and digital workflow. Whether you're focused on productivity, entertainment, or communication, customizing the App Launcher empowers you to create a personalized hub for managing and accessing your favorite online resources.
Conclusion
In conclusion, the Chrome App Launcher serves as a valuable asset for streamlining your digital experience and optimizing access to your favorite apps, extensions, and websites. By following the steps outlined in this guide, you can seamlessly integrate the App Launcher into your browsing routine, enhancing your productivity and convenience.
Upon downloading and installing Google Chrome, enabling the App Launcher, and customizing it to suit your preferences, you gain a centralized platform for managing and launching your preferred digital resources. This streamlined approach to accessing apps and extensions directly from your desktop empowers you to navigate your digital ecosystem with ease.
The App Launcher's user-friendly interface and customization options allow you to tailor this feature to your specific needs, whether you're focused on productivity, entertainment, or communication. By organizing apps and extensions, rearranging icons, creating custom shortcuts, and personalizing visual themes, you can optimize the App Launcher to align with your unique browsing habits and workflow.
With the App Launcher at your fingertips, you can effortlessly launch your desired resources, saving time and effort while enhancing your digital accessibility. Whether you're a multitasking enthusiast, a professional seeking efficiency, or a casual user looking for convenience, the App Launcher offers a seamless way to manage and access your favorite online tools.
Incorporating the Chrome App Launcher into your digital toolkit can elevate your browsing experience, providing a convenient and efficient method for interacting with your preferred apps and extensions. As you explore the possibilities of the App Launcher, you'll discover how it can simplify your digital workflow and enhance your overall browsing experience.
By embracing the capabilities of the Chrome App Launcher, you can unlock a new level of convenience and efficiency in managing your digital resources. Whether you're organizing your productivity tools, accessing entertainment apps, or staying connected through communication extensions, the App Launcher offers a versatile and user-centric approach to navigating your digital world.