Introduction
Are you tired of encountering intrusive ads while browsing the web using Google Chrome? If you've been experiencing unwanted advertisements labeled as "Wajam Ads," you're not alone. These ads can disrupt your online experience, slowing down your browser and potentially exposing you to security risks. Fortunately, there are effective methods to eliminate these pesky ads and restore your browsing experience to its optimal state.
In this comprehensive guide, we'll delve into the world of Wajam Ads and equip you with the knowledge and tools to banish them from your Chrome browser for good. By understanding the nature of these ads and implementing the recommended steps, you can reclaim control over your online activities and enjoy a seamless browsing experience without the unwelcome interruptions caused by Wajam Ads.
Let's embark on this journey to uncover the origins of Wajam Ads, the reasons behind their appearance on Google Chrome, and the step-by-step process to remove them from your browsing environment. By the end of this guide, you'll be equipped with the expertise to safeguard your online experience and bid farewell to the nuisance of Wajam Ads.
What is Wajam Ads
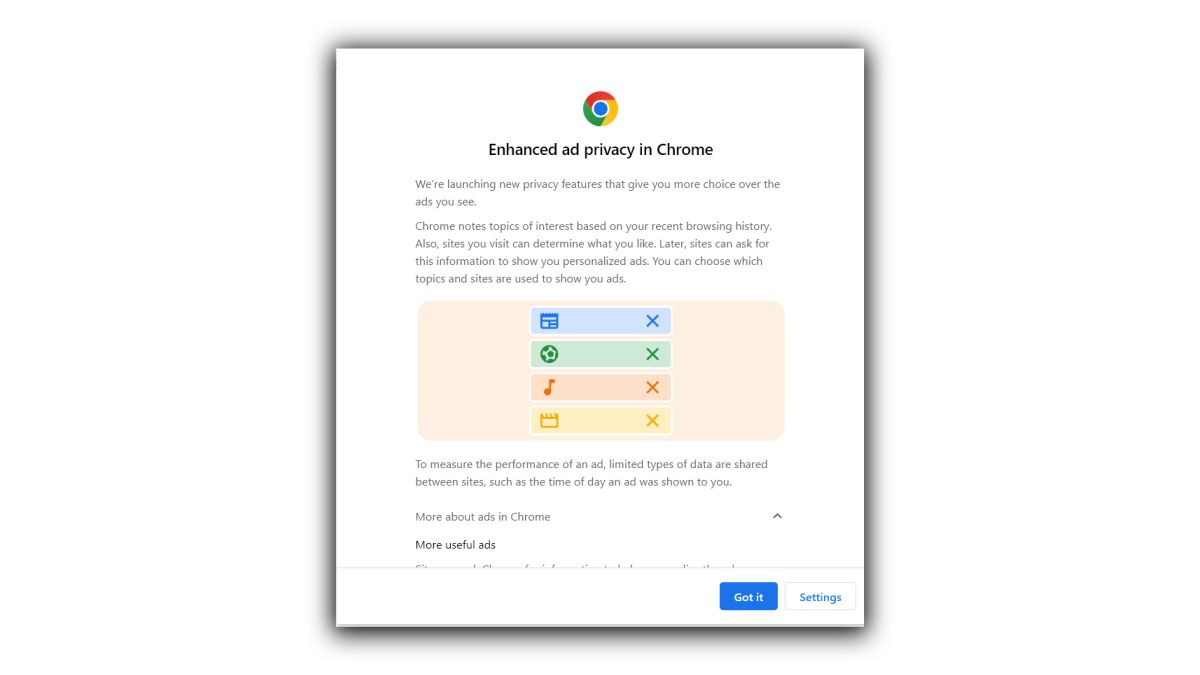
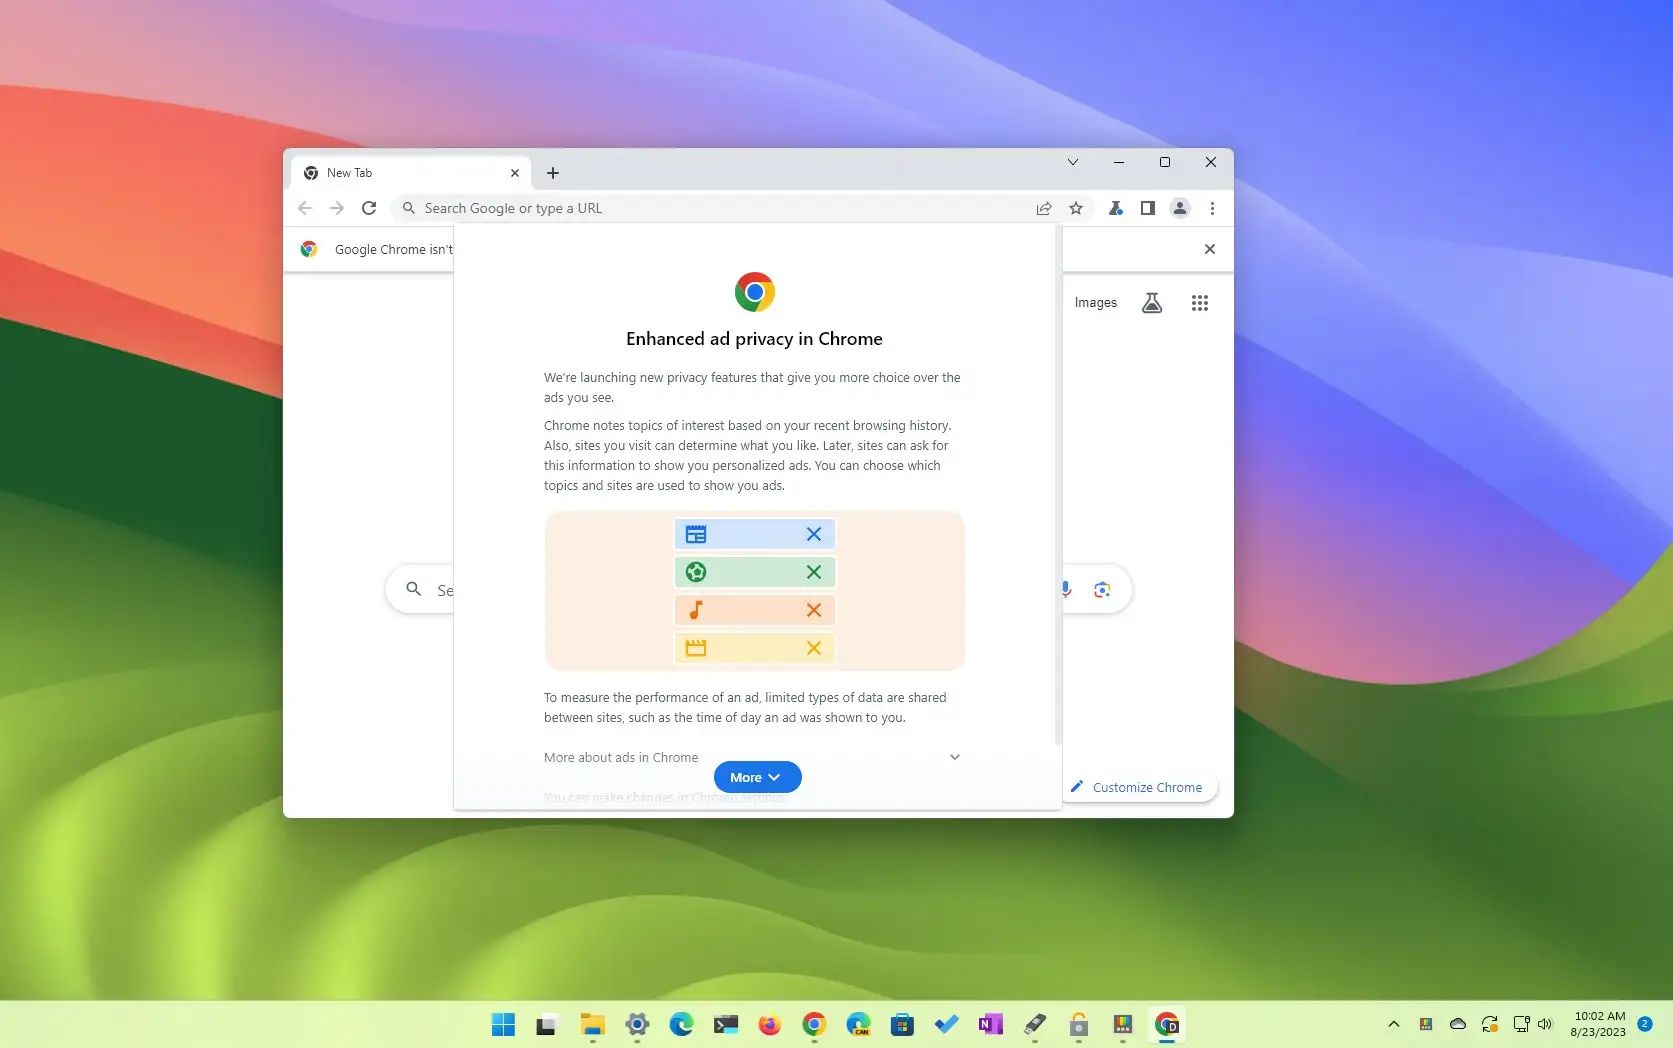
Wajam Ads are a form of intrusive advertisements that may appear while browsing the internet, particularly when using the Google Chrome web browser. These ads are often displayed as pop-ups, banners, or in-text advertisements, disrupting the user's browsing experience and potentially leading to frustration and privacy concerns.
Wajam, the company behind these ads, initially gained attention for its social search extension, which allowed users to receive personalized search results based on their social media activity. However, over time, Wajam's services evolved to include the delivery of targeted advertisements to users as they navigated the web.
The Wajam Ads may be presented in various forms, including sponsored links, product recommendations, and promotional offers. While some users may find these ads relevant to their interests, others perceive them as intrusive and unwanted, especially when they disrupt the natural flow of their online activities.
It's important to note that Wajam Ads are often associated with the Wajam browser extension, which, when installed, can track a user's browsing behavior and display targeted ads based on the collected data. This tracking and ad-serving functionality has led to concerns about privacy and data security, prompting many users to seek methods to remove Wajam Ads from their browsing experience.
In summary, Wajam Ads represent a form of targeted advertising that may appear during web browsing sessions, often linked to the installation of the Wajam browser extension. Understanding the nature of these ads is crucial for effectively addressing their presence and ensuring a more seamless and secure online experience.
Why Wajam Ads appear on Google Chrome
Wajam Ads make their presence known on Google Chrome due to the installation of the Wajam browser extension. When users install the Wajam extension, they inadvertently grant permission for the extension to track their browsing behavior and serve targeted advertisements based on the collected data. This tracking mechanism enables Wajam to gather insights into users' interests, preferences, and online activities, allowing it to deliver ads that align with these parameters.
The Wajam extension operates by monitoring the websites users visit, the search queries they enter, and the content they engage with online. This data is then utilized to create a profile of the user's interests and behaviors, which forms the basis for displaying relevant ads during their browsing sessions. As a result, users may encounter Wajam Ads that align with their recent online activities, reflecting products, services, or content that the extension deems as potentially appealing to the individual user.
Furthermore, the presence of Wajam Ads on Google Chrome can be attributed to the extension's integration with the browser's functionality. Once installed, the Wajam extension gains access to the user's browsing environment, allowing it to inject advertisements into web pages, display pop-ups, and overlay sponsored links within the browser interface. This seamless integration enables Wajam to deliver ads directly to users as they navigate the web using Google Chrome, contributing to the widespread visibility of Wajam Ads among affected users.
It's important to recognize that the appearance of Wajam Ads on Google Chrome is a direct result of the extension's data collection and ad-serving capabilities. While the intention behind these ads may be to provide users with personalized recommendations and offers, the intrusive nature of the ads, coupled with privacy concerns related to data tracking, has led many users to seek methods to remove Wajam Ads from their browsing experience.
Understanding the underlying reasons for the presence of Wajam Ads on Google Chrome is essential for implementing effective strategies to address and eliminate these unwanted advertisements. By comprehending the mechanisms that drive the display of Wajam Ads, users can take informed steps to regain control over their browsing environment and mitigate the impact of intrusive ad content.
How to remove Wajam Ads from Google Chrome
If you've been encountering Wajam Ads during your browsing sessions on Google Chrome, you'll be pleased to know that there are effective methods to eliminate these intrusive advertisements and restore a seamless browsing experience. By following the step-by-step process outlined below, you can take proactive measures to remove Wajam Ads from your Chrome browser and mitigate the disruptions caused by these unwanted advertisements.
Step 1: Uninstall Wajam extension
The first crucial step in removing Wajam Ads from Google Chrome is to uninstall the Wajam browser extension. To do this, navigate to the Chrome menu by clicking on the three-dot icon in the top-right corner of the browser window. From the menu, select "More tools" and then choose "Extensions." Here, you'll find a list of installed extensions, including Wajam. Locate the Wajam extension and click on the "Remove" or "Uninstall" option to initiate the removal process. Once the extension has been successfully uninstalled, proceed to the next step.
Step 2: Reset Google Chrome settings
After removing the Wajam extension, it's advisable to reset your Google Chrome browser settings to ensure the complete eradication of any residual components associated with Wajam Ads. To reset Chrome settings, access the Chrome menu, click on "Settings," and scroll down to the "Advanced" section. Within the advanced settings, locate the "Reset and clean up" category and select "Restore settings to their original defaults." Follow the on-screen prompts to confirm the reset process, which will restore Chrome to its default state, effectively eliminating any lingering traces of Wajam Ads.
Step 3: Scan for malware and adware
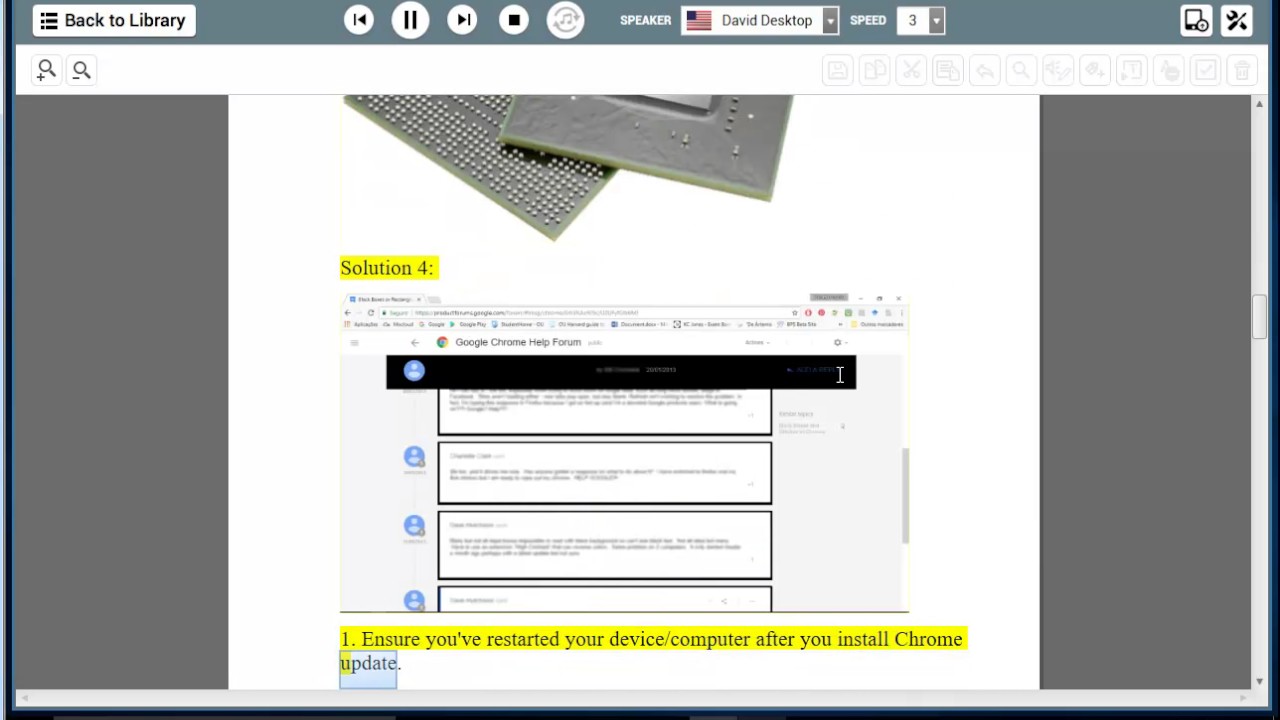
In some cases, the presence of Wajam Ads may be indicative of underlying malware or adware on your system. To address this potential issue, it's recommended to conduct a thorough scan using reputable anti-malware software. Choose a trusted anti-malware tool and perform a comprehensive scan of your system to identify and remove any malicious programs or adware that may be contributing to the display of Wajam Ads. By eliminating any harmful software, you can further safeguard your browsing environment and prevent the recurrence of unwanted advertisements.
By diligently following these steps, you can effectively remove Wajam Ads from your Google Chrome browser and restore a more secure and uninterrupted browsing experience. Taking proactive measures to uninstall the Wajam extension, reset Chrome settings, and scan for malware and adware will empower you to regain control over your online activities and mitigate the impact of intrusive advertisements. With these strategies in place, you can navigate the web with confidence, free from the disruptions caused by Wajam Ads.
Step 1: Uninstall Wajam extension
The first crucial step in removing Wajam Ads from Google Chrome is to uninstall the Wajam browser extension. This extension, once installed, integrates with the Chrome browser to track user activity and deliver targeted advertisements. However, if you find the presence of Wajam Ads intrusive and disruptive, uninstalling the extension is the initial step towards reclaiming a seamless browsing experience.
To begin the uninstallation process, navigate to the Chrome menu by clicking on the three-dot icon located in the top-right corner of the browser window. From the menu, select "More tools" and then choose "Extensions." Here, you will find a list of installed extensions, including the Wajam extension. It's important to identify the Wajam extension within the list to proceed with its removal.
Once you have located the Wajam extension, you can initiate the uninstallation process by clicking on the "Remove" or "Uninstall" option associated with the extension. Upon selecting this option, Chrome will prompt you to confirm the removal of the Wajam extension. Confirm the action to proceed with the uninstallation.
As the uninstallation process commences, Chrome will deactivate and remove the Wajam extension from your browser, effectively eliminating its presence and associated functionalities. Once the process is complete, the Wajam extension will no longer be active within your Chrome browser, thereby ceasing its ability to track your browsing behavior and display targeted ads.
By uninstalling the Wajam extension, you take a significant stride towards mitigating the impact of Wajam Ads on your browsing experience. This proactive approach empowers you to regain control over your online activities and alleviate the disruptions caused by intrusive advertisements. With the Wajam extension successfully uninstalled, you can proceed to the subsequent steps in the removal process, ultimately restoring a more streamlined and secure browsing environment within Google Chrome.
Step 2: Reset Google Chrome settings
After successfully uninstalling the Wajam extension, the next critical step in eliminating Wajam Ads from your Google Chrome browser involves resetting the browser settings. This process is designed to restore Chrome to its default state, effectively eradicating any residual configurations or components associated with the Wajam extension and its intrusive ad-serving functionalities.
To initiate the reset of Google Chrome settings, begin by accessing the Chrome menu, denoted by the three-dot icon located in the top-right corner of the browser window. From the menu, select "Settings" to access the browser's configuration options. Within the Settings menu, scroll down to find the "Advanced" section, which contains additional options for customizing Chrome's behavior and preferences.
Within the "Advanced" section, locate the "Reset and clean up" category, which offers tools for restoring Chrome to its original state and addressing potential issues related to unwanted extensions or adware. Here, you will find the option to "Restore settings to their original defaults," which serves as the gateway to resetting Chrome and eliminating any lingering traces of Wajam Ads.
Upon selecting the "Restore settings to their original defaults" option, Chrome will present a confirmation dialogue outlining the implications of the reset process. This dialogue will provide insights into the changes that will occur as a result of the reset, including the restoration of default search engine settings, homepage configurations, tab behaviors, and the removal of extensions and themes.
To proceed with the reset, confirm the action as prompted by Chrome. Once confirmed, the browser will initiate the reset process, reverting its settings to the default state while removing any modifications or configurations introduced by the Wajam extension. This comprehensive reset effectively eliminates any remnants of Wajam Ads and restores Chrome to a clean and unaltered state, free from the influence of the intrusive ad-serving functionalities associated with the Wajam extension.
By resetting Google Chrome settings, you take a proactive stance in eradicating the impact of Wajam Ads on your browsing experience. This strategic approach ensures the complete removal of any residual components linked to the Wajam extension, thereby fostering a more secure and uninterrupted browsing environment within Google Chrome. With the browser settings successfully reset, you can proceed with confidence, knowing that your online activities are shielded from the disruptions caused by unwanted advertisements.
Step 3: Scan for malware and adware
In some instances, the presence of Wajam Ads on Google Chrome may be indicative of underlying malware or adware on your system. To address this potential issue and fortify the security of your browsing environment, it is imperative to conduct a thorough scan for malicious software and adware using reputable anti-malware tools.
Initiating a comprehensive scan for malware and adware serves as a proactive measure to identify and eliminate any harmful programs that may be contributing to the display of Wajam Ads. By leveraging trusted anti-malware software, you can systematically examine your system for the presence of malicious entities, including adware that may have infiltrated your browser and compromised your online experience.
When embarking on the scanning process, it is advisable to select a reputable anti-malware tool known for its efficacy in detecting and removing various forms of malware, including adware and potentially unwanted programs (PUPs). These tools are equipped with advanced scanning algorithms and threat detection capabilities, enabling them to scrutinize your system for any signs of malicious activity that may be linked to the appearance of Wajam Ads.
Upon initiating the scan, the anti-malware software will meticulously analyze your system, inspecting files, directories, and critical areas where malware and adware commonly reside. The scanning process aims to identify and isolate any suspicious elements that may be contributing to the presence of unwanted advertisements, including Wajam Ads, within your browsing environment.
Upon completion of the scan, the anti-malware tool will present a detailed report outlining the findings and any identified threats. If the scan reveals the presence of malware, adware, or potentially unwanted programs, the anti-malware software will offer the option to quarantine or remove these threats, effectively neutralizing their impact on your system and browsing activities.
By conducting a thorough scan for malware and adware, you bolster the security of your browsing environment and mitigate the risk of encountering intrusive advertisements such as Wajam Ads. This proactive approach empowers you to safeguard your online experience, ensuring that your interactions with the web are shielded from the disruptions and potential security risks posed by malicious software and adware.
In summary, scanning for malware and adware represents a critical step in the process of removing Wajam Ads from Google Chrome, enabling you to fortify the security of your browsing environment and preserve a seamless and uninterrupted online experience.
Conclusion
In conclusion, the presence of Wajam Ads on Google Chrome can significantly impact the browsing experience, leading to disruptions, privacy concerns, and potential security risks. However, by understanding the nature of Wajam Ads and implementing the recommended removal steps, users can effectively eliminate these intrusive advertisements and restore a more seamless and secure browsing environment within their Chrome browser.
The journey to remove Wajam Ads begins with the proactive step of uninstalling the Wajam extension, which serves as the primary vehicle for the delivery of targeted ads. By removing the extension, users can sever the connection that enables Wajam to track their browsing behavior and display personalized advertisements, reclaiming control over their online activities.
Subsequently, resetting Google Chrome settings plays a pivotal role in eradicating any residual components associated with the Wajam extension and its intrusive ad-serving functionalities. This comprehensive reset ensures the restoration of Chrome to its default state, free from the influence of Wajam Ads and the modifications introduced by the extension.
Furthermore, conducting a thorough scan for malware and adware represents a critical measure to fortify the security of the browsing environment and mitigate the risk of encountering intrusive advertisements. By leveraging reputable anti-malware tools, users can systematically identify and eliminate any harmful programs that may be contributing to the presence of Wajam Ads, safeguarding their online experience from potential threats.
By diligently following these removal steps, users can reclaim control over their browsing environment and mitigate the impact of intrusive ad content. The culmination of these efforts empowers individuals to navigate the web with confidence, free from the disruptions caused by Wajam Ads and the associated privacy concerns.
Ultimately, the removal of Wajam Ads from Google Chrome not only restores a more streamlined and secure browsing experience but also underscores the importance of proactive measures in safeguarding online activities. By equipping users with the knowledge and tools to address the presence of intrusive advertisements, this guide aims to empower individuals to reclaim control over their online experiences and foster a more secure and uninterrupted browsing environment within Google Chrome.