Introduction
When it comes to browsing the web, Google Chrome stands out as one of the most popular and feature-rich web browsers. Its built-in security features, including an antivirus component, are designed to protect users from malicious websites and downloads. While this antivirus feature is a valuable layer of defense, there are instances where users may need to disable it temporarily. This could be necessary when using certain web applications or troubleshooting issues related to false positive detections.
In this guide, we will walk through the steps to disable the antivirus feature in Google Chrome. By following these simple instructions, you can gain more control over your browsing experience and address specific scenarios where the antivirus may interfere with your activities. Whether you're a tech-savvy user or someone who's new to adjusting browser settings, this step-by-step tutorial will empower you to manage Chrome's antivirus settings with ease.
So, let's dive into the process of disabling the Chrome antivirus and explore the straightforward steps to accomplish this task. Whether you're looking to streamline your browsing experience or troubleshoot compatibility issues, understanding how to disable Chrome's antivirus feature can be a valuable skill in optimizing your web browsing journey.
Step 1: Open Chrome Settings
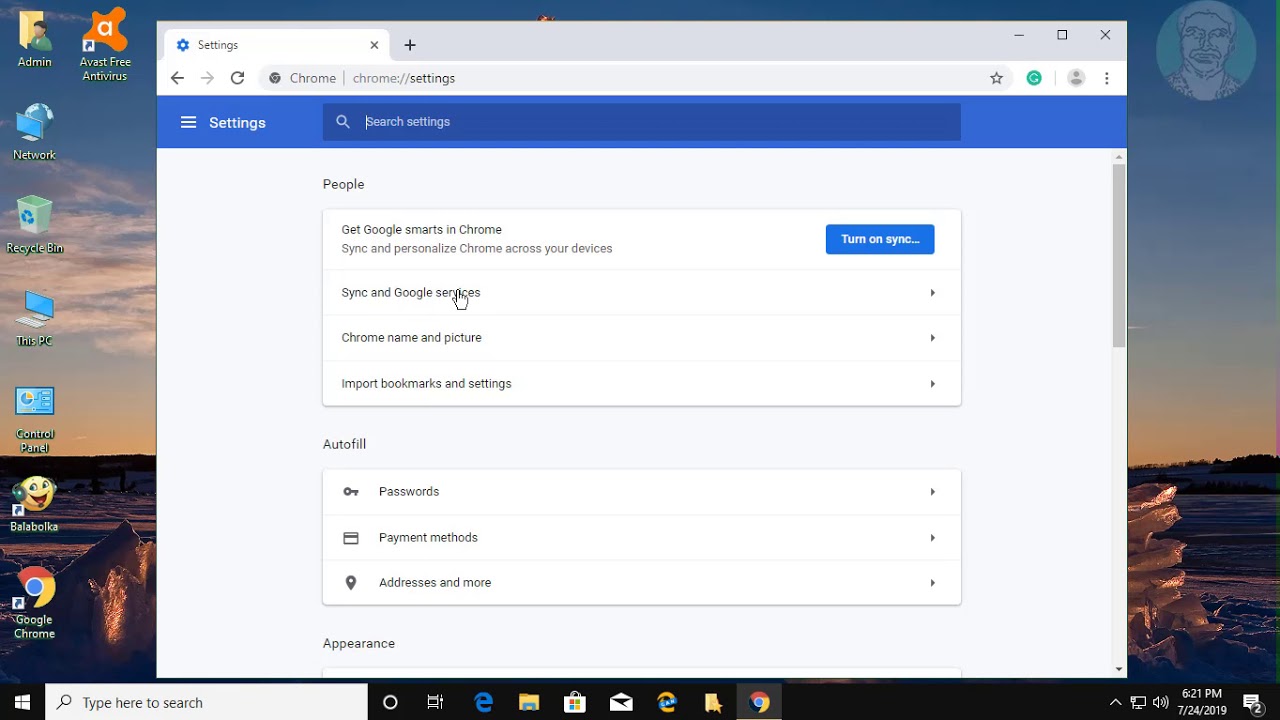
To begin the process of disabling the antivirus feature in Google Chrome, the first step is to access the browser's settings. Chrome provides a user-friendly interface for managing various preferences and security options, including the antivirus settings. Here's how to open Chrome settings:
-
Launch Google Chrome: Start by opening the Google Chrome web browser on your computer. You can do this by clicking on the Chrome icon in your desktop or taskbar, or by searching for "Google Chrome" in your computer's applications or programs list.
-
Access the Menu: Once Chrome is open, look for the three vertical dots located in the top-right corner of the browser window. This icon represents the Chrome menu. Click on it to reveal a dropdown menu with various options.
-
Open Settings: Within the dropdown menu, locate and click on the "Settings" option. This will redirect you to the Chrome settings page, where you can customize a wide range of browser preferences and configurations.
By following these steps, you will successfully open the settings menu in Google Chrome, setting the stage for the subsequent actions required to disable the antivirus feature. With the settings now accessible, you are ready to proceed to the next step in the process.
Opening Chrome settings is a fundamental starting point for making adjustments to the browser's behavior and security features. Whether you're a seasoned Chrome user or someone who's exploring these settings for the first time, the intuitive layout of Chrome's settings interface makes it easy to navigate and modify various aspects of the browser's functionality.
Now that you've opened the Chrome settings, the next step is to delve into the security section where you can manage the antivirus feature. This will be covered in the following step, as we continue our journey to disable the Chrome antivirus and gain more control over the browser's security settings.
Step 2: Access the Security Section
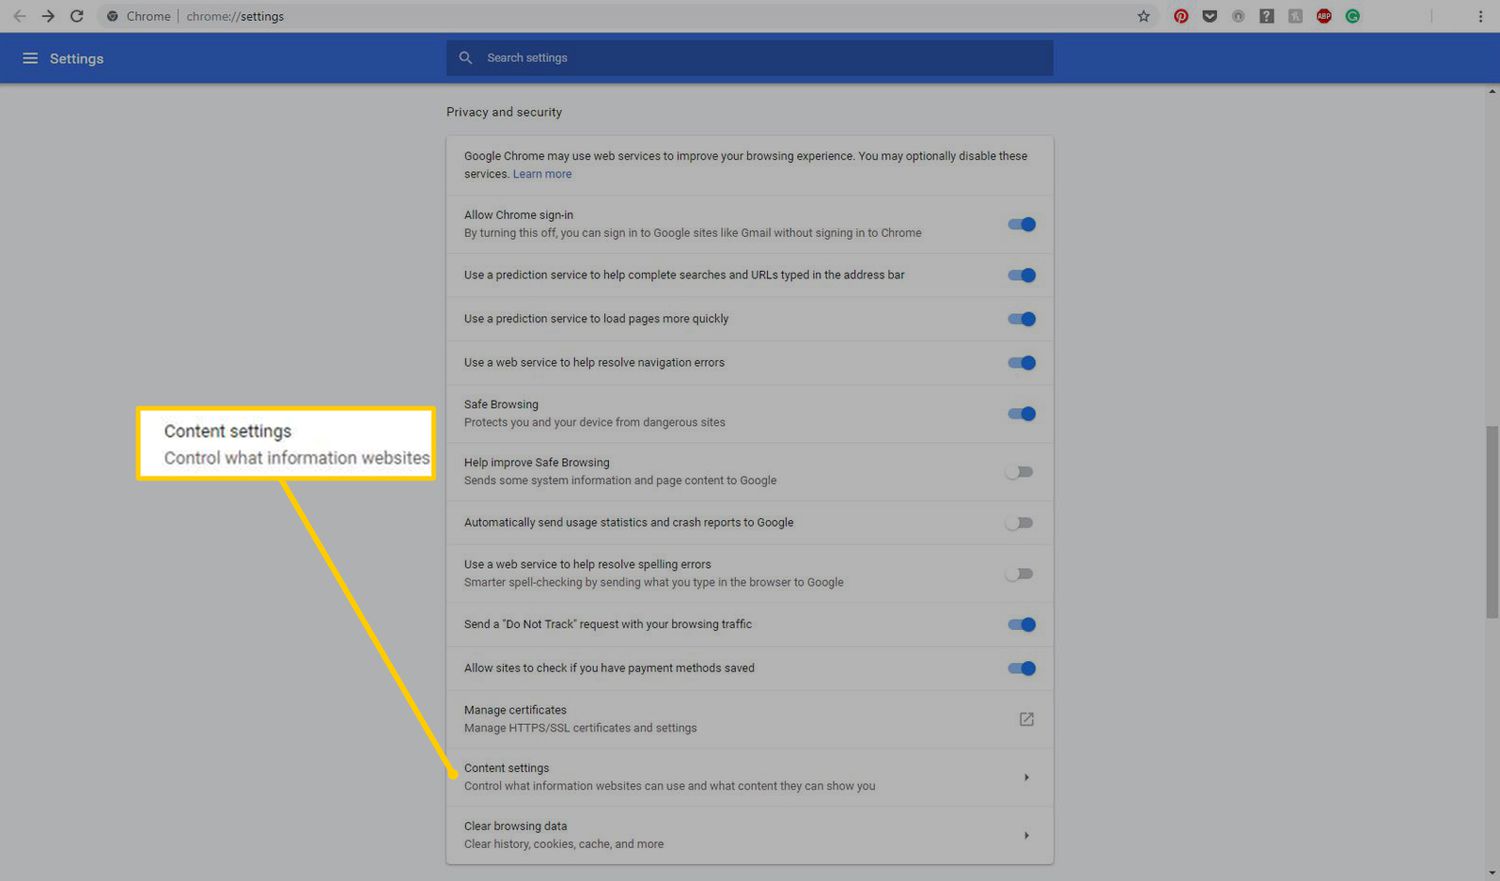
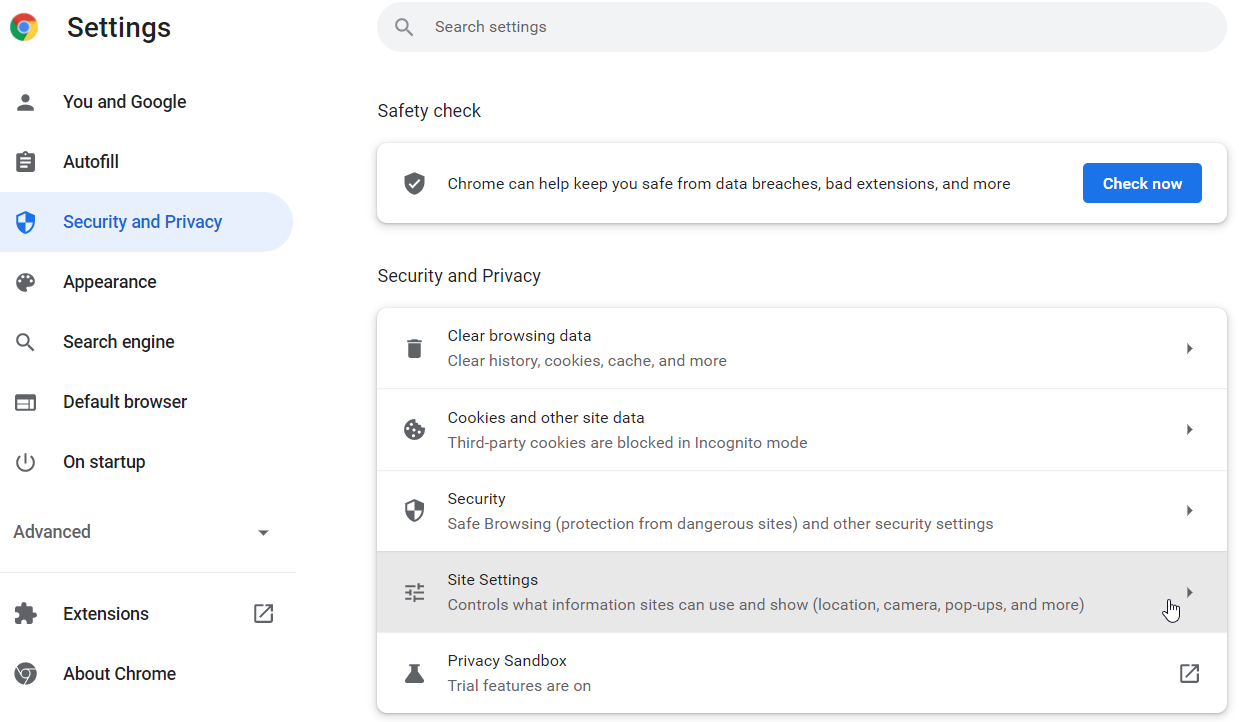
After successfully opening the Chrome settings, the next crucial step is to navigate to the security section where you can manage the antivirus feature. This section houses essential security and privacy settings, allowing users to customize their browsing experience according to their preferences. Here's how to access the security section in Google Chrome:
-
Locate the "Privacy and Security" Category: Within the Chrome settings page, you will find a list of categories on the left-hand side. Look for the category labeled "Privacy and Security." This category serves as a hub for managing various security-related features and preferences within the browser.
-
Click on "Security": Under the "Privacy and Security" category, you will find the "Security" option. Click on this to access the specific settings related to security features, including the built-in antivirus functionality.
-
Explore Security Settings: Upon clicking the "Security" option, you will be presented with a range of security-related settings and preferences. This is where you can manage site settings, enable or disable the antivirus feature, and customize other security options to align with your browsing requirements.
Accessing the security section in Chrome empowers users to fine-tune the browser's security features, ensuring a personalized and secure browsing environment. By navigating to this section, you gain the ability to make informed decisions about the antivirus component and other security settings, ultimately enhancing your control over Chrome's security measures.
Understanding how to access the security section is pivotal in the process of disabling the Chrome antivirus. With this step completed, you are now prepared to proceed to the next crucial stage: disabling the antivirus feature itself. This will be covered in the subsequent step, as we continue our journey to effectively manage Chrome's security settings and tailor them to your specific browsing needs.
Step 3: Disable Chrome Antivirus
Disabling the Chrome antivirus feature involves a straightforward process within the browser's settings. By following the steps outlined below, you can effectively turn off the antivirus functionality to accommodate specific browsing requirements or troubleshoot compatibility issues.
-
Locate the Antivirus Setting: Once you have accessed the security section in Chrome settings, navigate to the subsection specifically related to the antivirus feature. This is where you can manage the behavior of the built-in antivirus and make adjustments according to your preferences.
-
Toggle the Antivirus Option: Within the antivirus settings, you will typically find a toggle switch or checkbox that allows you to enable or disable the antivirus feature. To disable the Chrome antivirus, simply click on the toggle switch or uncheck the box associated with the antivirus functionality.
-
Confirmation Prompt: In some instances, Chrome may prompt you to confirm the action of disabling the antivirus feature. This serves as an additional layer of security to ensure that users are intentionally making changes to critical security settings. If prompted, confirm the action to proceed with disabling the antivirus.
-
Verification: After disabling the antivirus feature, it's advisable to verify that the changes have taken effect. You can do this by visiting the security section again and ensuring that the antivirus setting reflects the disabled status. Additionally, you can perform a test by accessing a known safe website or downloading a harmless file to confirm that the antivirus is no longer actively scanning for threats.
By following these steps, you can effectively disable the Chrome antivirus feature, granting you more control over the browser's security settings. It's important to note that while disabling the antivirus may be necessary in certain scenarios, it's essential to exercise caution and only do so when dealing with trusted websites and content.
Understanding how to disable the Chrome antivirus empowers users to tailor their browsing experience to specific needs, whether it involves using web applications that conflict with the antivirus or troubleshooting false positive detections. By mastering this process, you gain a deeper understanding of Chrome's security features and the flexibility to adjust them according to your preferences.
Conclusion
In conclusion, mastering the process of disabling the antivirus feature in Google Chrome equips users with the knowledge and capability to manage the browser's security settings effectively. By following the step-by-step guide outlined in this tutorial, you have gained valuable insights into navigating Chrome's settings, accessing the security section, and disabling the antivirus feature with confidence.
The ability to disable the Chrome antivirus provides users with a level of control over their browsing experience, allowing for seamless interactions with web applications and the flexibility to troubleshoot false positive detections. However, it's important to approach this capability with caution and only disable the antivirus when dealing with trusted content and websites.
Furthermore, understanding the process of disabling the Chrome antivirus underscores the importance of user empowerment in managing security features. This knowledge not only enhances the user's ability to tailor the browser's behavior to specific needs but also fosters a deeper understanding of Chrome's security mechanisms.
As technology continues to evolve, the need for flexible and customizable security measures becomes increasingly vital. By mastering the process of disabling the Chrome antivirus, users can navigate the dynamic landscape of web browsing with greater confidence and adaptability.
In essence, the journey to disable the Chrome antivirus is not just about toggling a setting; it's about empowering users to make informed decisions about their browsing security. This knowledge serves as a testament to the user's role in shaping their digital experiences and underscores the significance of understanding and managing security features within web browsers.
By embracing the insights gained from this guide, users can approach the task of disabling the Chrome antivirus with a blend of caution, confidence, and adaptability, ultimately enhancing their browsing experience and security posture.
In the ever-evolving digital realm, the ability to navigate and customize security settings is a valuable skill, and by mastering the process of disabling the Chrome antivirus, users are better equipped to harness the full potential of their web browsing journey.